Easy Interactive Card: Spinning Butterfly Birthday Surprise! Yippee for Yana
Hi friend! Please join me in welcoming back the oh-so-talented and amazing Yana Smakula! (Please note: our dear friend Yana is Ukrainian. To show support to our brothers and sisters in Ukraine, please see Yana’s post HERE.)
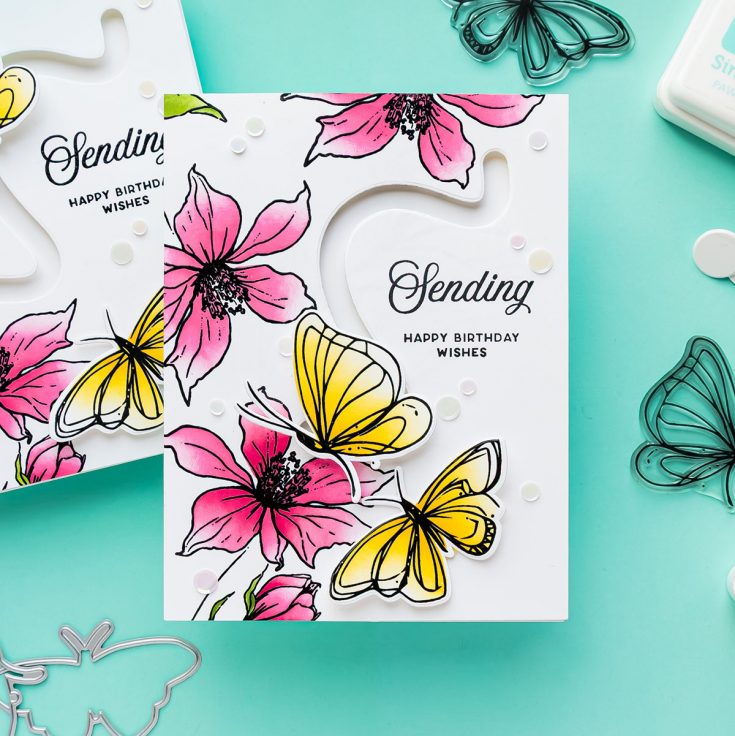
Hello, crafters! This is Yana Smakula for Simon Says Stamp. Welcome back for another Yippee for Yana video! Lately, I’ve been having so much fun creating interactive cards. There’s something special about adding movement to a handmade card; it instantly makes it more engaging and memorable. Today’s project features a butterfly that actually spins as you move the card, creating the illusion of a butterfly fluttering over a flower before gently landing. It’s a simple interactive element that’s guaranteed to delight the recipient.
The magic behind today’s card is the Hero Arts Interactive Slider Die and the Snap & Slide pieces from PearBlossom Press. These small plastic slider components are incredibly easy to use and create smooth, effortless movement. If you’ve been wanting to try an interactive card but felt intimidated by the mechanics, this is a fantastic place to start.
To create the card, I began by die-cutting the curved slider track into an A2 panel of Neenah Solar White 80lb cardstock. I like to complete this step first since the placement of the interactive element determines where everything else will go on the card.
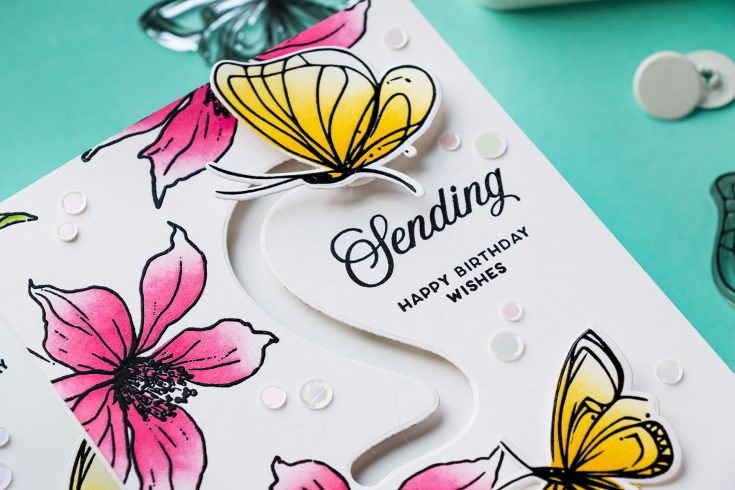
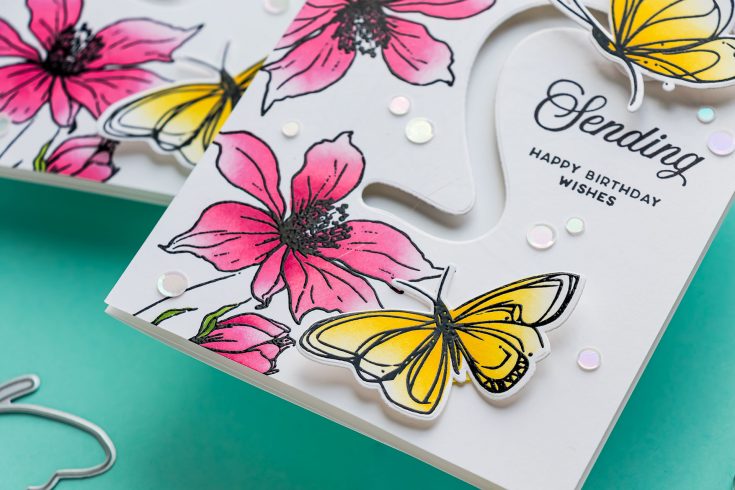
Next, I moved on to creating the butterflies using the Simon Says Stamp Artsy Butterflies stamp set, coordinating stencils, and coordinating dies. Before adding any color, I stamped the butterflies in black ink, coated them with clear embossing powder, and heat embossed the images. The clear embossing helps protect the stamped lines during ink blending and gives the finished butterflies a beautiful crisp appearance.
Instead of reaching for markers or colored pencils, I used the coordinating stencils to quickly add color. I chose Honey Pawsitively Saturated Ink for both butterflies, concentrating the color in the center and blending it outward toward the wing tips. Allowing the yellow to softly fade into the white cardstock gives the butterflies a light, airy look that perfectly complements the interactive movement.
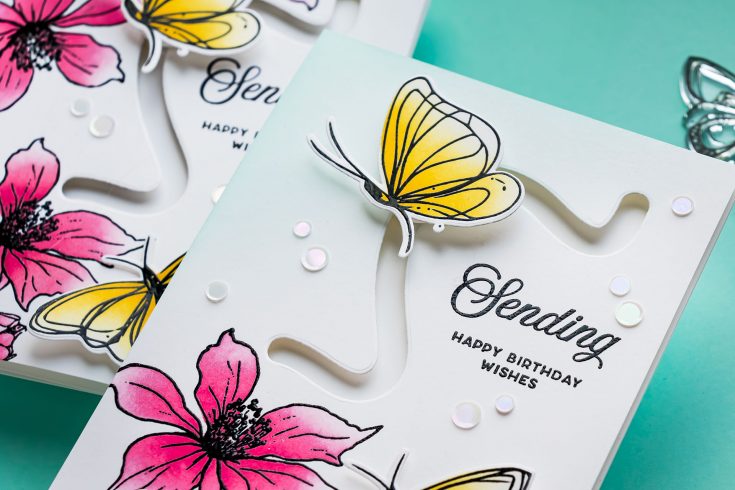
My color palette for this card combines bright yellow with vibrant pink, a touch of fresh green, and just a hint of soft blue. It’s a cheerful combination that feels fresh and energetic without becoming overwhelming.
With the butterflies finished, I turned my attention to the card background. I stamped one of the beautiful floral clusters from the Wild & Free Flowers stamp set directly onto the card panel, along with a coordinating birthday sentiment. Since I already knew exactly where the spinning butterfly would travel, I could easily position the flowers so they appeared to interact naturally with the butterfly’s movement.
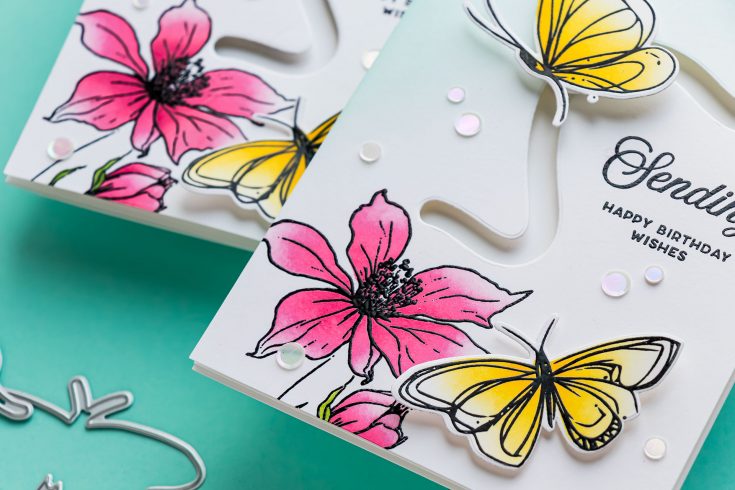
After heat embossing the floral image, I used the coordinating stencil set to add color. I ink blended Watermelon ink onto the flower petals, concentrating the deepest color toward the center before fading it toward the outer edges. The leaves received a touch of Perfection green, completing the floral cluster in just a few minutes.
Because I kept the background intentionally clean and simple, I wanted to add just a subtle hint of atmosphere. Using a large blending brush, I softly blended Seafoam ink into the upper corner of the panel. This gentle blue creates the suggestion of a sky without distracting from the focal images.
Now it was time for the interactive element.
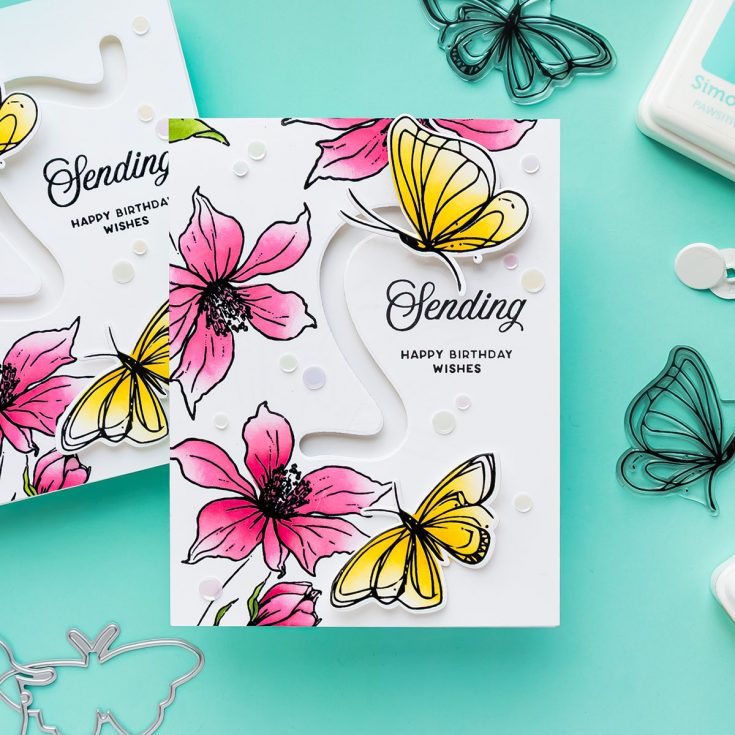
The Snap & Slide mechanism comes together very easily. One plastic piece is attached to the back of the butterfly using a foam adhesive square, while the second piece snaps into place from behind the panel. Once assembled, the butterfly glides smoothly along the die-cut track while spinning freely as it moves.
For balance, I added a second butterfly using regular foam adhesive. Having one butterfly in motion and one stationary creates a more natural composition and helps draw attention to the interactive feature.
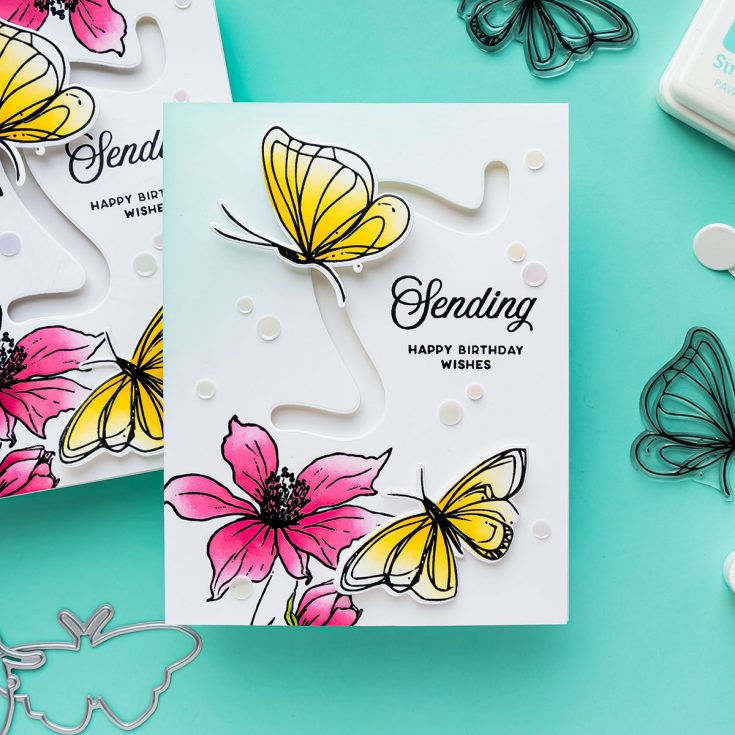
When creating interactive cards like this, one detail makes a huge difference: using thicker foam adhesive behind the card panel. The extra depth gives the slider mechanism enough clearance to move freely. It’s also important to keep the foam adhesive away from the track itself so nothing interferes with the movement.
Before attaching the panel to my card base, I always test the mechanism several times to make sure everything spins smoothly. Once I was happy with the movement, I adhered the entire panel to a top-folding A2 card base.
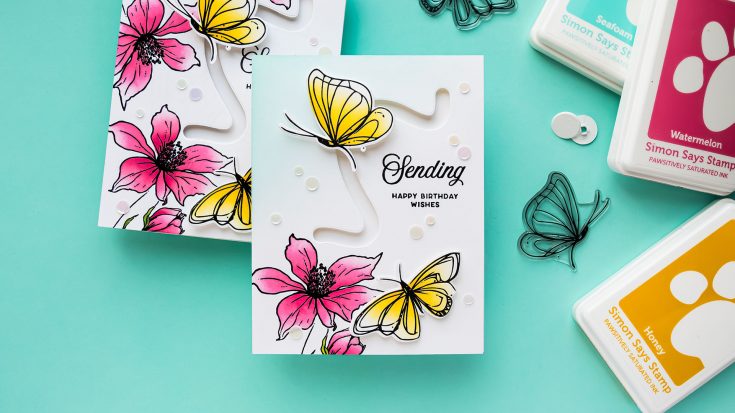
To finish the design, I scattered a few Marshmallow embellishments across the background for a little sparkle and extra visual interest.
I absolutely love how playful this card turned out. Interactive cards always bring a smile, and I think this spinning butterfly creates such a fun surprise when someone receives it. Better yet, this same technique can easily be adapted using stamps and dies you already have in your collection.
If you’ve never tried making an interactive spinning card before, I hope this project inspires you to give it a try. Have a wonderful day and happy crafting!
WATCH THE VIDEO:

SUPPLIES:
|


Ways to support Ukraine:
If you are looking for ways to support Ukraine, we encourage you to visit this page on Yana’s blog:

A big thank you to YOU, our reader — and to Yana for being our guest!
BONUS ideas + NEW VIDEO featuring the Christmas Joy in July Create Together Class with Cathy Zielske
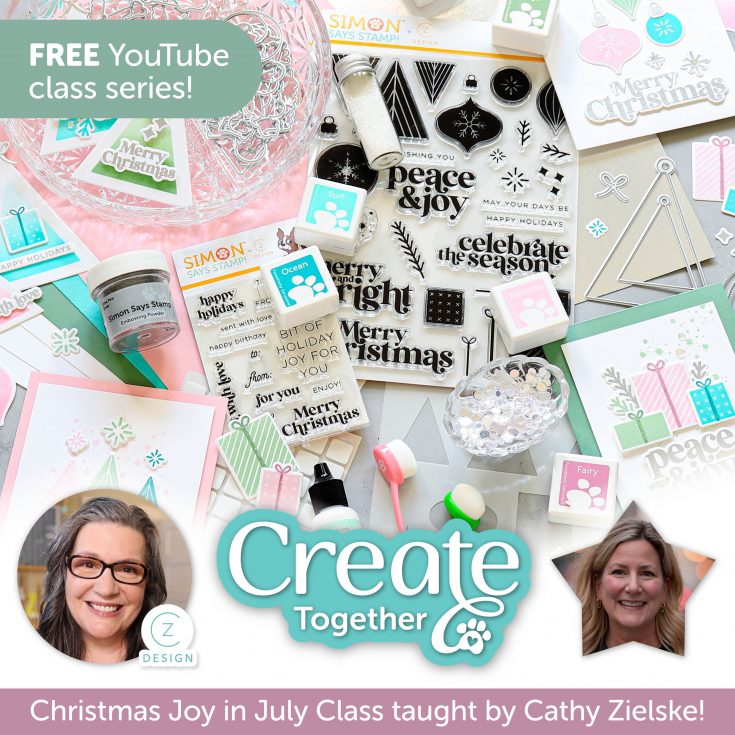
You guys! Cathy Zielske is SO very awesome she created a video to share how she made her bonus projects! How awesome is she? Check it out for tips and tricks so you can keep creating with this awesome kit!
WATCH THE VIDEO featuring BONUS content:

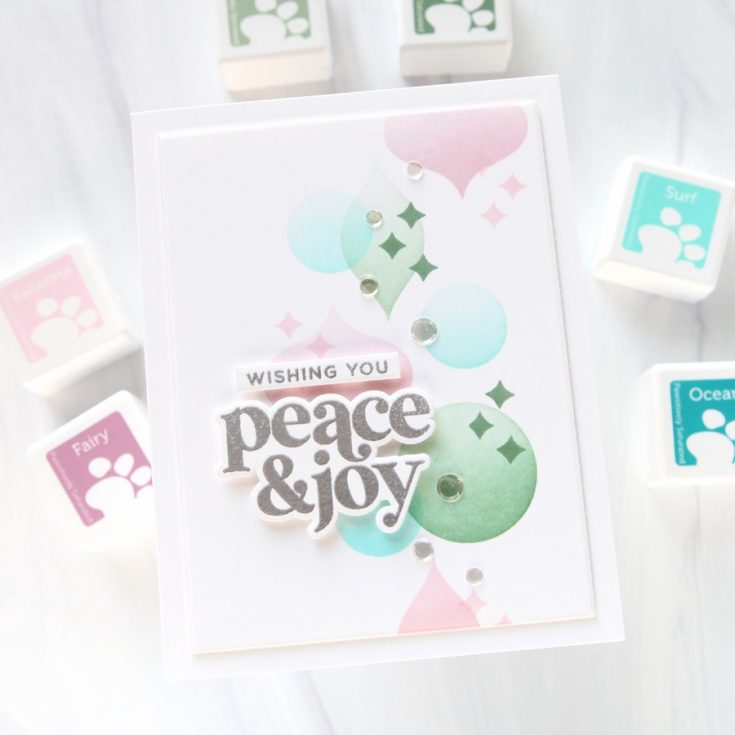
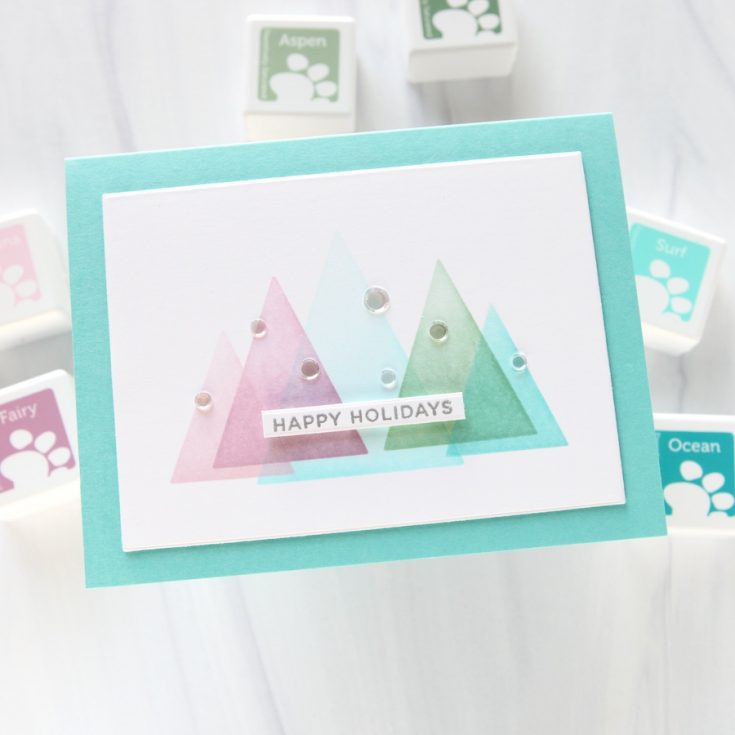
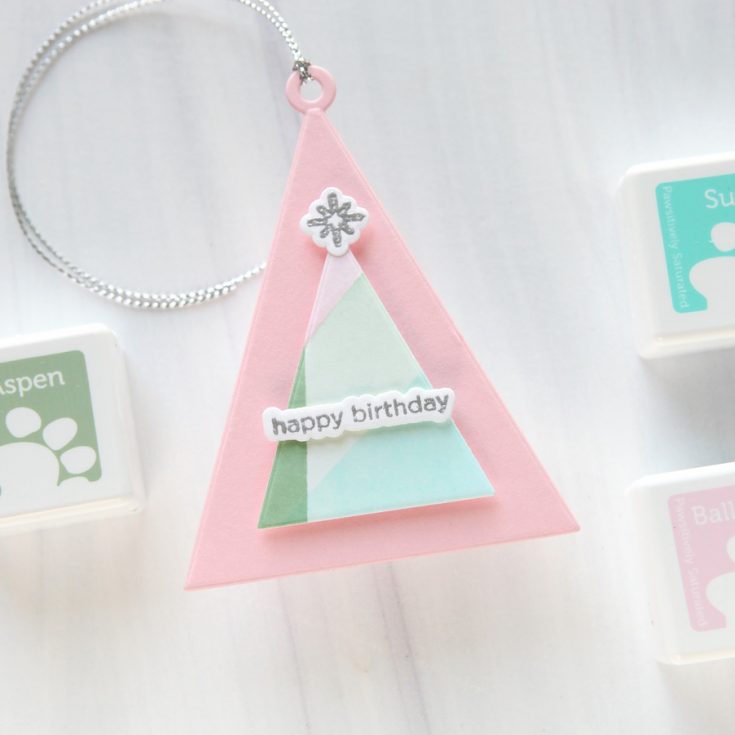
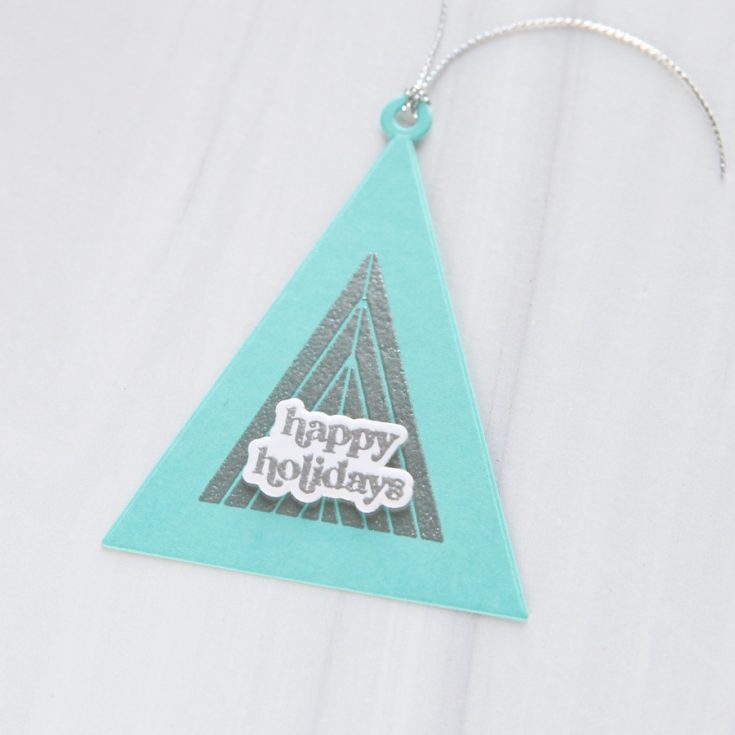
Rewatch the class:

Missed the kit? Shop select individual components available:
|


Creative Overlay Notebook by Anna-Karin Evaldsson
Hi friends! Happy Monday! Please join me in welcoming back special guest Anna-Karin Evaldsson to our blog as a special guest sharing a pretty decorative notebook idea! Read on and enjoy!
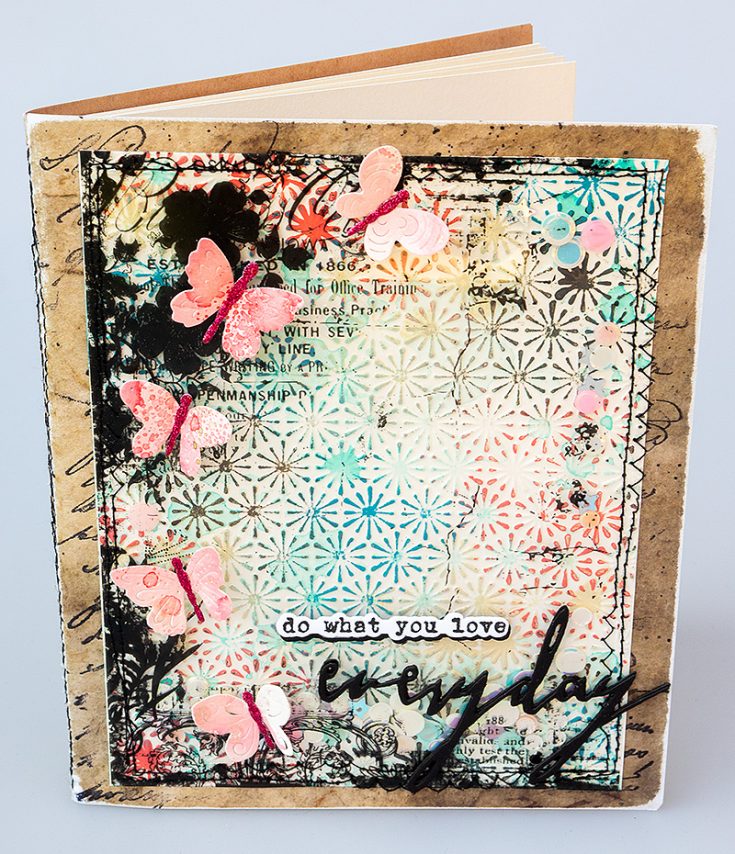
Hi everyone! I am happy to be back here on the blog with a notebook / sketchbook and some fun techniques. I had fun using Simon Says Stamp Creative Overlay Transparencies, combined with a great dry embossing technique. It is a shaker too!
Have you ever had a dry embossed background what you were really happy with, but you wanted to add some stamping on top? Stamping on top of a dry embossed background only works with very few embossing folders. With Simon Says Stamp Creative Overlay Transparencies, you can easily add the look of stamped elements on top of dry embossing, while also creating a space for shaker elements. Fun!
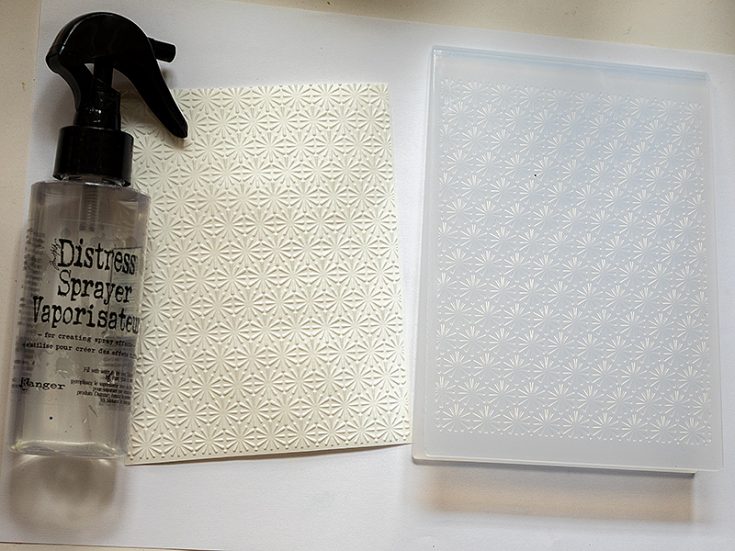
Mist watercolor paper on both sides and dry emboss in Simon Says Stamp Star Lattice folder. Let dry.
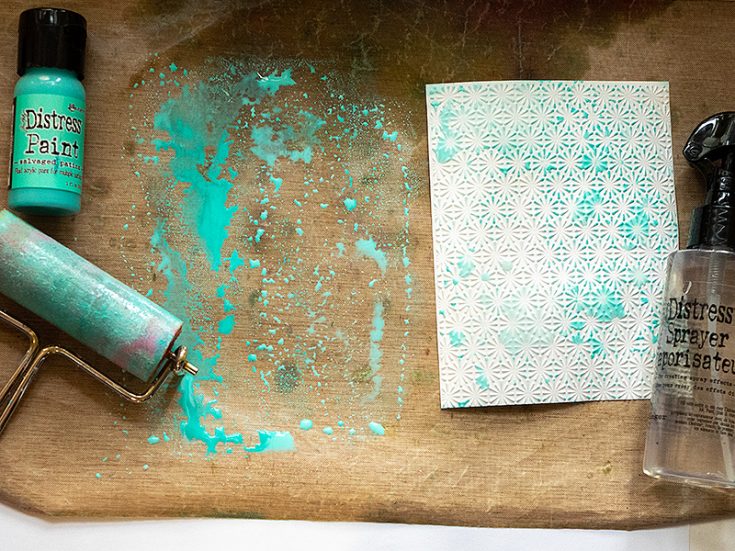
Apply Salvaged Patina Distress Paint to a non-stick craft sheet with a brayer. Mist a little water on top, if you want to. I only did this for the Salvaged Patina layer. Press the embossed paper into the paint. Let dry.
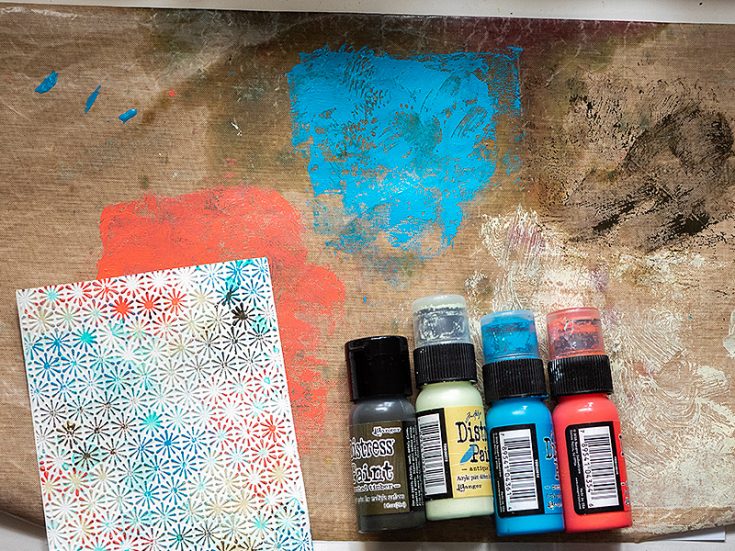
Repeat using Antique Linen, Scorched Timber, Mermaid Lagoon and Abandoned Coral. Use a brayer to spread the paint out. Press the dry embossed paper into the various paints until you are happy with the look. If you want a more watery look, you can mist the paints with water as before.
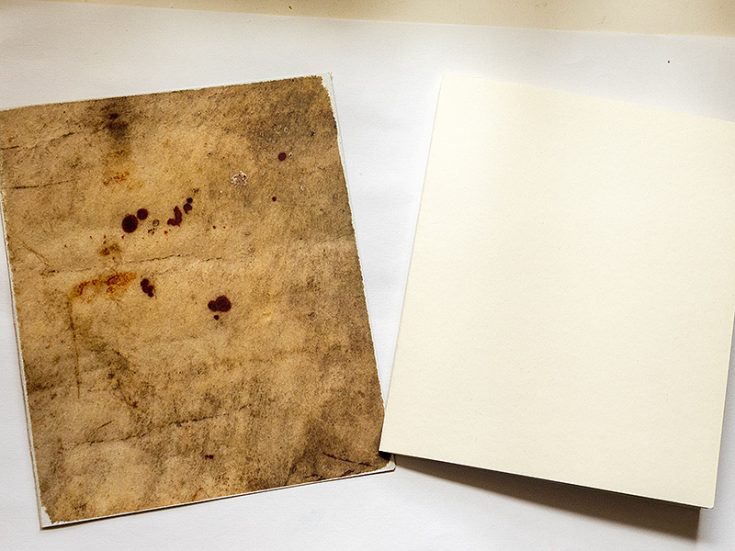
To make the book, fold a piece of Tim Holtz Backdrops paper in half and cut from your favorite writing or sketching paper.
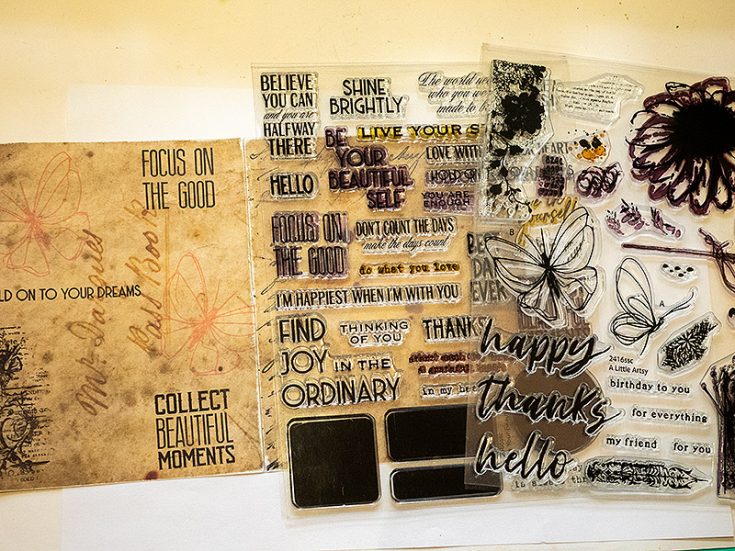
Stamp the back cover with Simon Says Stamp A Little Artsy and Be Your Beautiful Self. The butterfly was stamped with Distress Oxide Saltwater Taffy.
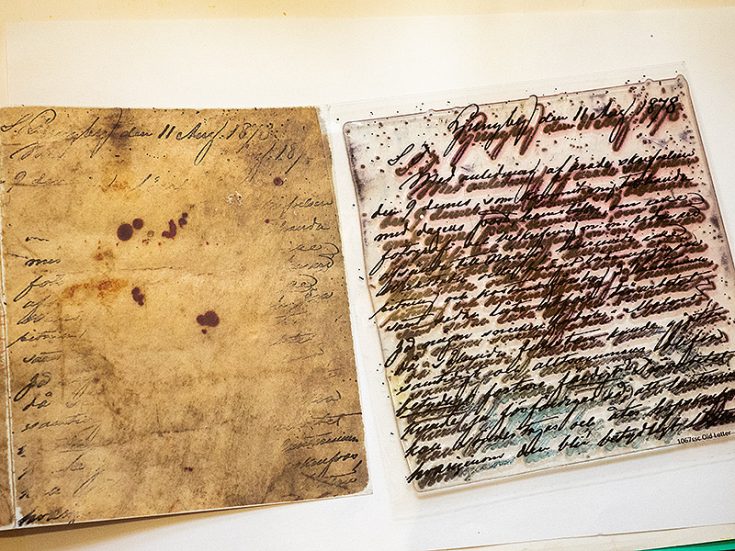
Stamp the front here and there with Simon Says Stamp Old Letter.
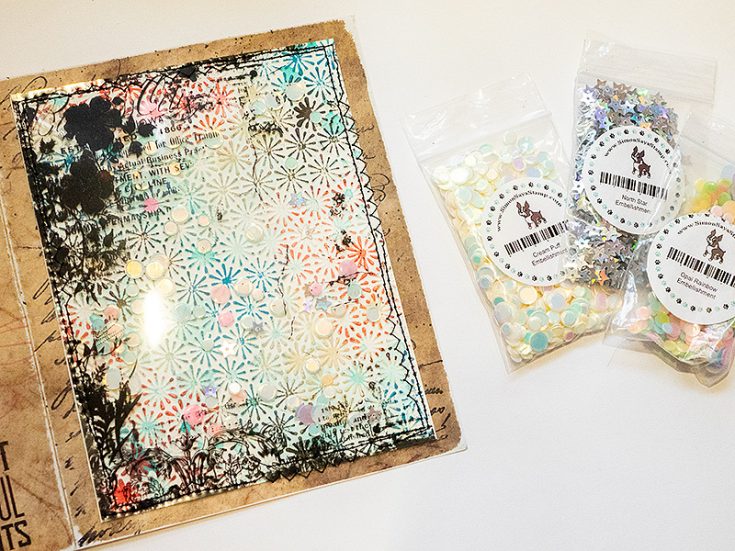
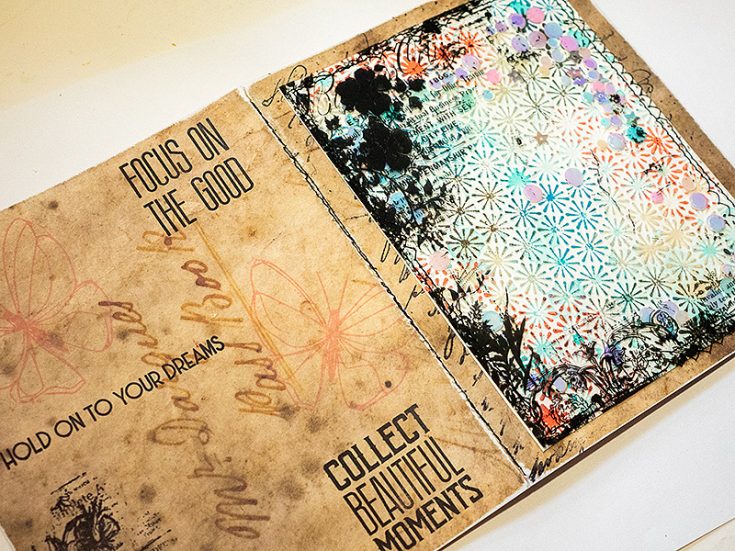
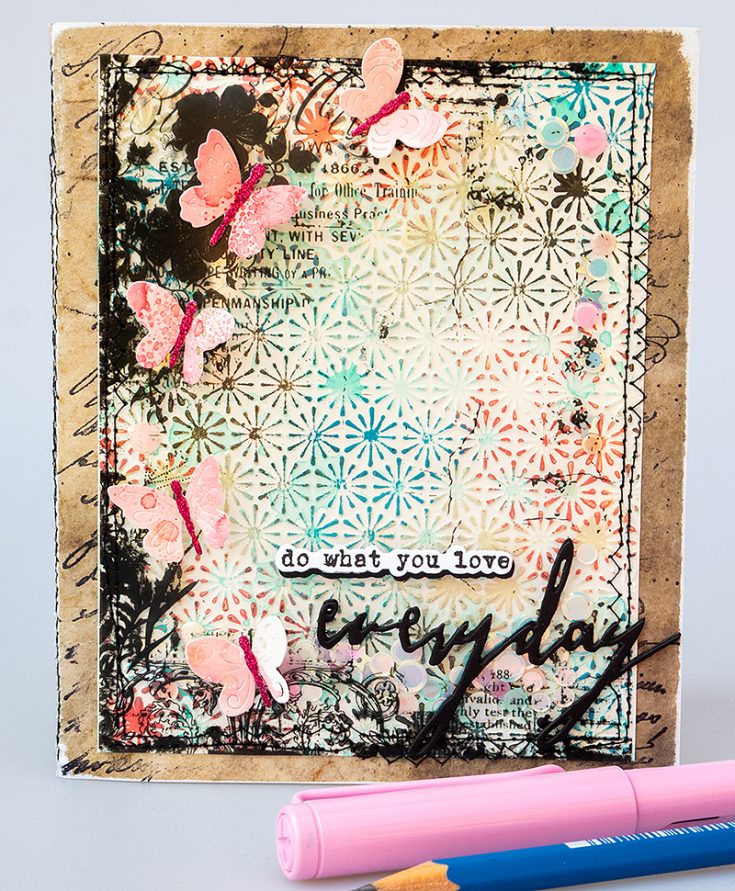
Adhere the dry embossed panel to the front using adhesive only in the centre. Sprinkle some sequins in the middle. I used Simon Says Stamp Cream Puff, Opal Rainbow and North Star embellishments. Place the Creative Overlay on top, making sure it is the right way around and stitch around the edges with a sewing machine. I used both straight and zigzag stitching.
Place the inserts into the book and stitch along the spine. I stitched once from the inside and once from the outside, to get a messy look.

Tie the ends on the inside.
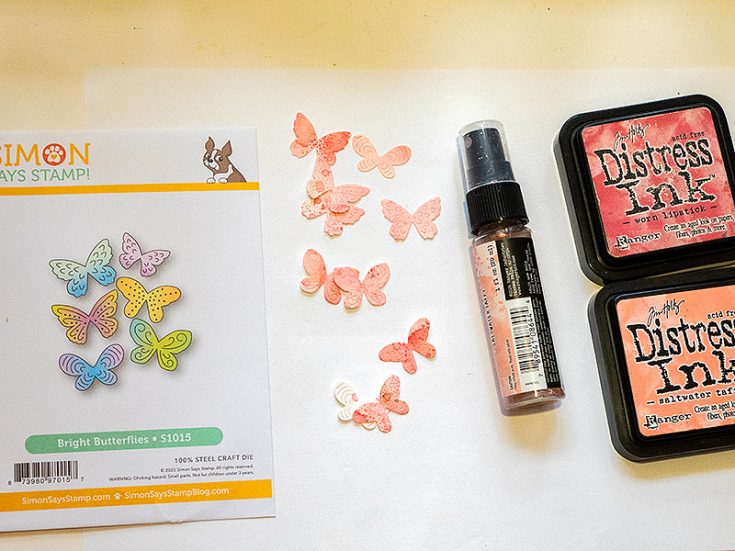
Ink watercolor paper with Saltwater Taffy and Worn Lipstick and mist with a little Saltwater Taffy Distess Spritz. When dry, die cut Simon Says Stamp Bright Butterflies from the paper. I just love this set of butterfly dies.
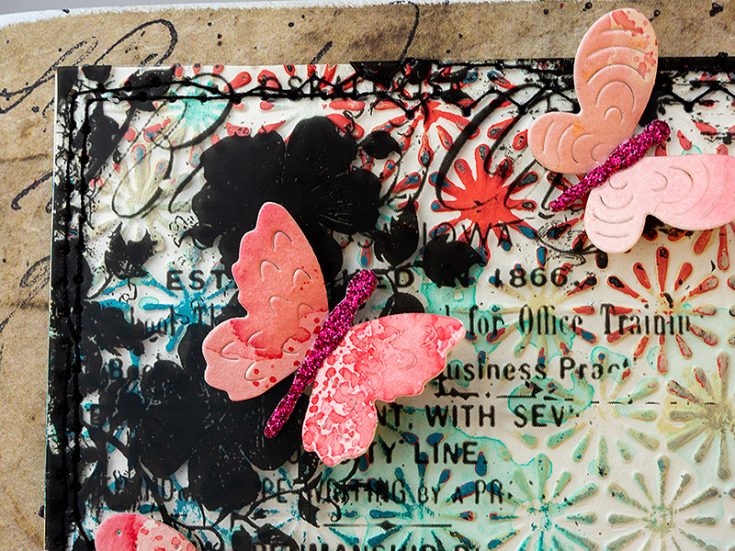
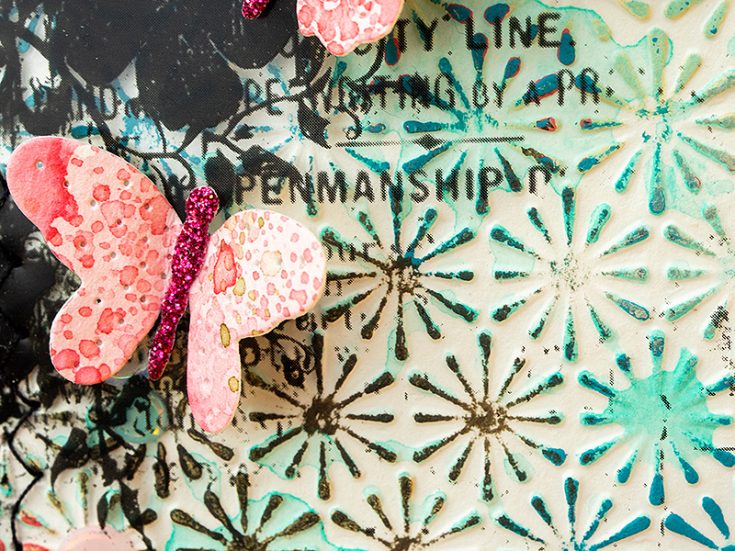
I wanted to add bodies to the butterflies and die cut them with Simon Says Stamp Flourish Butterfly from Magenta Glitter Cardstock. Fold up the wings and glue to the front cover.
I noticed that the word ‘penmanship’ is written on the Creative Overlay, which is perfect for a notebook. I am very fond of such little details.
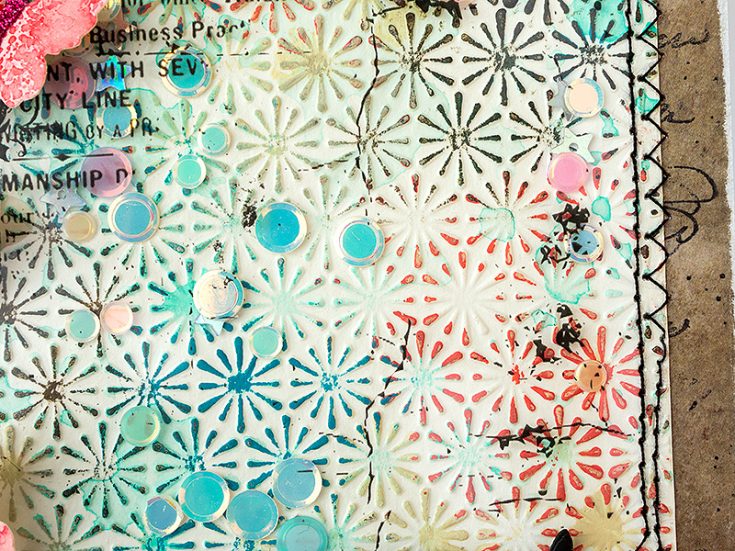
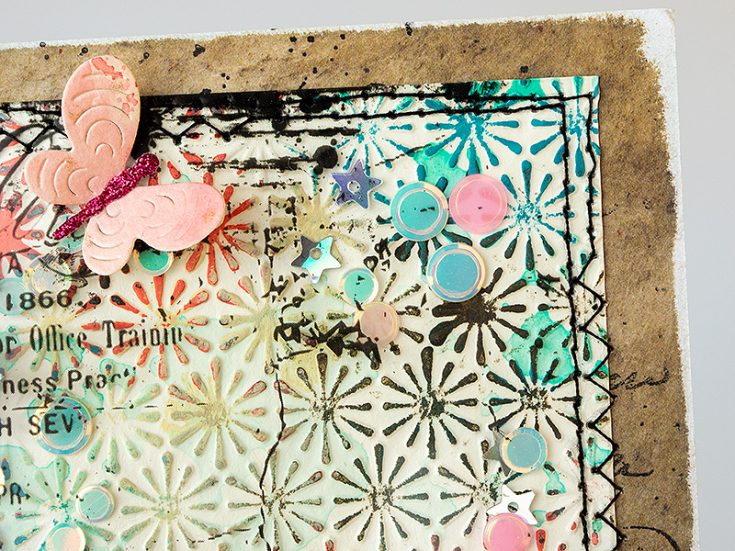
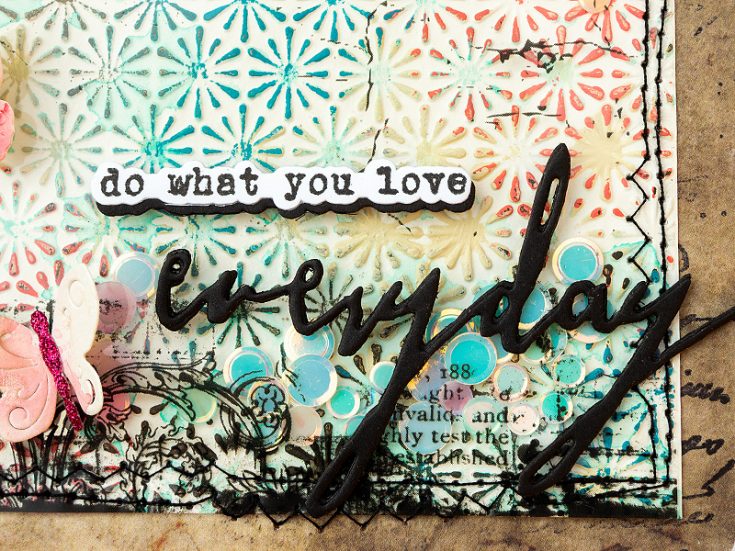
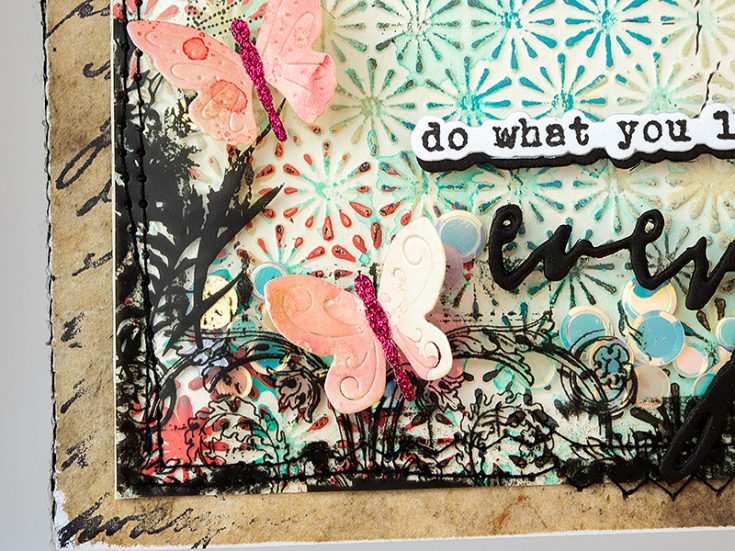
This coloring technique with Distress Paint and a brayer on a craft-sheet gives a fun random and unpredictable look to dry embossed paper. Try it with other embossing folders too!
The sequins are a fun surprise. You can of course add more of them. I didn’t add so many.
Die cut the main sentiment with Tim Holtz Handwritten Journey three times from Simon Says Stamp black cardstock and glue them together. Stamp the smaller sentiment using Simon Says Stamp Be Your Beautiful Self and die cut with the coordinating die. Die cut from black cardstock too, to create a shadow.
As an alternative to the Creative Overlays, you can stamp on clear acetate and use that as an overlay.
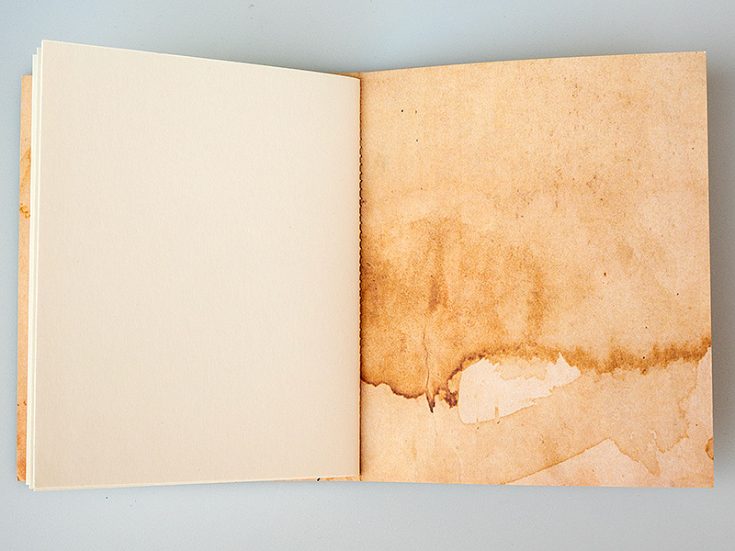
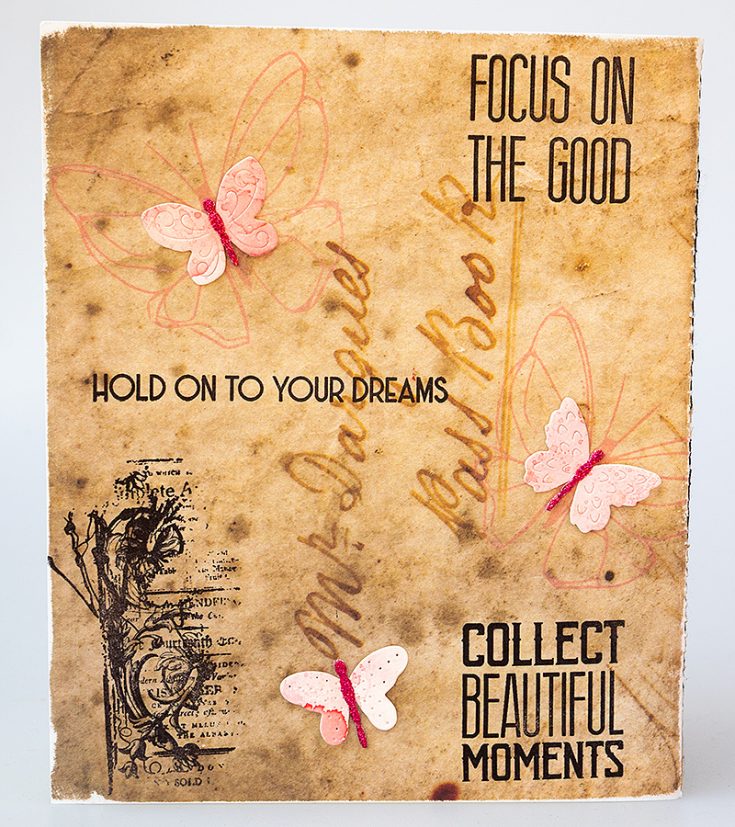
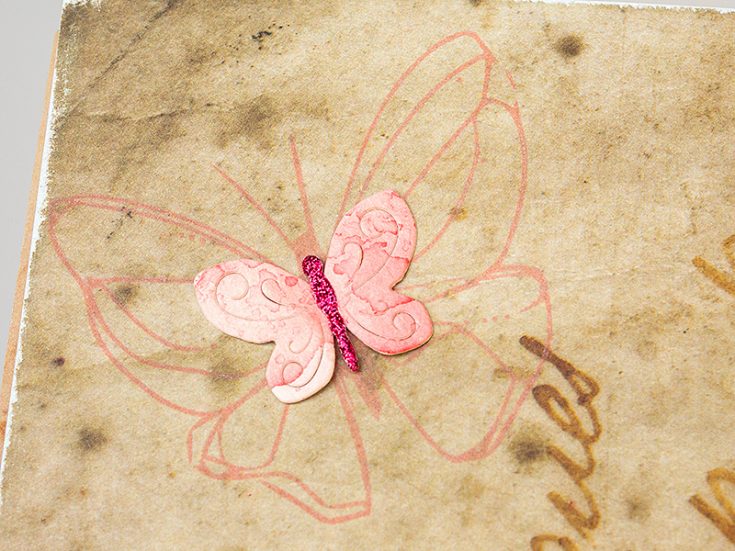
The Backdrops papers are double-sided, making them perfect for notebook covers.
I thought it was fun to add sentiments and butterflies to the back cover too.
Glue die cut butterflies on top of the stamped ones.
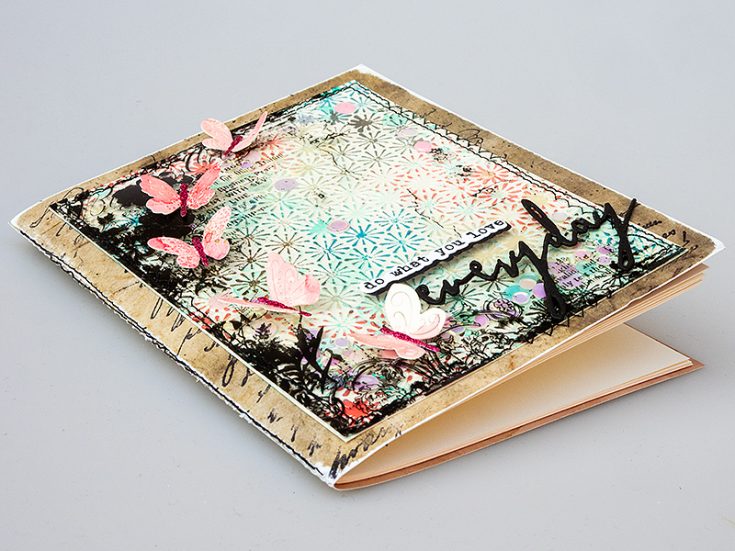
I hope this tutorial inspired you to use Creative Overlays and to try the paint smooching technique of coloring dry embossed backgrounds. Happy crafting! –Anna-Karin
SUPPLIES:
|


Thanks so much for stopping by, and thanks to Anna-Karin for being our guest!