5 Ways in 5 Days Crafty Series DAY 1: Add Spotlight Color + Quick Embossed Texture
Hello friends, please join me in welcoming special guest Laura Bassen for Day 1 of our 5 Ways in 5 Days series! We are delighted to bring this series to you that includes a list of incredible designers including: Laura Bassen, Cathy Zielske, Shari Carroll, Nina-Marie Trapani, Yana Smakula, Nichol Spohr, and Heather Hoffman!
Throughout this series spanning March 30th – April 5th, you’ll be learning 5 unique ways each day to use our fan-favorite Simon Says Stamp 3D Embossing Folders. (Plus! Spoiler alert, you’ll actually have 7 DAYS of education with 2 bonus posts over the weekend! That’s a total of 35 crafty ideas that will be provided for you for FREE to keep your creative juices flowing!!) Today we’re going to focus on adding spotlight color and quick embossed texture!
Special SURPRISE!
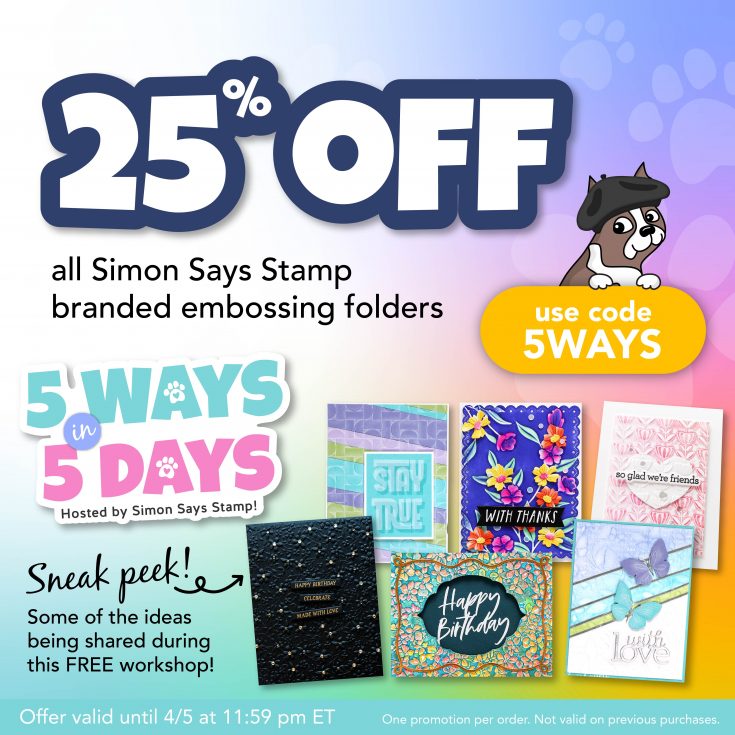
As a treat just for you, while you’re being inspired on ways to use our embossing folders, we’re simultaneously having a very juicy (and rare!) sale to enjoy throughout the series!
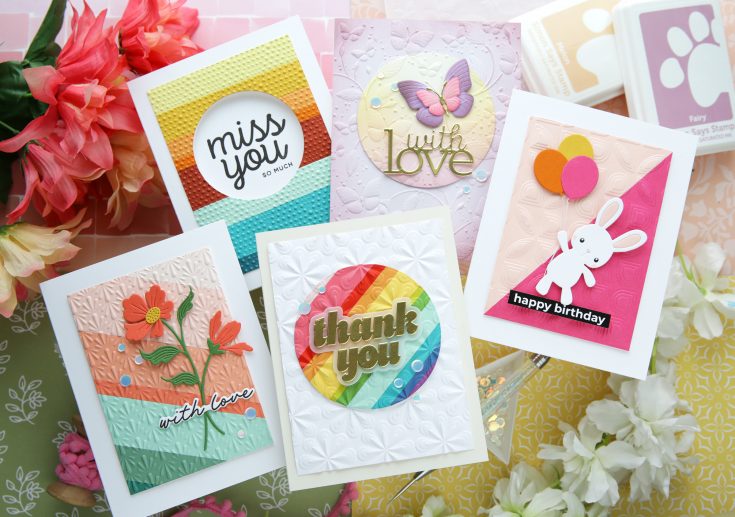
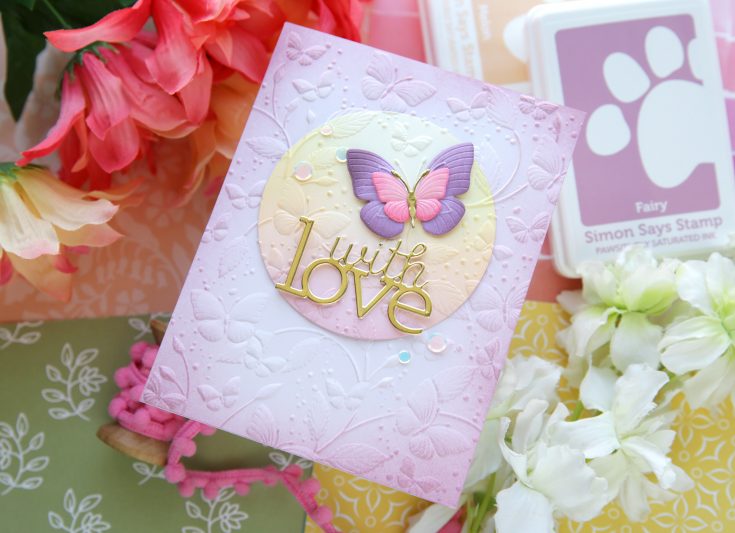
The 5 Ways Showcasing Adding Spotlight Color + Quick Embossed Texture are:
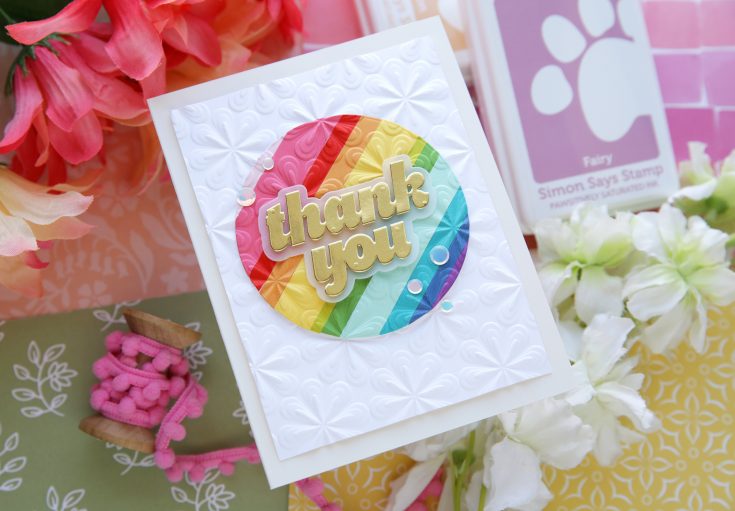
- Blended Spotlight
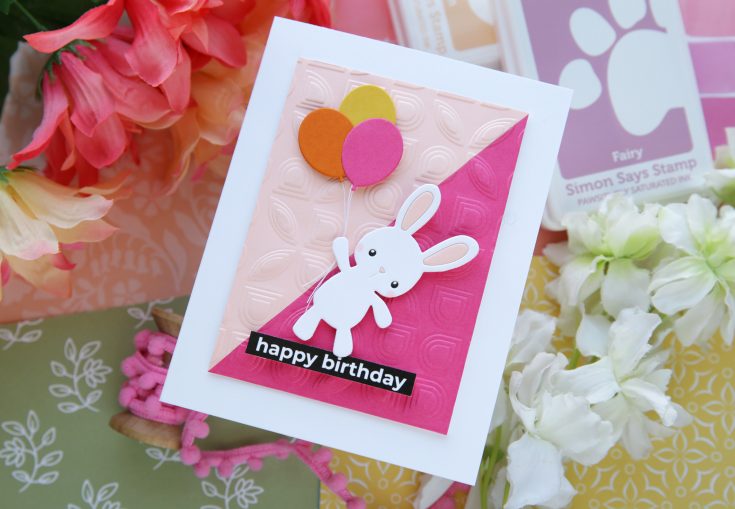
- Embossed Split Diagonal
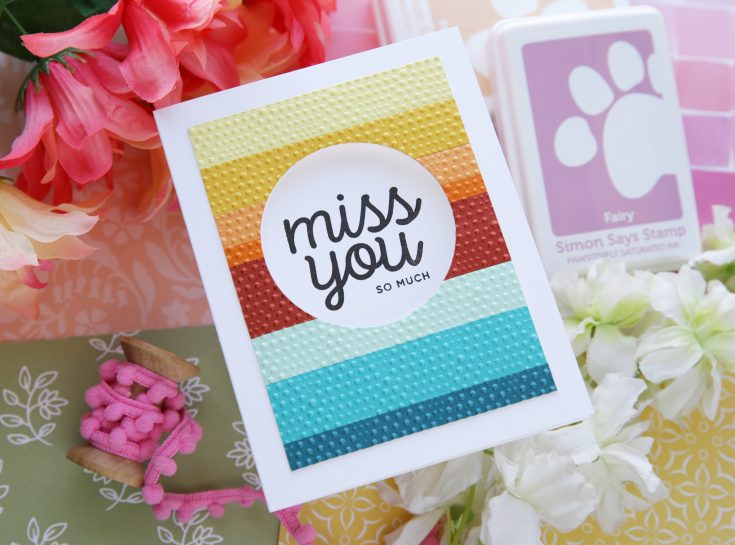
- Embossed Strips with Window
- Embossed Strips
- Stripped Spotlight
WATCH THE VIDEO:


SUPPLIES:
|


See you tomorrow for the next day of our 5 Ways in 5 Days FREE CLASS crafty workshop!
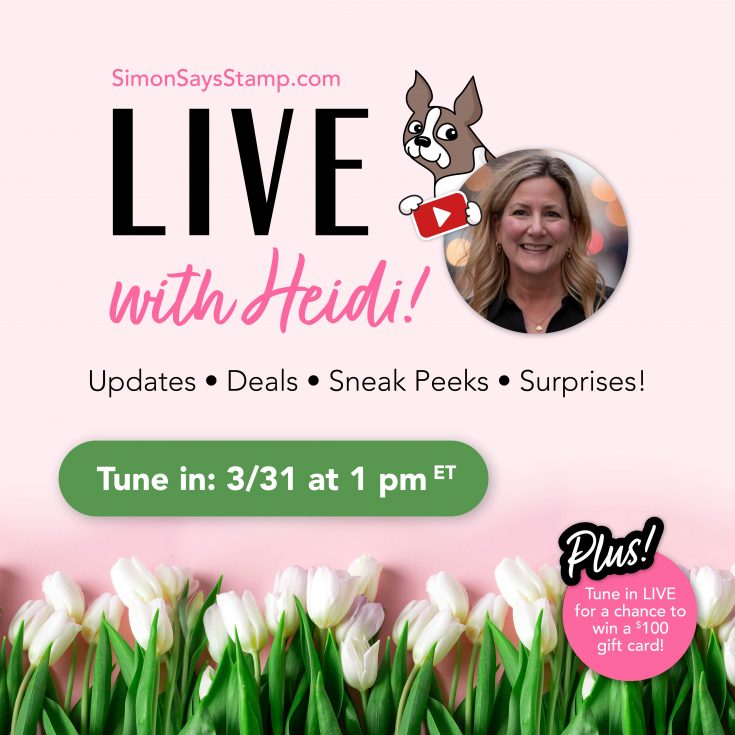
Join us LIVE on our YouTube channel tomorrow!
One Stamp, Five Ways: Wild Rose

Hi friend! Please join me in welcoming back special monthly guest Suzy Plantamura with a BONUS fun rendition of “One Stamp, Five Ways” featuring our newly released Wild Rose set! Read on and learn more! Enjoy!
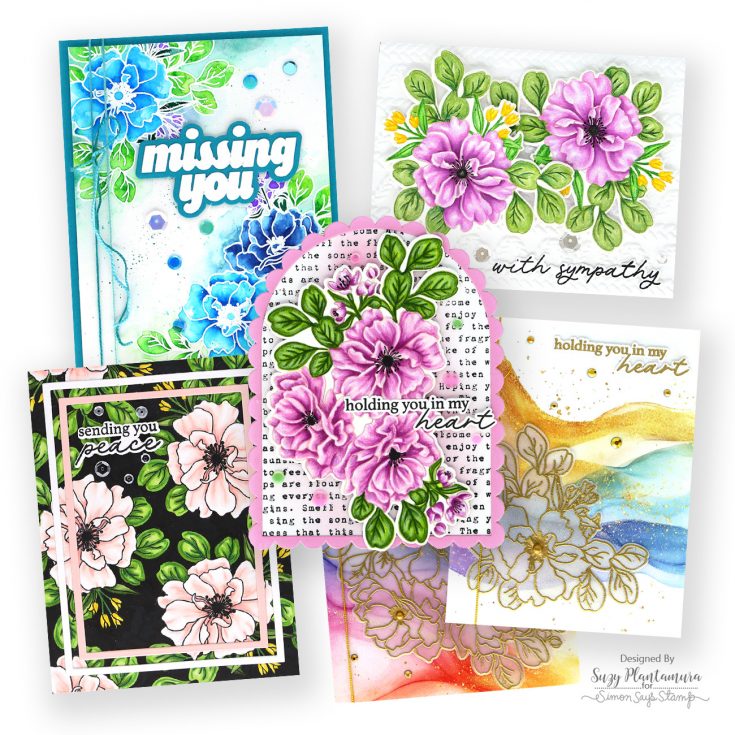
The Wild Rose stamp set in the new In My Heart release is my new favorite stamp! I love flowers and these are just gorgeous buds that I couldn’t wait to color. My “one stamp, five ways” post today will show you five different ways to use this stamp set.
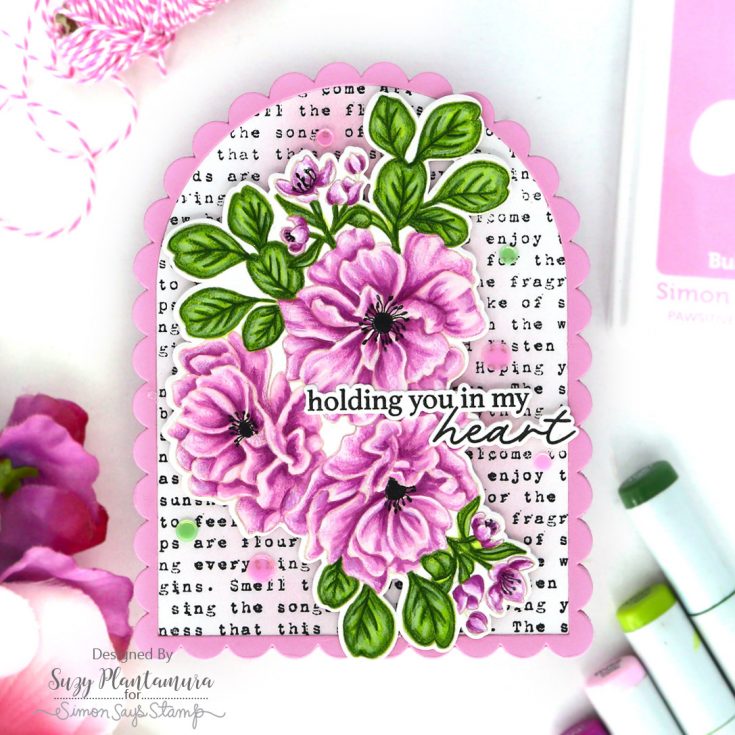
My first card uses quite a few products from the In My Heart release. I stamped the Wild Rose larger floral grouping with Latte Pawsitively Saturated Ink, my go to for no-line coloring. I went over the insides of the flowers with a black fine tip pen and then I colored it in with Copic markers. I die-cut it out with the matching Wild Rose dies.
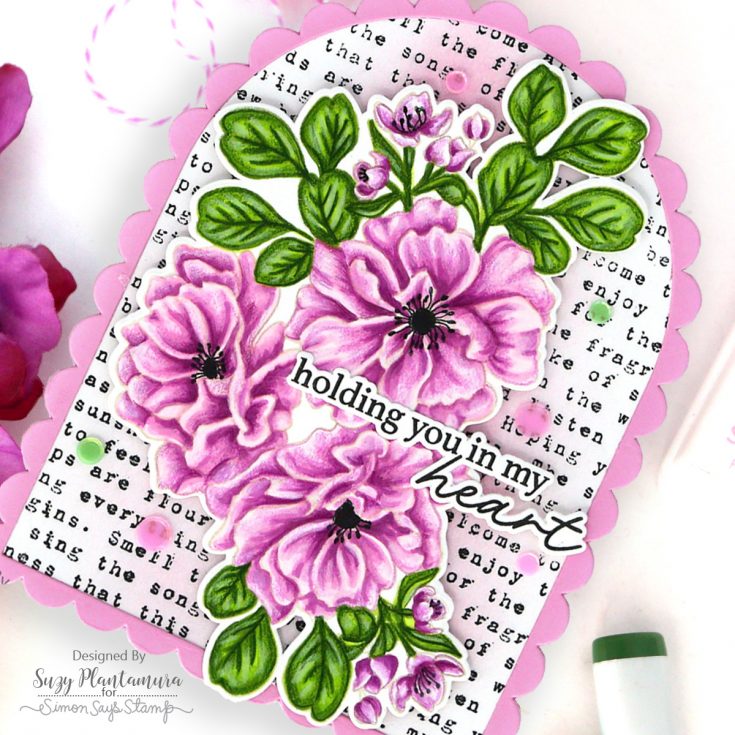
For my card base I folded a piece of white cardstock over and then die-cut one of the Scalloped Arches dies from it by placing the edge of the die right outside the folded edge, so it didn’t cut through that portion. I stamped the Nature In Bloom stamp set over the top of it with black ink. I die-cut the same size Scalloped Arches Frame die from lilac cardstock and glued it over the edges. I rubbed some Bubblegum PSInk softly over the middle of the text. I attached my colored Wild Rose image with foam tape behind it. I stamped one of the sentiments from the stamp set with black ink and attached that over the middle of the flower. I added some of the new Opal Rainbow Embellishment Mix around the background.
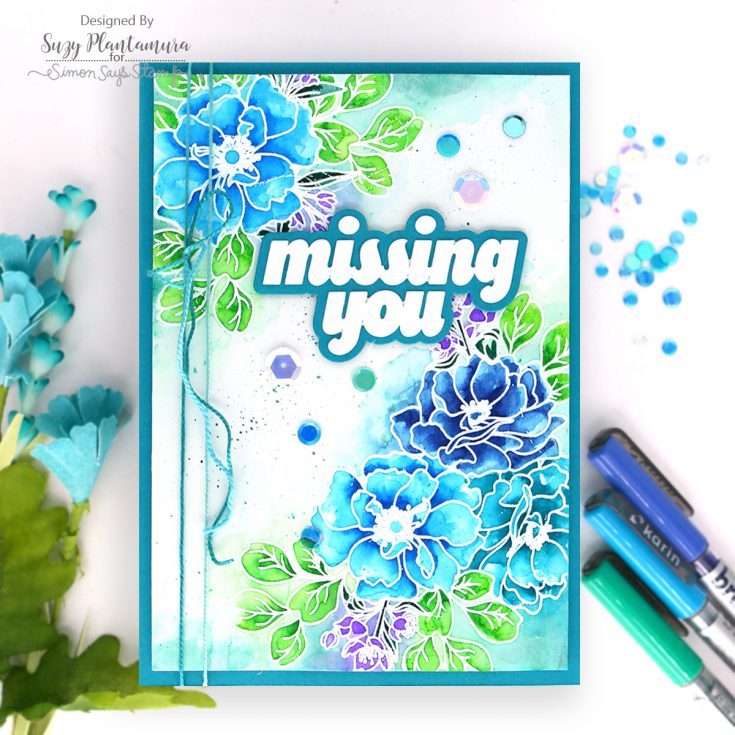
I created a card base from dark teal cardstock in a 5” x 7” size. I cut a piece of Tim Holtz Watercolor paper to be slightly smaller. I embossed the large floral grouping on one corner and the smaller floral grouping on the other with white embossing powder.
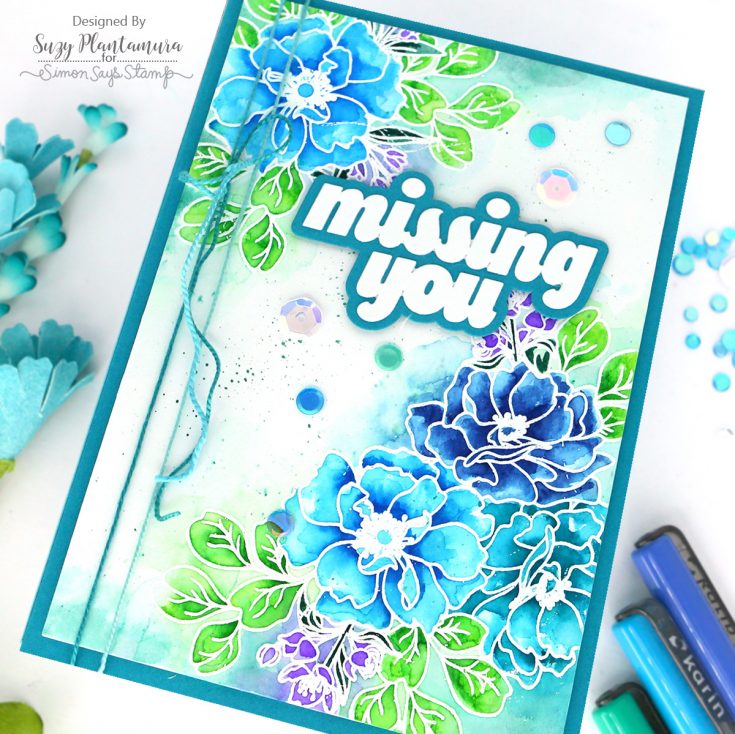
I painted in the flowers using my Karin Brushmarkers. I used a waterbrush and filled each flower up with water first. I then touched the tip of my waterbrush to a marker and dropped the color onto the edge of each petal. The color moved outward to fill the petal. When it was about halfway dry, I used the marker directly on the petal to add more saturated color to the edge. These markers are reactive, so I used my water brush to bring some of the colors outward around the designs for the background. I also flicked the markers over the background for splatters. I die-cut the new Missing You wafer die from the same teal cardstock and white cardstock and attached that to the center of the card. I added some Icy Embellishment Mix around the sentiment and tied some teal twine to the left side.
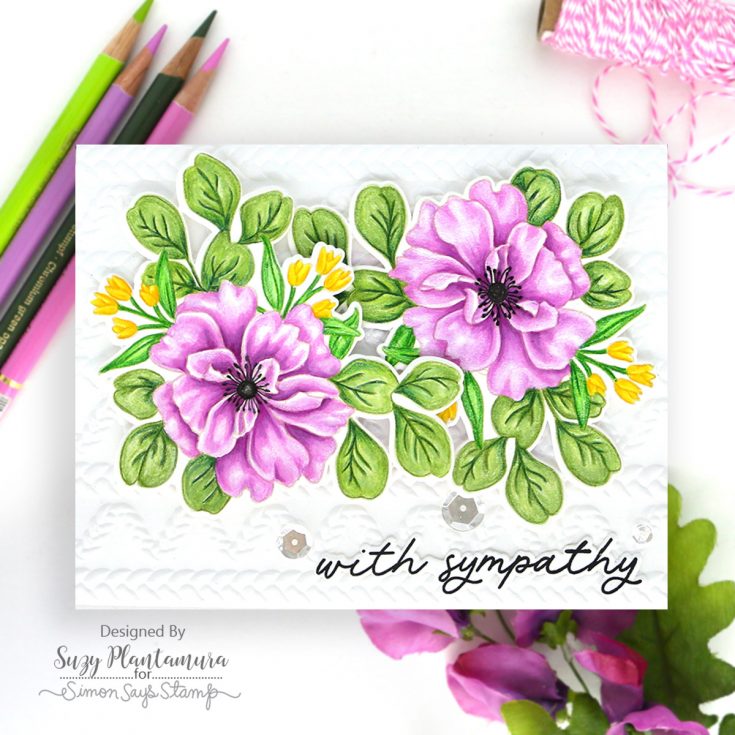
I wanted to color the flowers with each of my favorite coloring mediums. I stamped the smaller bloom twice with Latte PSInk. I colored them in with colored pencils and used a black fine tip marker in the centers again. It’s interesting to look at the flowers using the pencils versus the Copic markers as they don’t look very different (plus I used the same colors which are clearly my favorites!). I think the pencils are just a little bit softer. I uses a white Prismacolor pencil (because it is really waxy) to soften and blend the pencil marks.
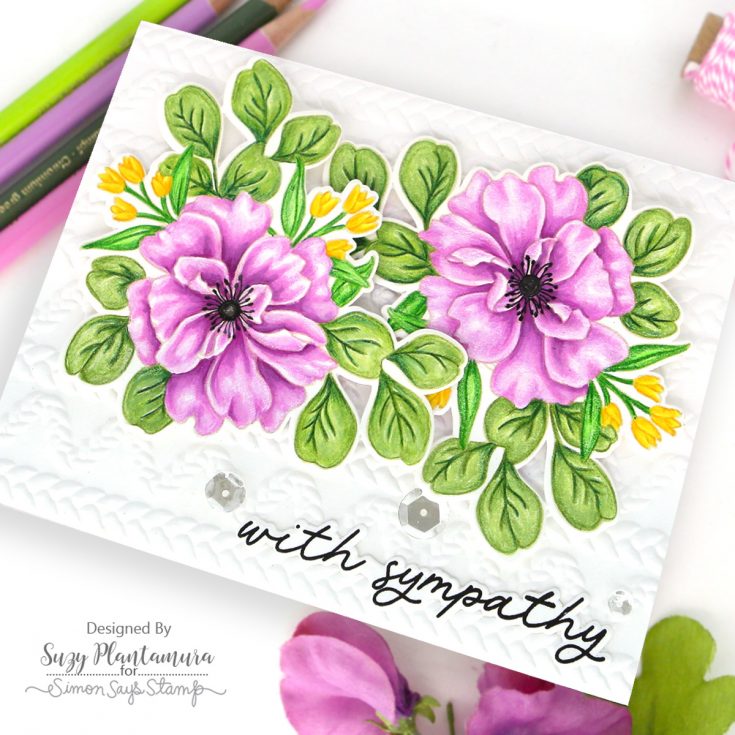
I embossed the new Braided Embossing Folder using white cardstock. I attached my two colored flowers to the top. I stamped a sentiment from the stamp set with black ink and added that to the bottom of the card. I attached a few sparkling clear sequins around the sentiment.
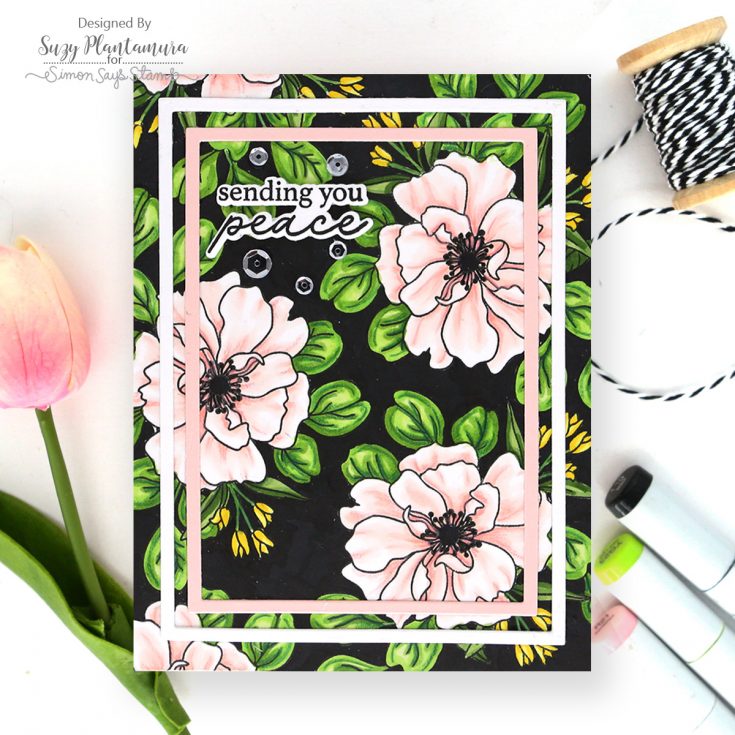
I stamped the smaller flower grouping on a piece of A2 white cardstock several times with black ink which I call my “random stamping” technique. I colored the background around the flowers black with a Copic marker. I colored the flowers with a soft peach color as the black let them pop even though they are very light. I also used Copics on the rest of the images.
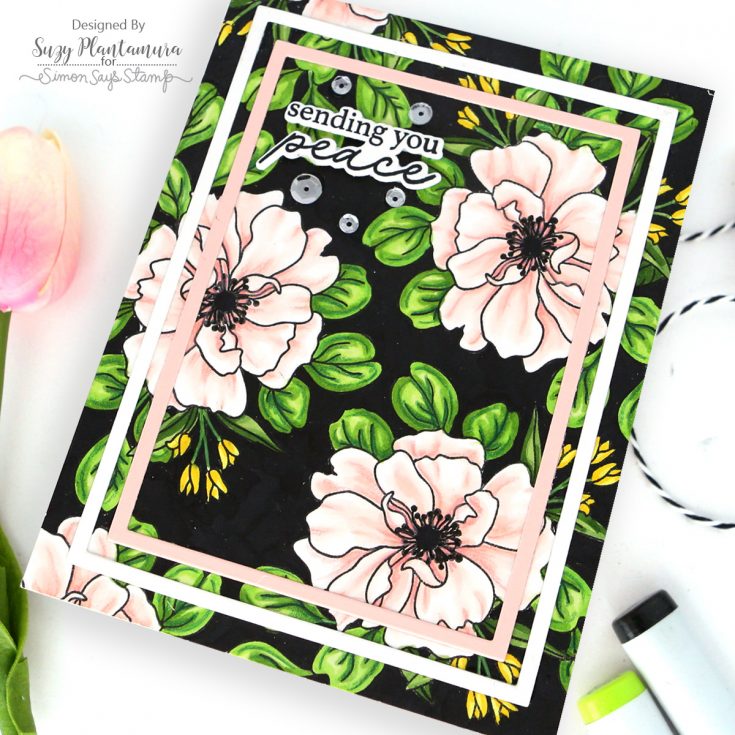
I die-cut two A2 Frame Dies, the larger from white cardstock and the smaller from the new Apricot cardstock. I glued both over the background. I stamped a sentiment from the stamp set with black ink and attached that on the top left side of the card. I added a few sparkling clear sequins around the sentiment.
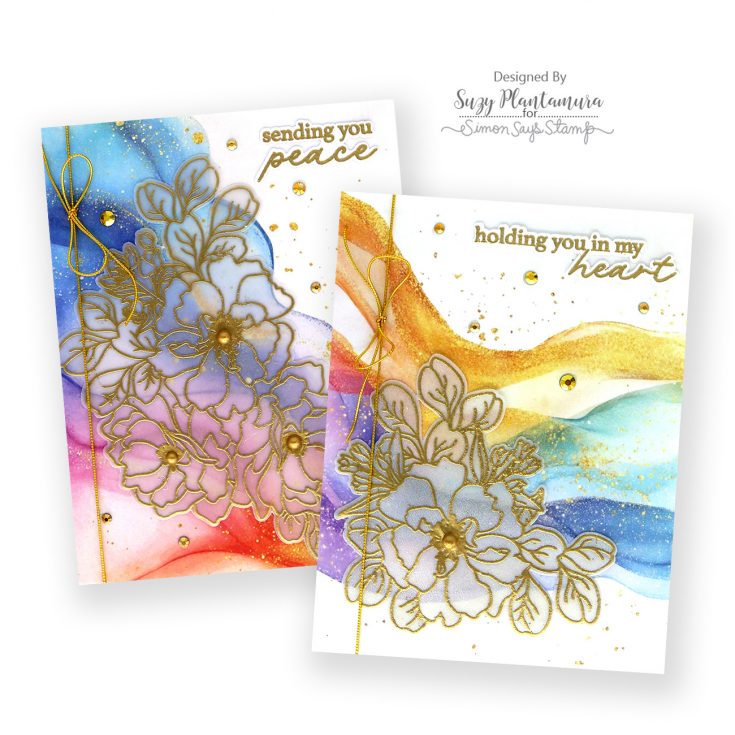
I purchased the Paper Rose 6×6” Birthday Fun Basics paper pad a few months ago and pulled these two patterned papers out to use. They are so gorgeous as they look like I applied alcohol inks and then splattered gold paint over them and they are just paper! I ended up making two of these cards because they were so easy! I embossed both flower designs with gold embossing powder on regular vellum and then again on Shimmer Vellum which is more white and opaque. I wasn’t sure yet which one I wanted to use.
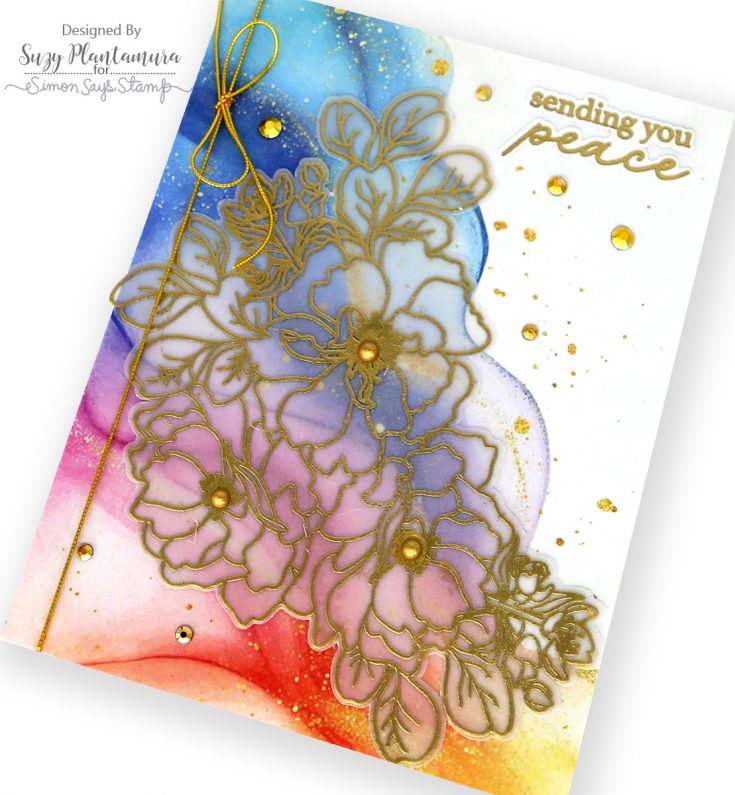
For this card, I used the larger design that was embossed on regular vellum which looks more sheer. I added a sentiment from the stamp set stamped with black ink to the right top corner. I used some gold gems around it and a gold Nuvo Drop in the center of each of the flowers. I tied a gold string to the left side of the card.
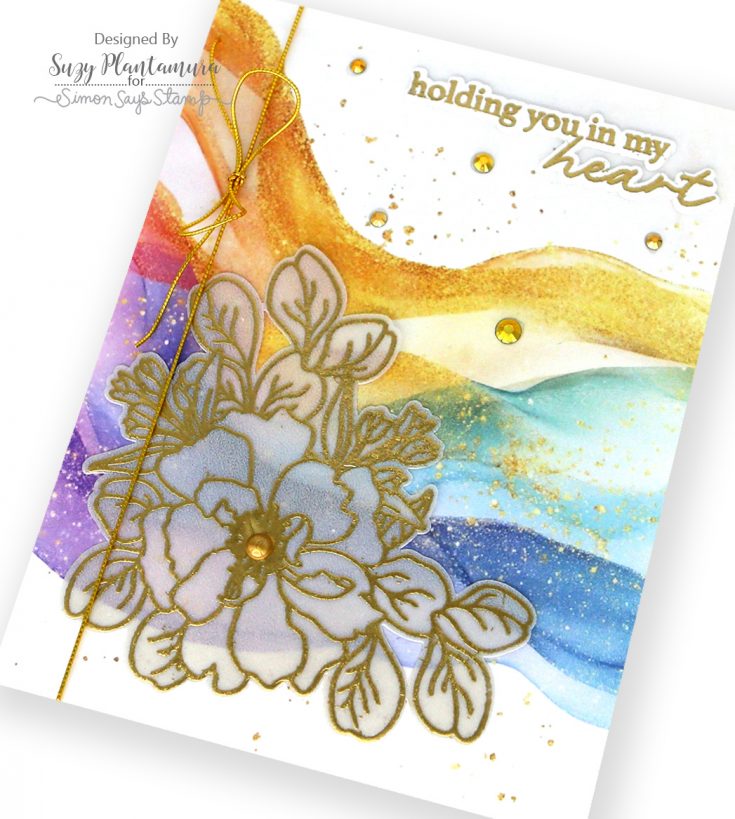
For this one, I used the smaller design that was embossed on Shimmer Vellum. I added the same elements on this card to complete it. These were so easy to make as they didn’t require any coloring, and they still look gorgeous!
I hope this “one stamp, five ways” post has inspired you to try different coloring mediums and different techniques to maximize use of your flower stamps. This Wild Rose set is so beautiful that I really enjoyed coloring it multiple times using pencils, Copics, and watercolors and it looks equally gorgeous just embossed! Have a great day friends and thanks for stopping by! Suzy
SUPPLIES:
|


Thanks so much for stopping by, and thanks to Suzy for being our guest!
Special savings! Going on NOW!
Plus! Don’t miss our FREE 5 Ways in 5 Days Crafty Workshop—all about embossing folders—kicking off TOMORROW (3/30/26 at 8 AM ET) on our blog!
Did You Know? March 2026 Edition: Highlighting Useful Ways of Using Your Supplies

Hello crafters, it’s Shari Carroll here with you for a new edition of our popular Did You Know series! Today I’m celebrating some of the new products that we have scouted and developed to help you achieve amazing results for your creative projects.
EZ AND XL EZ SENTIMENT STRIPS WITH COORDINATING DIES

We’re delighted to share that we now have two sizes of EZ strips to choose from each coming with coordinating dies with 4 unique edges. Each set of sentiment strips has a theme so the messages coordinate together. They come in packs of 4 in either black on white or reverse with white on black.
There are 4 coordinating dies for each size of EZ Strips. The styled edges are rounded corners, slant, rectangle, and banner.
Our original EZ steps have messages in various sizes. They are laid out with larger sentiments at the top graduating to smaller sub sentiments towards the bottom. The EZ strips coordinating dies can be aligned over the sheet of strips to cut all the sentiments at once.
Our New XL EZ strips are larger sentiments for a bold impact. They vary from single words to short messages. Keep an eye out for more of the strips to be added to our library!
TIP: Keep your cut strips and dies together in a Simon Says Stamp storage pocket.
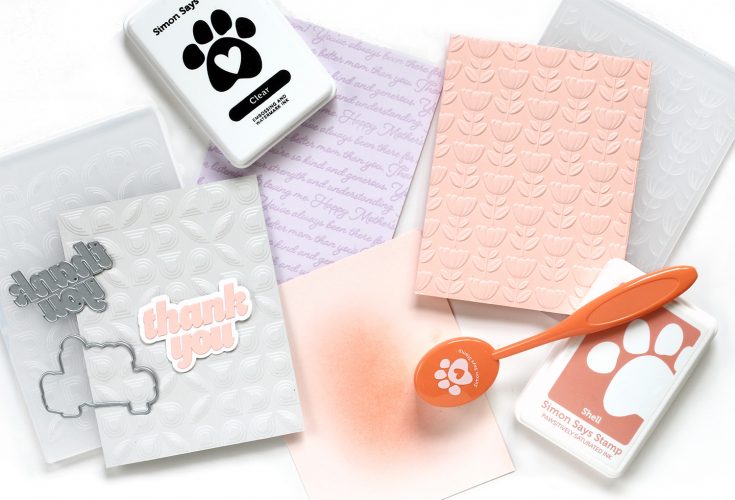
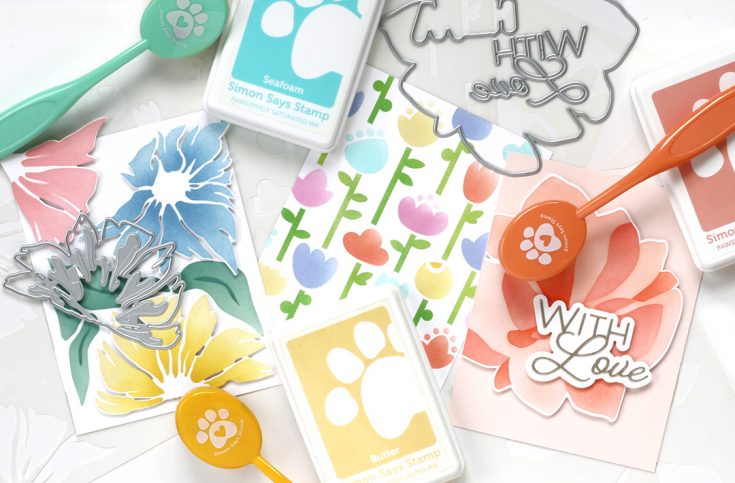
We have just released some gorgeous pastel heavyweight cardstocks. They die cut beautifully and can be embossed with your favorite folders. The smooth finish is great for ink blending and watermark stamping.
The colors are:
Starlight– a perfect light grey for a neutral card base
Seashell– a creamy light apricot
Apricot– a true soft apricot
Moonflower– a gentle hint of lavender
These come packaged as a set with 2 of each color, or individually with 8 sheets per package.
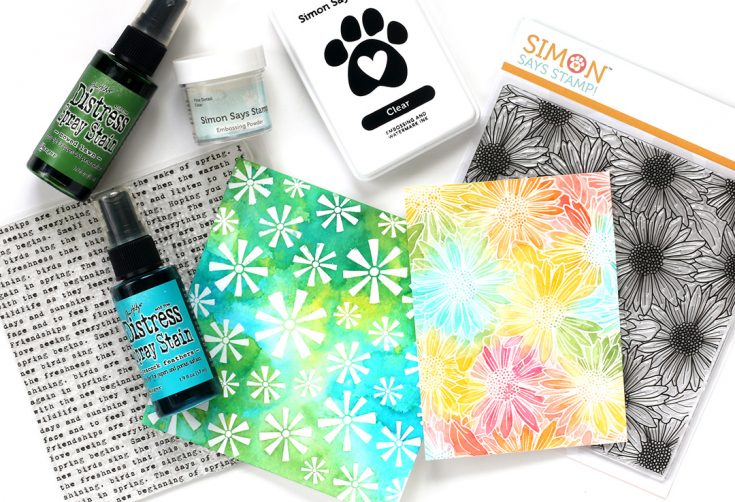
Want to create quick beautiful backgrounds? We have been adding more 6×6 Clear background stamps to our library. The backgrounds vary in ways of florals, script, and geometric or patterned images. What we love about Clear background stamps is that it’s super easy to align to your cardstock, especially with text!
These can be used as a subtle background when you want your focal point to shine or as a base for beautiful coloring.
TIP: Try stamping with clear ink on white cardstock, sprinkle clear embossing over top and heat set. After inking, wipe with a paper towel to remove color sitting on top of the stamped image.
Layering stencils may seem complicated but be assured, we’ve been working hard to make them much easier to use. Our newer stencils with coordinating dies are etched with the lines of the dies. We suggest to die cut your paper first, and align you die cut to the back of the stencil.
Our background stencils will match edge to edge.
Tip: Not sure which is front or back? We have also included etching with Simon Says Stamp along with the item number on the FRONT side.
I hope these tips have helped you learn a few tricks for your organizing… Thanks for tuning in today and spending some time with me!
SUPPLIES:
|


Special savings! Going on NOW!
Plus! Don’t miss our FREE 5 Ways in 5 Days Crafty Workshop—all about embossing folders—kicking off MONDAY (3/30/26 at 8 AM ET) on our blog!


