Have you seen the latest from Waffle Flower?
Hi friends! We’re SO excited to share this brand new (and gorgeous!) inspiration by Jill Hawkins in celebration of the brand NEW Waffle Flower February 2025 collection! Read on to learn more, shop the whole new collection, and enjoy!
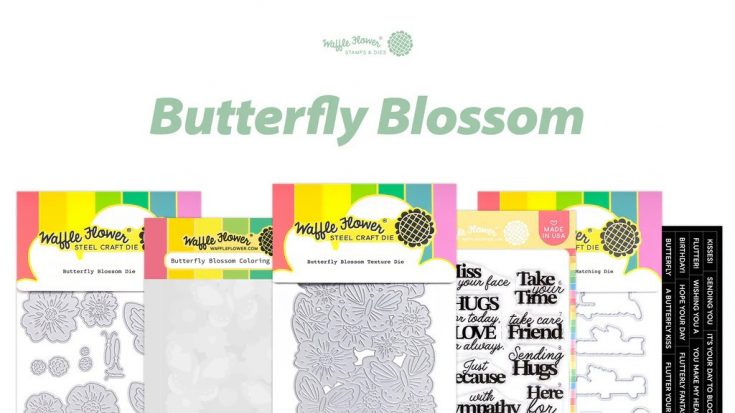
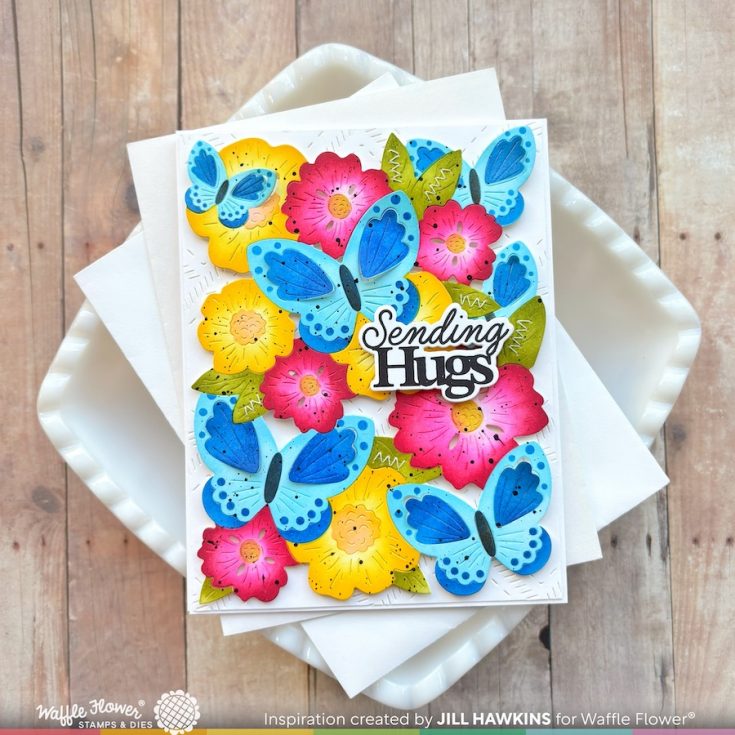
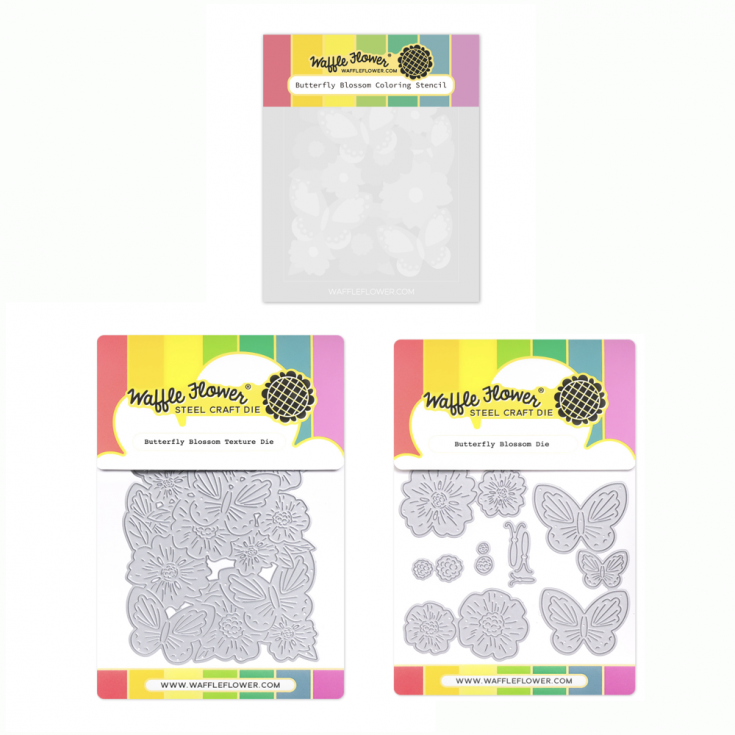
Happy Day, Crafty Friends! I’m delighted to be here sharing a sweet card to send any time of year, especially as we begin to long for green grass again in the Midwest. The new Butterfly Bloom Release from Waffle Flower is full of spring and summer vibes–all the colors and blooms! The Waffle Flower Butterfly Blossom Coloring Stencil and Butterfly Blossom Texture Die are so easy to use, creating projects with a bold, floral design!
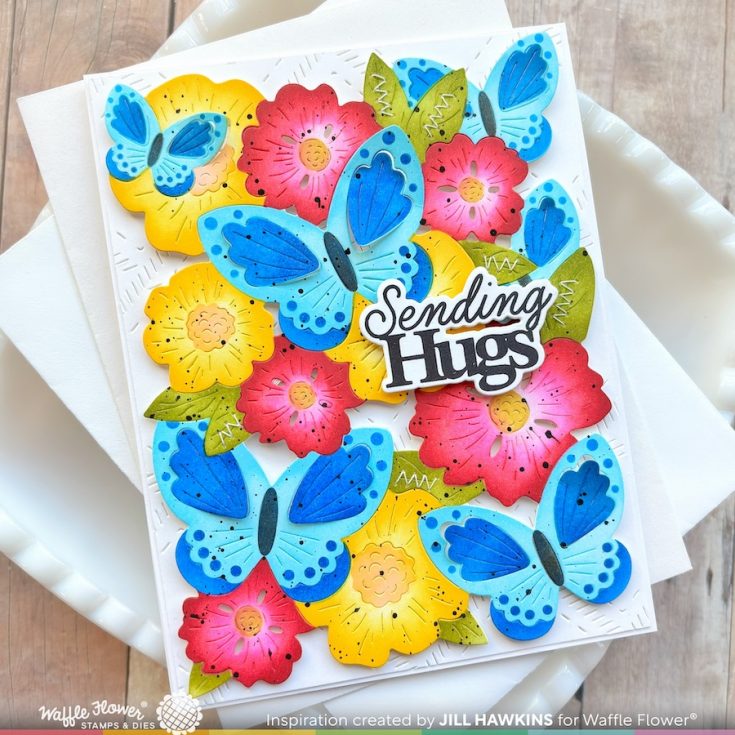
I recommend die cutting with the cutting plate first, as this allows you to get the layering stencils exactly lined up where you want them. It’s even easier to align (and keep things put!!) on a Waffle Flower Grip Mat, making the shading smooth sailing from start to finish.The best part about using this die and stencil set is that the alignment is very clear and spot on!
After die cutting the panel, I selected my colors and began shading all the layers. I like to add a little more pop and detail around all the edges of the stencils and this is quite simple to do using Waffle Flower’s Shader Brushes–you have a lot of control not only of the ink’s saturation levels, but of the places you want the ink and the places you don’t!
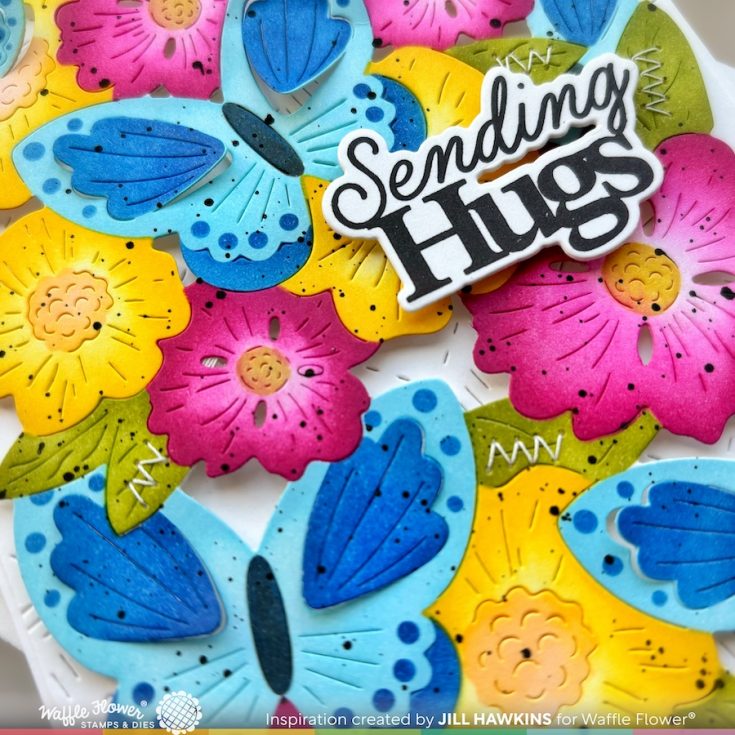
When using layering stencils, I like to lay down my lighter ink shades first. After those are blended on with a lighter hand, I then select darker shades to blend on, adding more interest and dimension to the flowers & butterflies. Once the panel was all blended, I added a few splatters of ink and some stitching to polish it off.
I wanted to add a subtle background, so I die cut a backer panel using the Waffle Flower Sweet Plaid Texture Die. It adds a smidge of texture giving the card a complete, finished look.
The sentiment I chose from the new Paper Hug Sentiments Stamp Set (and Paper Hugs Sentiments Matching Die) is perfect for sending a hug any day, but also ideal for a friend that may need a little extra love one day.
I hope you too are enjoying crafting in your part of the world and also enjoy checking out the new Butterfly Bloom Release from Waffle Flower!!
SUPPLIES:
|


Thanks so much for stopping by, and thanks to Jill for being our guest!
Make it EXTRA Special! A Treat Bag for Anyone You Love
Hey there friends, it’s Nina-Marie Trapani here with you! Today I am sharing a sweet little bag project, perfect for giving small candies or gifts to your favorite people. I’m using many of our Simon Says Stamp exclusive products, including the new Harlequin Heart background stamp, our Gift Bag die set, Swing Blossoms dies, and Love You Greetings set!

One of the techniques I used during the creation of this bag was stamping a soft, tone-on-tone pattern using the Harlequin Heart background. I’ll show you how to use your blending brushes to soften the ink prior to stamping, which gives a perfect finish!

The window that I created on my gift bag was made with our Simon exclusive Nested Round Hearts die set; after cutting the window into the bag I put some of our new Shimmer Vellum. This gives a slight sparkle to the bag, which looks so good!

I share the entire creation process for this bag, plus tips and tricks along the way—so be sure to watch the video below to see how this pretty little gift bag comes together!
WATCH THE VIDEO

SUPPLIES
|


DIY Delight: Make Colorful Plaid Backgrounds with Simple Paper Techniques | Let’s Get Crafty with Caly!

Hi everyone! It’s Caly Person here today!
I’m sharing a card with spring vibes and hope you’ll enjoy today’s paper-weaved rainbow plaid background using the Double Plaid Cover die!

What I love about this technique is that you can personalize the colors your card for your intended recipient! Be sure to check out the video below to see it come together!
WATCH THE VIDEO:

I die-cut Beautiful Buttercup flowers with pink cardstock and ink-blended with Watermelon ink to give it some contrast and also added foliage from the Etched Meadow Flower and Leaves set.

I finished this card with the Just a Note 2 sentiment die, die-cut from Rose Gold Metallic Cardstock and vellum. All products used will be linked below!

I hope you enjoyed this project! Thanks so much for visiting!
~Caly
SUPPLIES:
|


