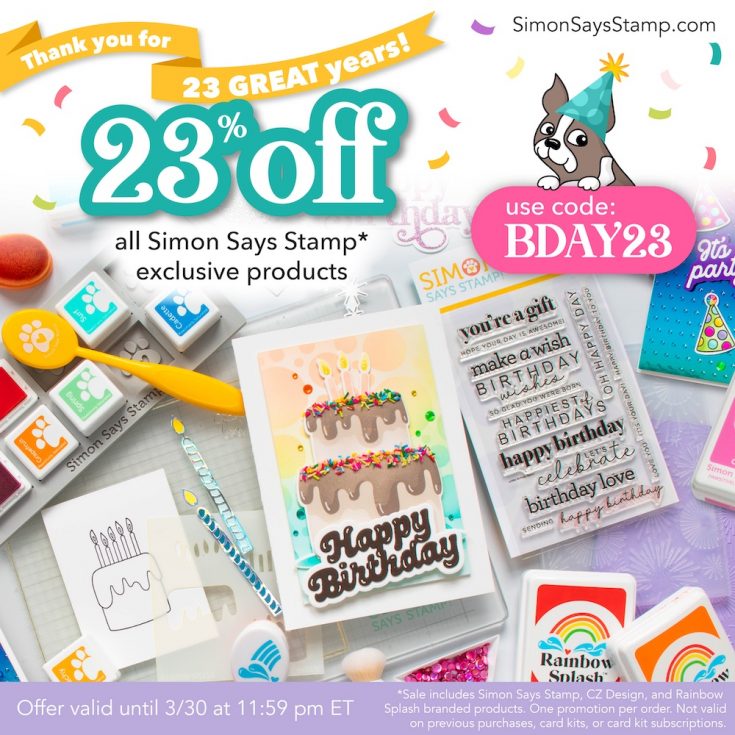
A Toast to YOU! Enjoy 23% off our Simon Says Stamp Exclusive Products: This Weekend ONLY!
A Heartfelt Thank You on Our Birthday
As we celebrate another year around the sun, we’re feeling nothing but gratitude — and it’s all because of you.
From day one, our mission has been to offer something special — thoughtfully curated pieces, made with care, passion, and a whole lot of heart. But none of it would be possible without the continued support of our amazing community.
Whether you’ve been with us since the beginning or just recently discovered us, your loyalty, feedback, and love have meant everything. Every order, message, and mention fuels what we do, and we couldn’t be more thankful.
So, in the spirit of celebration, we’re giving back the best way we know how — with 23% off our exclusive collections for a very limited time with code BDAY23 at checkout!
It’s our birthday, but you deserve the gift.
Here’s to you — and to many more creative years ahead together.With gratitude,
Heidi + the entire SimonSaysStamp.com team!
Mark your calendar!
Join us live TUESDAY April 1st at 12 PM ET! Click or tap the bell by ‘Notify Me’ to be notified when we begin on Tuesday, April 1st at 12 PM ET!

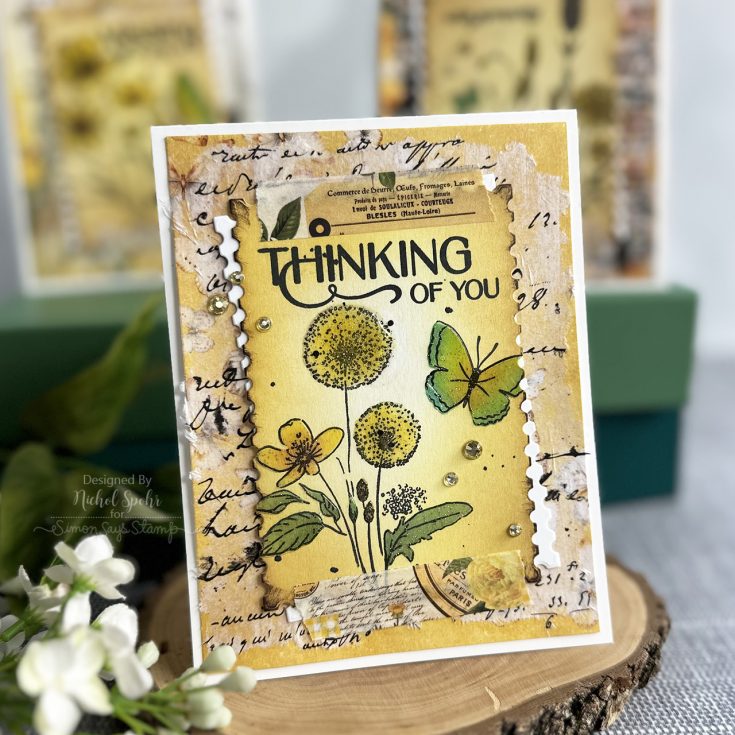
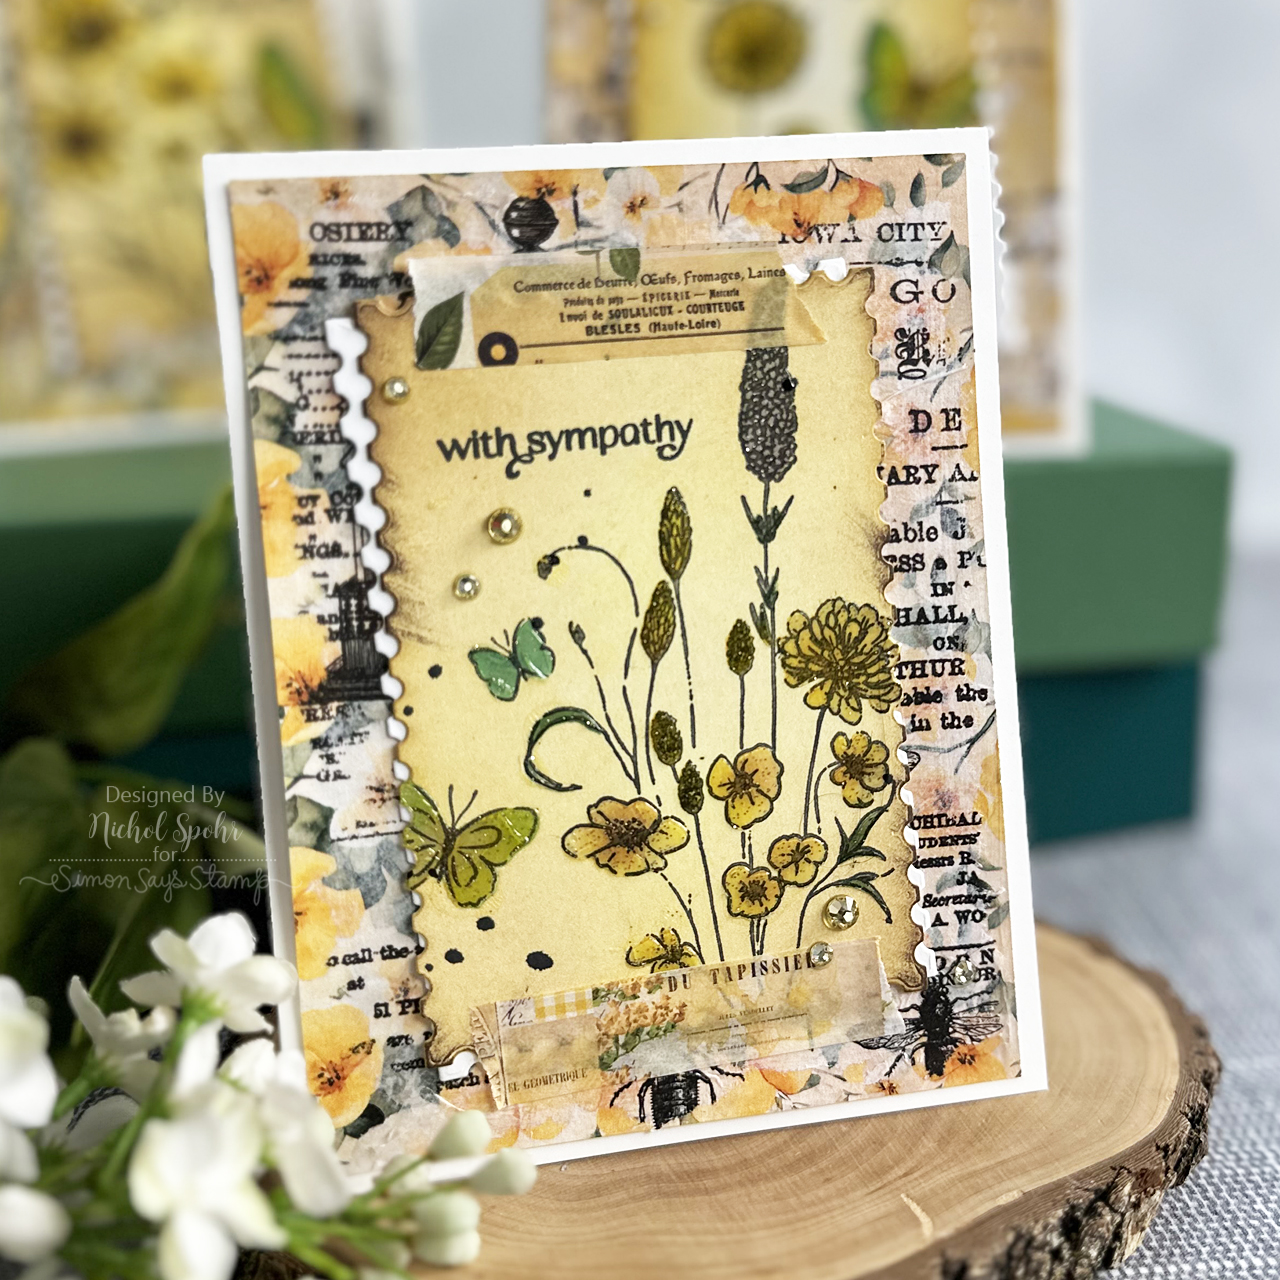
3 Ways to Create Stunning Handmade Cards with Mixed Media


Hi friends! Happy Thursday! Please join me in welcoming back special guest Nichol Spohr as we continue to celebrate our April 2025 Simon Says Stamp exclusive card kit, Butterfly Blossoms! Today, Nichol is sharing three gorgeous examples of mixed media inspired cards using tons of components of our kit! Be sure to watch the video for all the details below, and enjoy!

WATCH THE VIDEO:

SUPPLIES:
|


Thanks so much for stopping by, and thanks to Nichol for being our guest!
Did you know?! We’ve made our card kit subscription BETTER THAN EVER!
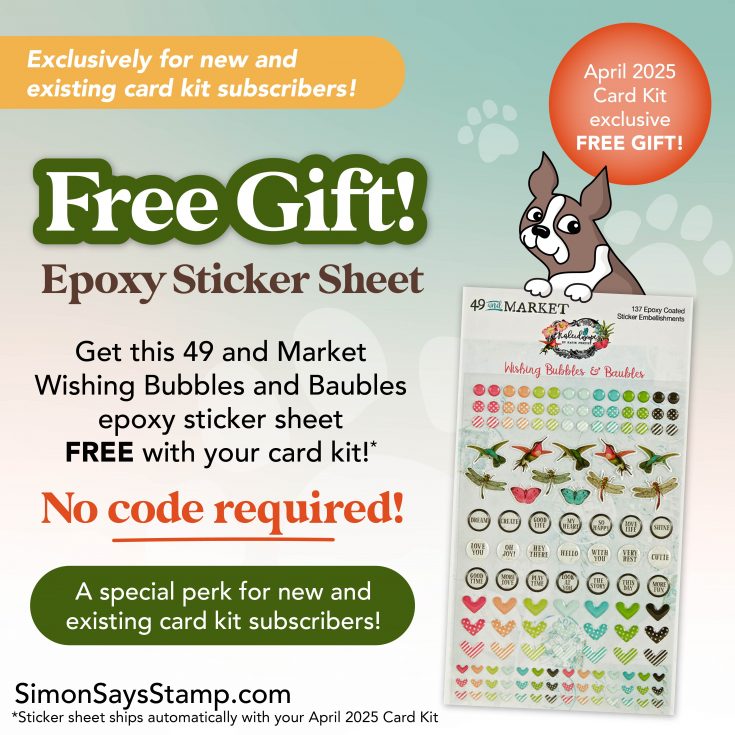
Special April 2025 Subscriber PERK!
Learn more:

Here’s what makes our new service a crafting paradise:
Exclusive Access: As a subscriber, you get first dibs! Each month, you’ll get an exclusive sneak peek at our new kit, with the option to add more coordinating items to your cart, including handy replenishable supplies, all shipped together for your convenience.
Hassle-Free Payments: Say goodbye to monthly billings! Our automated system smoothly charges your preferred card, ensuring an uninterrupted flow of crafty goodness – unless you decide to pause, of course!
$5 Off Magic: Enjoy a special $5 discount off our kit’s retail price, exclusive to our beloved subscribers – no codes needed, just automatic savings!
Crafting Inspirations: Dive into a sea of creative ideas monthly, all tailored around your kit, to keep your inspiration flowing endlessly.
Flexibility First: Fear of commitment? Not here! Our subscription is as flexible as it gets – pause or cancel anytime, no strings attached.
Why wait? Step into the realm of our NEW Simon Says Stamp Monthly Card Kit service. Welcome a box full of crafting marvels, right to your doorstep. Craft with ease and let creativity come to you!
Ready to elevate your craft? Subscribe Now and open the doors to boundless creativity!
We’re thrilled to have you in our crafting community and can’t wait to embark on this renewed creative adventure together!
Mark your calendar!
Join us live TUESDAY April 1st at 12 PM ET! Click or tap the bell by ‘Notify Me’ to be notified when we begin on Tuesday, April 1st at 12 PM ET!
Rain or Shine Blog Hop WINNERS!
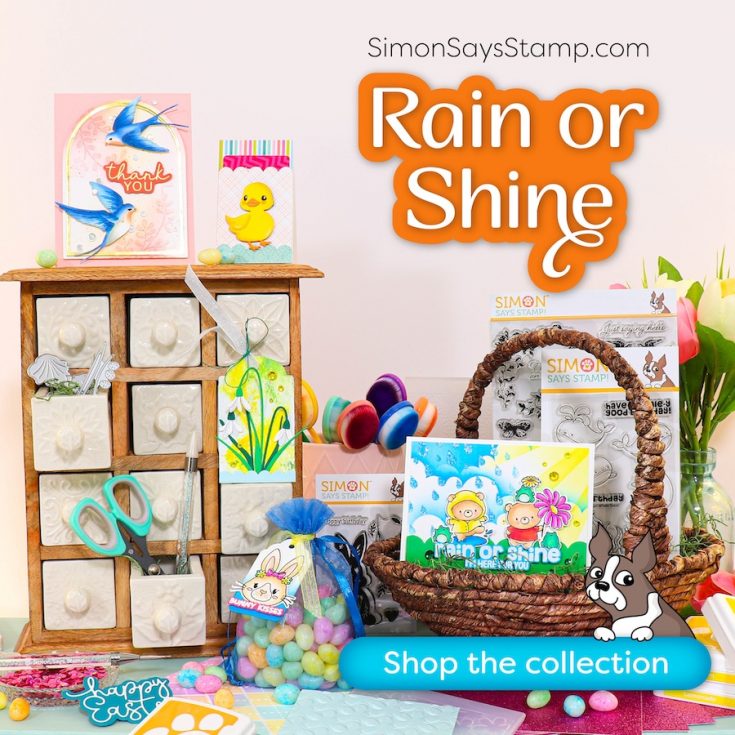
Hello, friends! We hope you are loving our Rain or Shine release!
To celebrate this incredible release, we hosted two amazing blog hops! The hops featured many talented designers and each one created wonderful projects to inspire you. If you missed either of the hops, you can find the direct links here: DAY ONE and DAY TWO.
A BIG thank you to all of YOU who joined us for the hops! We enjoy hearing from each of you, and your words of encouragement and appreciation to each of the designers mean so much to us here at Simon and to them. It’s our tradition to give away gift certificates to random commenters on each blog stop, and today we are revealing all of the winners! So without further ado, I present to you our winners!
from Simon Says Stamp’s blog: Gina Goodling!
from Caly Person’s blog: Maria Giselle B.!
from Nichol Spohr’s blog: Ritva D.!
from Suzy Plantamura’s blog: Connie Hostak!
from Jennifer McGuire’s blog: Kristine Boydstun!
from Debby Hughes’s blog: Nancy Dempsey!
from Emily Midgett’s blog: Fran Smith!
from Lisa Addesa’s blog: Lori A. Riegel, Ph.D.!
from Tina Smith’s blog: janicestovall!
from Anna-Karin Evaldsson’s blog: Melissa Leftrick!
from Karin Åkesdotter’s blog: Lisa Elton!
from Sandi MacIver’s blog: Maryrose Sanders!
from Tracy Ware’s blog: Sandra Baggarly!
from Barb Engler’s blog: Joann!
from Michelle Short’s blog: Joy Meadows!
from Charlene Madrid’s blog: Joanne Agel!
from Simon Says Stamp’s blog: Anna Given!
from Nina-Marie Trapani’s blog: Dottie Mazullo!
from Barbara Tarayao’s blog: Shannon Bettis!
from Cathy Zielske’s blog: Cathy Fuller!
from Laura Bassen’s blog: Sharon Brand!
from Heather Hoffman’s blog: Stacey Kowbel!
from Keisha Charles’s blog: Valerie Hayden!
from Heather Ruwe’s blog: Jill E Hennessy!
from Yana Smakula’s blog: Janet Evans Buonocore!
from Miriam Prantner’s blog: Donna Cala!
from Mindy Eggen’s blog: DIANNA Durbin!
from Jean Doeringsfeld’s blog: Denise Bryant!
from Kim Hamilton’s blog: Susan sonnier!
from Maura Hibbitts’s blog: Donna Phelan!
from Samantha Pfrimmer’s blog: YEN!
from Hanh Nguyen’s blog: Jacki!
If you see your name listed above, CONGRATULATIONS! Please email [email protected] and let him know that you are one of our Rain or Shine release blog hop winners! You’ll receive a $25 Gift Card.
Thanks again for hopping along with us! We hope you enjoy our fantastic Rain or Shine release and that it gives you creative enjoyment for months to come!
You’ll love browsing our Rain or Shine gallery on our blog for loads of additional inspiration, and you can add your projects to these galleries as well!
Winning ROCKS, and so do you!

We hope you will join us on Instagram tomorrow, Thursday, March 27, for an Instagram Hop featuring our Rain or Shine release! We are excited to share awesome ideas from several creative minds using these fantastic products.


