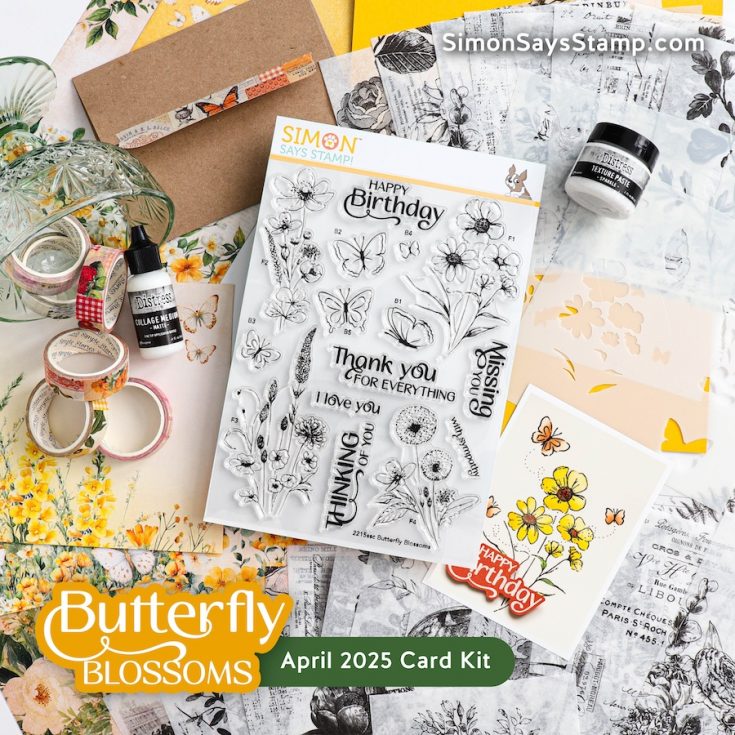
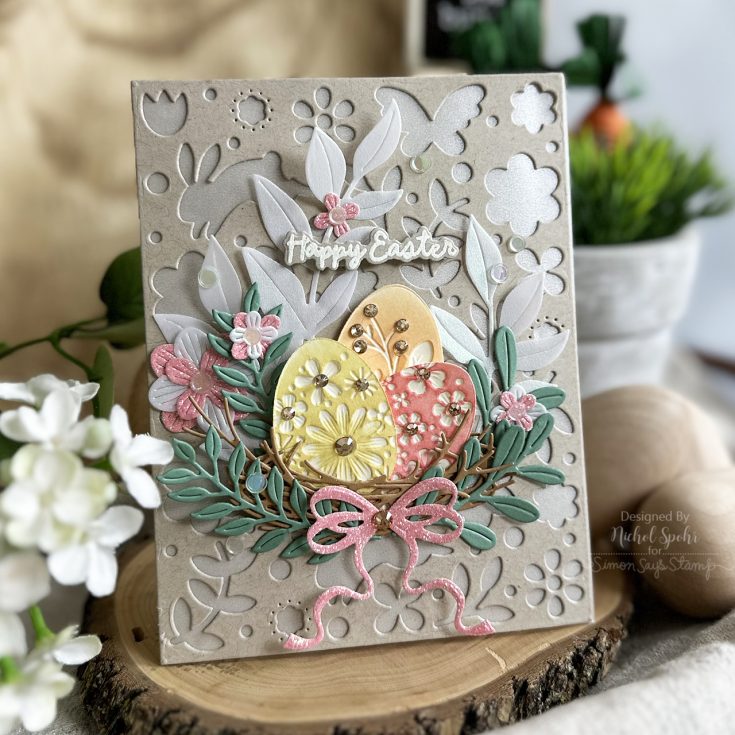
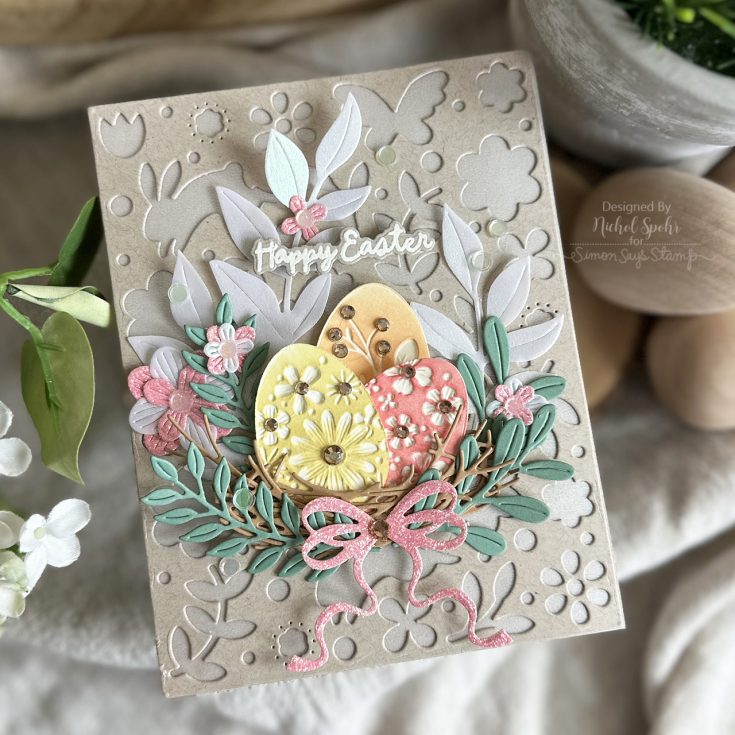
The Cutest Little Dimensional Cards and Tags featuring our November 2024 Card Kit!

Happy Wednesday, friends! Please join me in welcoming back special guest Nichol Spohr! She’s showcasing a gorgeous trio of cards using the stamps, papers, decoupage set, twine, and MORE from our fabulous November 2024 card kit, Christmas Cheer! Be sure to watch the video for all the details, and enjoy!
WATCH THE VIDEO:

SUPPLIES:

Simon Says Stamp Card Kit of the…
[ SSS ]
Simon Says Stamp Card Kit of the…
[ SSS ]
Simon Says Clear Stamps Christmas…
[ SSS ]
Prima Marketing Candy Cane Lane 6 x 6…
[ SSS ]
Craft Consortium Christmas Market 3D…
[ SSS ]
Simon Says Stamp Black and White…
[ SSS ]
Tim Holtz idea-ology 2024 Christmas…
[ SSS ]
Simon Says Stamp SLIMLINE SNOWBANKS…
[ SSS ]
Spellbinders Arch Shaker and Dies Bundle
[ SSS ]
Spellbinders Arch Shaker Domes scse-002
[ SSS ]
Simon Says Stamp UNICORN CONFETTI…
[ SSS ]
Pretty Pink Posh Sweet Dreams Shaker…
[ SSS ]
Trinity Stamps Vanilla Sugar…
[ SSS ]
Spellbinders GOLD MIX Color Essential…
[ SSS ]
May Arts Red Wrinkled Faux Silk…
[ SSS ]
Lawn Fawn White Hemp Twine lf3539
[ SSS ]
Neenah Classic Crest Ultra Thick 110…
[ SSS ]
Simon Says Stamp VELLUM SSSVEL12
[ SSS ]
We R Makers CROP-A-DILE Eyelet and…
[ SSS ]
Simon Says Stamp Place And Pierce…
[ SSS ]
MISTI Precision Glue Press mistipgp
[ SSS ]
Simon Says Stamp 3D FOAM SQUARES…
[ SSS ]

Thanks so much for stopping by, and thanks to Nichol for being our guest!

Join us LIVE!

Click or tap the bell to be notified via email when we begin!

Halloween Vignette Display Panel by Paula Cheney

Hi friends! Happy Tuesday! Please join me in a big welcome back to special guest blogger Paula Cheney to our blog! Read on to learn more details on how she made this amazing mixed media Halloween inspired piece and enjoy!

Use Black Soot Distress Paint to paint the sides of the Vignette Display Panel. Set aside to dry.

Punch out the two smaller sizes (4 pieces) of the Etcetera Pinked Trim.

Use Collage Medium to glue the matching lengths together so they create a stair-step effect.

Once the glue is secure, paint the two pieces with Black Soot Distress Paint.

Once the black paint is dry, use a Sanding Disk to sand some of black paint away. Set aside.

Using Collage Medium, adhere four Halloween Collage Strips to the front of the Vignette Display Panel. Add a layer of Collage Medium over the top (very important step). Set aside to dry or use a heat tool to speed things up!

Tape the Batty Layering Stencil from Stampers Anonymous to the Display Panel. Use Black Texture Paste Opaque and a Palette Knife to spread the paste over the stencil. Peel the stencil away, and place into a water bath until you have time to wash your stencil properly.

Immediately sprinkle multiple colors of Distress Embossing Glaze over the black Texture Paste. Let the Glaze sit until the paste is dry and the excess Glaze can be brushed away. NOTE: Crushed Olive looks very bright, but because the Glaze is going over black paste, it will be very subtle after embossing.

After at least 30 minutes of drying time, knock off the excess Glaze, then follow up with a small soft brush, to brush away any excess powder around the bats. Emboss with an Embossing Gun.

NOTE: Distress Embossing Glaze melts very quickly, so keep the embossing gun moving and watch the melt very closely so you don’t melt away the texture.

To create a background more in keeping with Halloween, scribble Walnut Stain Distress Crayon onto the glass mat. Pick up the crayon with a damp brush and begin to color the background of the Panel. This method will only work if you added the Collage Medium over the Collage Strips back in step 6. The College Medium has sealed the background so the Distress Crayon will glide over the surface. Use a damp wipe to pounce over the crayon to mottle the finish (think no brush strokes).

Use the clear Tim Holtz Media Ruler to measure a 1’ straight line across the bottom of the Display Panel. There are rubber grips on the back of the ruler, so once in position, the ruler will stay in place while you glue the two pieces of trim with Collage Medium. Once you have the trim in place, you can remove the ruler. Use a small brush to carefully wipe away any Collage Medium that has squished out when adding the trim. Let trim dry for at least an hour before proceeding.

Use a Mini Blending Tool to add Crushed Olive Distress Ink over the moon (found in Layers + Paper Dolls pack). Spray Distress Spritz Crushed Olive over the ink. Pounce off excess over the dark areas of the moon. Dry with a heat gun. NOTE: it’s very hard to see in a photo, but the Distress Spritz gives the moon a great shine!

Cut one of the spiderweb Transparencies to fit the moon shape. Set aside to be added later.

Use Distress Crayons to color Paper Dolls. I scribbled Peeled Paint and Villainous Potion directly over the Paper Doll clothes. Then I just used my index finger to smooth out the crayon over the surface. For the cheeks, scribble a small amount of Aged Mahogany on the glass mat. Pick up with the tip of a cotton swab and pounce over cheeks. Wipe away any excess crayon with a damp cotton swab.

Use Scor-Tape to add transparent wings to the back of the Paper Doll.

Use 3D Foam Squares to add the moon and Paper Dolls to the Display Panel. NOTE: I used double stacks of Foam Squares on the back of the Paper Dolls so they would float over the moon.

Use Scor-Tape to add the spiderweb over the moon. The Scor-Tape is hidden behind the Paper Dolls.

Adhere a pointy hat and a mask to the Paper dolls. These accessories are some of my favorite parts of the Halloween Sticker Book. Perfect to transform anyone into a spooky character!

Use Distress Spritz in Seedless Preserves and Crushed Olive to color two bunches of Bouquet Flowers. Don’t forget to spray the underside of the flowers too! This will give the flowers a wonderful iridescent shine!

Using an urn from the idea-ology Conservatory pack as the base, add ink dyed Mummy Cloth and Bouquet Flowers with Collage Medium. NOTE: the flowers may seem a bit wobbly till the Collage Medium dries, but leave them over night and they will be like cement. Trust me.

Choose a Halloween Figure Stand to add to the scene. I chose the owl, which I painted with Scorched Timber Distress Paint, then rubbed over the paint to allow the high points to show through. You can make the eyes any color you wish, I chose Fossilized Amber.

Drip Mushroom Alcohol Ink over some idea-ology Mini Skulls. Pounce with a felt pad and let dry. Scribble Walnut Stain Distress Crayon over the top to remove the shine from the Alcohol Ink.

The new signs in the Halloween Baseboards pack are so much fun! Choose as many as you wish and add Clippings from the Halloween Sticker Book. Make an ink puddle with Gathered Twigs Distress Ink. Dip you under finger into the ink and transfer to the Clippings to make them look old. Dry with a heat tool.

Use a Picket Fence Distress Crayon to color the background of an idea-ology word tag. Just scribble the crayon over the tag and rub into the background with your thumbs.

Begin to add all the pieces you have created to the shelf with Collage Medium. The Baseboard signs were added with 3D Foam Squares (single thickness on the larger one, double thickness on the smaller one).

Add a third sign to the right side of the Panel with a 3D Foam Square. Once this sign is in place, you can start adding the dyed and shredded Mummy Cloth to the ledge with Collage Medium.

Adhere a piece from the Layers + Paper Dolls pack of a bug to the top right side of the Panel. Use Cello Tape stickers to adhere it to the tray.

SUPPLIES:

Tim Holtz idea-ology Vignette Display…
[ SSS ]
Tim Holtz idea-ology 2024 Halloween…
[ SSS ]
Tim Holtz idea-ology 2024 Halloween…
[ SSS ]
Tim Holtz idea-ology 2024 Halloween…
[ SSS ]
Tim Holtz idea-ology 2024 Halloween…
[ SSS ]
Tim Holtz idea-ology 2024 Halloween…
[ SSS ]
Tim Holtz idea-ology 2024 Halloween…
[ SSS ]
Tim Holtz idea-ology 2024 Halloween…
[ SSS ]
Tim Holtz idea-ology 2024 Halloween…
[ SSS ]
Tim Holtz idea-ology 2024 Halloween…
[ SSS ]
Tim Holtz idea-ology BOUQUET Findings…
[ SSS ]
Tim Holtz idea-ology Cello Sticker…
[ SSS ]
Tim Holtz idea-ology Mummy Cloth…
[ SSS ]
Tim Holtz Etcetera PINKED TRIMS…
[ SSS ]
Tim Holtz Layering Stencil Batty ths184
[ SSS ]
Tim Holtz Tonic Media Ruler 4634e
[ SSS ]
Tim Holtz Tonic Glass Studio Mat 1912e
[ SSS ]
Tim Holtz Distress Collage Medium…
[ SSS ]
Tim Holtz Distress 0.75 Inch Collage…
[ SSS ]
Tim Holtz Distress Texture Paste…
[ SSS ]
Tim Holtz Distress Palette Knife 2…
[ SSS ]
Tim Holtz Crushed Olive Distress…
[ SSS ]
Tim Holtz Seedless Preserves Distress…
[ SSS ]
Tim Holtz Distress Ink Pad Crushed…
[ SSS ]
Tim Holtz Flip Top Distress Paint…
[ SSS ]
Tim Holtz Flip Top Distress Paint…
[ SSS ]
Tim Holtz Alcohol Ink Mushroom Ranger…
[ SSS ]
Tim Holtz Flip Top Distress Paint…
[ SSS ]
Tim Holtz Distress Embossing Glaze…
[ SSS ]
Tim Holtz Distress Embossing Glaze…
[ SSS ]
Tim Holtz Distress Embossing Glaze…
[ SSS ]
Ranger Tim Holtz Distress Crayon…
[ SSS ]
Ranger Tim Holtz Distress Crayon…
[ SSS ]
Ranger Tim Holtz Distress Crayon Aged…
[ SSS ]
Ranger Tim Holtz Distress Crayon…
[ SSS ]
Tim Holtz Distress Ink Pad Gathered…
[ SSS ]
Tim Holtz Distress Sanding Disks…
[ SSS ]
Ranger Mini Round Ink Blending Tools…
[ SSS ]
Tim Holtz Distress Sprayer Ranger 4…
[ SSS ]
Simon Says Stamp 3D Foam Squares…
[ SSS ]
Scor-Tape 0.125 Inch Crafting Tape
[ SSS ]
Popular Wagner Precision Heat Tool HT400
[ SSS ]

Thanks so much for stopping by, and thanks to Paula for being our guest!

Join us LIVE!

Click or tap the bell to be notified via email when we begin!

Polar Christmas Interactive Cards: Yippee for Yana

Hi friends! Please join me in welcoming back the oh-so-talented and amazing Yana Smakula! (Please note: our dear friend Yana is Ukrainian. To show support to our brothers and sisters in Ukraine, please see Yana’s post HERE.)

Hello, crafters, this is Yana Smakula for Simon Says Stamp! Welcome back for another Yippee For Yana video! Today I’m creating interactive cards with the Simon Says Stamp Polar Christmas stamp set.

I love to use action wobblers as they allow me to add interactivity to my cards easily. I typically start reaching for wobblers around Fall as I am creating Winter and Christmas cards; in my mind, that’s where wobblers make the most sense.

The Polar Christmas stamp set felt like it was a perfect option to pair with some mini wobblers for quick penguin cards. I stamped 2 penguin images in Memento Tuxedo Black ink into Neenah Solar White 80lb cardstock using a mini MISTI stamping tool and did simple coloring using Copic markers. I used the following marker colors:

  • C10, C9, C7, C5
  • W3, W1
  • Colorless Blender
  • R05, R20, R24
  • E37, E79
  • B000

Coordinating dies were used to cut these cuties out once my coloring was completed.

Next, I did some DIY mask-making and drew a simple blob using a pencil, cut the inside of the blob out to create a simple mask. I used the mask to blend Seafoam ink and create seafoam-colored blobs on my panels to help me ground my penguins. I also stamped sentiments in VersaClair ink and added snow using Splatter White from Spellbinders. I trimmed the ink blended and splattered panel to 3 ¾ x 5” and foam mounted them onto A2 Fog card bases. Lastly, I added my penguins in the centers using wobblers! LOVE!

Have fun playing with your action wobblers and the Polar Christmas stamps!

WATCH THE VIDEO:

SUPPLIES:

PREORDER Simon Says Stamps and Dies…
[ SSS ]
Simon Says Stamp Fog A2 Side-Fold…
[ SSS ]
Neenah Cardstock Classic Crest 80 LB…
[ SSS ]
MINI MISTI PRECISION STAMPER 6×7…
[ SSS ]
Waffle Flower 4.75×6 inch Grip Mat…
[ SSS ]
Copic Sketch Marker C10 COOL GRAY
[ SSS ]
Copic Sketch MARKER C9 COOL GRAY Grey
[ SSS ]
Copic Sketch MARKER C7 COOL GRAY Grey
[ SSS ]
Copic Sketch MARKER C5 COOL GRAY Grey
[ SSS ]
Copic Sketch MARKER W3 WARM GRAY Grey
[ SSS ]
Copic Sketch Marker W1 WARM GRAY No. 1
[ SSS ]
Copic Sketch COLORLESS BLENDER Marker…
[ SSS ]
Copic Sketch Marker R05 SALMON RED…
[ SSS ]
Copic Sketch Marker R20 BLUSH Pink…
[ SSS ]
Copic Sketch Marker R24 PRAWN Red
[ SSS ]
Copic Sketch Marker E37 SEPIA Brown
[ SSS ]
Copic Sketch Marker E79 CASHEW Dark…
[ SSS ]
Copic Sketch Marker B000 PALE…
[ SSS ]
Tsukineko Memento TUXEDO BLACK INK…
[ SSS ]
Spellbinders 4 Inch Detail Scissors…
[ SSS ]
Simon Says Stamp Pawsitively…
[ SSS ]
Simon Says Stamp Blending Brush LARGE…
[ SSS ]
Spellbinders Splatter White Opaque…
[ SSS ]
Medium WATERCOLOR BRUSH Pen MWCBP101
[ SSS ]
Mini Action Wobble Springs 6 Pack…
[ SSS ]
Simon Says Stamp Pawsitively Dazzling…
[ SSS ]
Bearly Art THE MINI Precision Craft…
[ SSS ]
Simon Says Stamp Place And Score…
[ SSS ]
Simon Says Stamp Thin White 3D Foam…
[ SSS ]

Thanks so much for stopping by, and thanks again to Yana for being our guest!

Ways to support Ukraine:

If you are looking for ways to support Ukraine, we encourage you to visit this page on Yana’s blog:

Join us live!

Click or tap the bell next to “Notify Me” for an email reminder right to your inbox when we go live!

We use cookies to give you the best online experience. By agreeing, you accept the use of cookies in accordance with our cookie policy.