Make Gorgeous Stars with Tim Holtz Palette Fabric!
Happy Monday, friend! ‘Tis the season for festive makes, but honestly these could really be versatile beyond the holiday season! Check out this fun tutorial by special guest Richele Christensen on how fun these are to make! Enjoy!
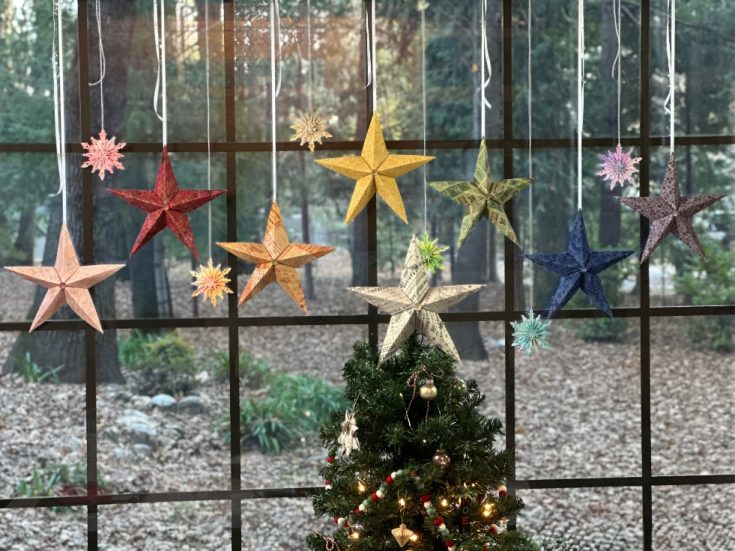
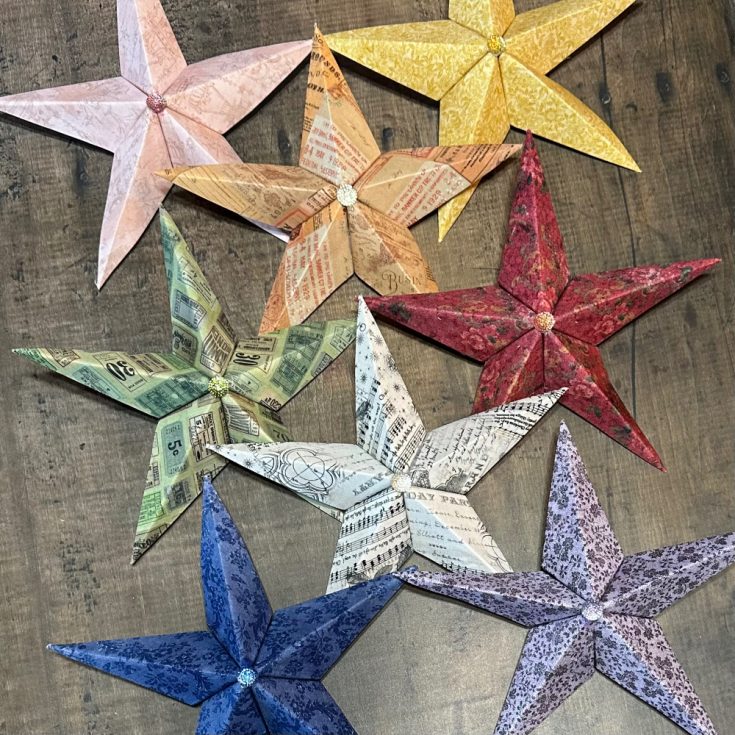
Hello friends! Today I’d like to share some fabric stars I made with the Tim Holtz Palette Fabrics in various colors and one from Palette Seasonal. There is no sewing involved and I love that they are fabric. The lightweight cardstock was perfect for the stars to give them some stability without being super thick. The Stars are also Fat Quarter friendly. Palette offers a wide array of colors and pattern so there is something for everyone.
INSTRUCTIONS
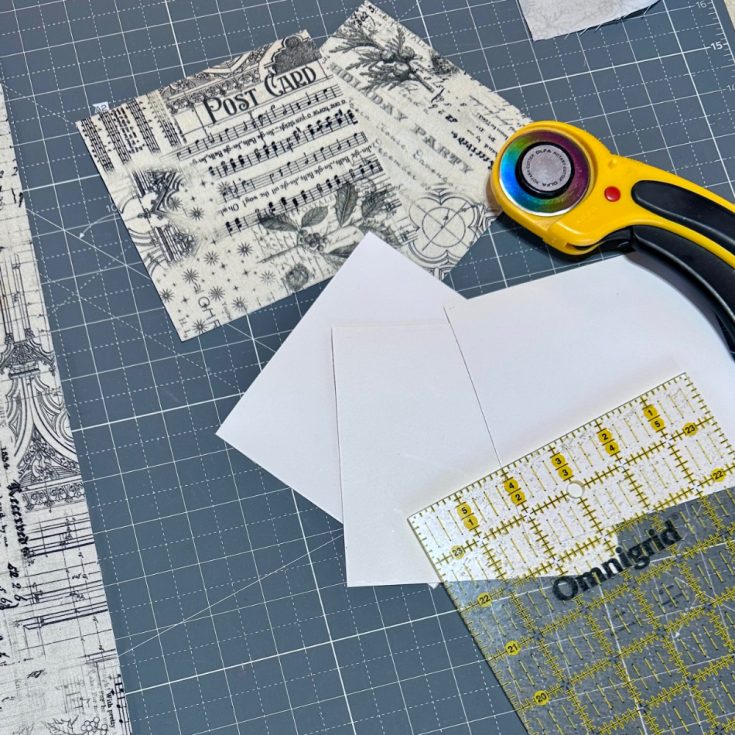
- Cut out 5 squares of lightweight cardstock. I’ve used a 5” square but you can vary the size just keep it as a square.
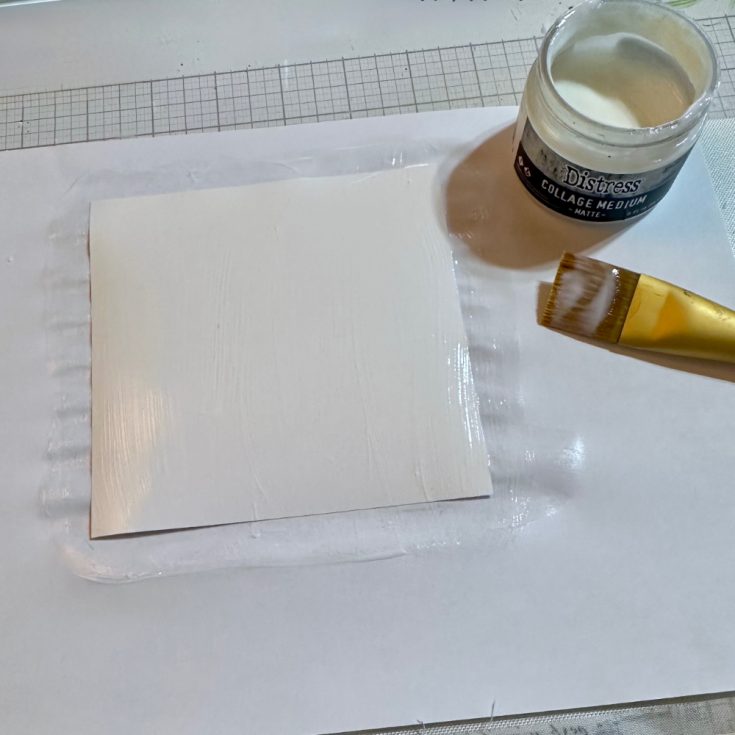
- Using Collage Medium paint the cardstock and then place on the fabric. Use a bone folder to smooth it out.
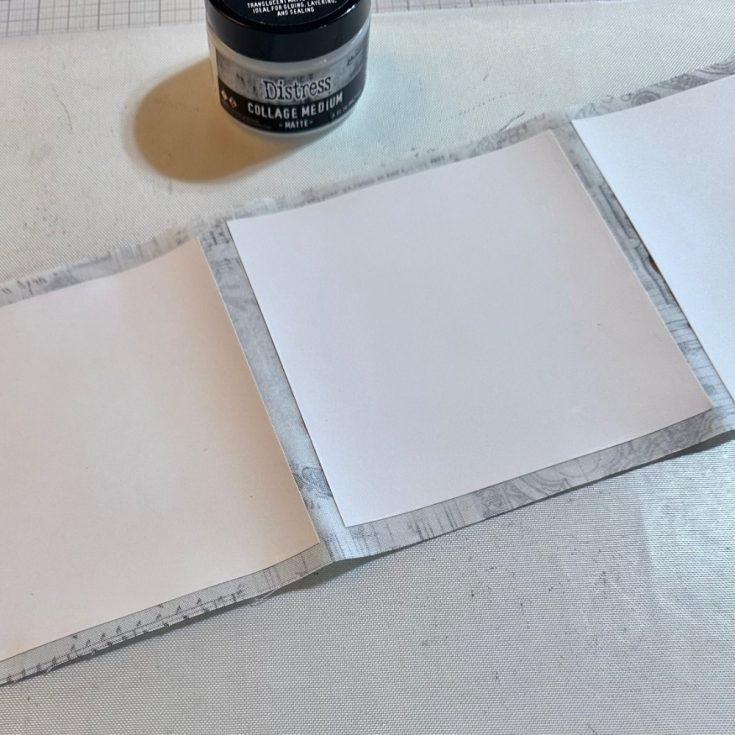
- Do all 5 squares and let dry several minutes. Trim off excess fabric around the cardstock squares.
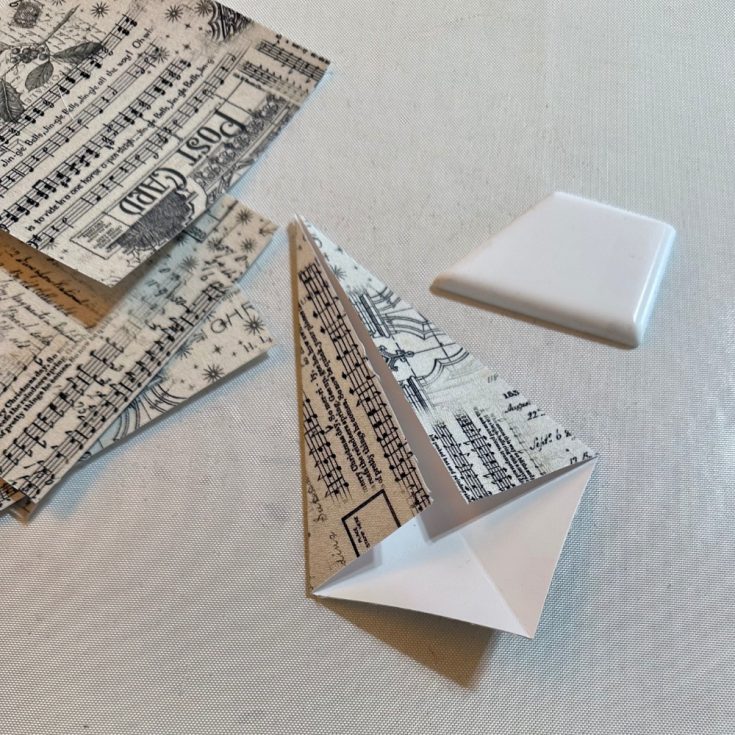
- Fold square diagonally and crease well with a bone folder. Now fold the edges in to meet at the center fold.
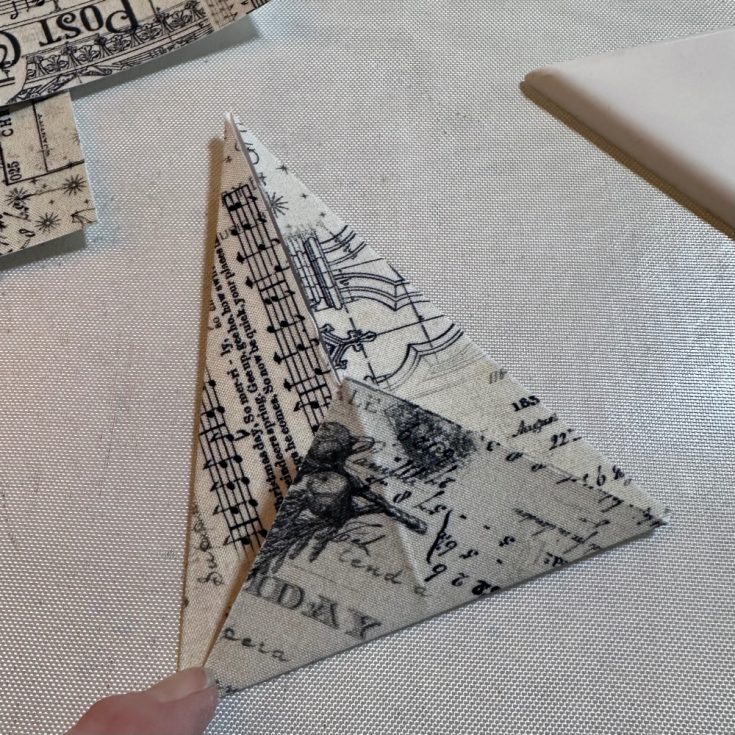
- Fold up the bottom being sure the fold is at the bottom of the previously folded section.
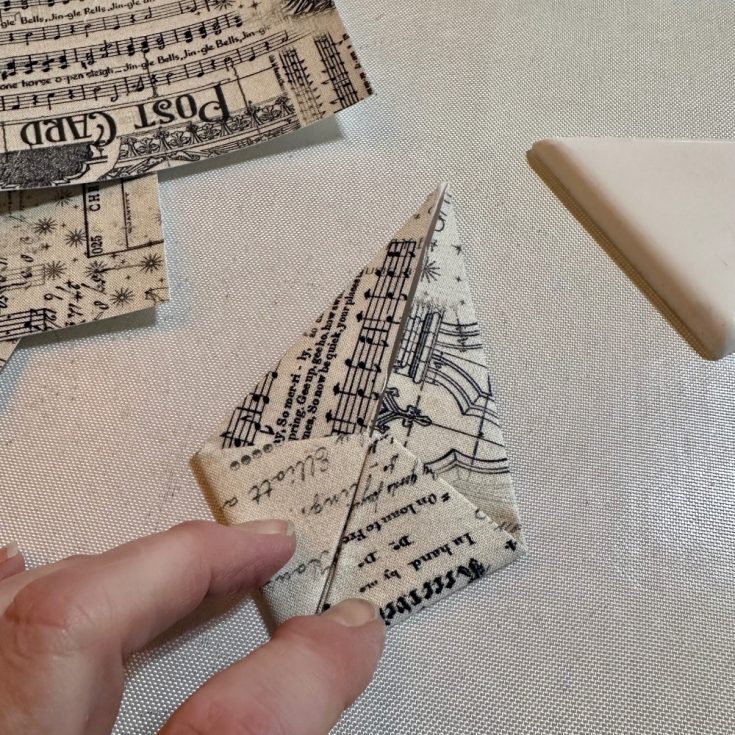
- Fold the points up to create the diamond shape. Adhere the points down with hot glue.
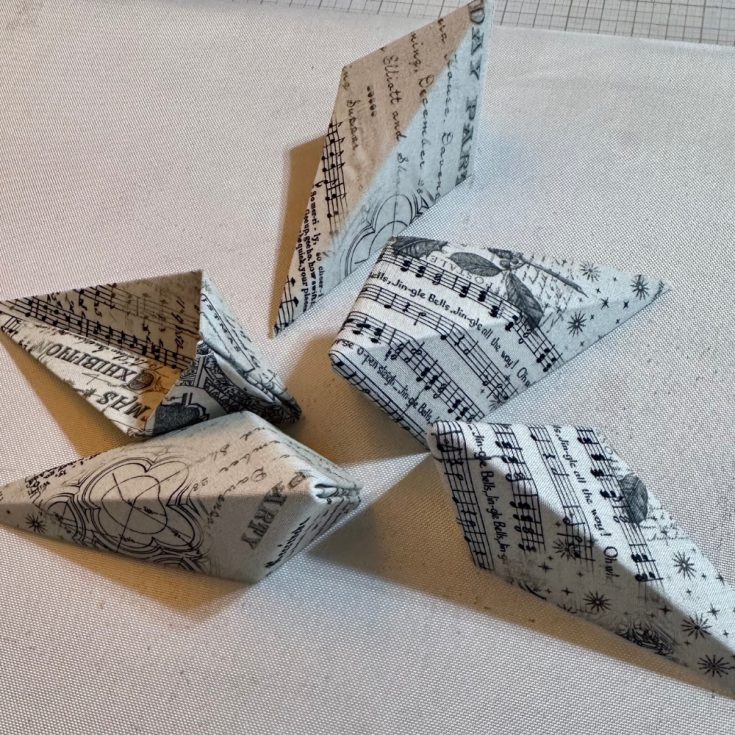
- Continue until all 5 pieces are folded.
- Adhere the 5 pieces together to create the star.
- Here’s a look at the back side for reference.
- Create as many as you’d like. They are perfect for the top of your tree, to display in a window. I also think little ones would be fun on a package. So many possibilities!
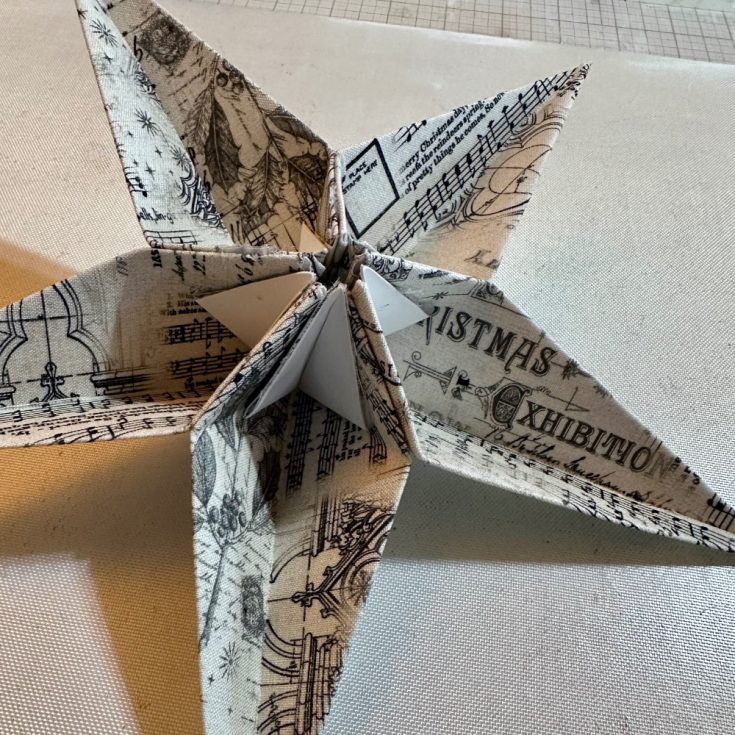
Once I made the first one and got a hang of the folding it was easy and I couldn’t stop. I hung them in my new studio window by my sewing machine and they makes me so happy when I look out the window. What color stars will you make?
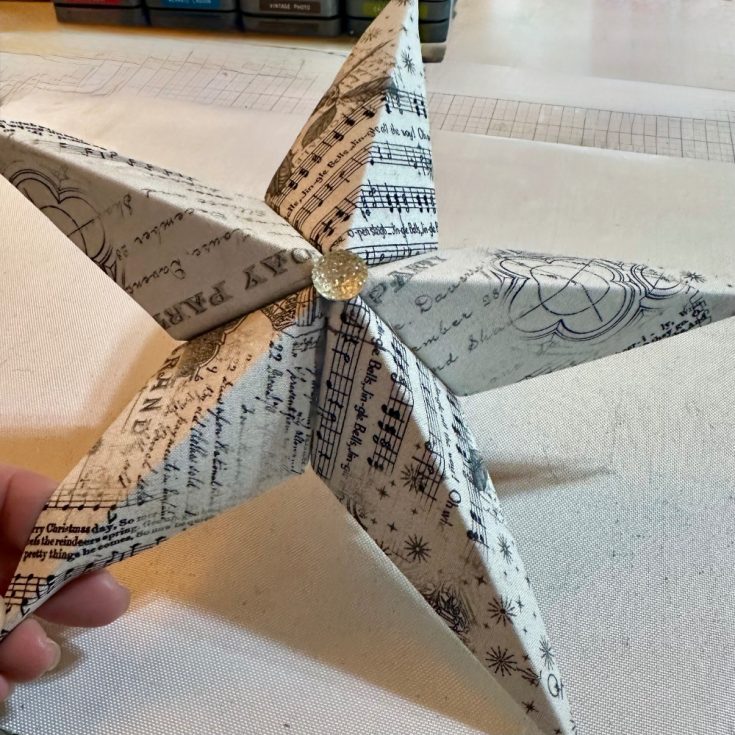
Thanks for stopping by and I hope you have a wonderful Holiday season! -Richele
SUPPLIES:
|
Thanks so much for stopping by, and to Richele for being our guest!
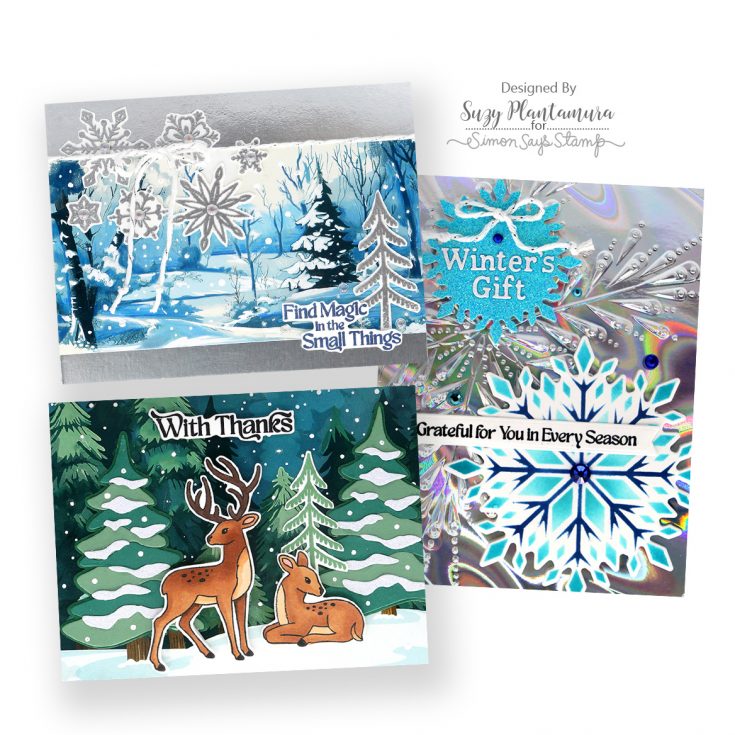
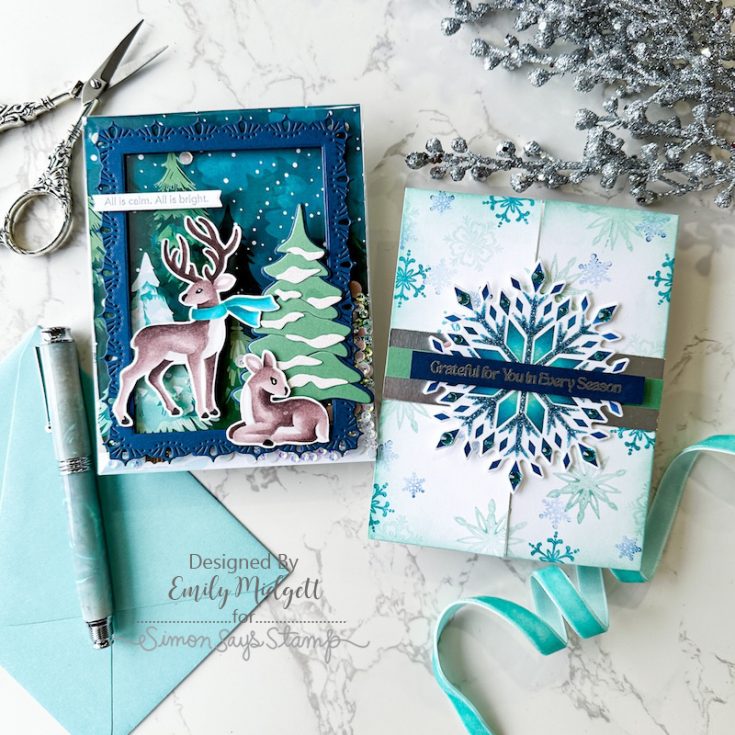
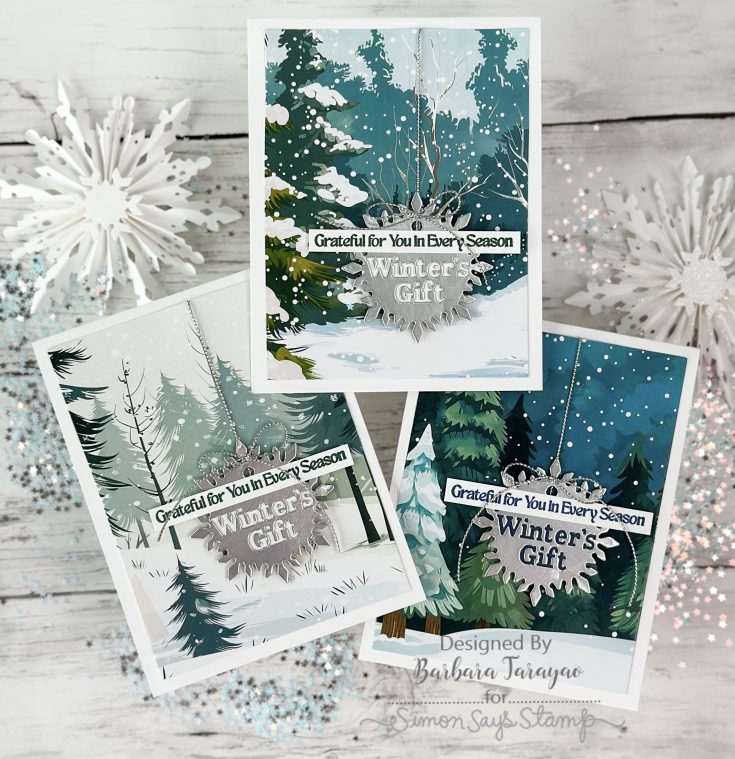
Card Kit Reveal and Inspiration: The Small Things
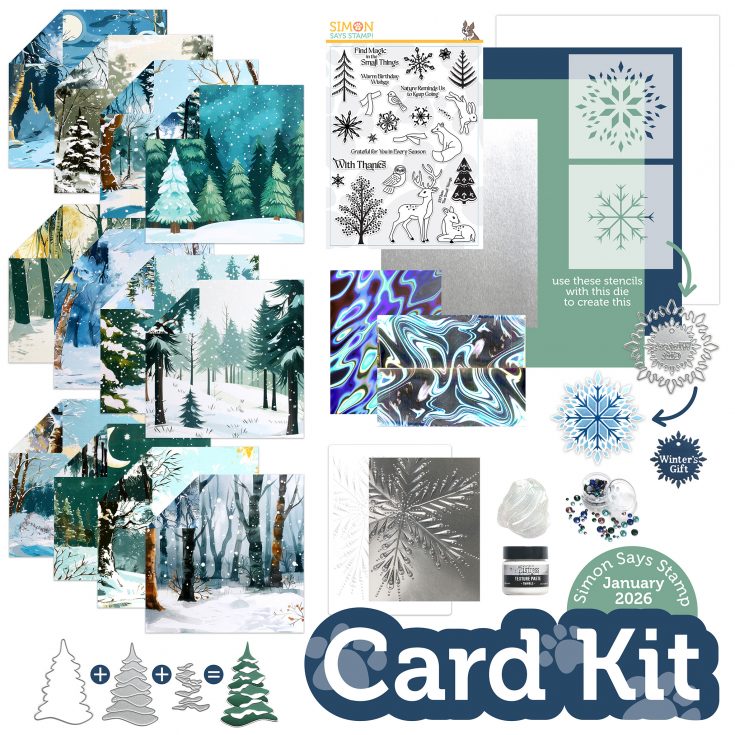
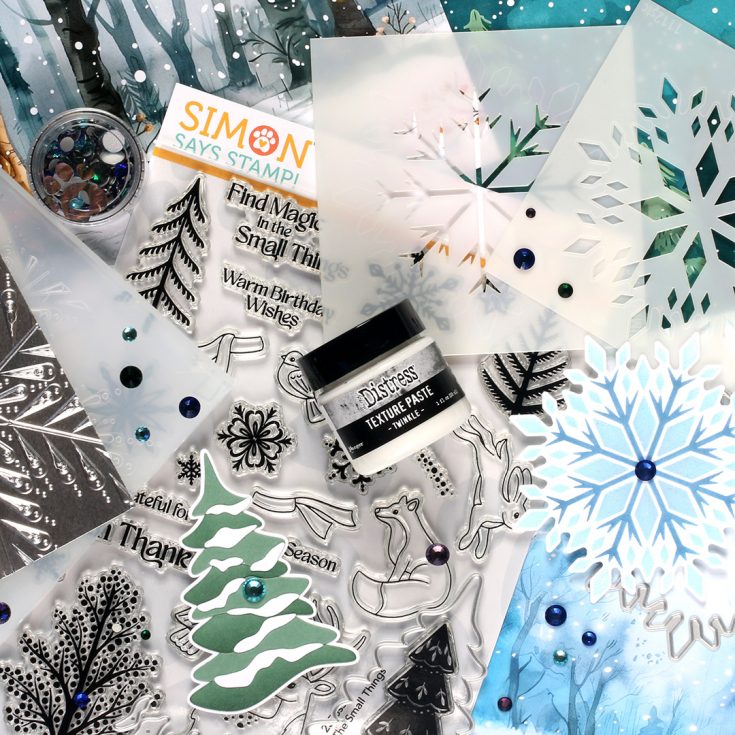
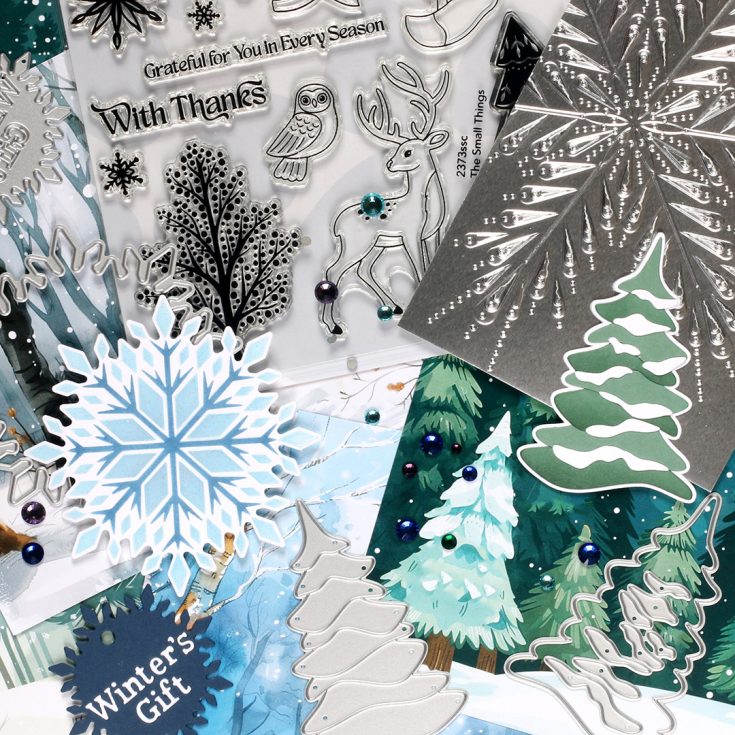
Enjoy the benefits of creativity with our January 2026 Card Kit—The Small Things!
Start your new year with this fresh and wintry kit curated with you in mind! It includes five awesome NEW exclusive products from Simon Says Stamp: The Small Things 6×8 stamp set, 4×4 Crystal Snowflake stencil set and coordinating die, the beautiful Snowy Tree die, as well as the magnificent Pixie Snowflake embossing folder!
We’ve included 12 double-sided sheets of pretty patterned papers from La-La Land Crafts to enhance the kit. You’ll love adding sparkle and shimmer with 1 container of Simon Says Stamp Cool Tones Pawsitively Dazzling gems, 1 quarter sheet of Simon Says Stamp Holographic Lava cardstock, 1 jar of Tim Holtz Ranger Mini Twinkle texture paste, and 1 sheet of Tim Holtz idea-ology Silver Kraft metallic cardstock.
Rounding out this awesome kit are 1 sheet each of Simon Says Stamp Soft Navy and Sage cardstock, 1 sheet of Neenah Solar White cardstock, and 1 Simon Says Stamp Holographic Envelope.
WATCH THE VIDEO:

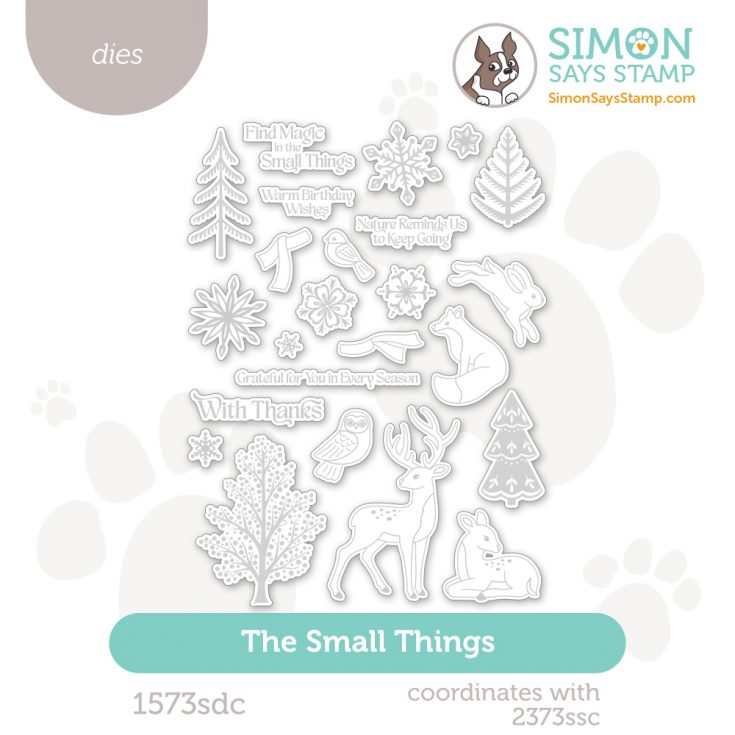
Enhance your kit with the coordinating die set (sold separately!)
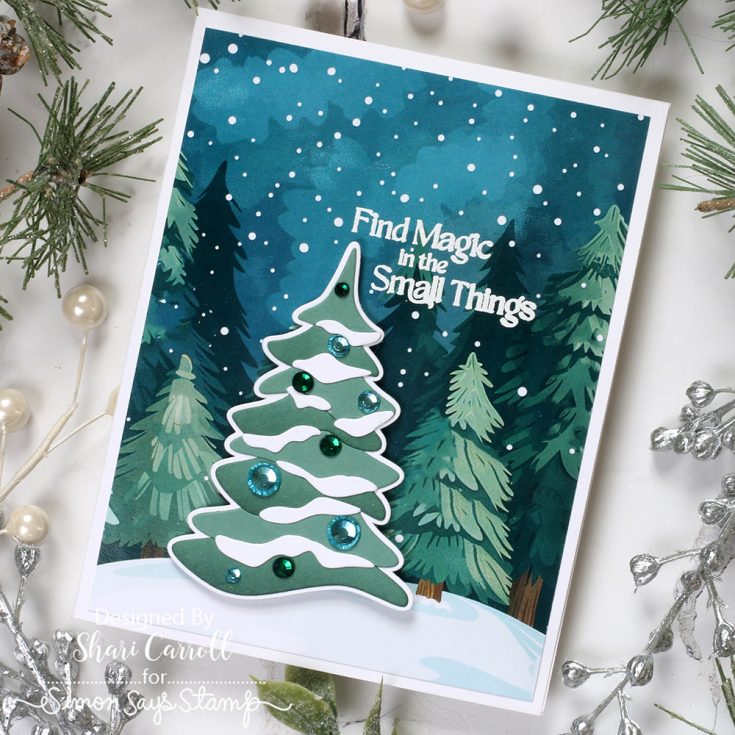
Ideas to INSPIRE!

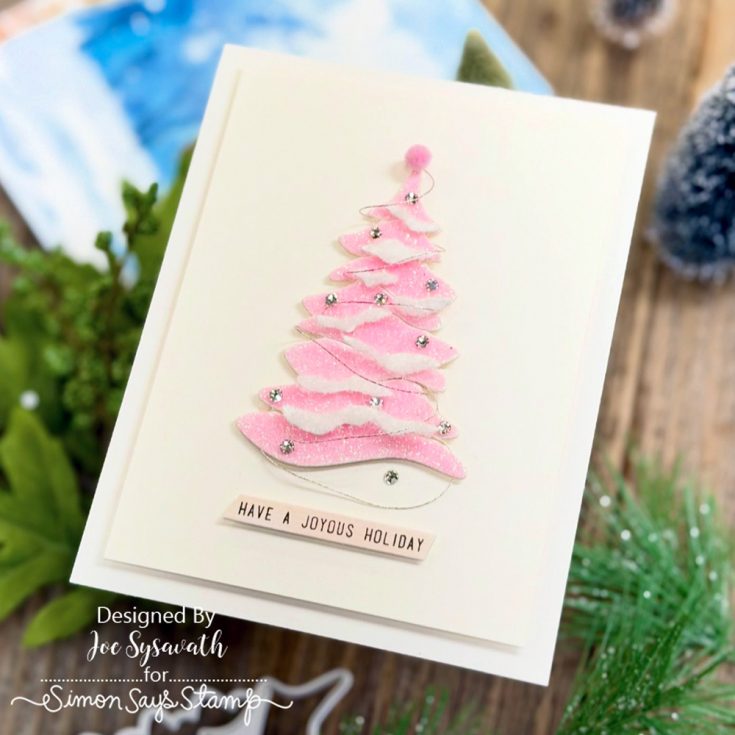
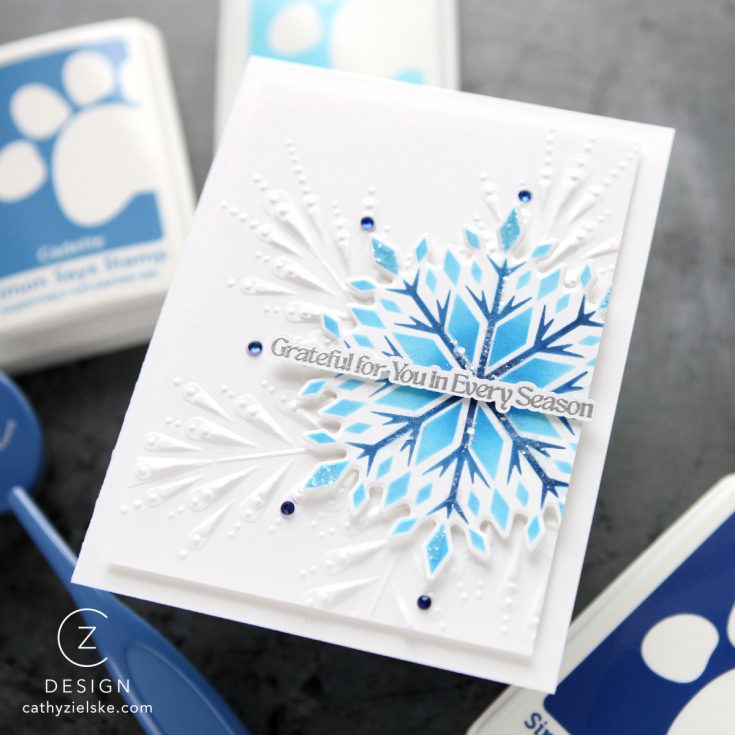

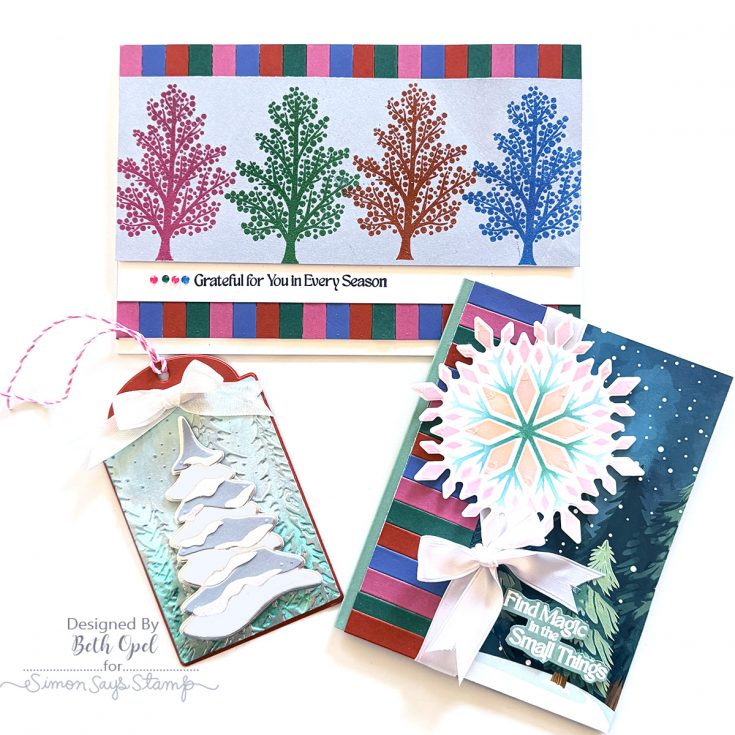
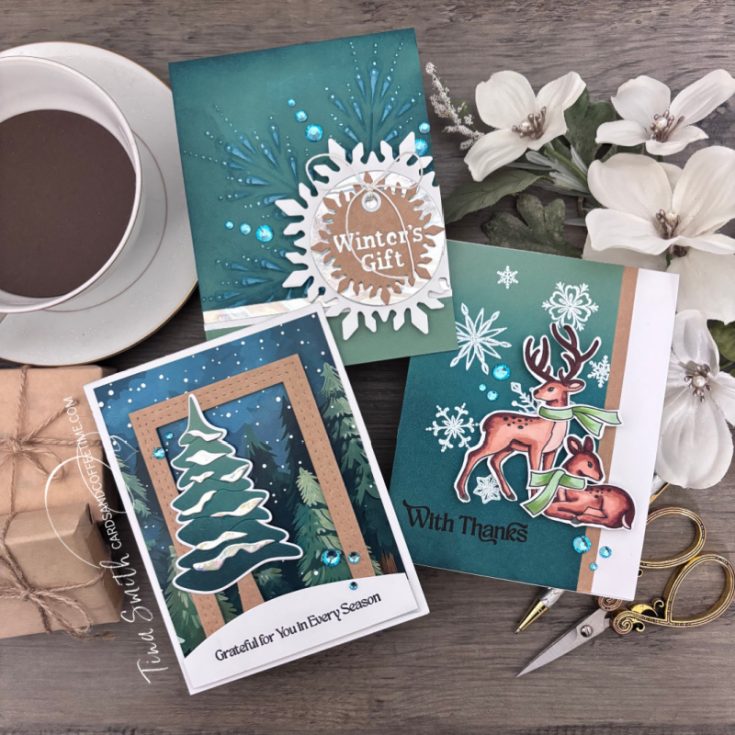

Did you know?! We’ve made our card kit subscription BETTER THAN EVER!

Here’s what makes our new service a crafting paradise:
Exciting new perk! USA Subscribers can get free shipping on their recurring subscriptions!
Free or Discounted Shipping Opportunity: Love Free Shipping? Us too!! Valued subscribers have a chance each month to receive free USA Shipping on a card kit subscription purchase! Simply login to your account, click “manage subscriptions” and add additional products to your subscription shipment so the order total is $100 or more before 11 PM ET on the 15th of the month. International customers will receive $7.99 off their cost of shipping – no code required! (Existing subscribers only)
Exclusive Access: As a subscriber, you get first dibs! Each month, you’ll get an exclusive sneak peek at our new kit, with the option to add more coordinating items to your cart, including handy replenishable supplies, all shipped together for your convenience.
Hassle-Free Payments: Say goodbye to monthly billings! Our automated system smoothly charges your preferred card, ensuring an uninterrupted flow of crafty goodness – unless you decide to pause, of course!
$5 Off Magic: Enjoy a special $5 discount off our kit’s retail price, exclusive to our beloved subscribers – no codes needed, just automatic savings!
Crafting Inspirations: Dive into a sea of creative ideas monthly, all tailored around your kit, to keep your inspiration flowing endlessly.
Flexibility First: Fear of commitment? Not here! Our subscription is as flexible as it gets – pause or cancel anytime, no strings attached.
Why wait? Step into the realm of our NEW Simon Says Stamp Monthly Card Kit service. Welcome a box full of crafting marvels, right to your doorstep. Craft with ease and let creativity come to you!
Ready to elevate your craft? Subscribe Now and open the doors to boundless creativity!
We’re thrilled to have you in our crafting community and can’t wait to embark on this renewed creative adventure together!
Mixed Media Winter Wonderland!
Hi friends! Happy Saturday! If the weather is anything like we’re having (cooolddd!!) it’s the PERFECT day to stay cozy and do some fun crafting! Looking for a little inspiration? Look no further than this gorgeous mixed media design by Anna-Karin Evaldsson! Read on to learn more and enjoy!

Hi everyone! I am so happy to be back here on the blog and today I am going to share a very sparkly winter wonderland project, with some of my favorite ways of creating snow.
I had a wooden piece at home and decided to turn it into winter / Christmas décor. You can of course make a card instead, or do the techniques on a canvas. My piece of wood is 3.8×8.2 in. I used dies from Simon Says Stamp And Everything Nice and DieCember® releases, combined with fun paint, media and glitter.
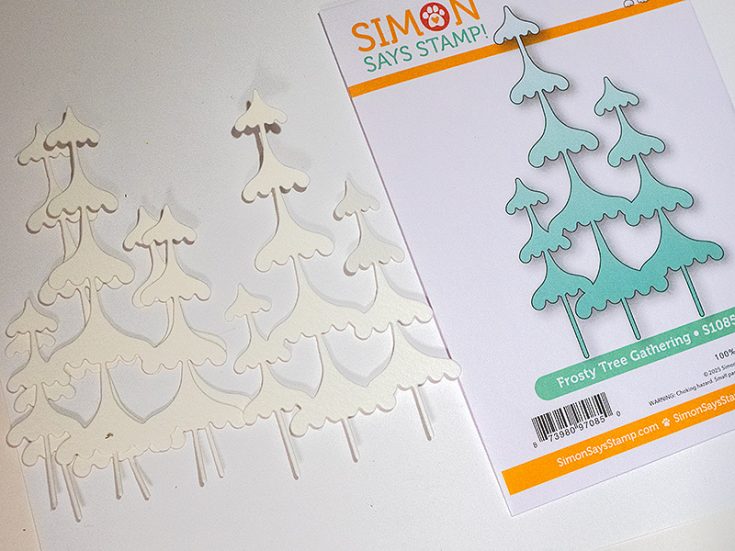
Start by die cutting the Simon Says Stamp Frosty Tree Gathering from watercolor paper three times.
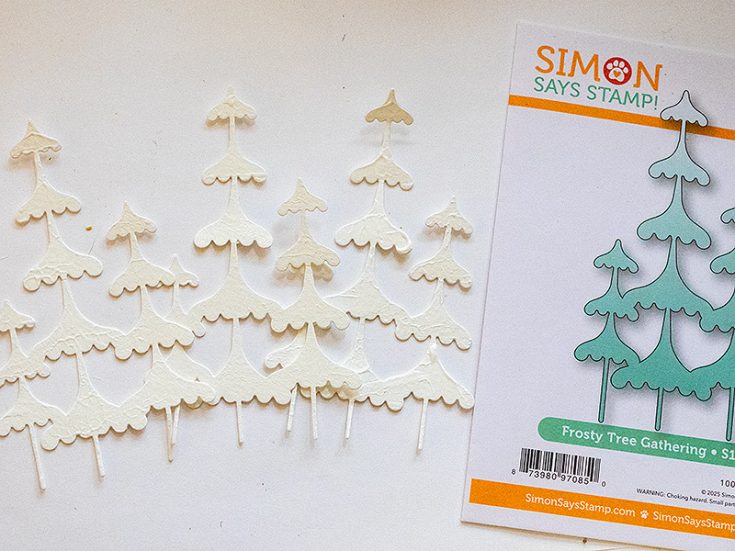
Apply gesso with a palette knife and create texture by pressing the knife down.
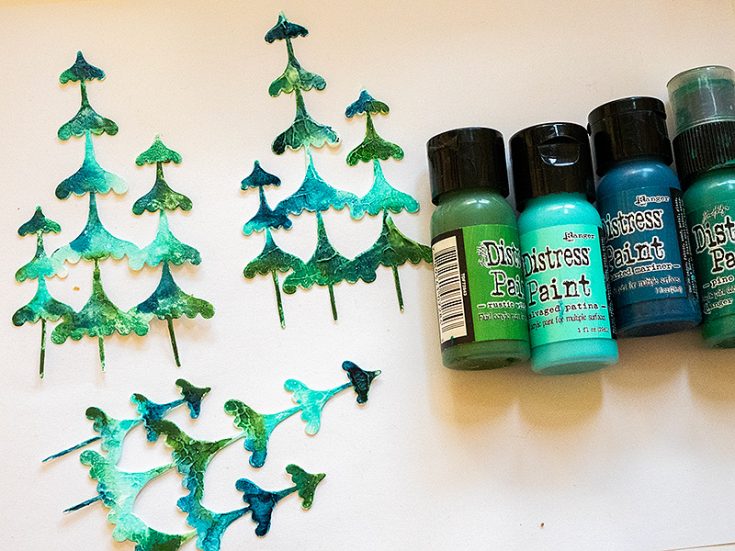
When the gesso is dry, paint with Distress Paint. Add a little water to the paint and mist with more water to blend. I used Salvaged Patina, Uncharted Mariner, Rustic Wilderness and Pine Needles.
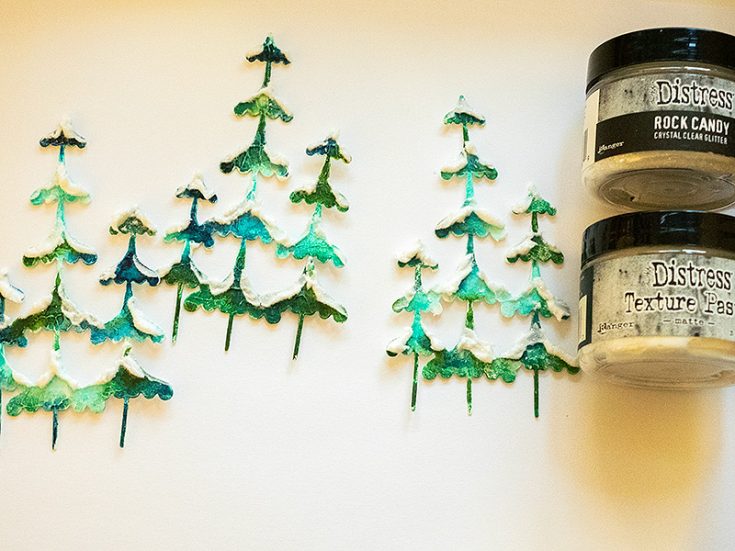
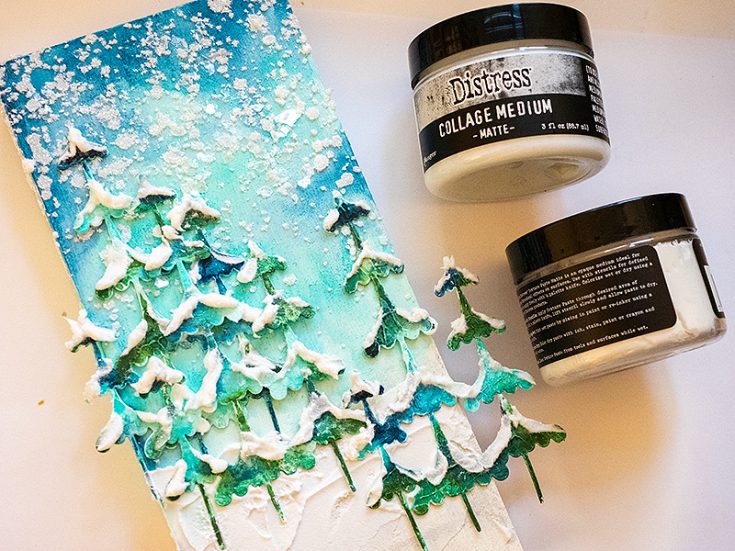
When the paint is dry, apply Ranger Distress Texture Paste to the trees and sprinkle with Rock Candy glitter.
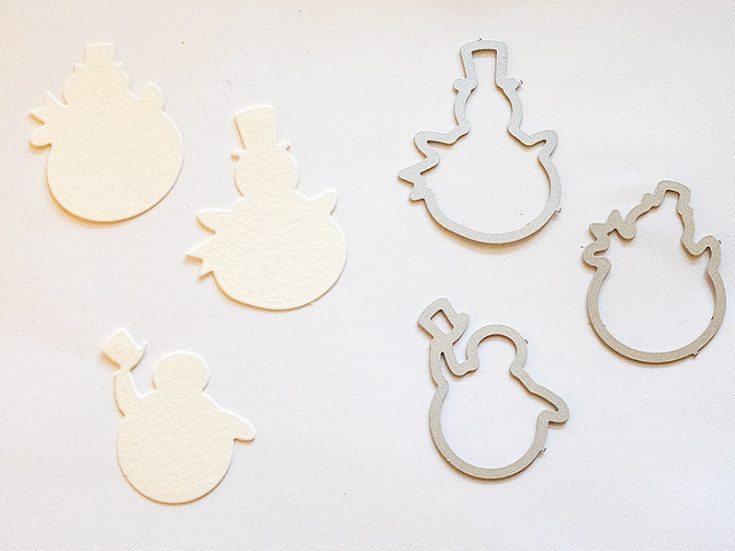
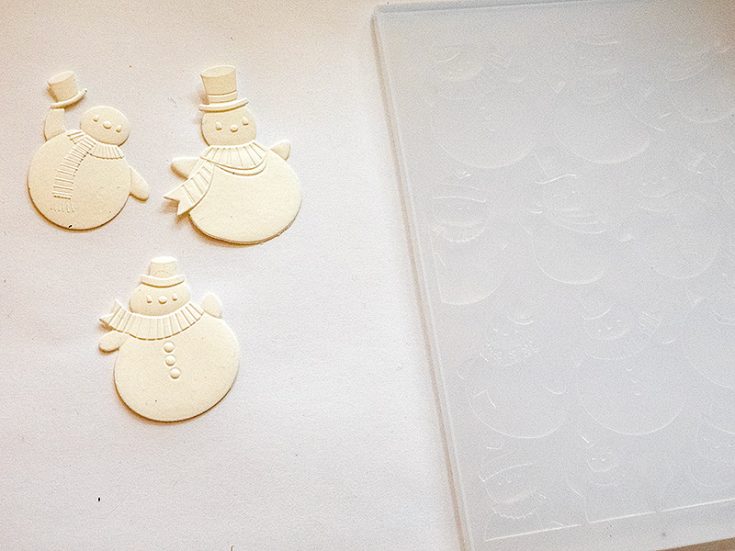
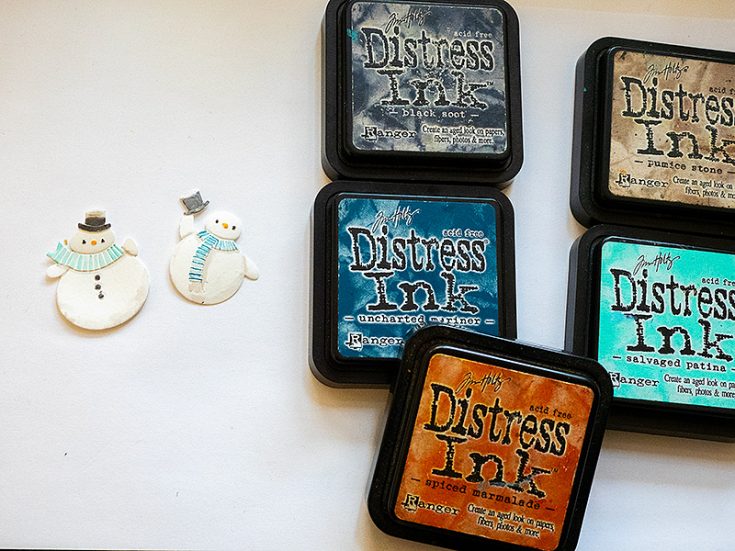
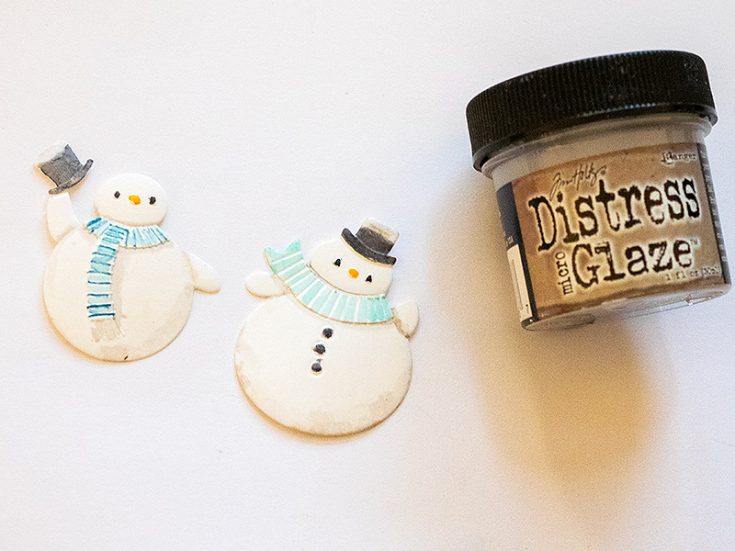
Die cut the tree snowmen from Simon Says Stamp Jolly Snowmen Embossing Folder and Cutting die from watercolor paper. These are from the new DieCember® release.
Mist the watercolor paper with water and emboss in the coordinating embossing folder.
When the snowmen are dry, apply Distress Ink to a non-stick craft sheet, mist with water and add a little color to the snowmen. I decided to only use two of the snowmen.
Apply Distress Micro Glaze to the snowmen to make sure that the ink does not run into the paste in the later steps.

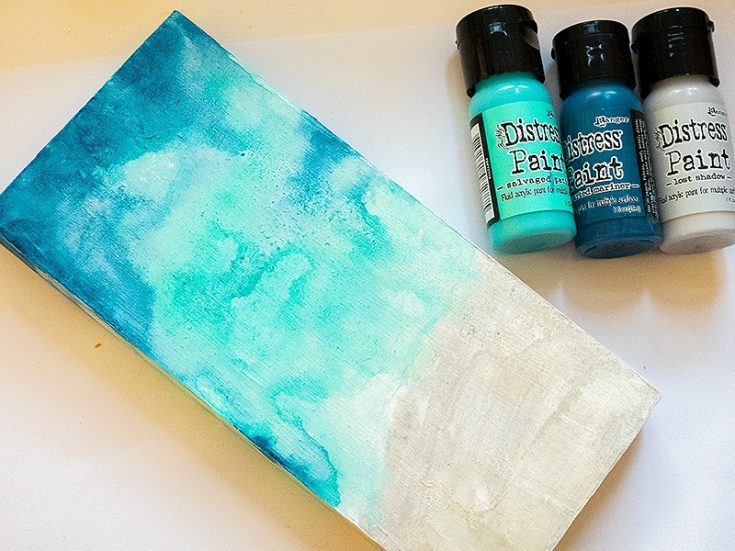
Paint the wooden board with gesso. If you are using watercolor paper or a canvas, also paint these with gesso.
Paint with watered-down Distress Paint and mist with more water to blend. I painted the edges too.
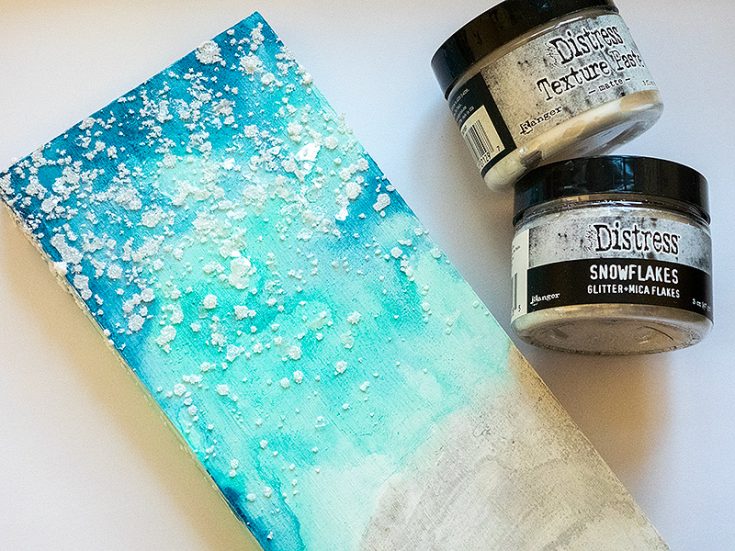
Apply texture paste through Tim Holtz Speckles stencil and sprinkle with Distress Snowflakes – which is a mix of glitter and mica flakes.
Add a layer of texture paste behind the trees and then glue the trees to the background with Simon Says Stamp craft glue. I folded the tree to the right over the edge.
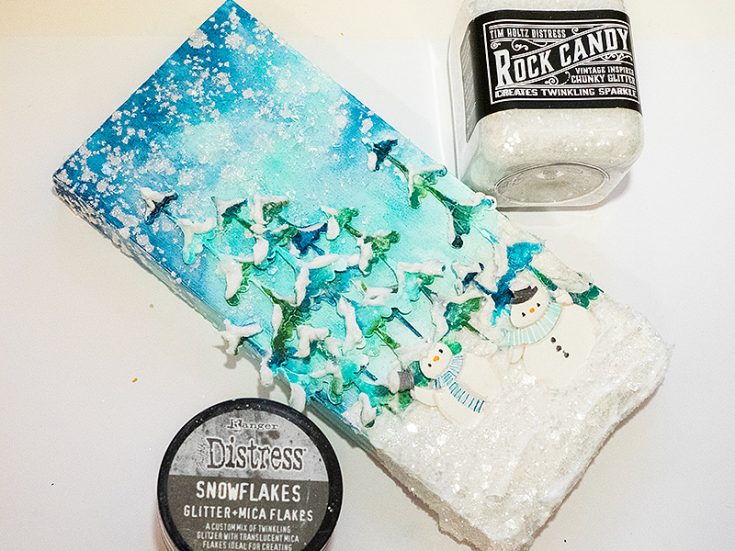

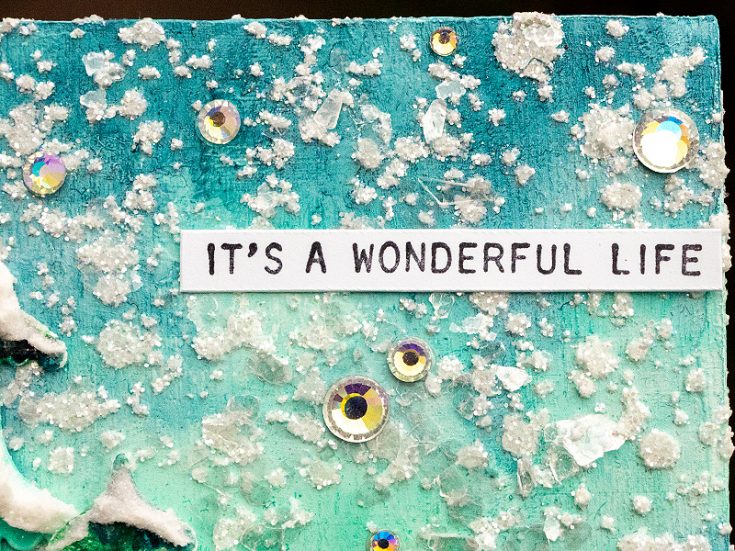
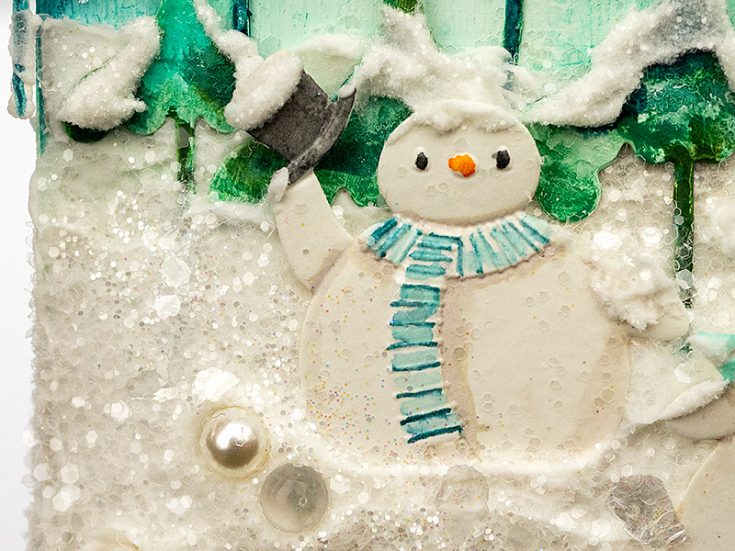
Add a thick layer of texture paste with a palette knife, forming it to create snowy hills. Press the snowmen into the paste. Sprinkle with Snowflakes and Chunky Rock Candy glitter.
Press Tim Holtz Baubles and Bubbles into the paste. Stamp sentiments from Tim Holtz Tiny Talk Christmas on white paper and cut into strips.
Glue Simon Says Stamp Pawsitively Dazzling Prism Gems to the sky, to create even more sparkle.
I added a little texture paste to the hats and heads of the snowmen too. Is this not the cutest little snowman, lifting his hat to say hello.
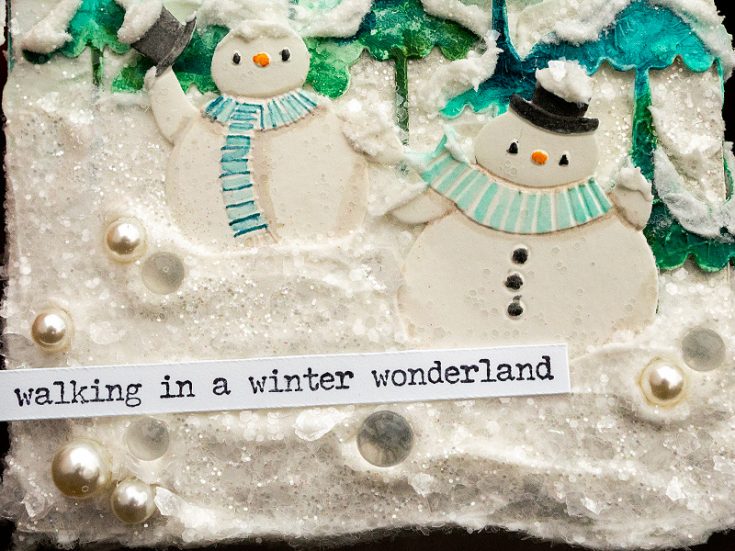
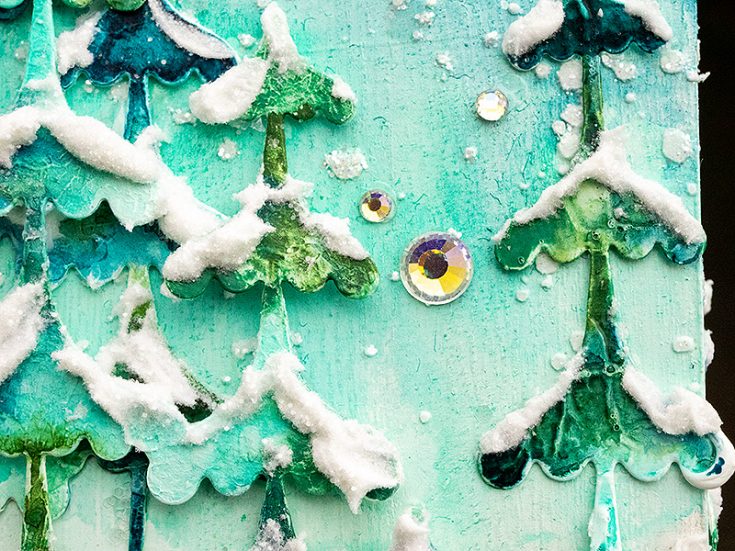
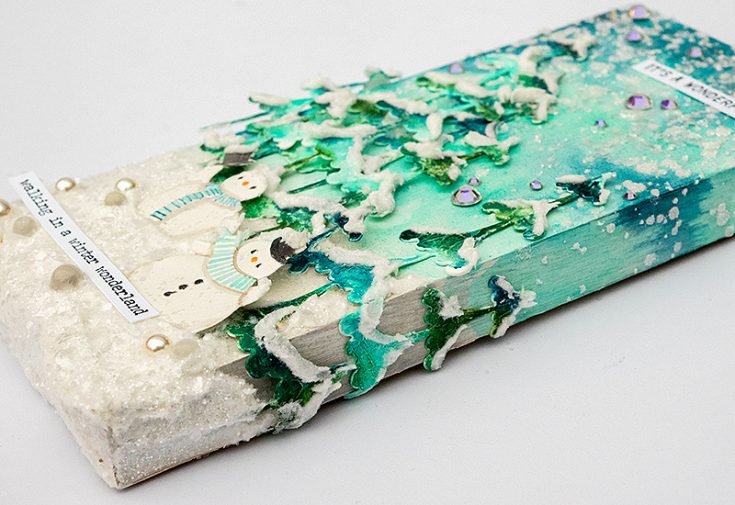
Make sure that you add texture paste over the base of the snowmen, to make it look like they are standing in the snow. Here you can see the fun combination of the larger mica pieces, the chunky glitter and the finer glitter.
The trees have interesting texture because of the gesso and since the Distress Paints have blended in different ways.
By making the design extend on the edges, you create a finished look and add interest.
I hope this tutorial inspired you to create some snowy mixed media project with lots and lots of sparkle. Thank you so much for looking! Happy crafting! –Anna-Karin
SUPPLIES:
|
Thanks so much to YOU our reader, for stopping by, and to Anna-Karin for being our guest!


