Friendship Panel: The Perfect Galentine’s Day Gift!
Hi friends! Happy Sunday! Please join us in welcoming special guest Paula Cheney with this gorgeous Galentine’s Gift idea! Read on and enjoy!

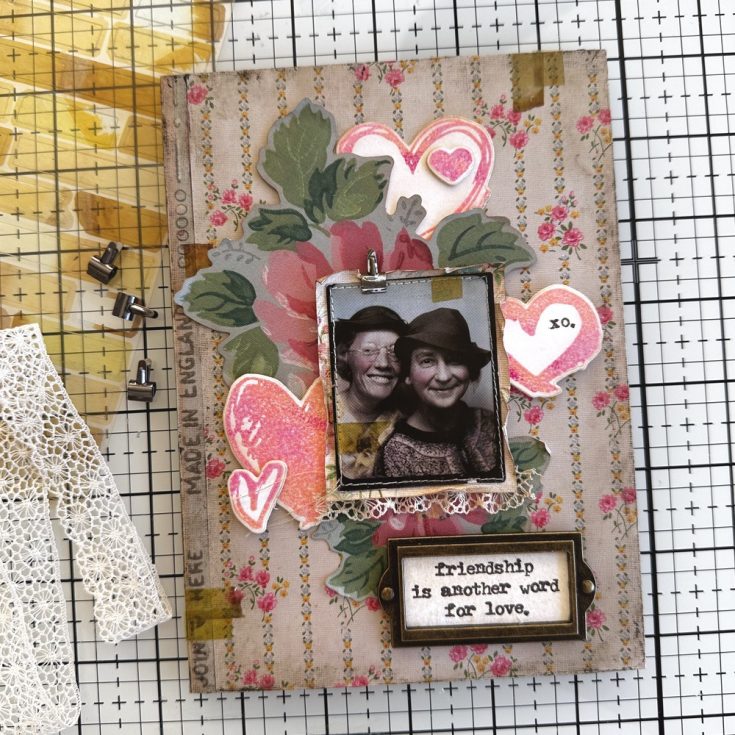
Have you heard of Galentine’s Day? It’s like Valentine’s Day, but for gals! Celebrated every year on February 13th, it’s all about honoring friendships, especially among women. I think it sounds like a lot of fun, so I wanted to create something special that could be given as a gift to a friend for this unique holiday. Let’s get started!
Substrate
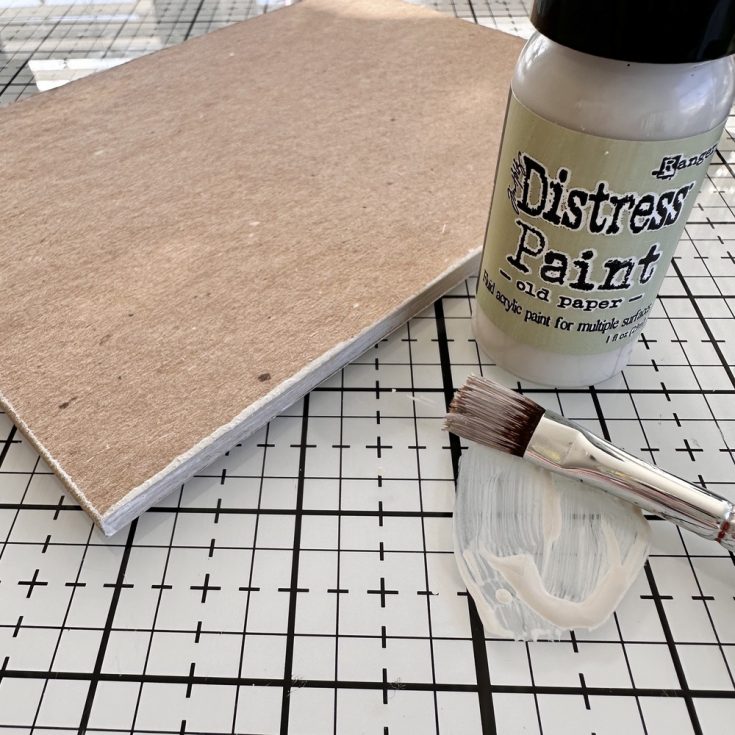
- Paint the edges of a Etcetera Rectangle Panel using Distress Paint, Old Paper. There are two sizes of panels in the package, this is the smaller of the two sizes (5.25 x 7.25”).
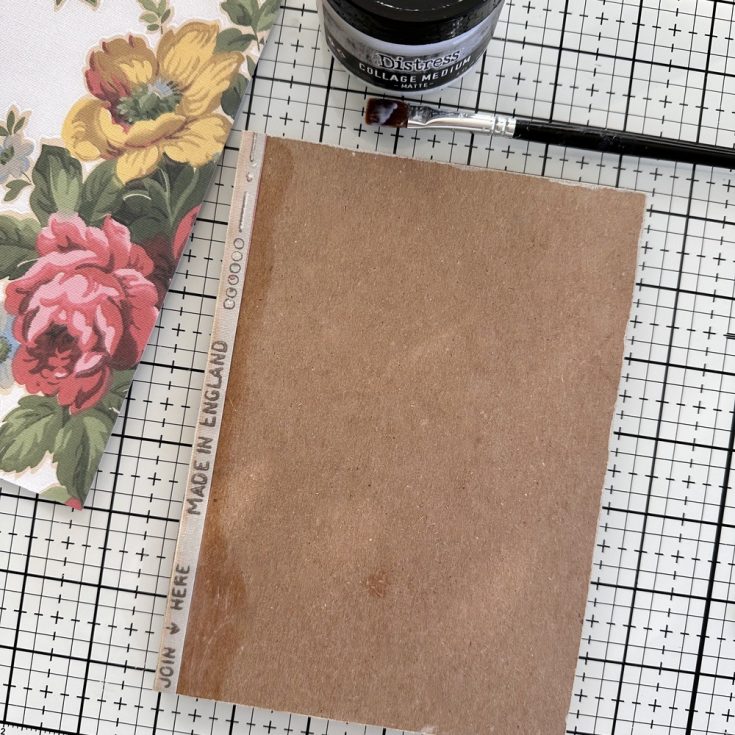
- Cut a strip from one of the papers in the Worn Wallpaper Scraps pack. Use Collage Medium to adhere the strip to the right side of the panel.
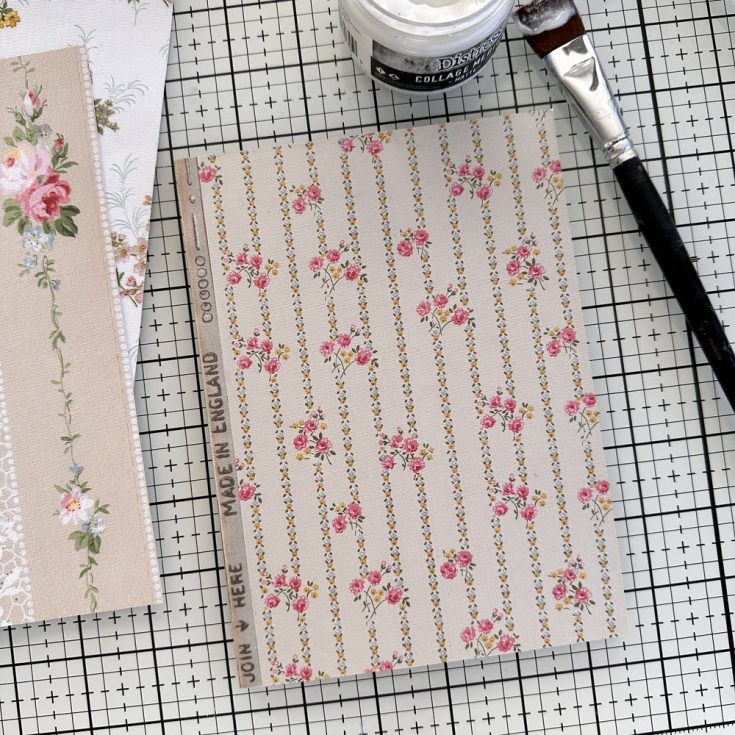
- Choose another wallpaper from the pack to cover the rest of the panel. There are 20 different wallpapers in the pack, so there is plenty to choose from! Also add a thin layer of Collage Medium over the surface to seal the paper.
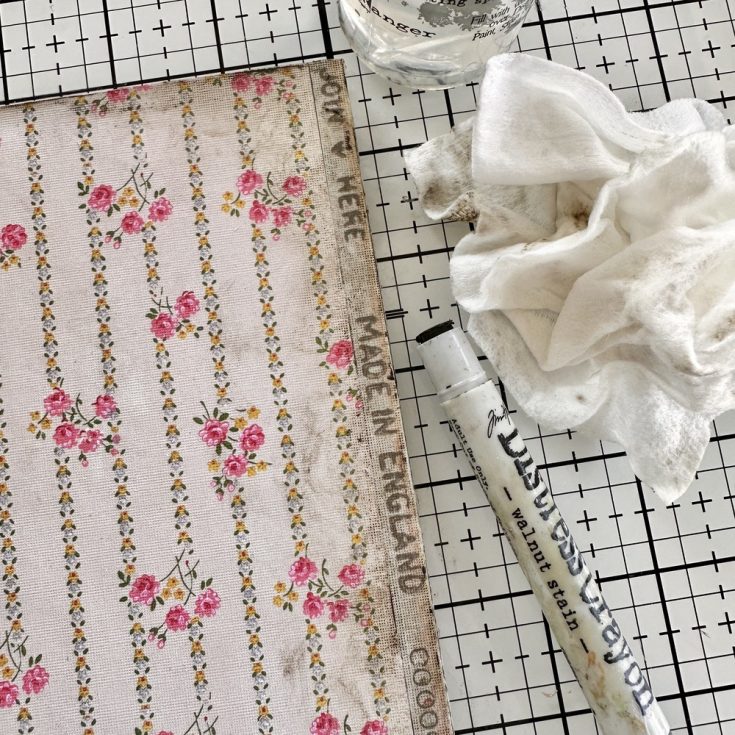
- Once the Collage Medium is dry, scribble Walnut Stain Distress Crayon on the edges. Use a damp fingertip or a wet wipe to rub the crayon along the edge. Pouncing with a wet wipe helps to mottle the crayon, so it looks like authentic aging. Set panel aside to work on the embellishments.
Embossing Glaze
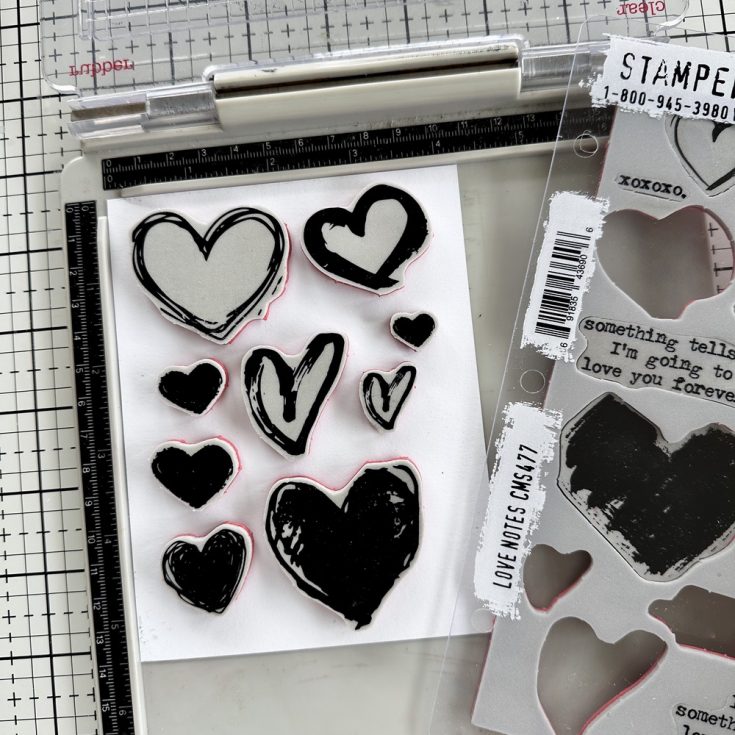
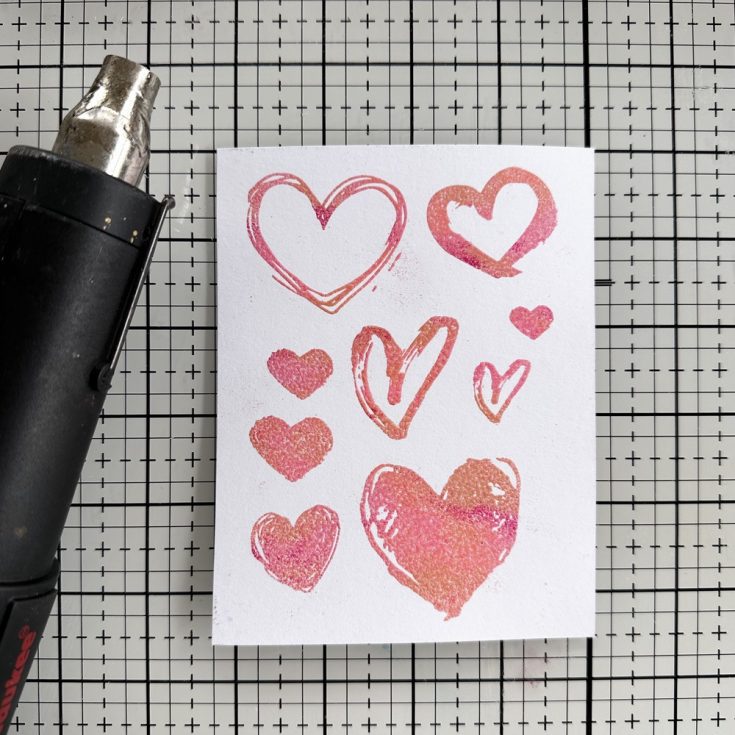
- Cut a piece of Distress Watercolor Cardstock 4.25 x 5.5”. Using a stamping platform, add multiple heart stamps from the Stampers Anonymous Love Notes stamp set, onto the smooth side of the cardstock. I am showing more hearts than I will use, but I figured if I was going to stamp, I might as well give myself some choices of size and shape.
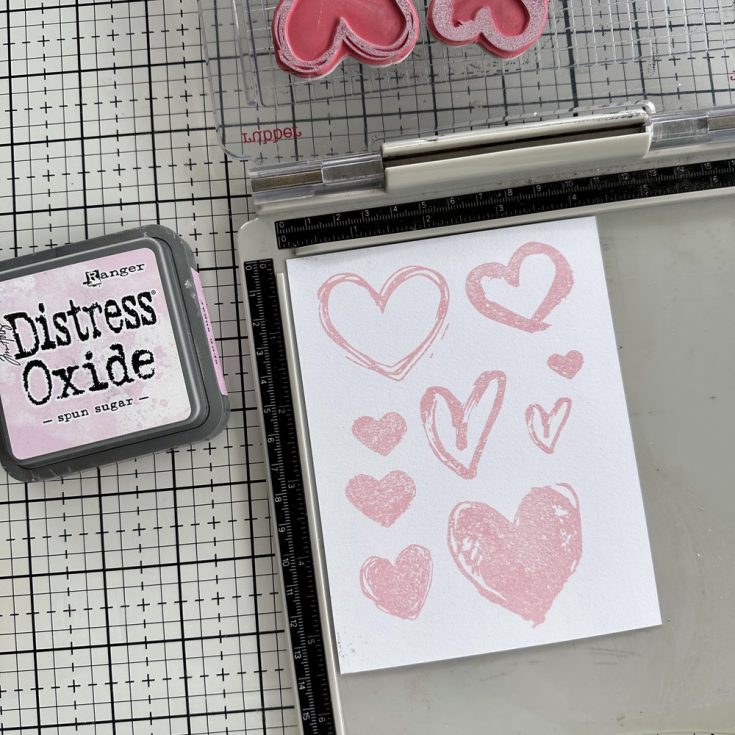
- Ink the stamps with Spun Sugar Distress Oxide and stamp on the cardstock.
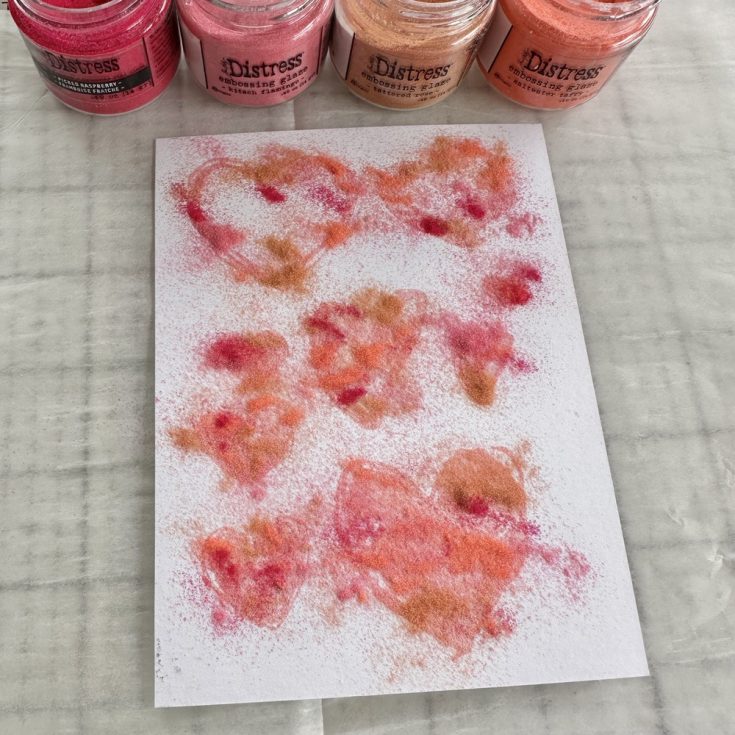
- Immediately sprinkle multiple colors of Distress Embossing Glaze over the top of the Oxide hearts. I used Picked Raspberry, Kitsch Flamingo, Tattered Rose, and Saltwater Taffy.
- With one hand underneath, slowly tap the card to move the excess Embossing Glaze to the side and off the card.
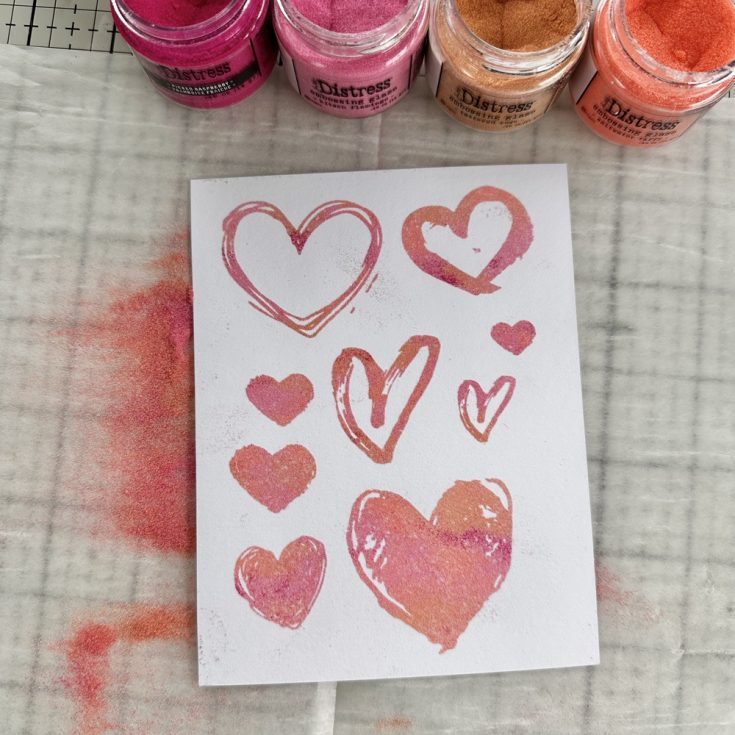
- Use an embossing gun to heat the Glaze. Watch carefully as the Glaze is quick to melt. If you heat it for too long, you can lose the texture of the Glaze.
NOTE: a Ranger heat tool will melt the Embossing Glaze, it just take a little longer than an embossing gun.
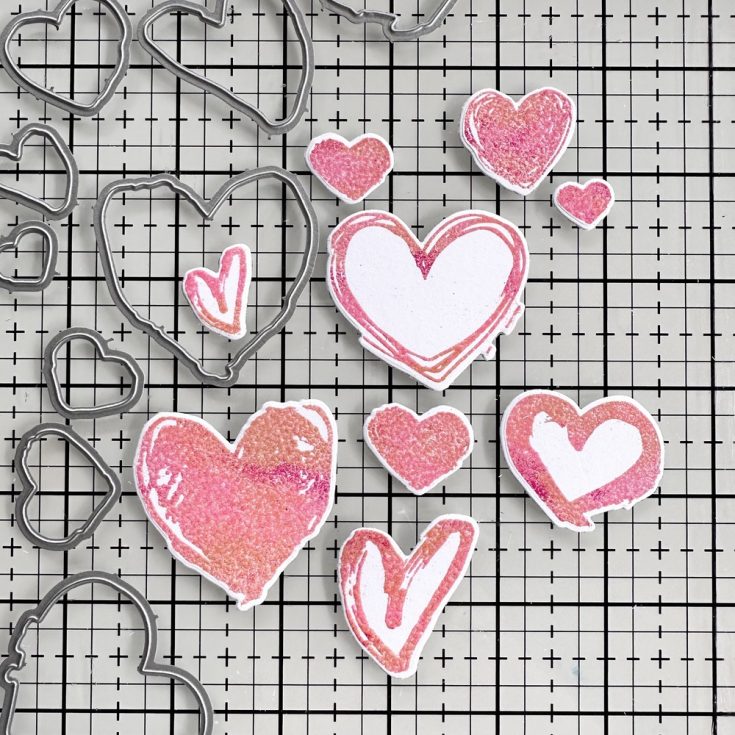
- Use the Simon Says Stamp Love Notes Wafer Dies to cut out the hearts using a die-cutting machine. The Simon Says Stamp dies are so perfect to get just the right cut for each heart shape!
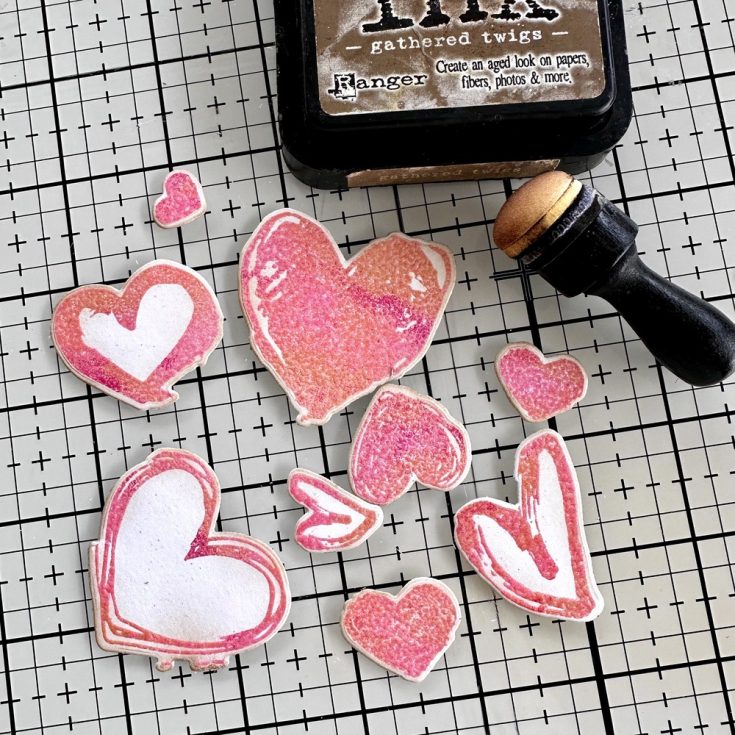
- Use a Mini Blending Tool to lightly ink the edges of the heart with your favorite brown Distress Ink color – mine is Gathered Twigs.
Embellishments
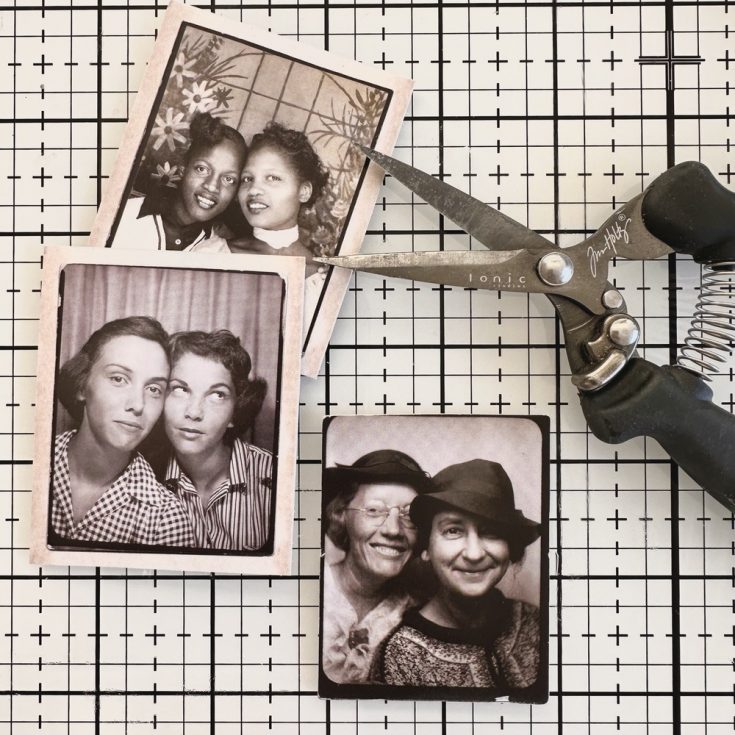
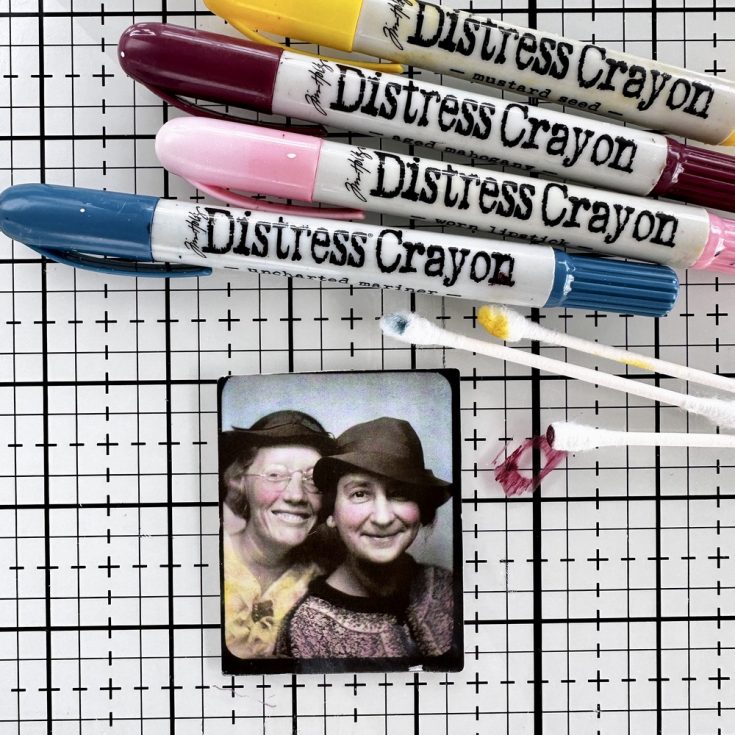
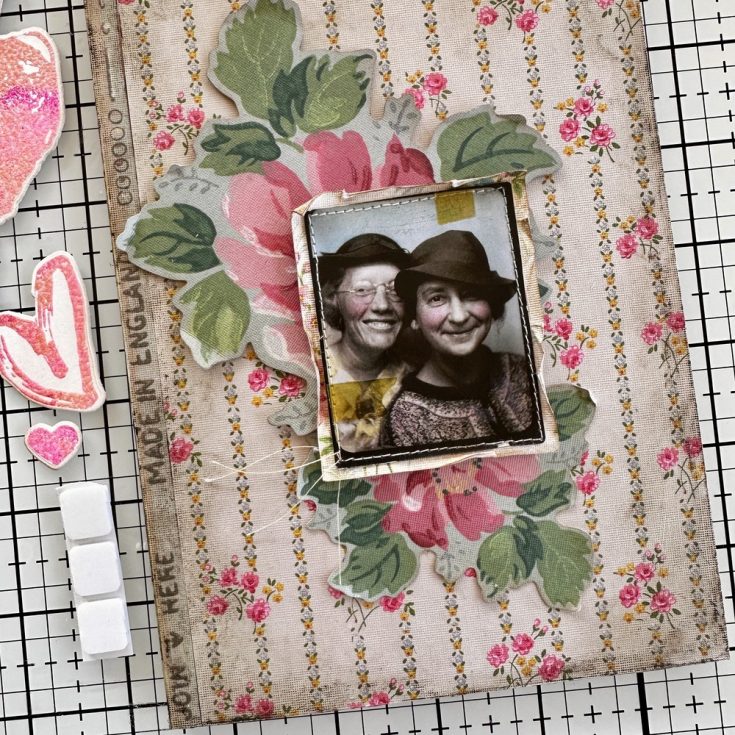
- Choose a Photomatic image to use for the centerpiece. Use Tonic Recoil Snips to cut around the image, leaving just the black frame around the photo. NOTE: You could also use one of your own photos (about 2 x 2.5”).
- You can easily tint the Photomatic image with Distress Crayons. For background or clothes, just scribble a bit of crayon directly on the image and rub with my fingertip to disperse the color. For small spaces, I like to use a cotton swab. Quality does matter with cotton swabs. Higher quality swabs are tight and will maintain their shape when rubbing or when picking up the crayon from the Studio Mat. It is well worth the extra dollar or two to get the best swabs you can when using them as a tool at your craft table.
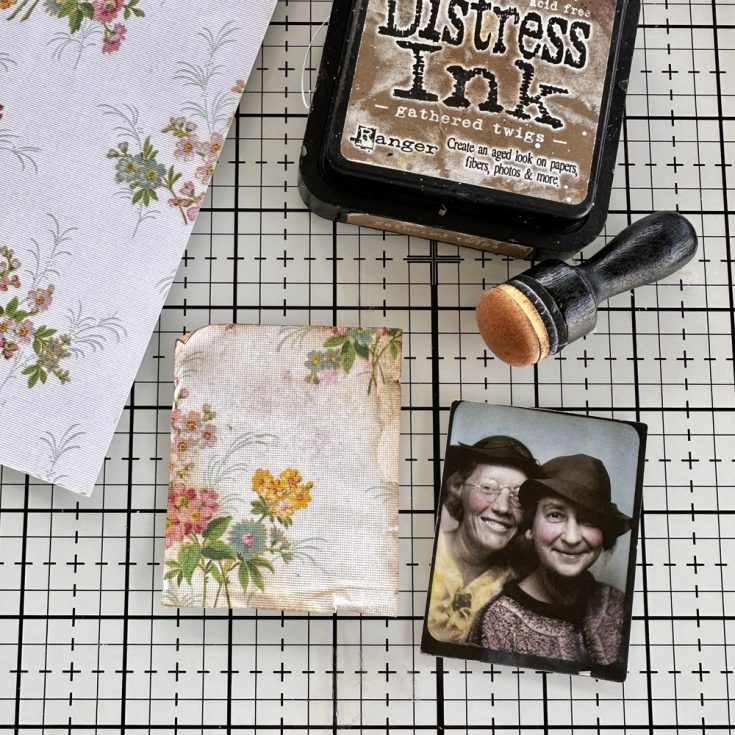
- Cut a small piece of Worn Wallpaper, just larger than the Photomatic image. Tear and crumple the edges of the paper, then lightly ink with your favorite Distress Ink.
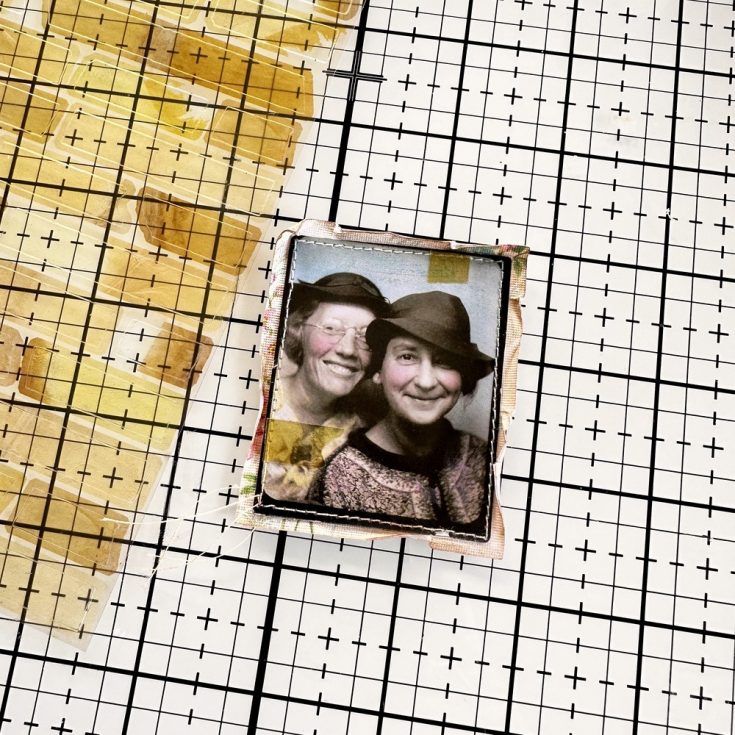
- Add the Wallpaper to the back of the image with Collage Medium or by sewing the two pieces together. Add a few pieces of Cello Sticker Tape (my favorite!).
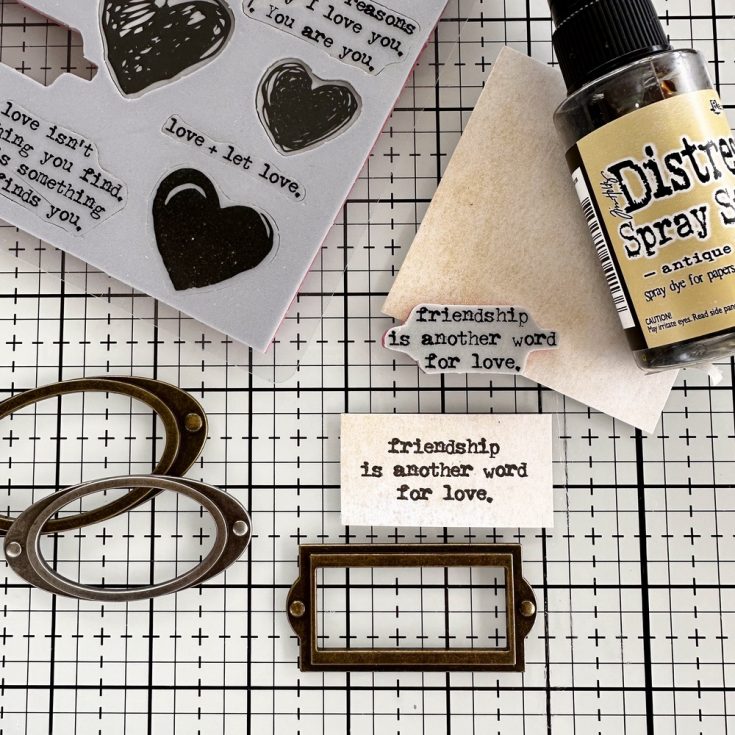
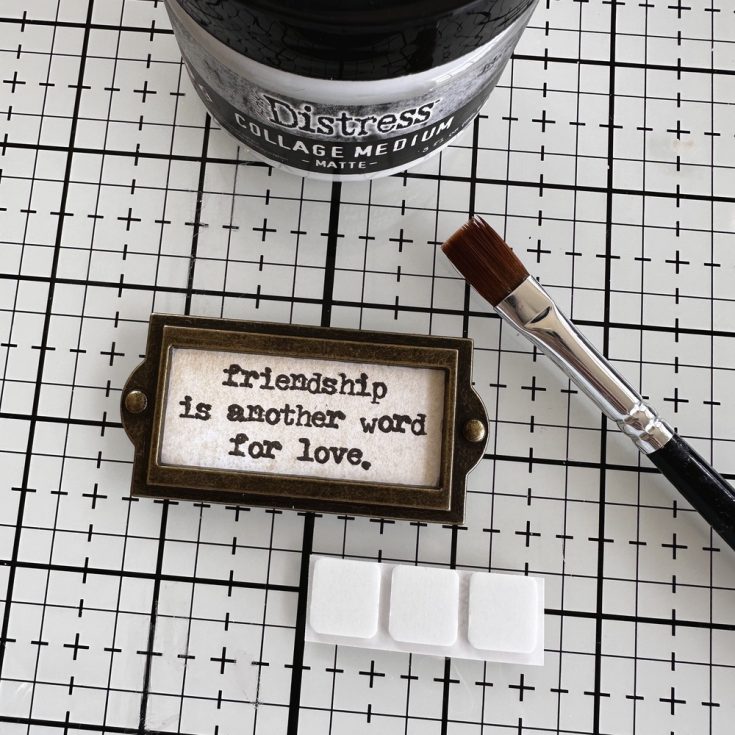
- For the sentiment, I chose one of the sayings that are part of the stamp set. I sprayed a small piece of Watercolor Cardstock with Antique Linen Distress Spray. Once dry, I stamped it with Scorched Timber Oxide Ink and cut it to fit one of the idea-ology Label Frames.
- Glue the sentiment to the back of the Label Frame with Collage Medium. Once secure, add three Simon Says Stamp 3D Foam Squares to the back.
Assembly
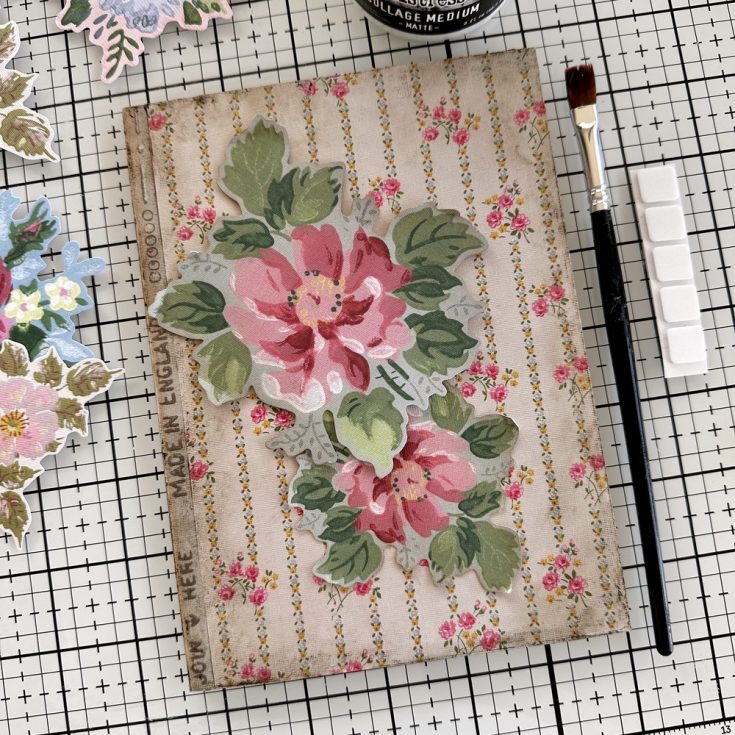
- Pull a few floral elements from the Worn Wallpaper Scraps pack to serve as the background for the collage. The smaller piece was added with Collage Medium. The larger piece was added to Simon Says Stamp Thin 3D Foam Squares so it floats over the small piece.
- Adhere the Photomatic image with three Simon Says Stamp 3D Foam Squares. I put them right down the center back so I could slip hearts in on the left and right sides.
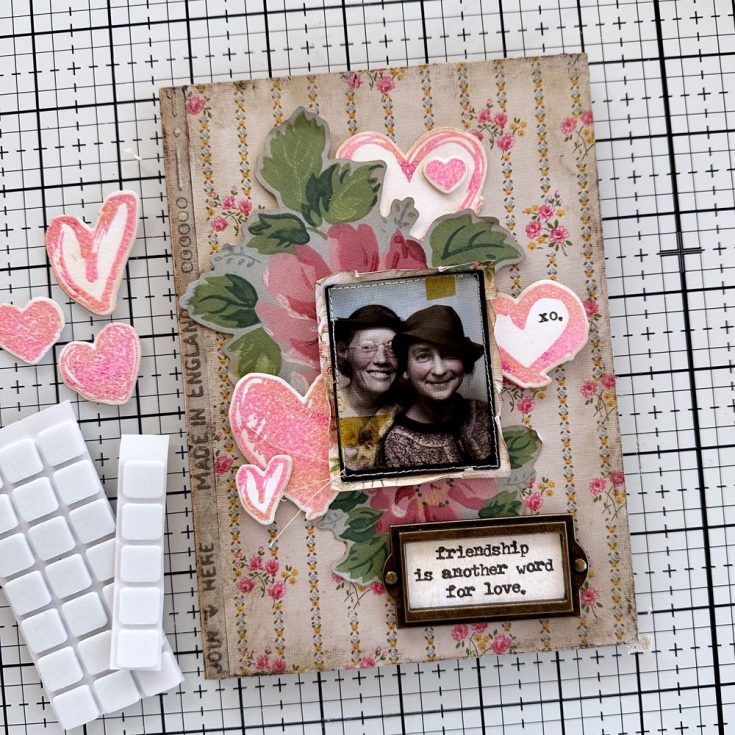
- Using multiple thicknesses of foam squares, add the embossed hearts to the collage. Notice I added “xo” to the open heart on the right? That is also from the Love Notes stamp set, I just didn’t ink the entire image, leaving just xo. Also, add your sentiment with the foam squares that were previously added.
- Use Collage Medium to add a bit of vintage lace below the photo. I also added Cello Sticker Tape and a Tiny Clip for a bit of added detail.
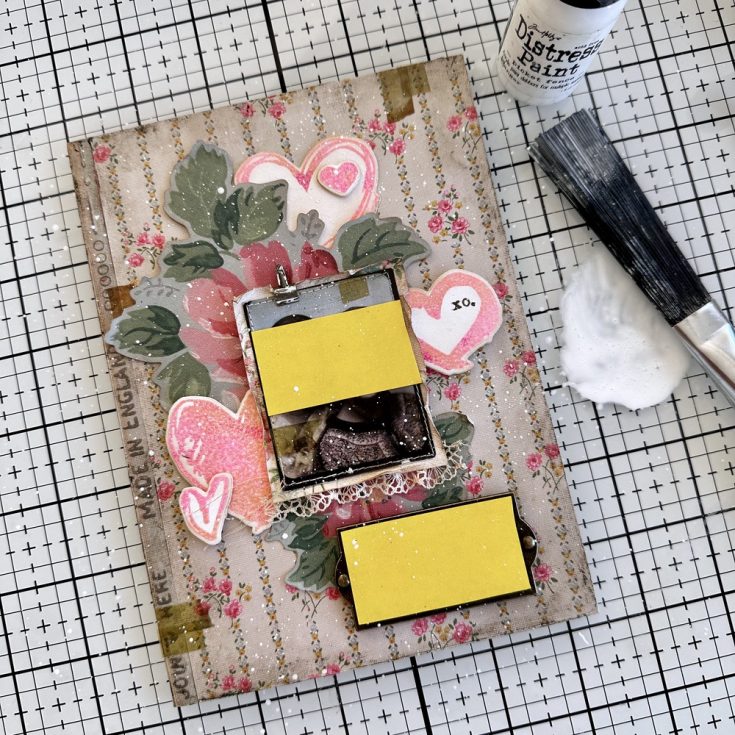
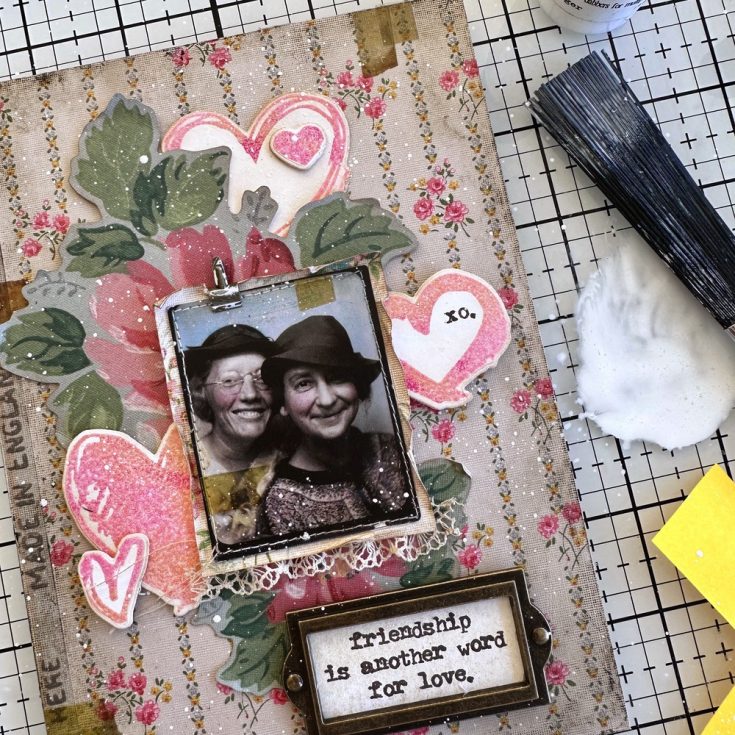
- Cover the photo and sentiment with half a post-it note. Squeeze a dime size circle of Picket Fence Distress Paint on to Studio Mat. Add a splash of water and stir with a Distress Splatter Brush. Flick paint over the surface.
Remove the paper masks and set aside to dry.
SUPPLIES:
|


Thanks so much for stopping by, and thanks to Paula for being our guest!
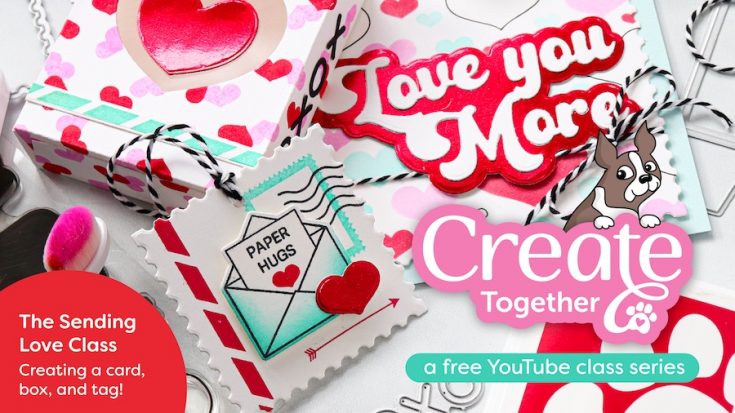
Our Sending Love Class is Now Available!
A Huge THANK YOU to Everyone Who Joined Us Live for Our First Exciting Virtual Class of 2025!
We had an absolute blast Creating Together with all of you, and we hope you enjoyed it just as much as we did! Your energy, creativity, and enthusiasm made this class unforgettable, and we’re so grateful to have shared this special experience with such an amazing community.
Missed the class? No worries! You can catch all the fun whenever it’s convenient for you. Just click or tap the image above to watch the class on-demand—pause, rewind, and rewatch as much as you’d like to soak in every detail and technique!
Now, let’s dive right into the three fun projects we created together and the supplies you’ll need to bring them to life. Get ready to spark your creativity all over again—let’s keep the magic going!
Project #1 Card:

SUPPLIES:
|


Project #2 Box:

SUPPLIES:
|


Project #3 Tag:

SUPPLIES:
|


Guess what? If you had a blast in this class, make sure you’re subscribed to our blog, newsletter, and SMS updates! You’ll be the first to know about our next fun-filled virtual class event and kit!
Our Sending Love Class is LIVE today! Create Together with Heidi + Nina-Marie!
Get ready to spark your creativity and spread some heartfelt vibes because Our Sending Love Class is LIVE today at 12 PM ET! 🎉 Join the amazing Heidi + Nina-Marie for an inspiring, joy-filled session where you’ll create beautiful projects straight from the heart. Whether you’re a seasoned crafter or just love adding a personal touch to your work, this class is packed with creative energy, fresh ideas, and all the love you need to make something truly special.
Don’t miss out on the chance to craft alongside two dynamic, creative powerhouses who’ll guide you step-by-step, share their best tips, and keep the good vibes flowing. 💌✨ Grab your supplies, bring your passion, and get ready to send a little love out into the world—one masterpiece at a time. Set your alarms, mark your calendars, tap the bell to be notified when we start, and we’ll see you LIVE at 12 PM ET! 🚀


