You Are My Favorite: A Can’t Miss New Collection!
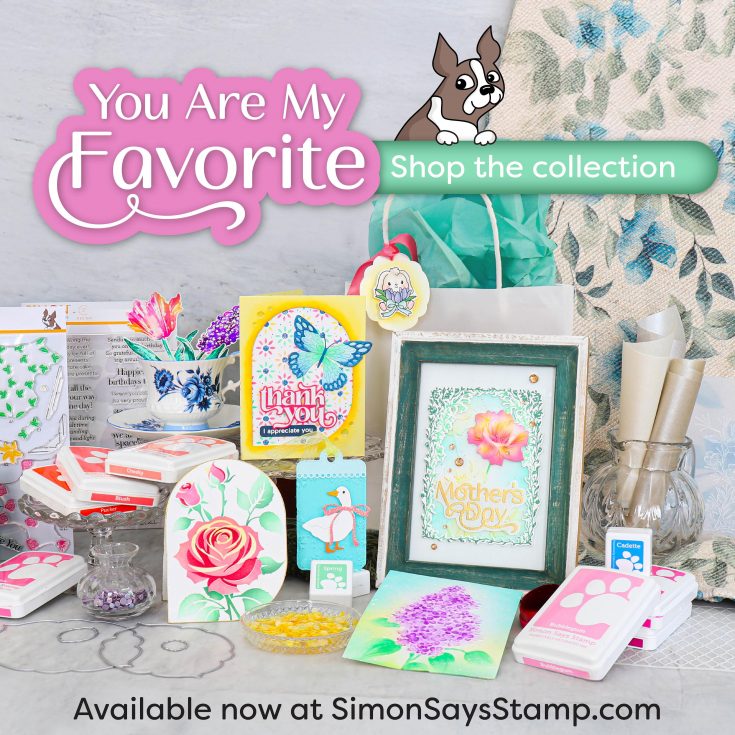
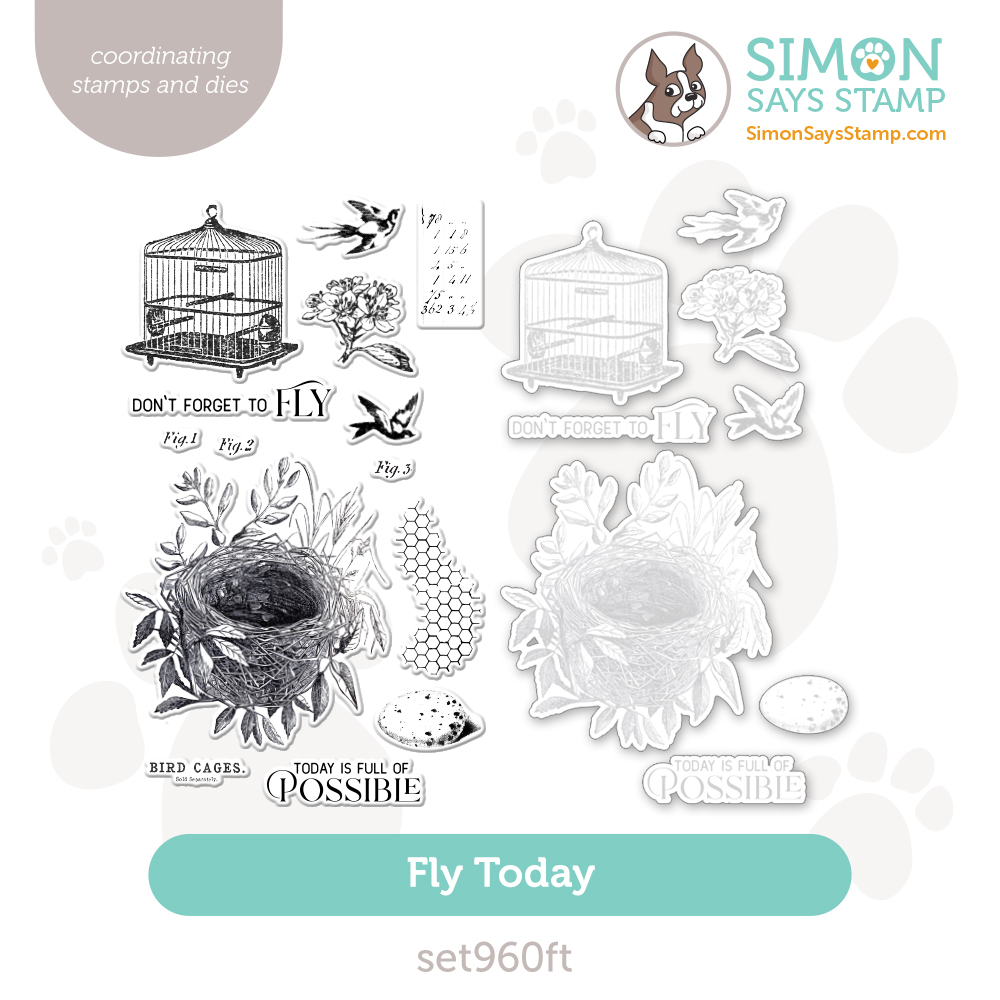
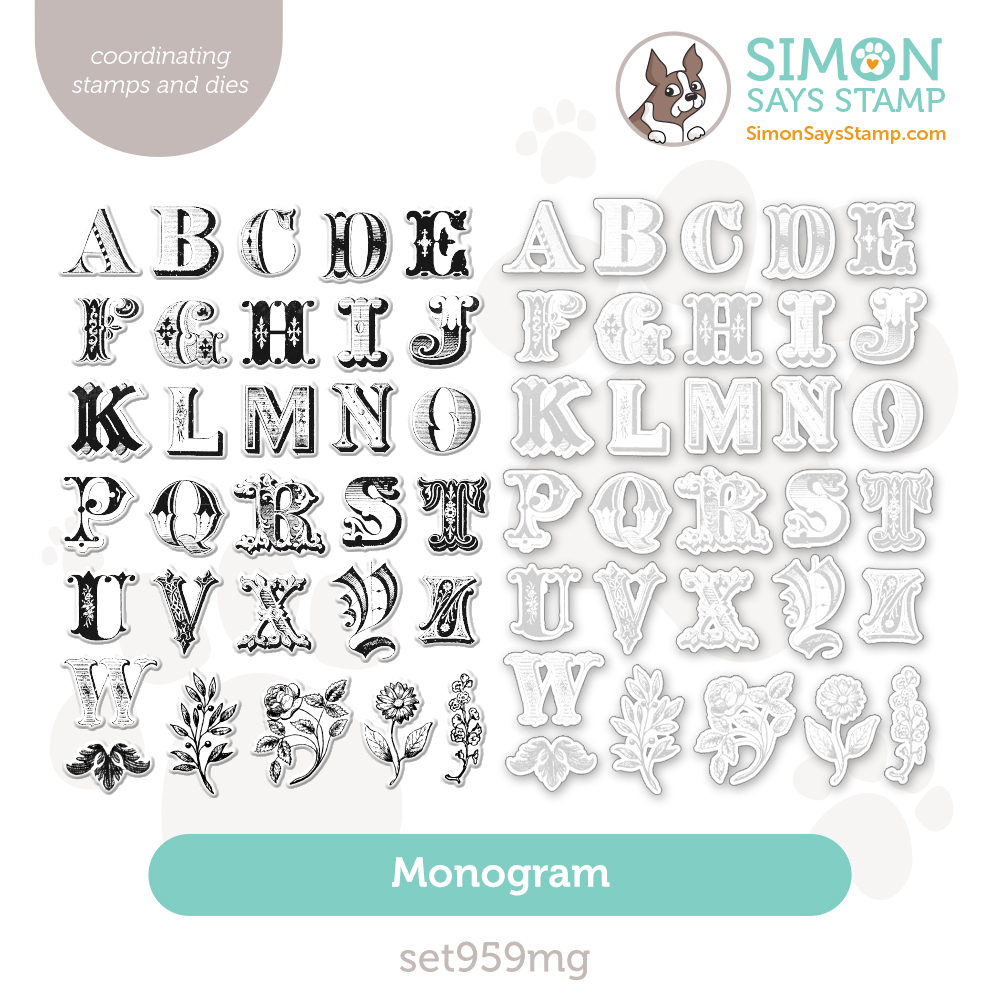
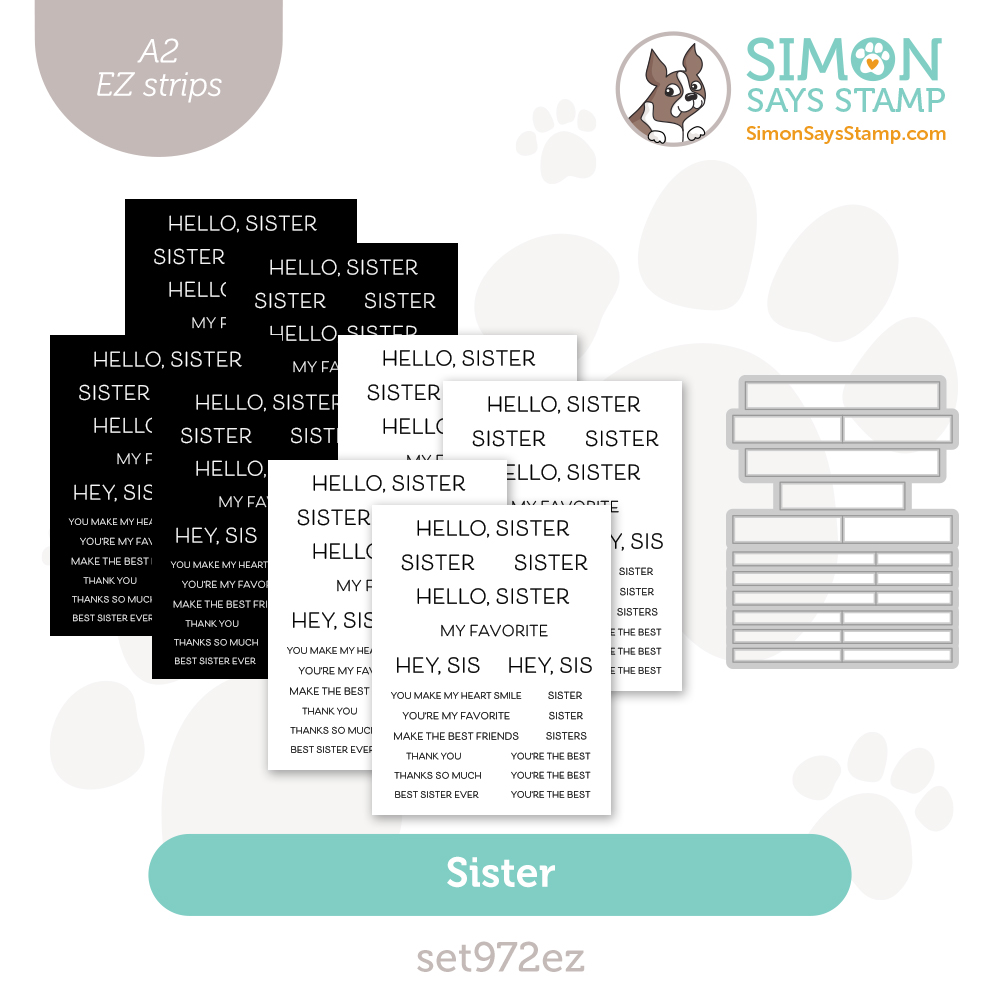
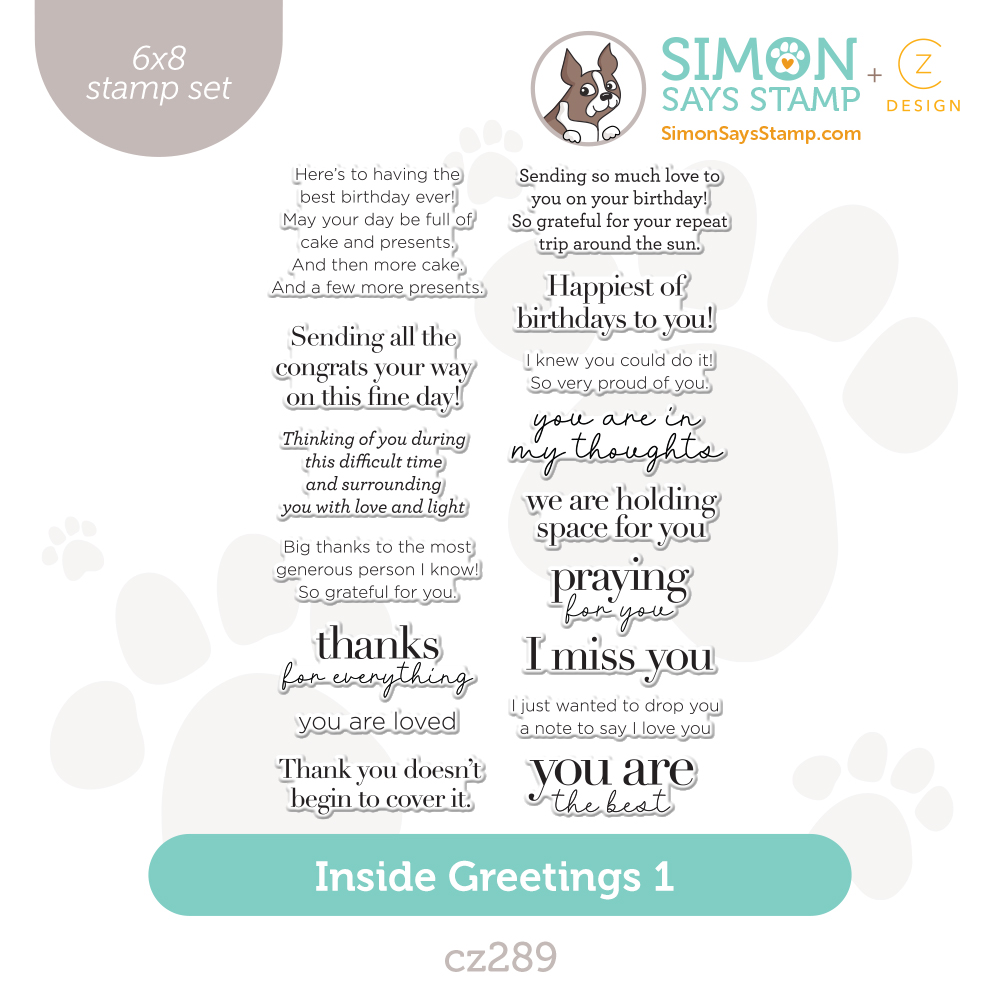
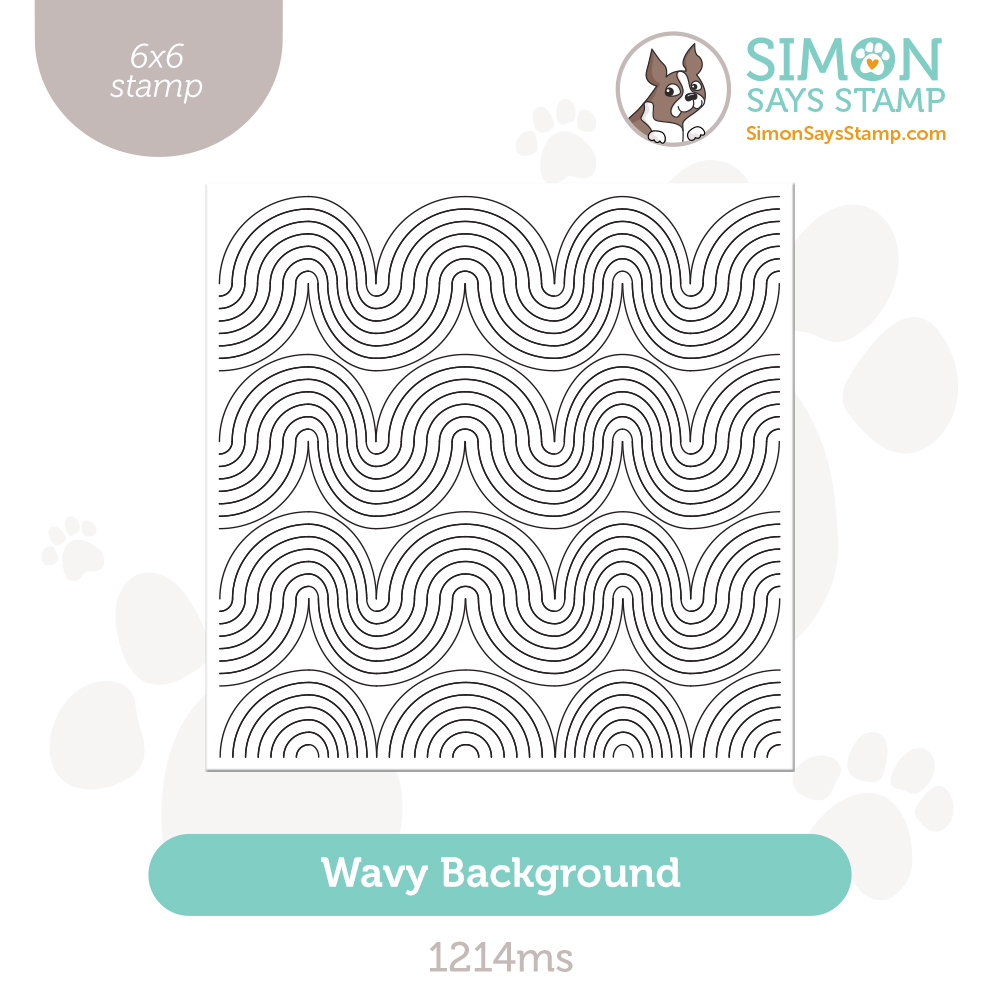
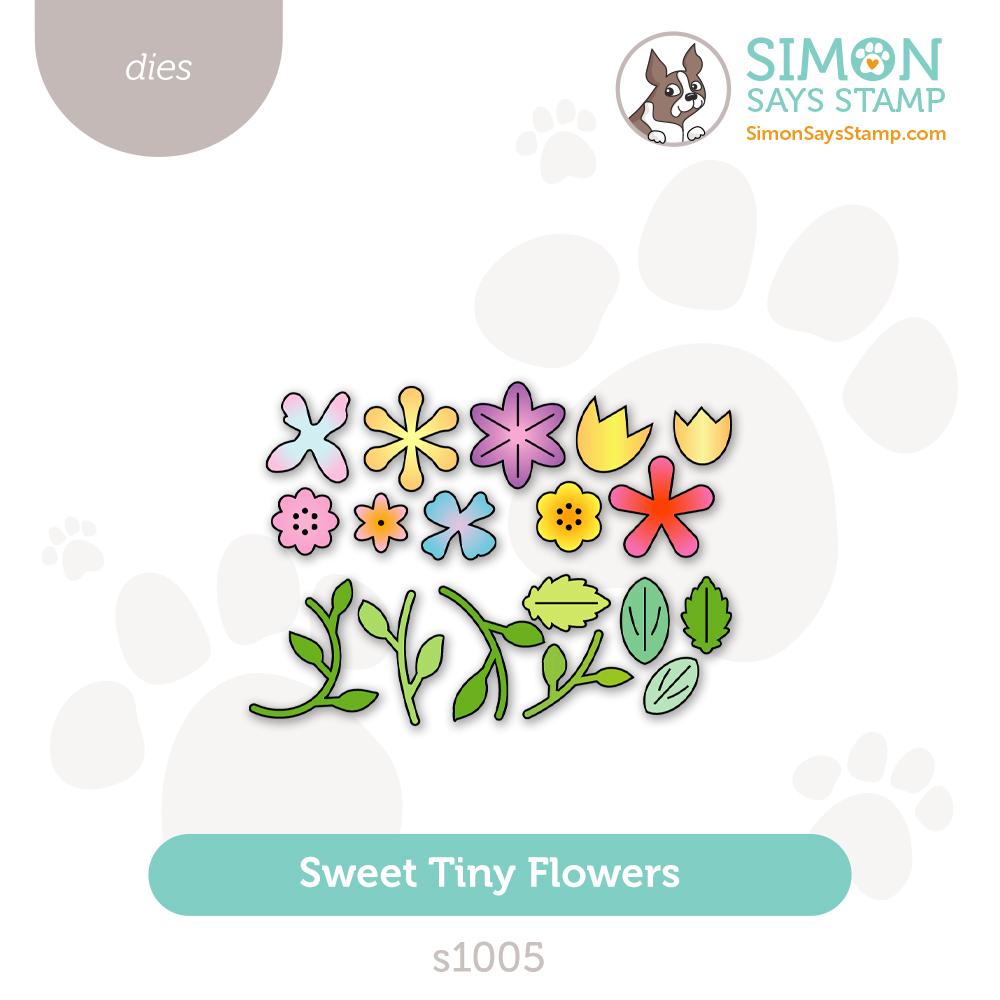
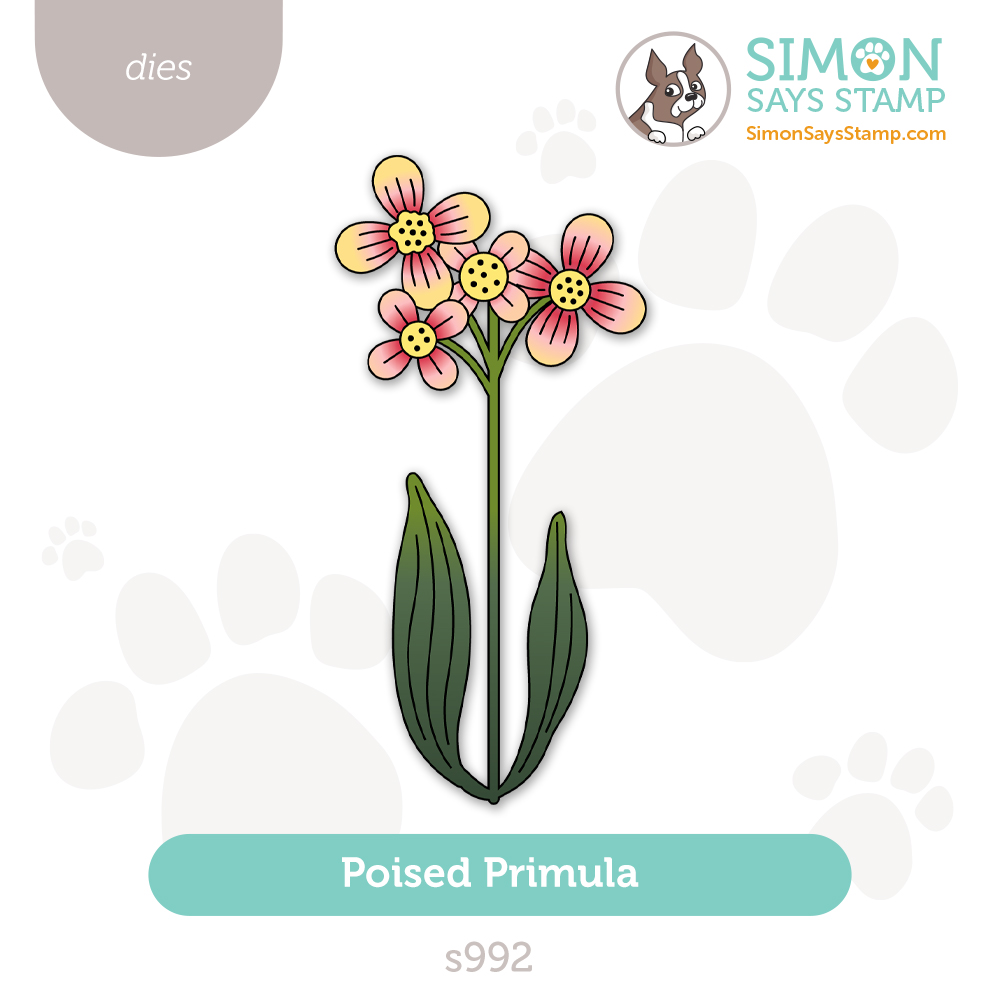
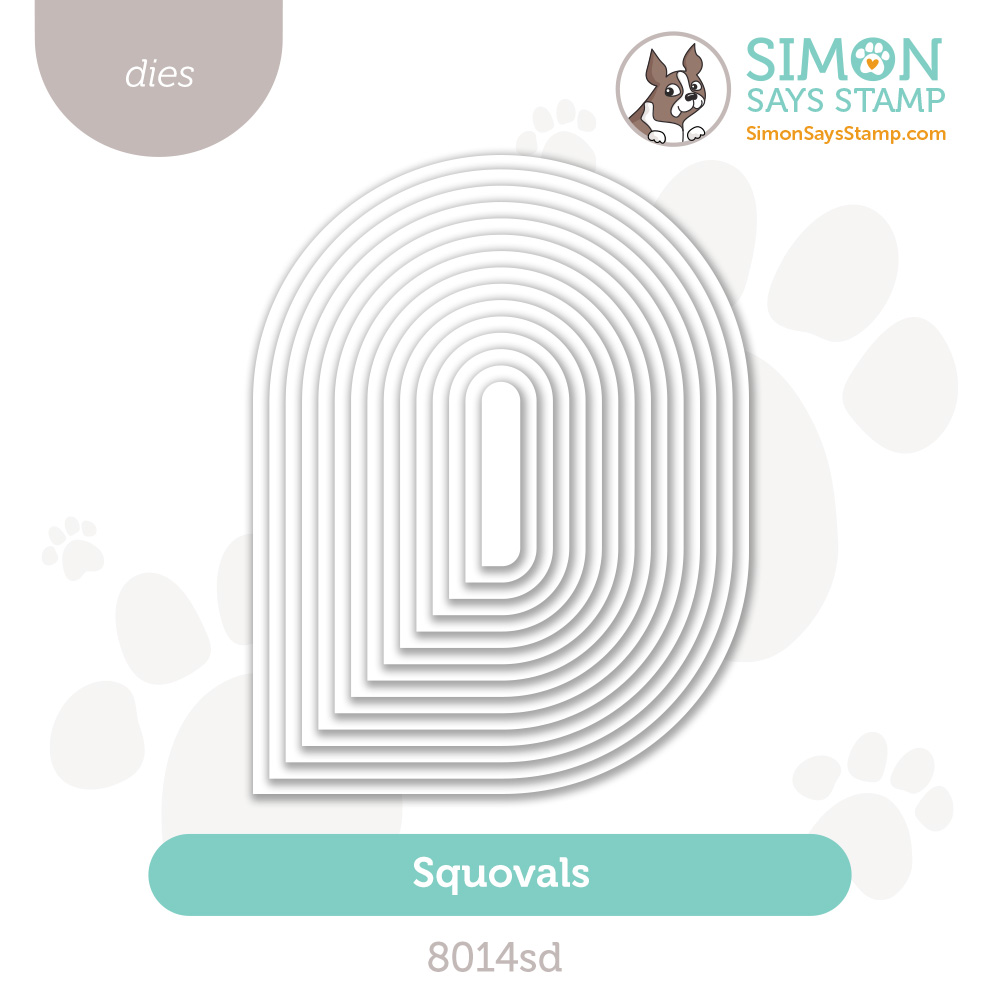
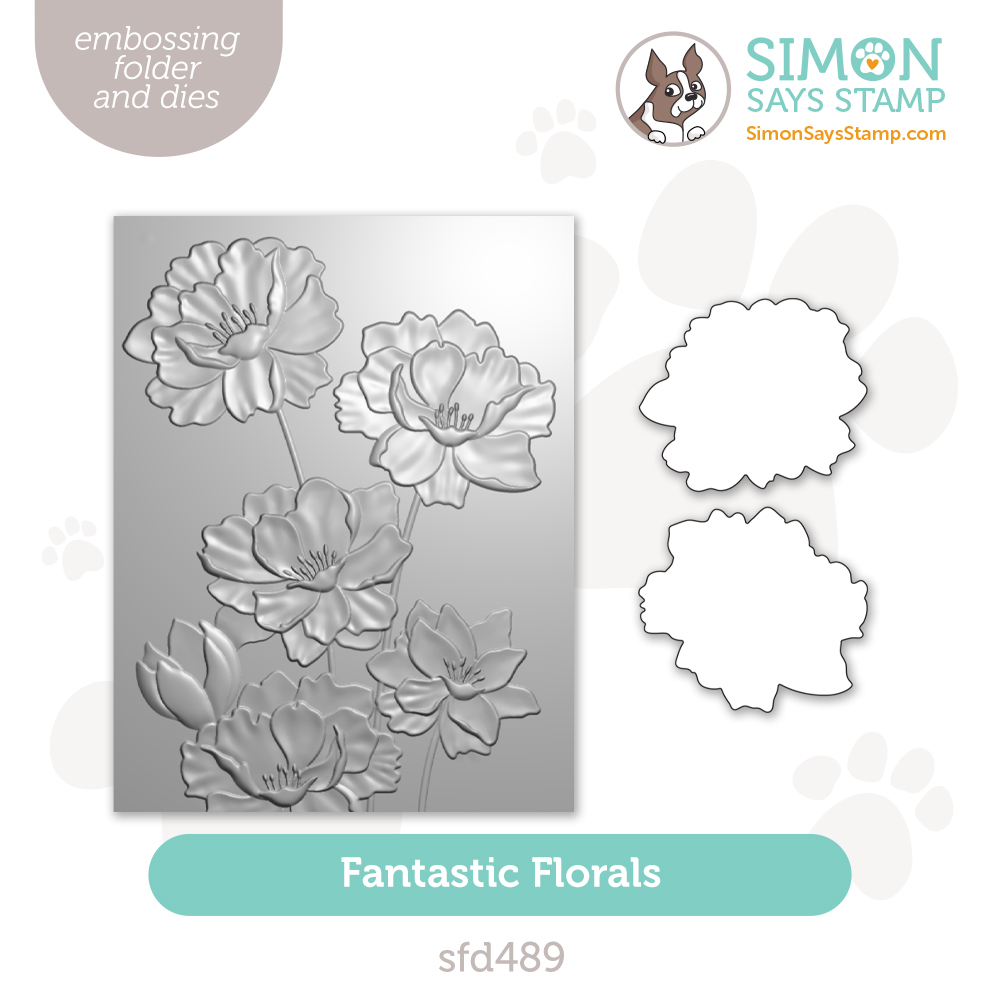
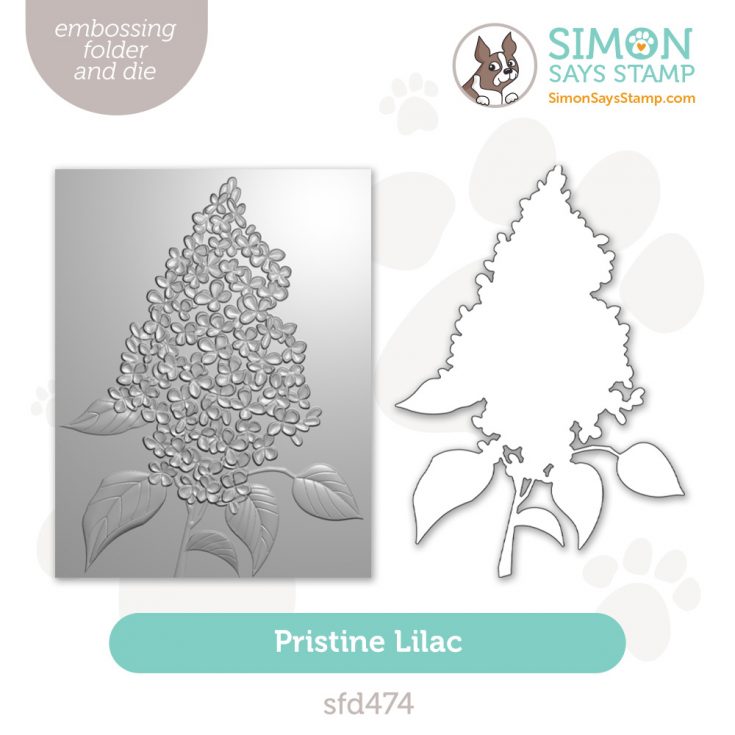
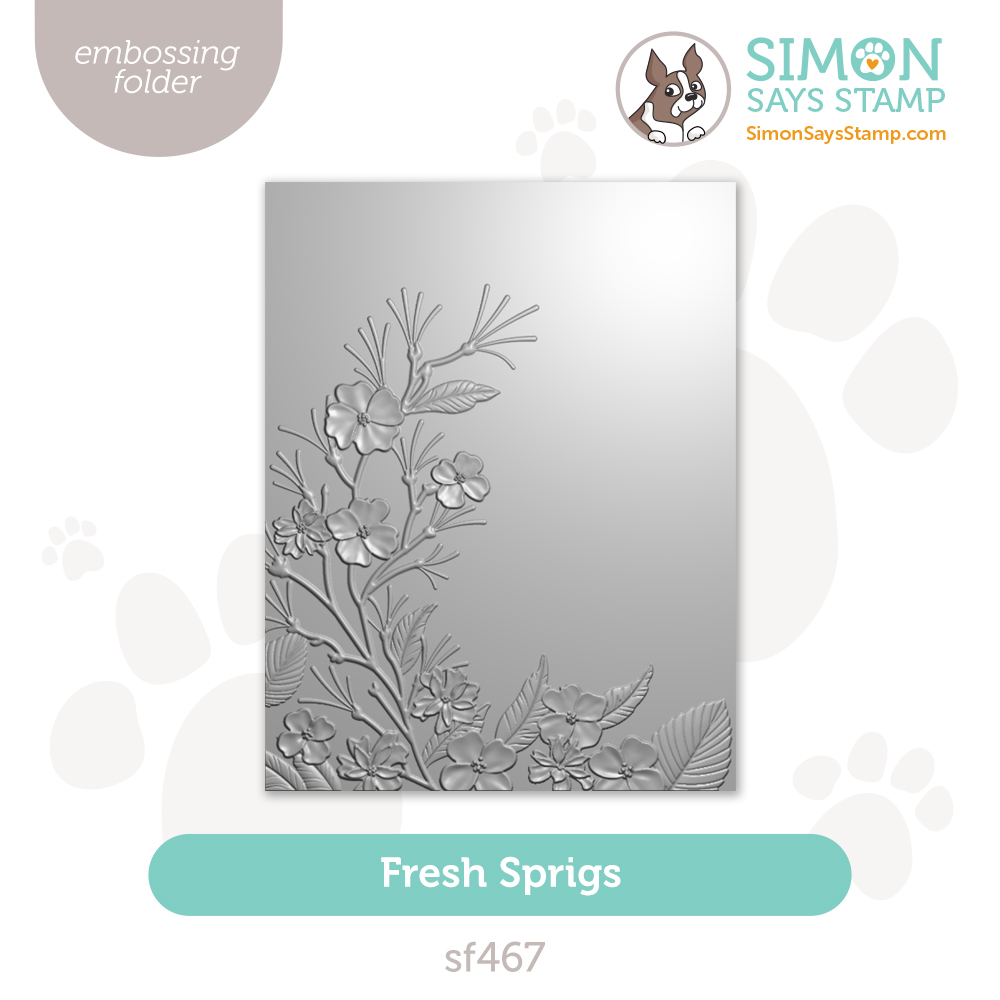
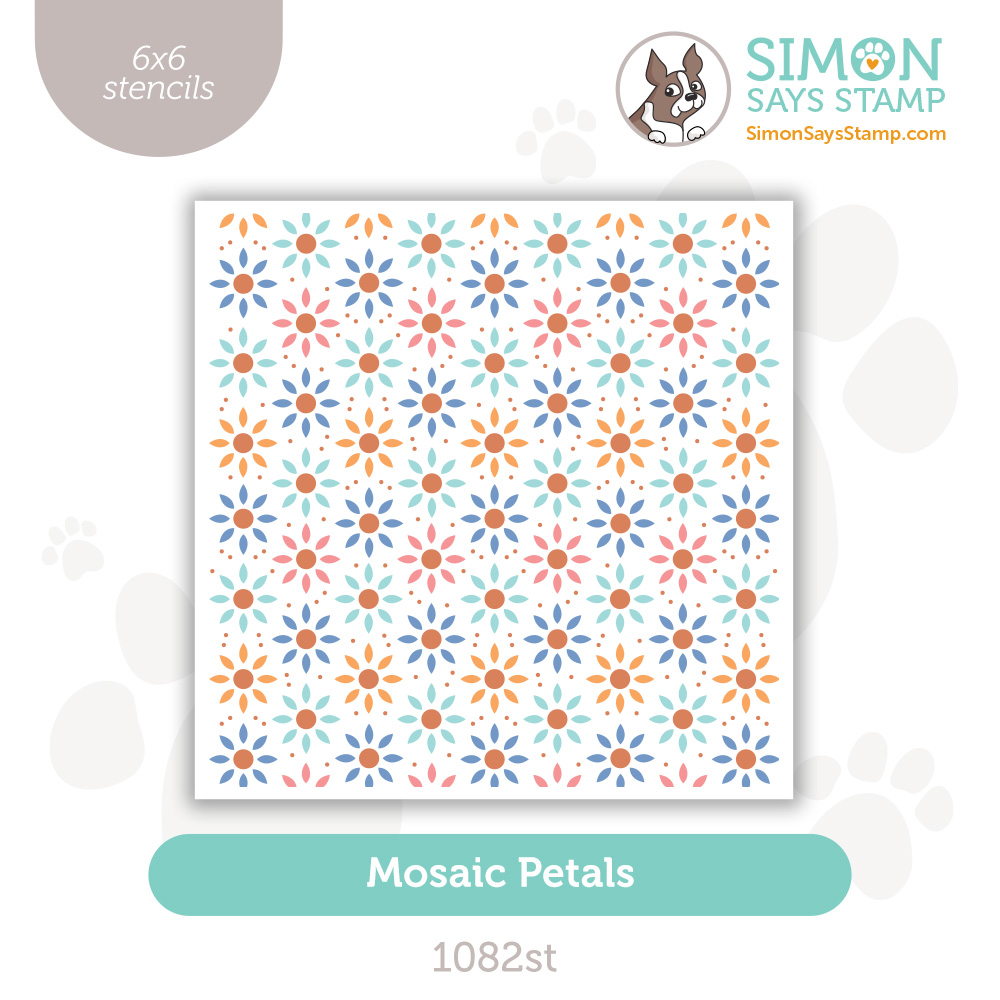
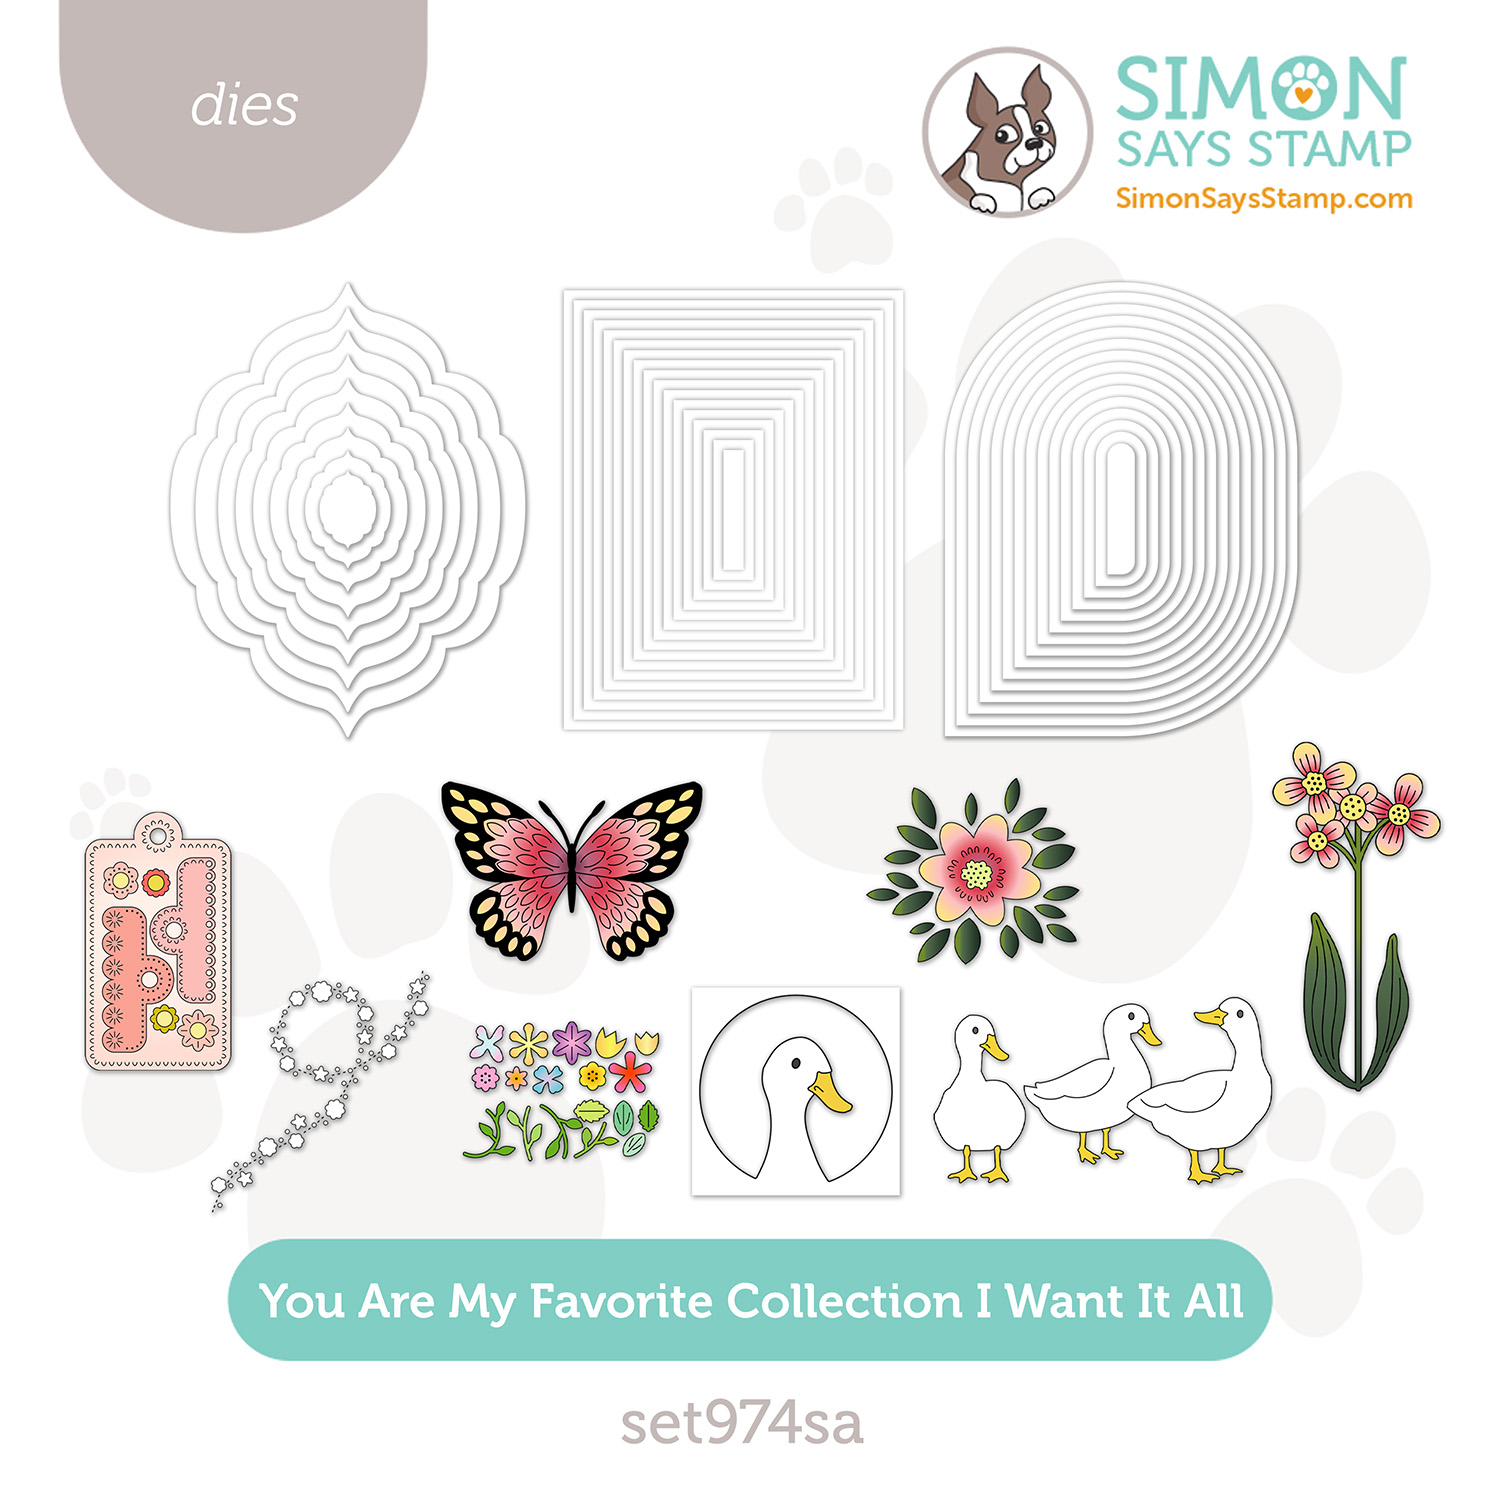
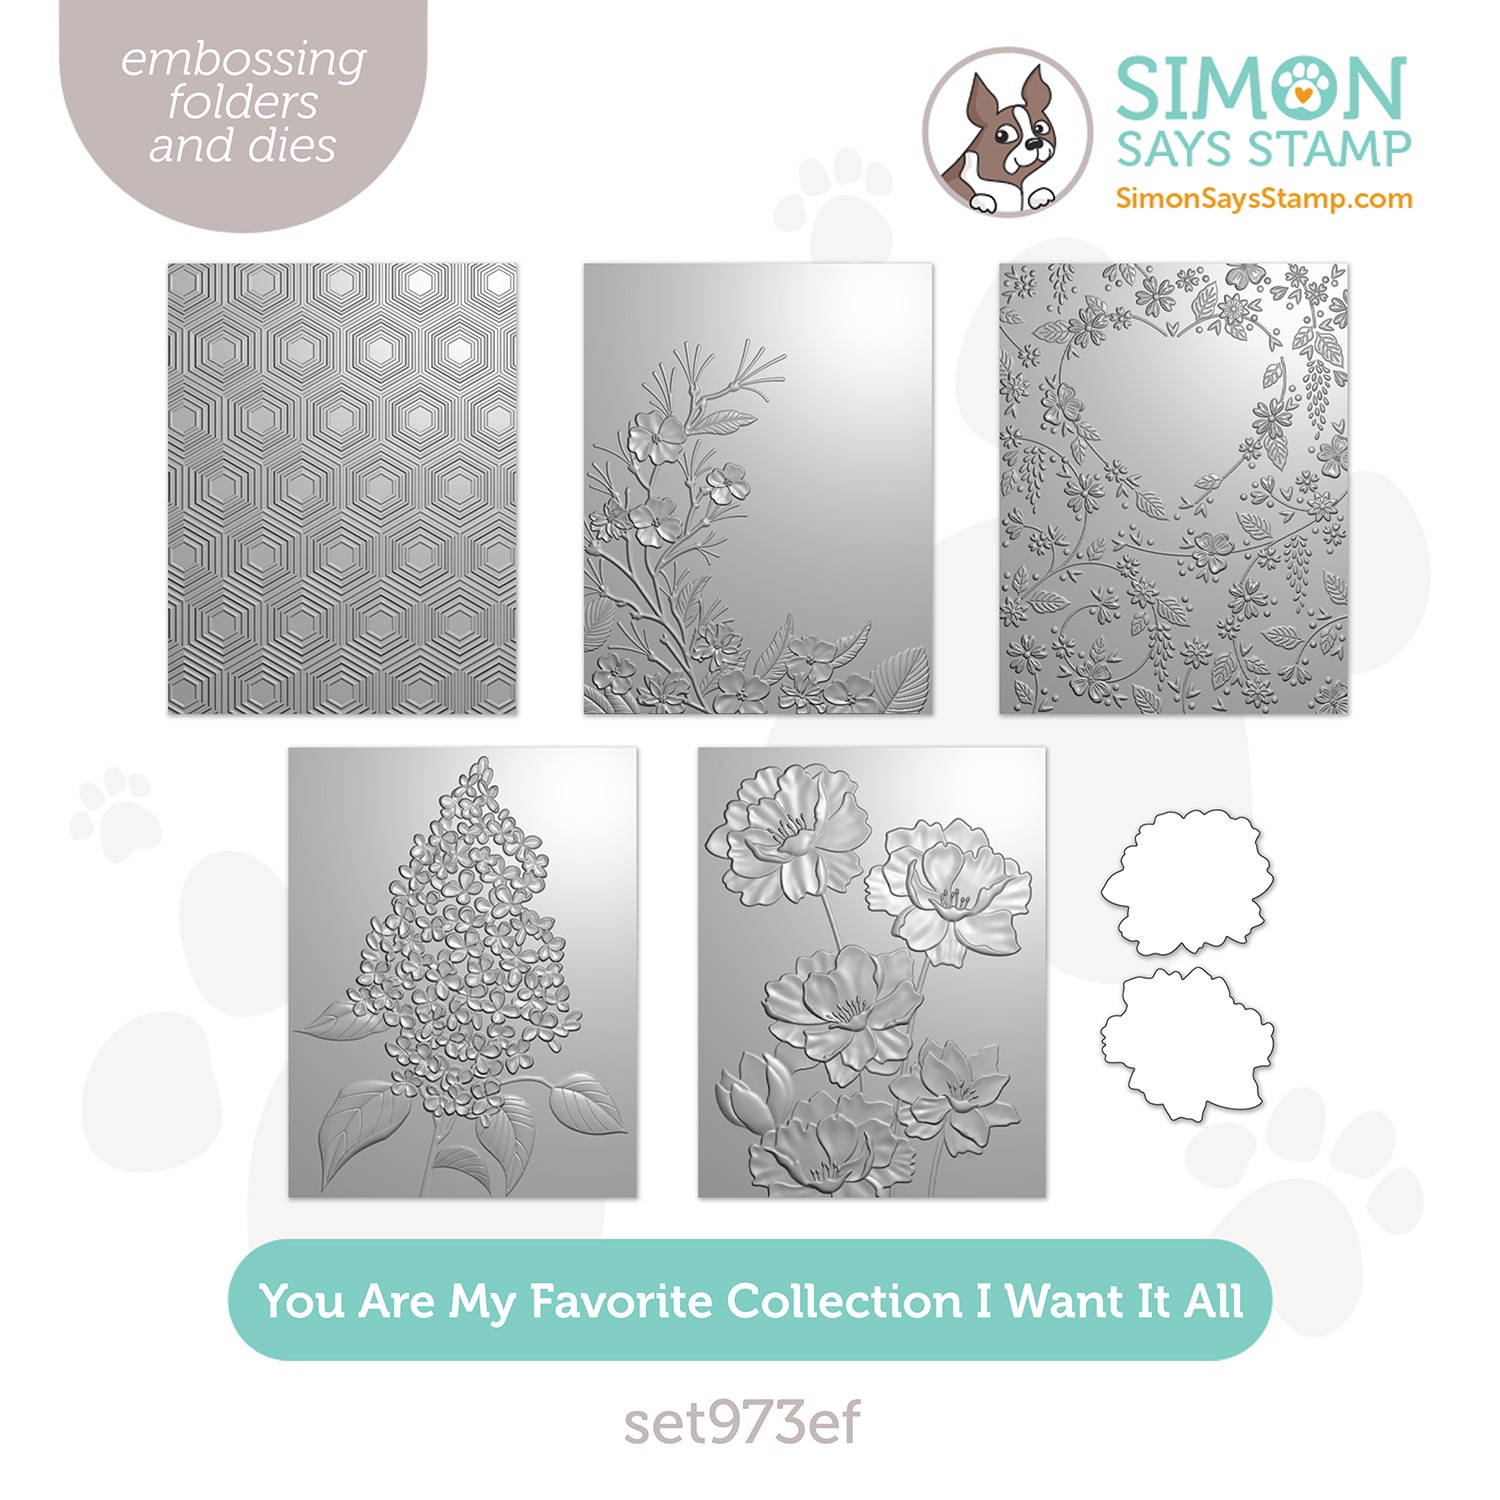
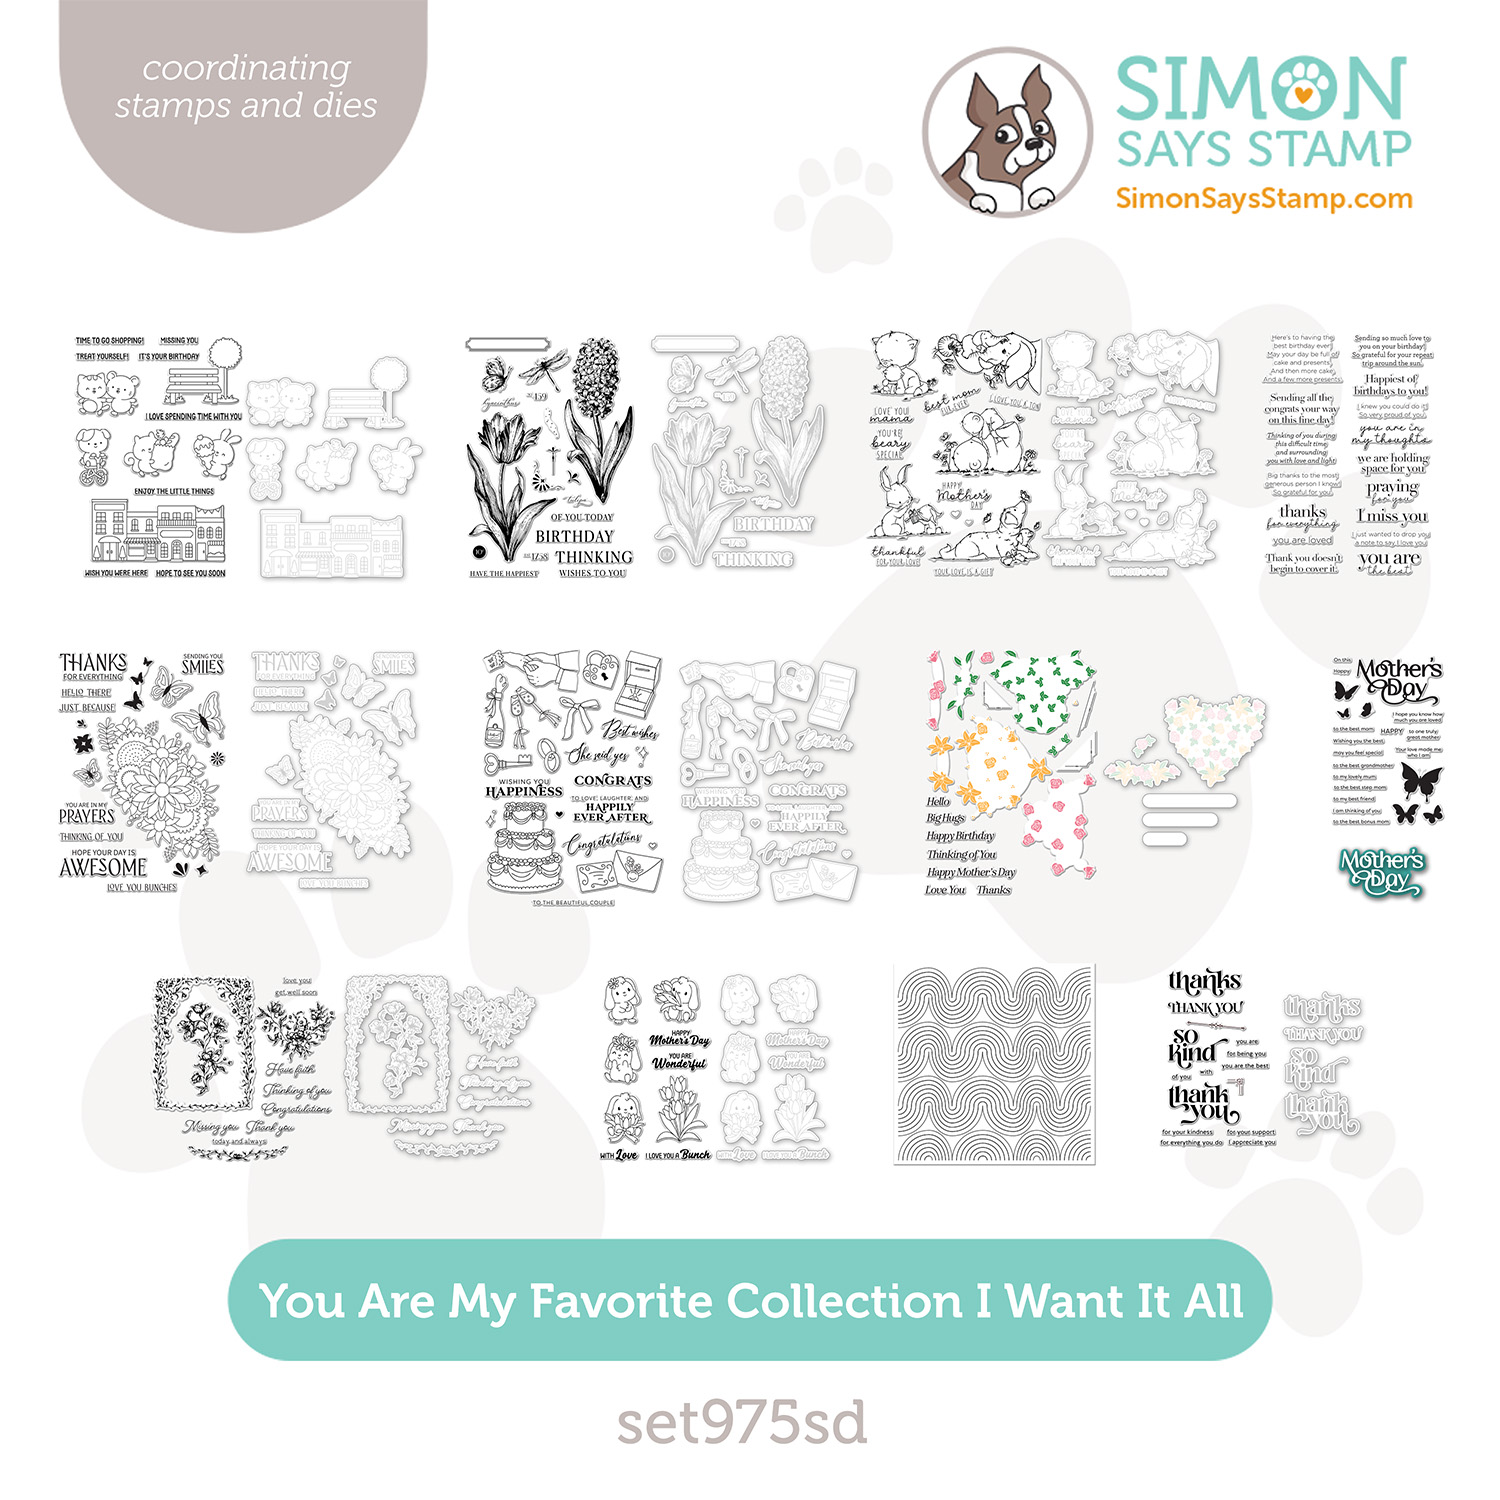
In case you were wondering, You Are My Favorite! Our latest collection abounds with must-haves like versatile nesting dies A2 Rectangles, Petal-Tipped Labels, and Squovals; mom-themed sets like Mother’s Day and Love You, Mama; and flowery goodness like our Fantastic Florals and Pristine Lilac embossing folders.
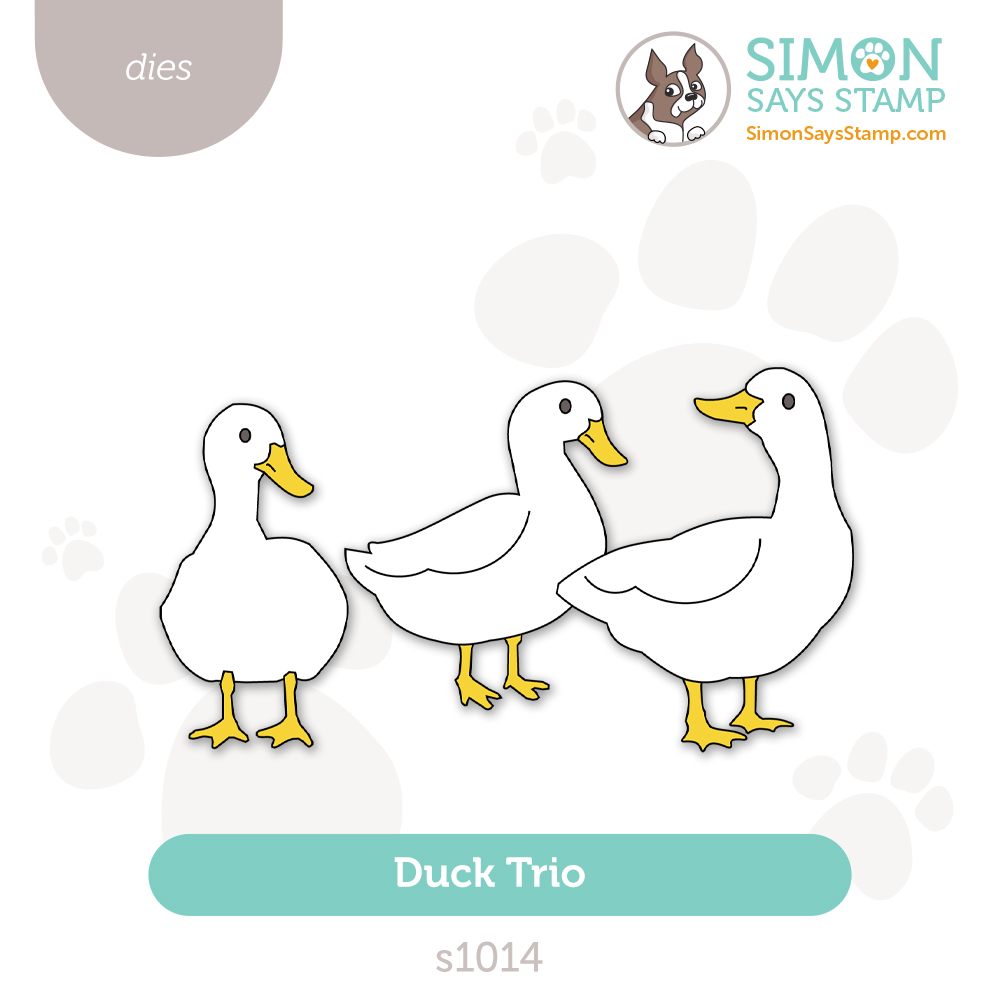
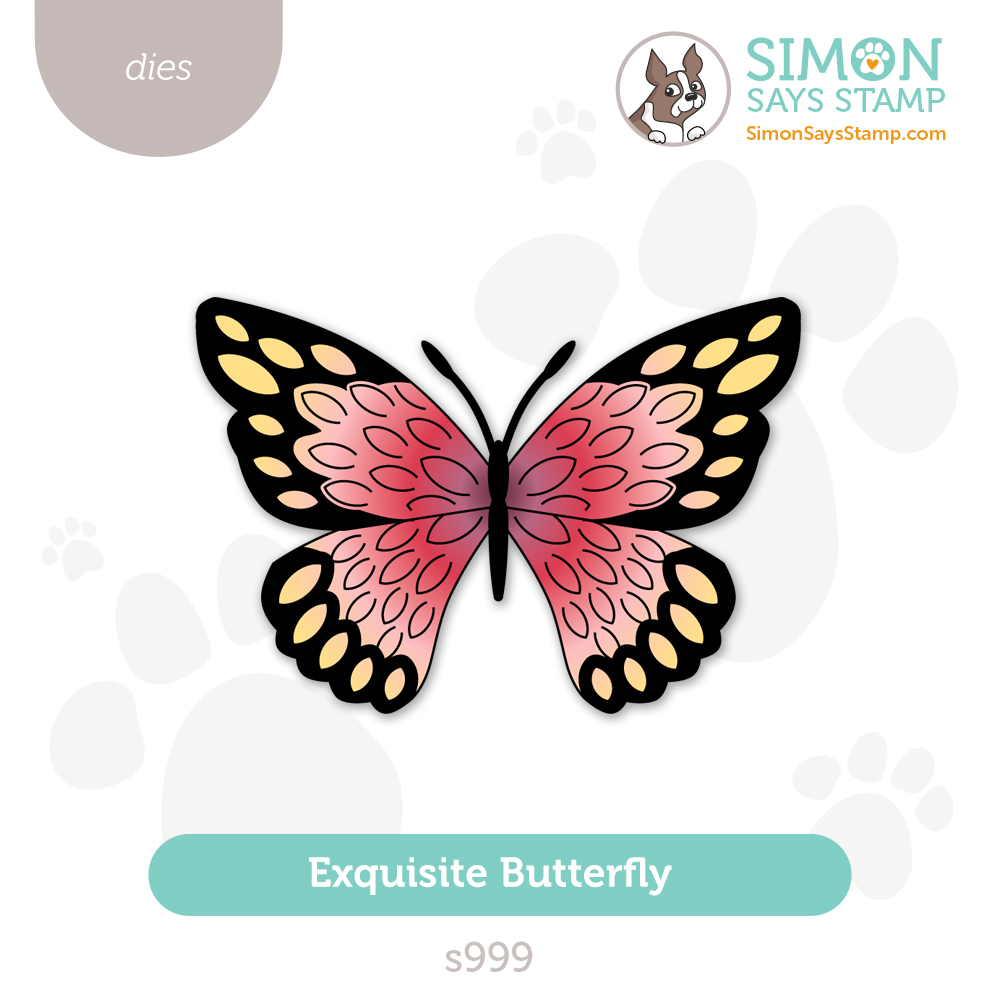
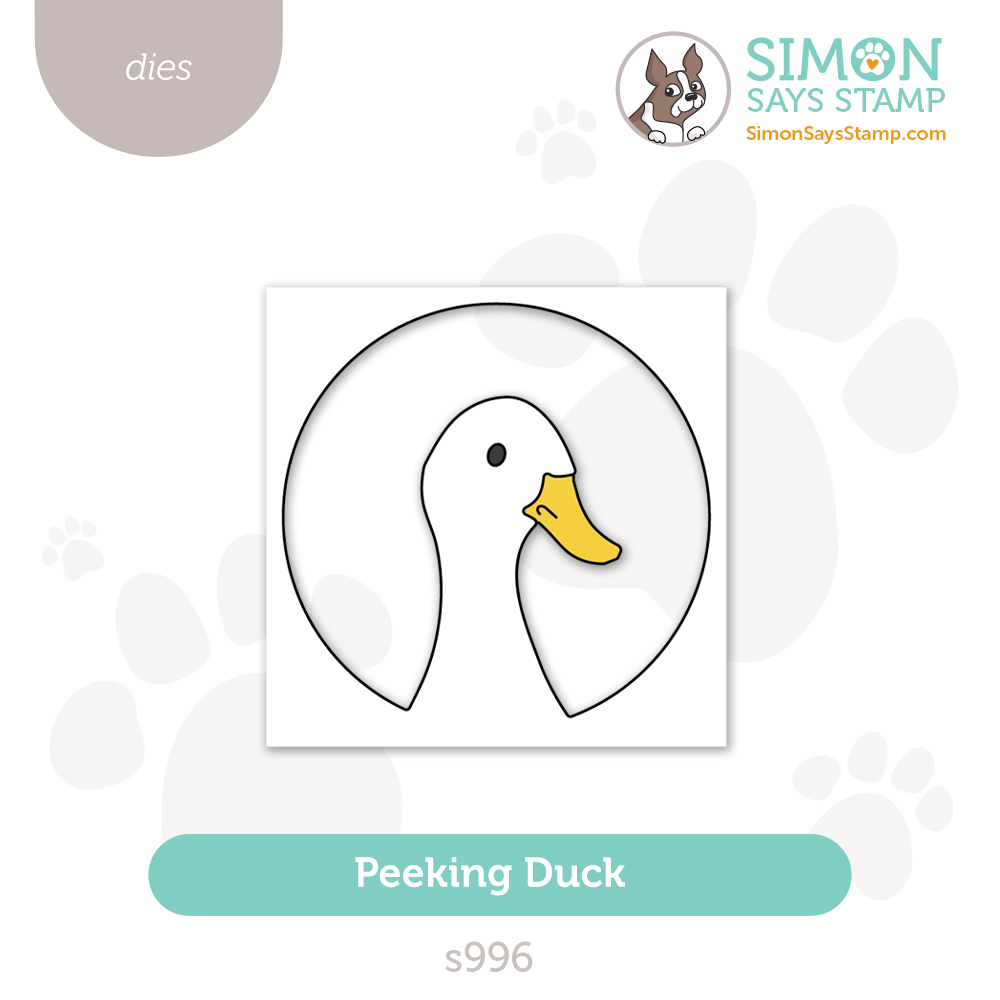
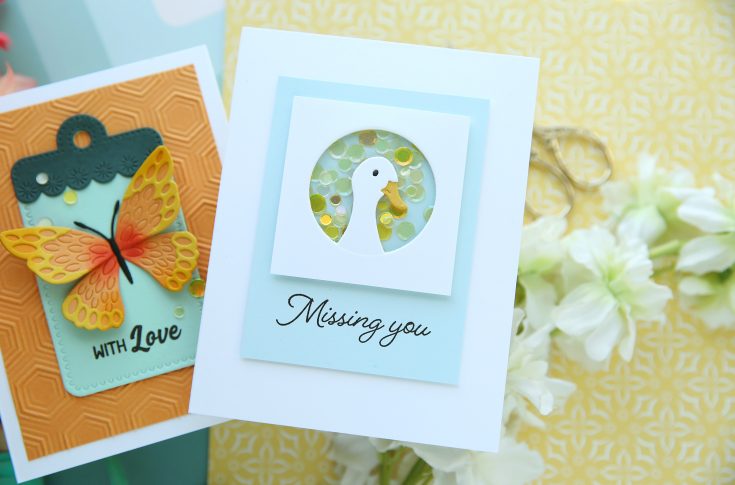
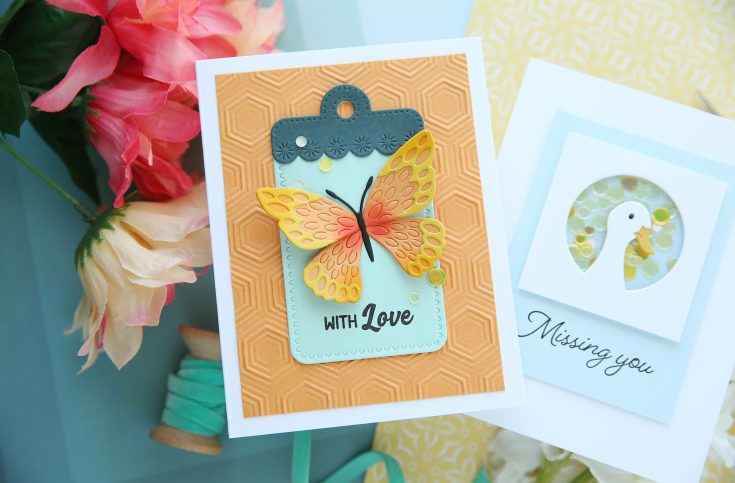
And don’t miss the cutest Duck Trio, an Exquisite Butterfly, and several new shimmery vellum packs. We think you’ll discover some sure-to-be favorites in this release, so click on the video below as Laura Bassen introduces you to everything!

Shop the new collection:
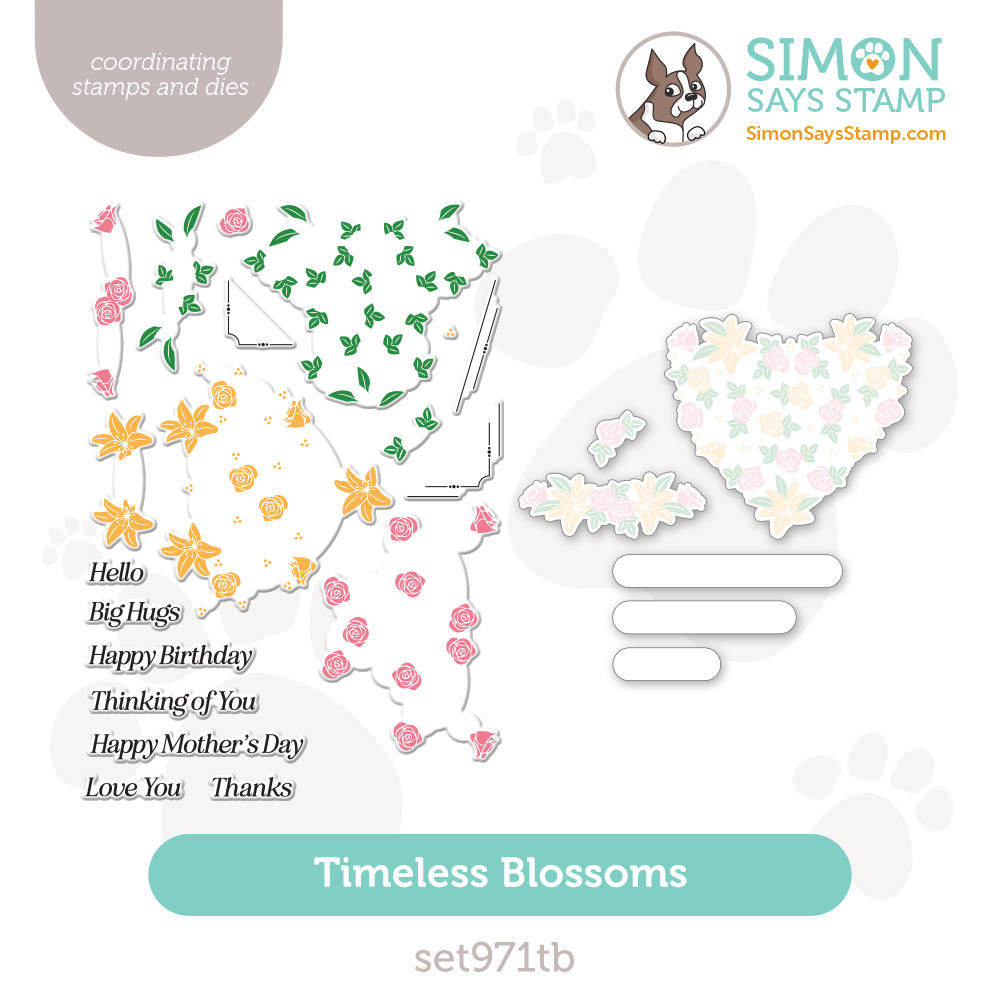
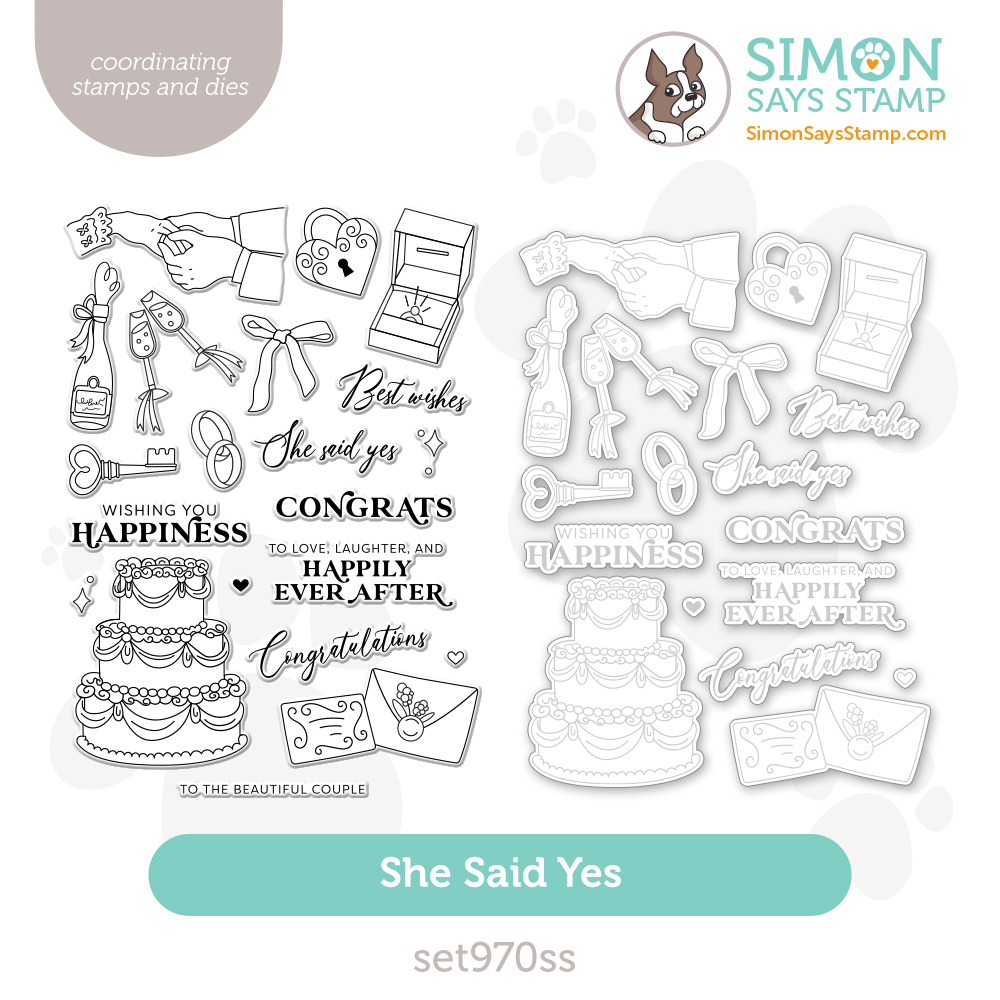
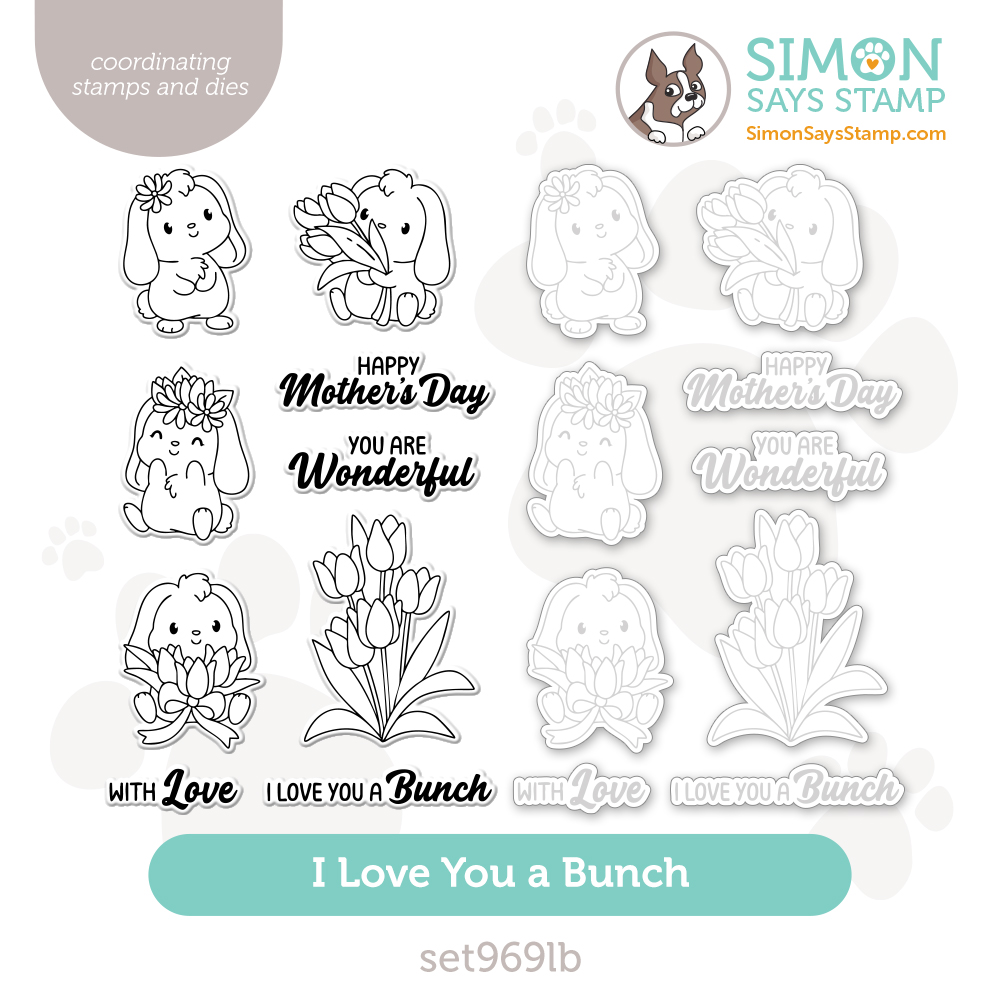
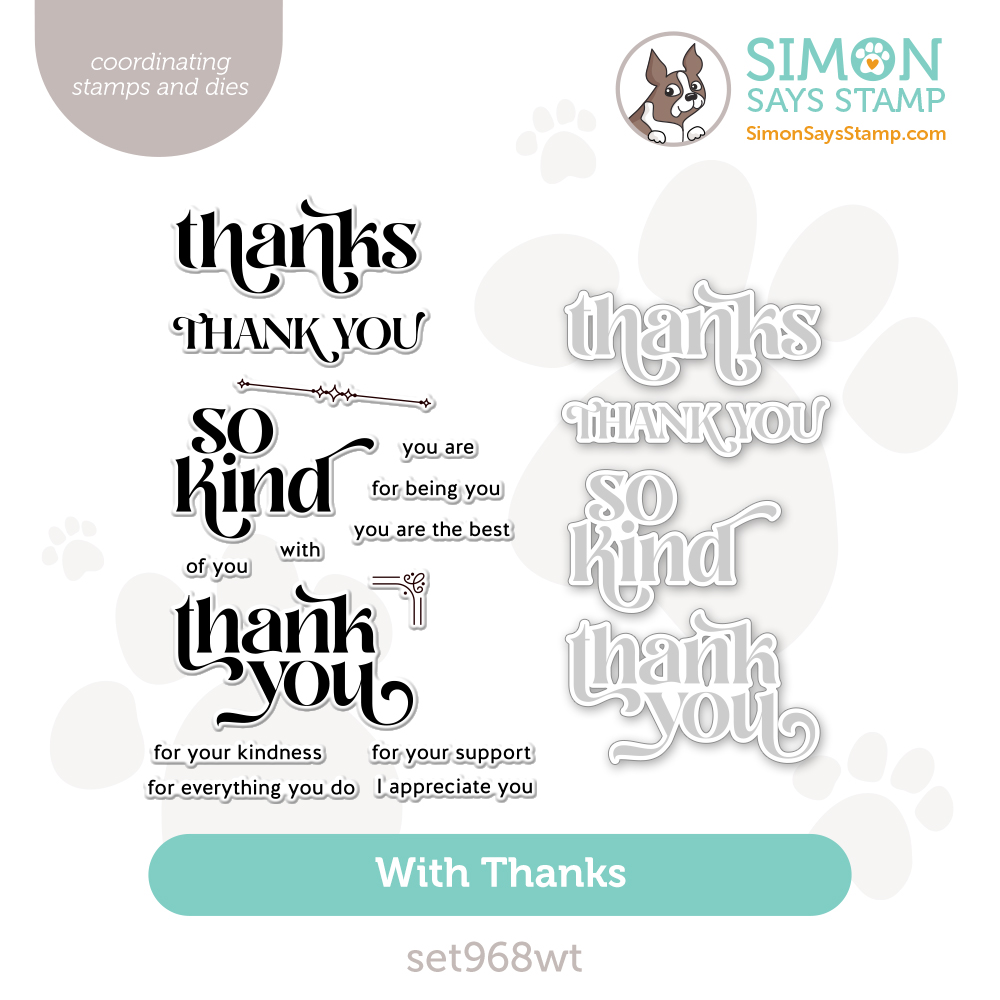
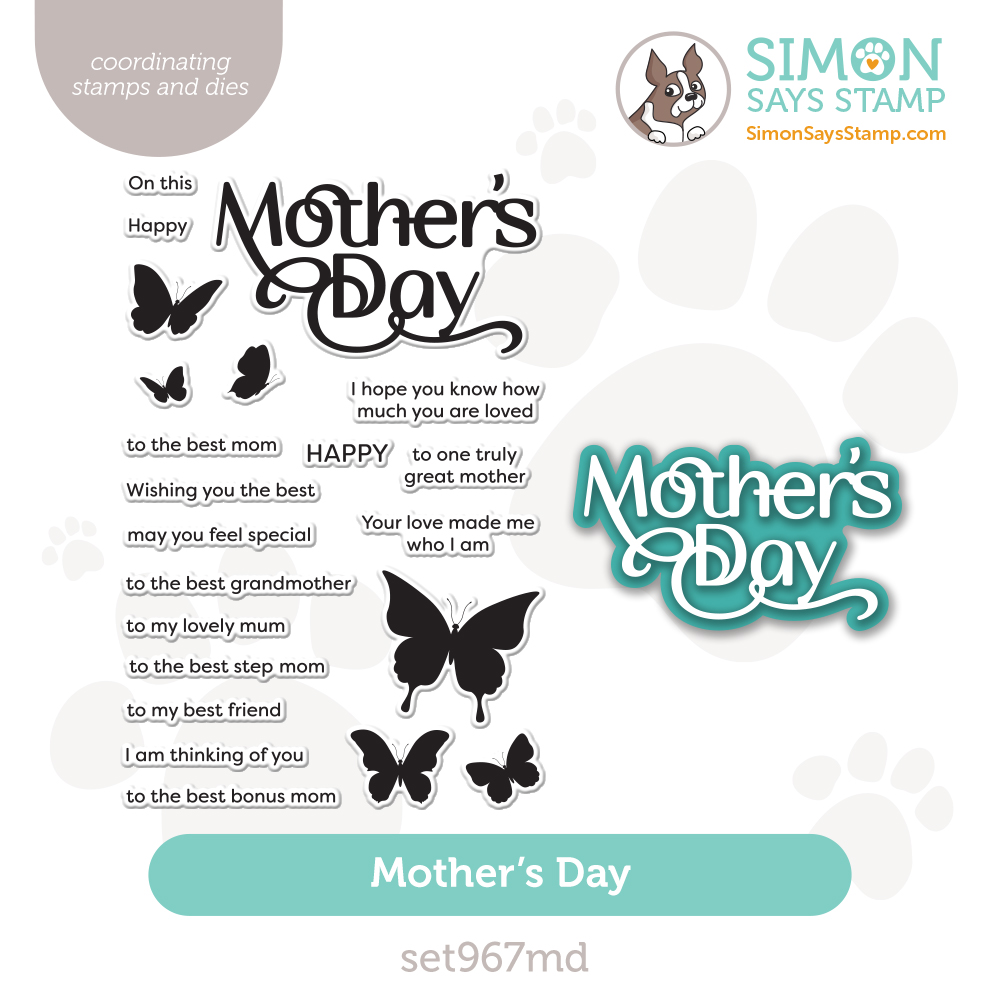
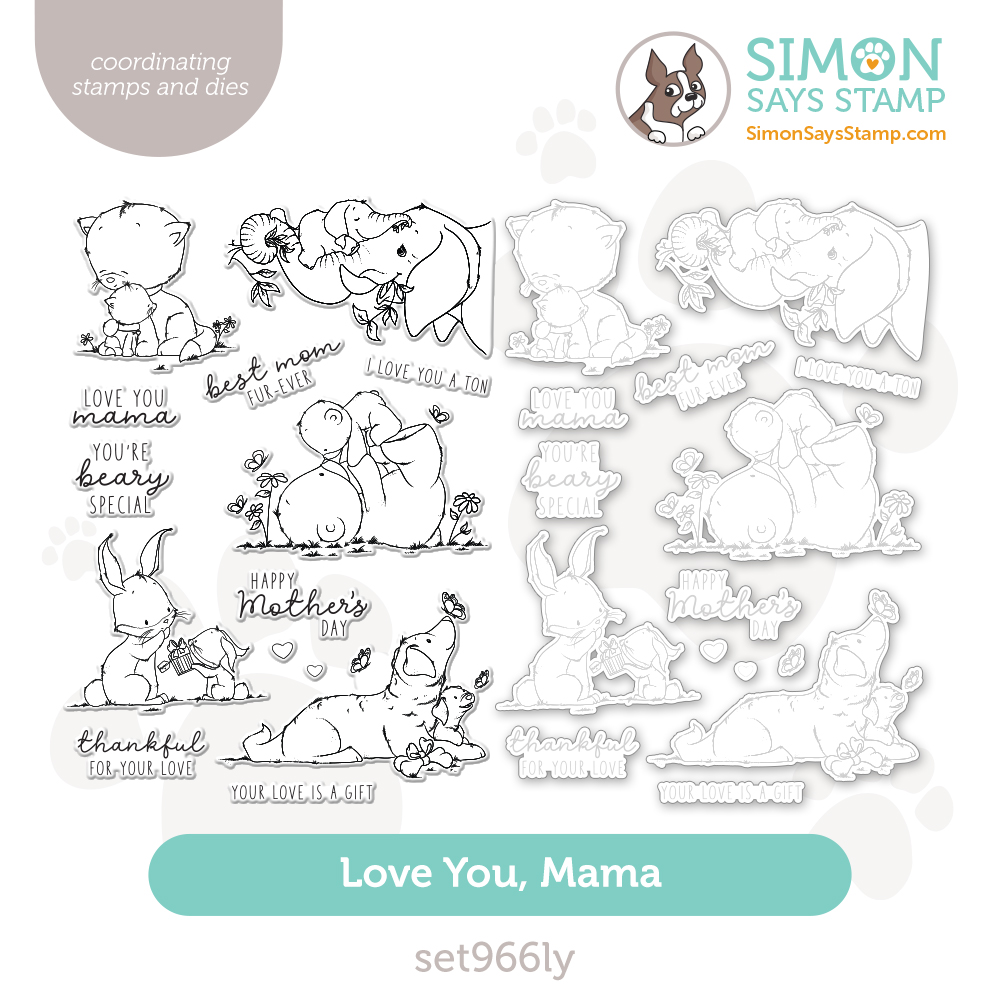
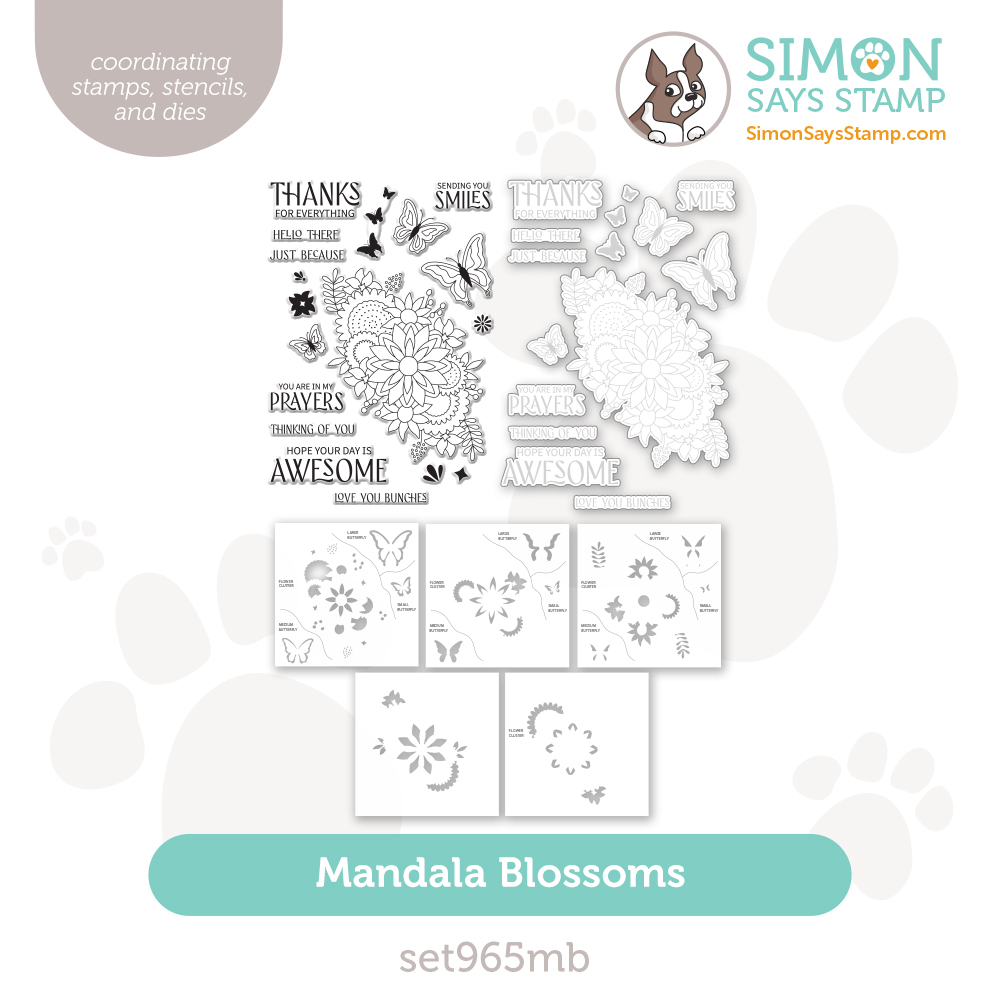
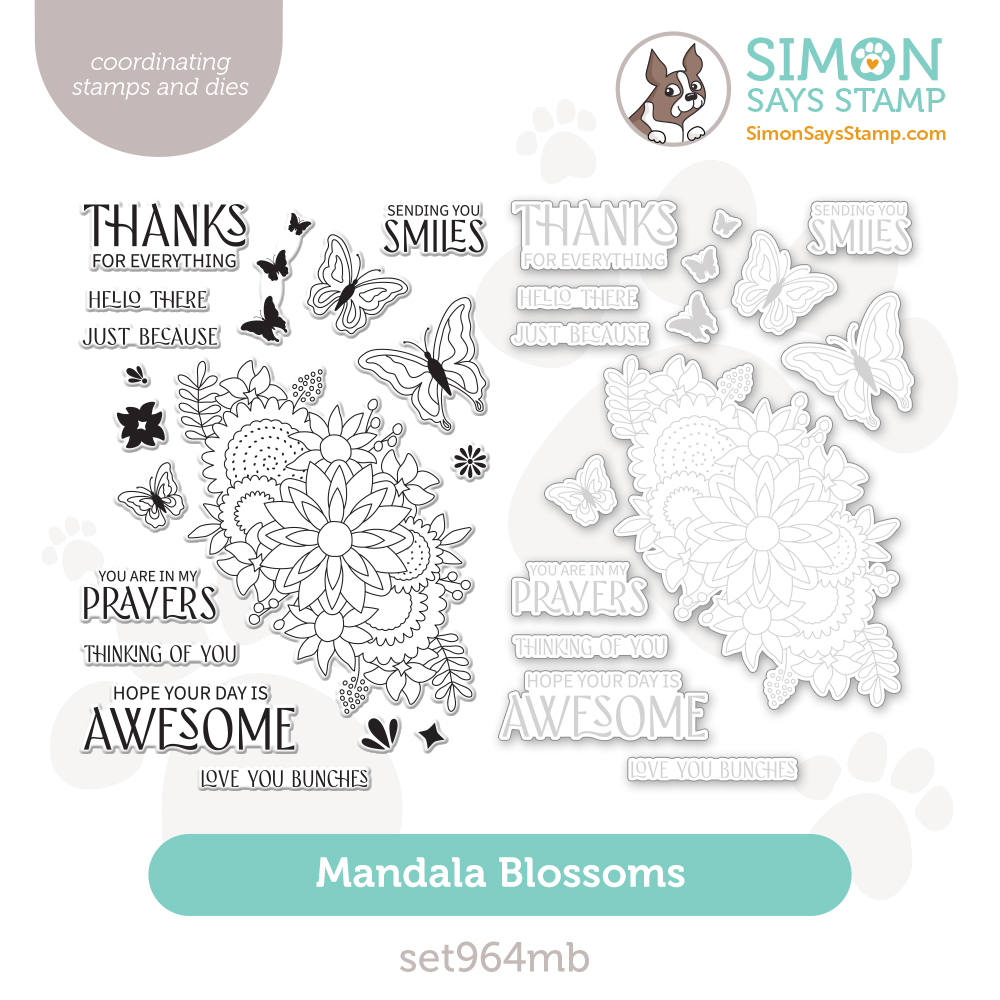
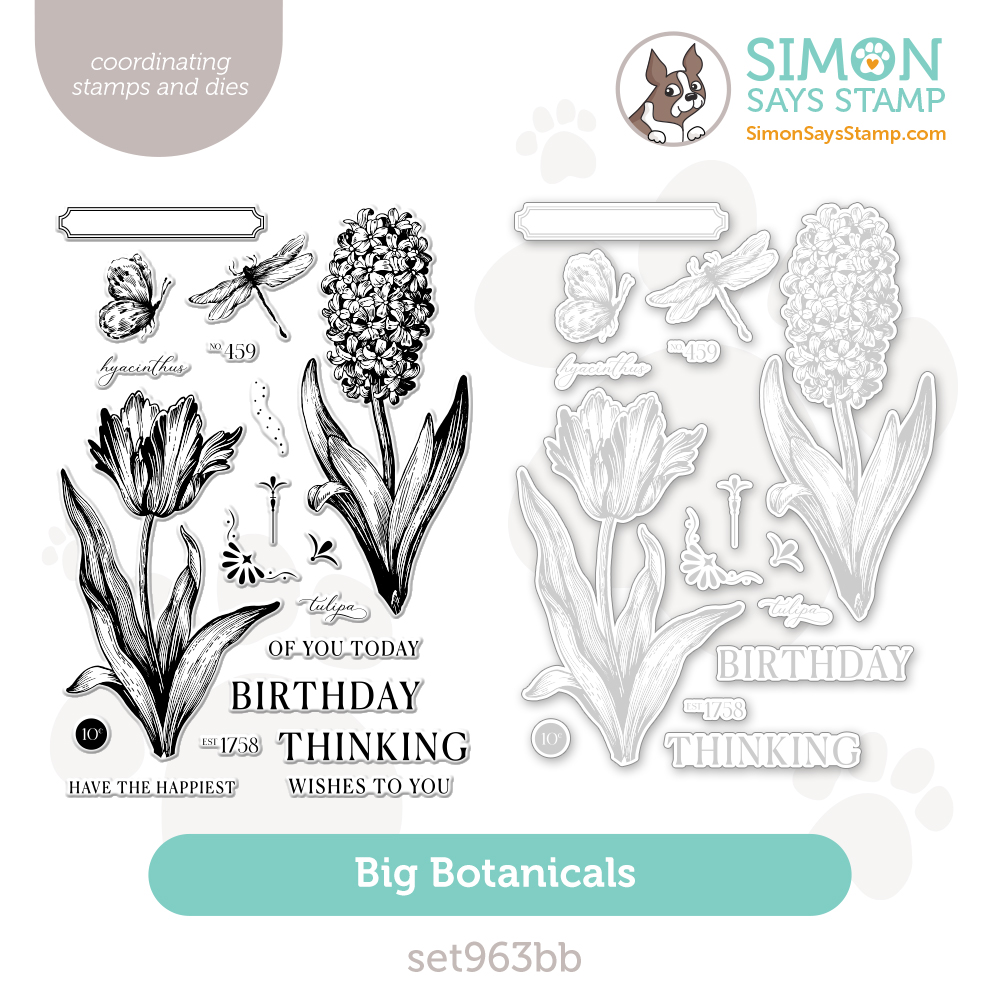
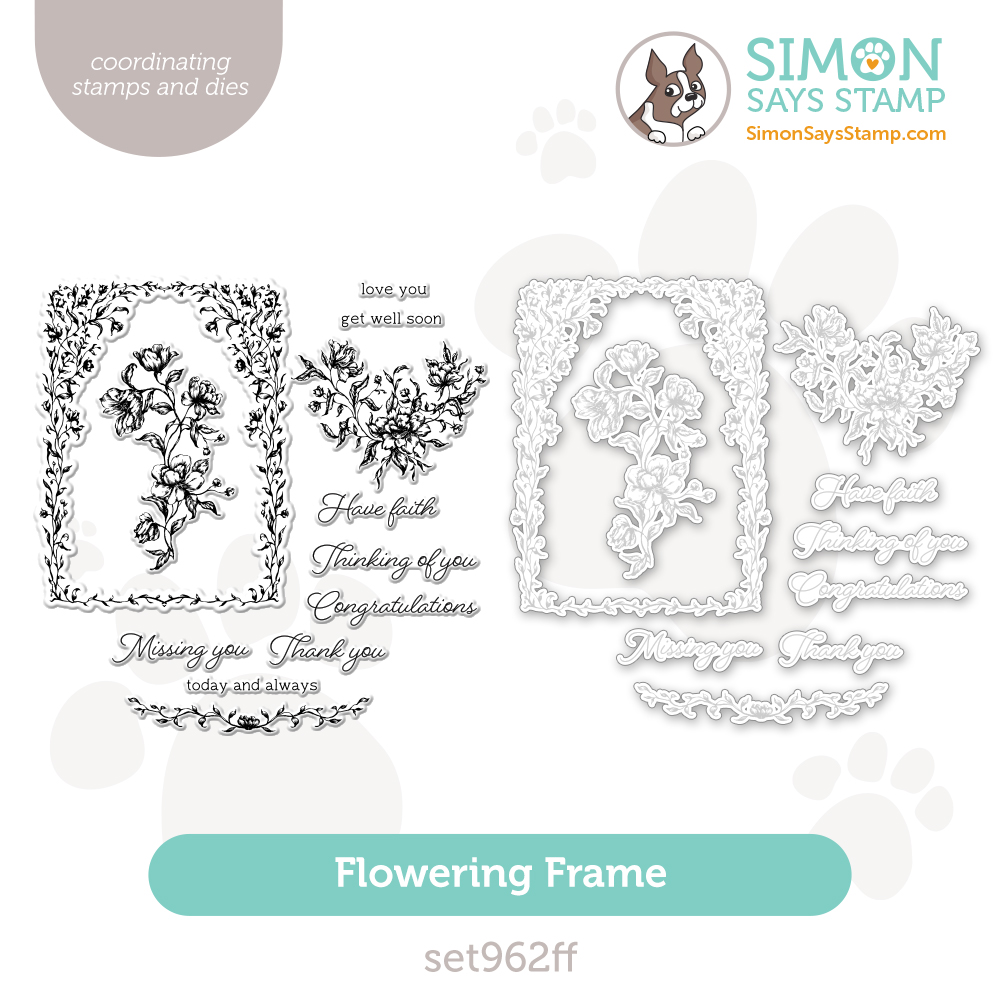
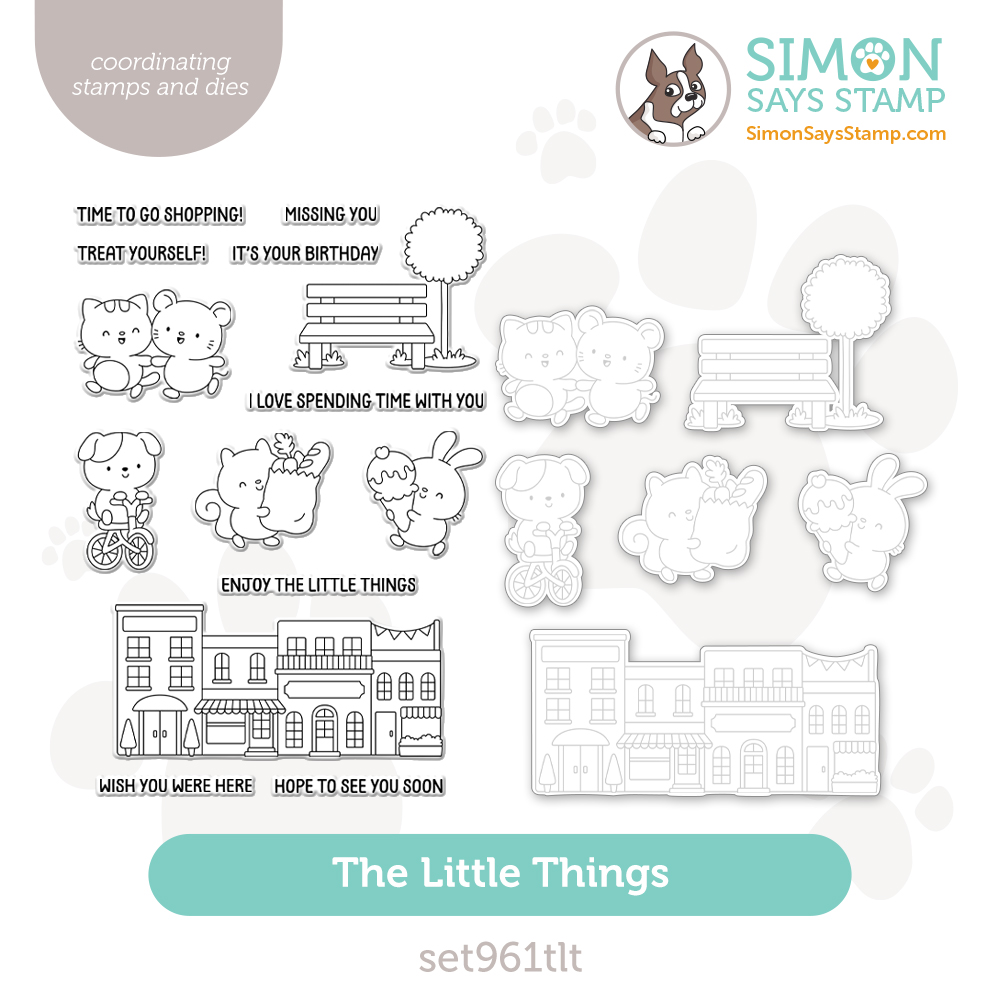

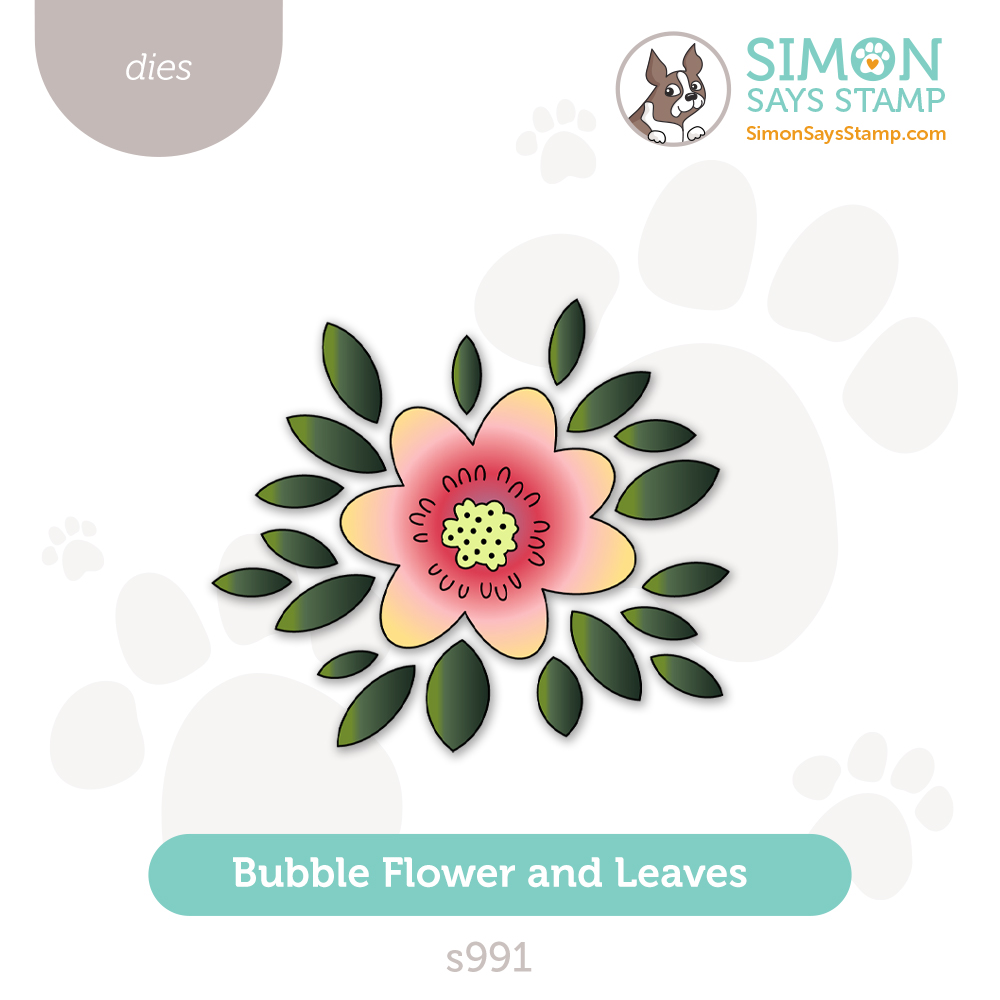
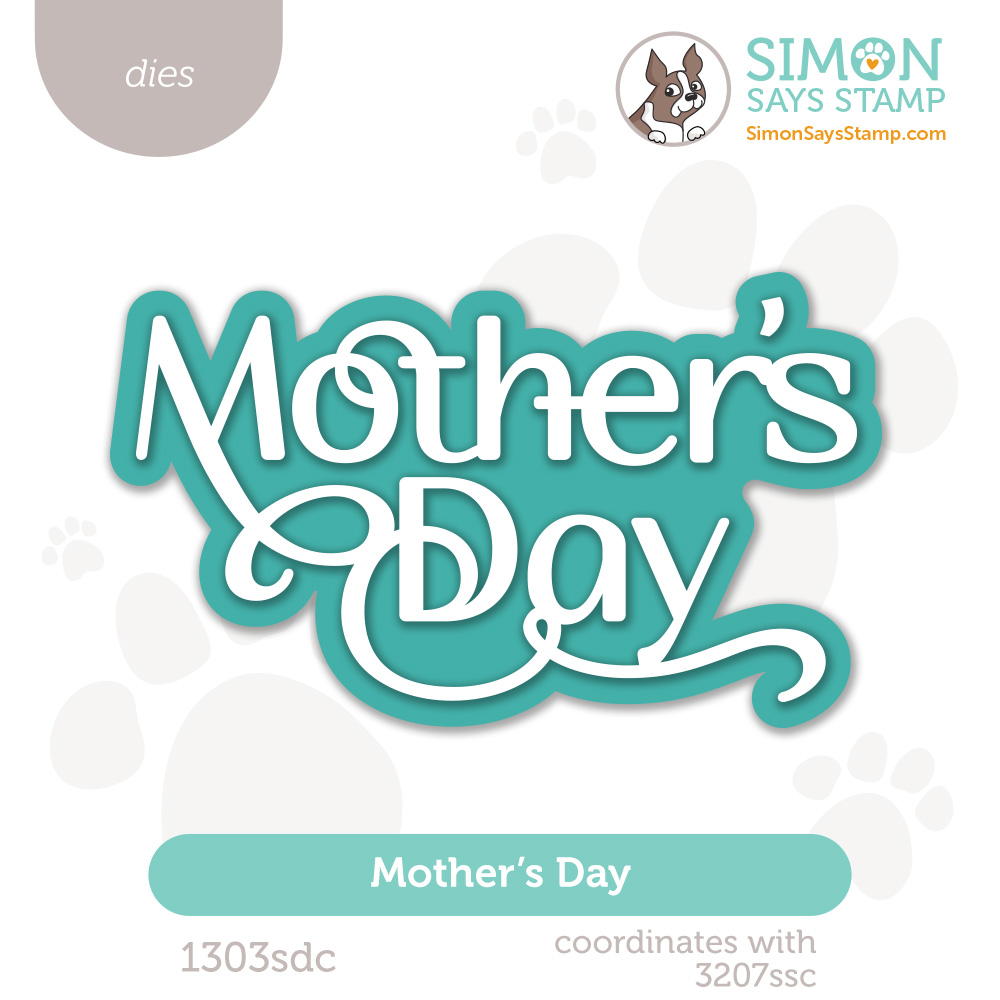
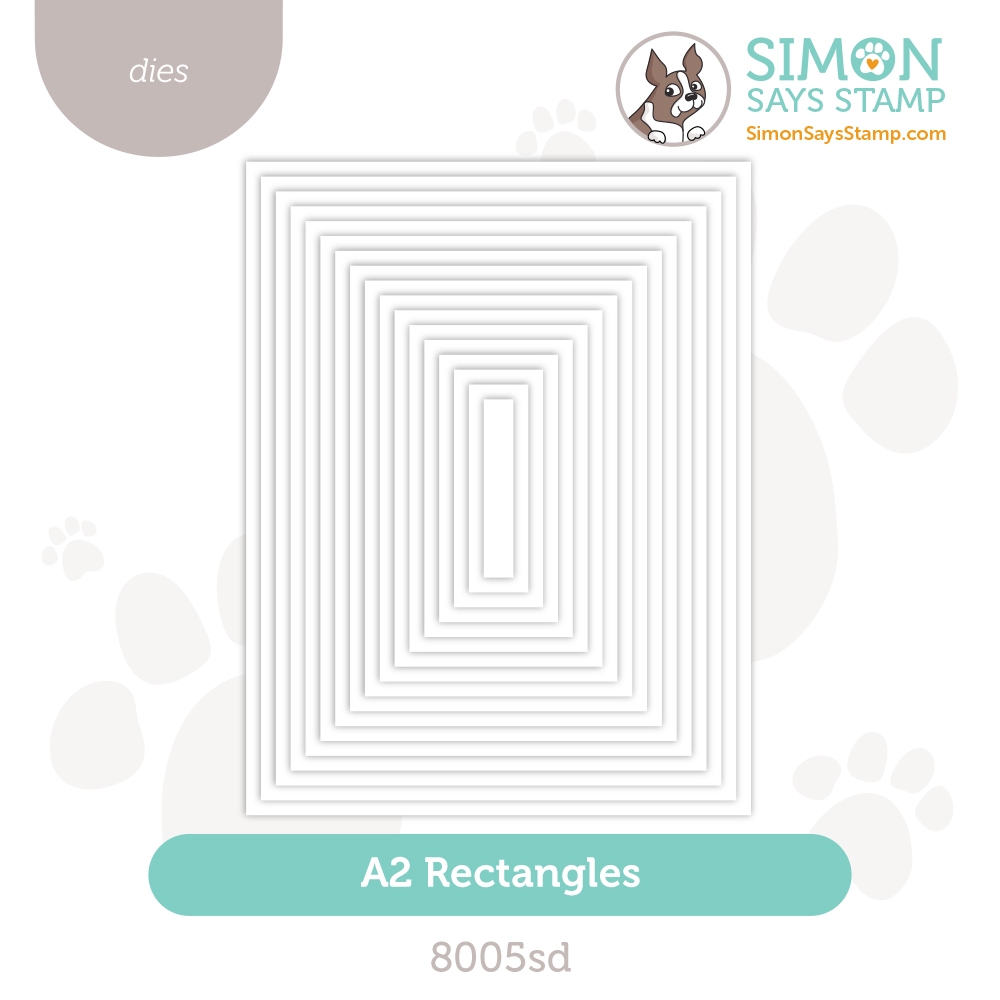
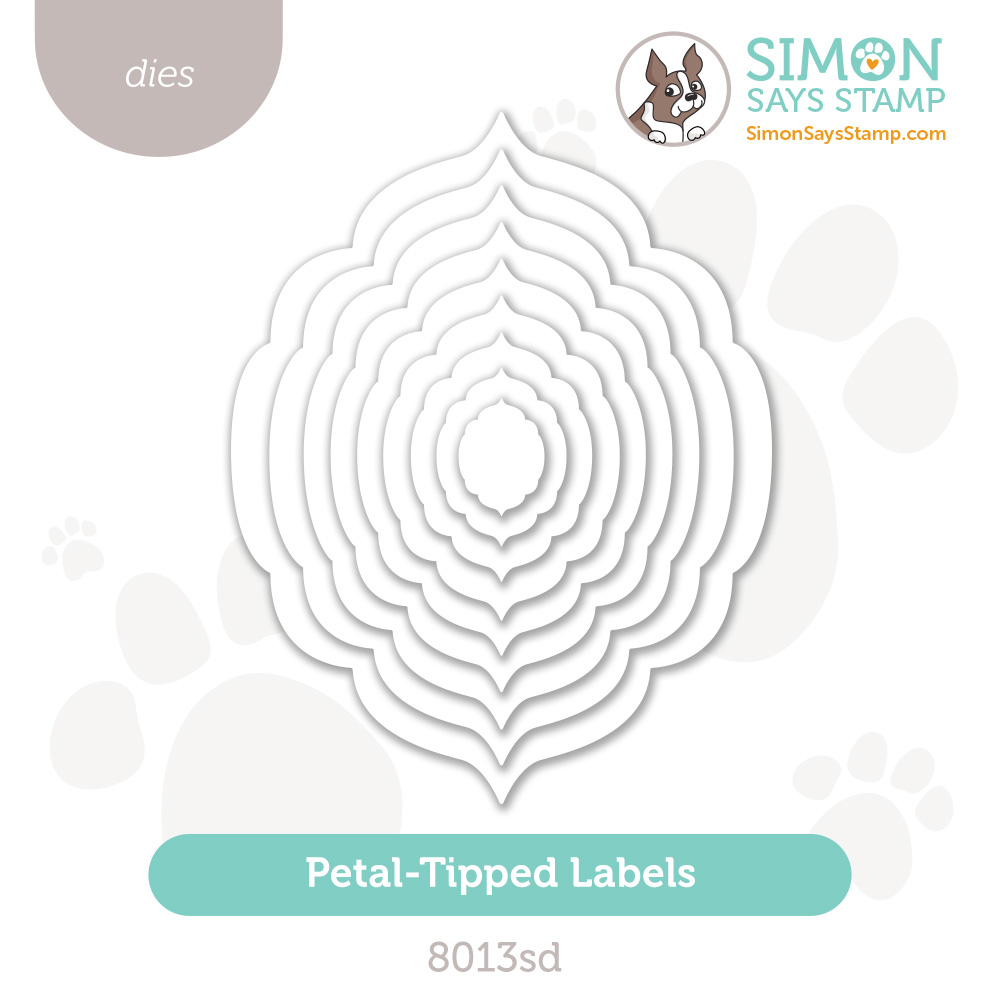
Can’t pick a favorite? Shop our NEW Bundles:
Get inspired!
STAY TUNED for a 2-Day blog hop starting tomorrow (Friday, April 25, 2025 at 8 AM ET) right here on our blog for TONS of inspiration + fun prizes, surprises, and gifts!
Mark Your Calendar!
Join us live FRIDAY April 25th at 12 PM ET! Click or tap the bell by ‘Notify Me’ to be notified when we begin on FRIDAY April 25th at 12 PM ET!

Two Creative Ways to Use One Stamp Set—One for the Books! Amore Laurafadora

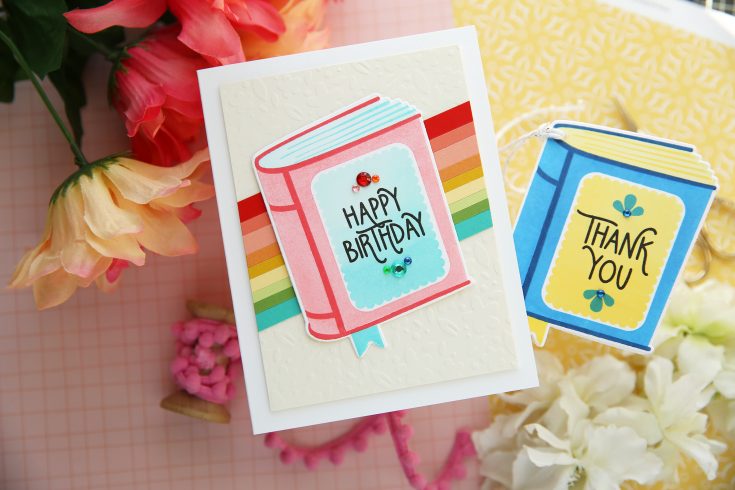
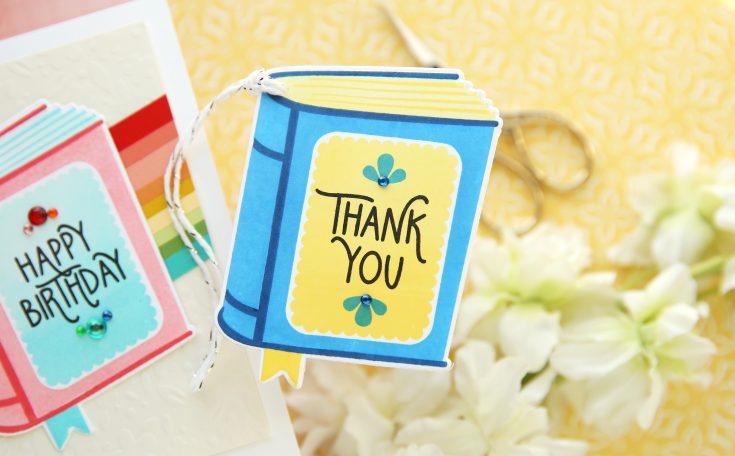
Hi friends! Happy Wednesday Please join me in welcoming back special guest Laura Bassen to showcase this darling newly release stamp and die set embracing the literary trend “One for the Books“! She used our Tiny Florals embossing folder with our Buttercream cardstock for that pretty subtle pop behind the birthday card, and added a little pop of sparkle on both pieces using our Rainbow Splash Gem Stickers! Be sure to watch the video for all the details, and enjoy!
WATCH THE VIDEO:

SUPPLIES:
|
Thanks so much for stopping by, and thanks to Laura for being our guest!
Mark Your Calendar!
Join us live FRIDAY April 25th at 12 PM ET! Click or tap the bell by ‘Notify Me’ to be notified when we begin on FRIDAY April 25th at 12 PM ET!

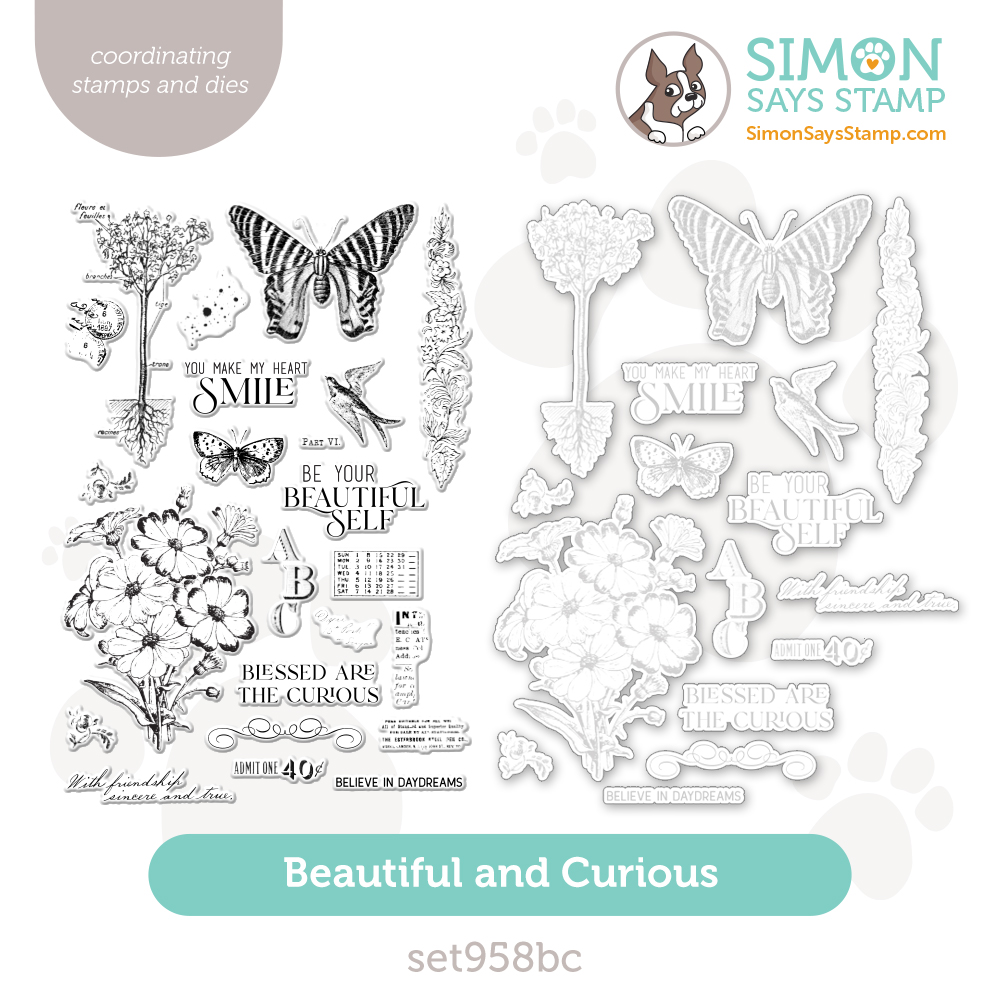
Vintage Floral Layered Card showcasing our May 2025 Card Kit: Beautiful and Curious
Hi friends! Happy Tuesday! I’m delighted to welcome back special guest Heather Hoffman to show off a new (and gorgeous) card idea featuring our May 2025 card kit, Beautiful and Curious! Read on and enjoy!
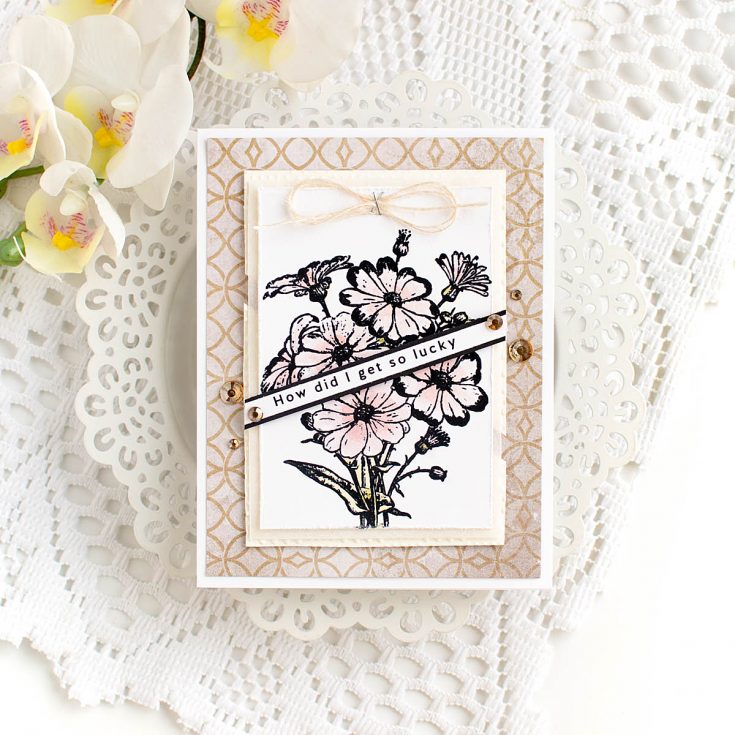
Hello! I love to layer up papers on cards – often pattern papers. But sometimes it’s fun to layer up more for texture, but still in more neutral colors. It gives so much elegance to a card!
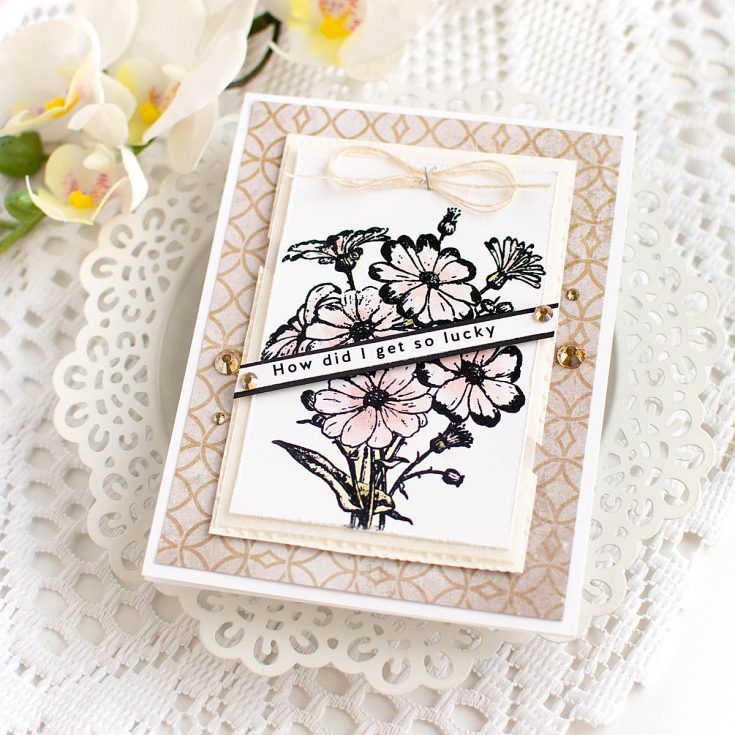
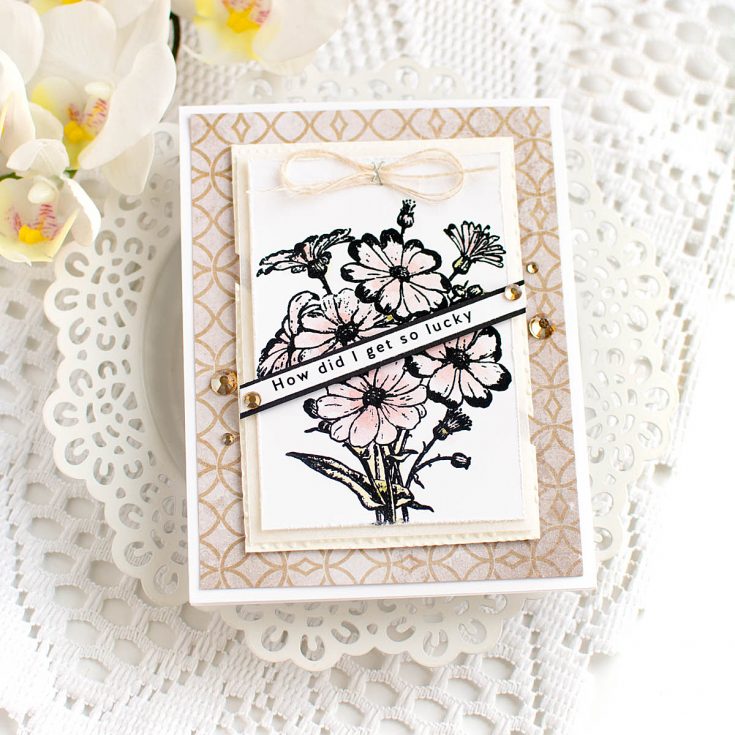
I started off this card by stamping in black and heat embossing with clear that lovely floral image from the stamp set in the May kit on some white cardstock. I carefully brushed in some color using 3 distress crayons included in my kit – Crushed Olive, Victorian Velvet, and Abandoned Coral. Since I didn’t use watercolor paper, I was careful to not add much water at all.
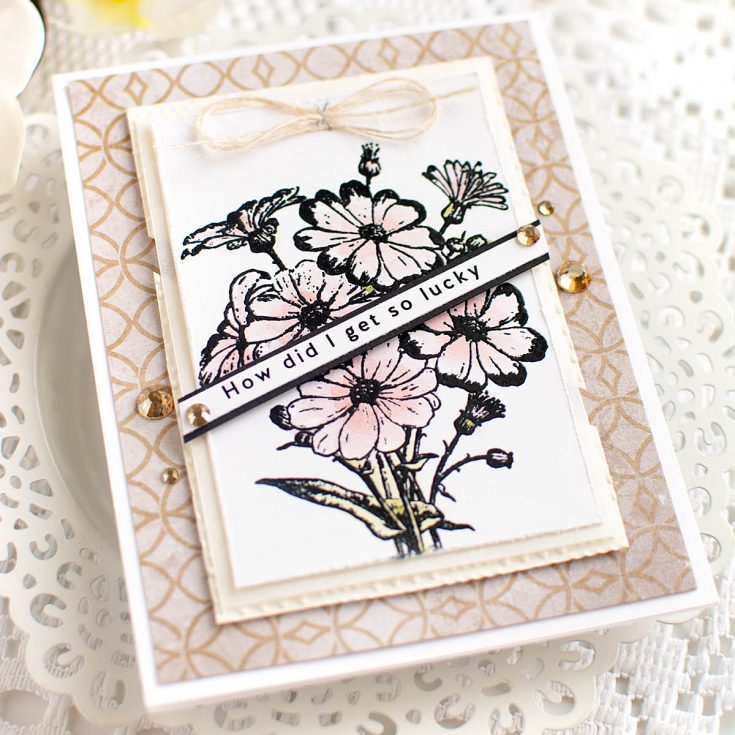
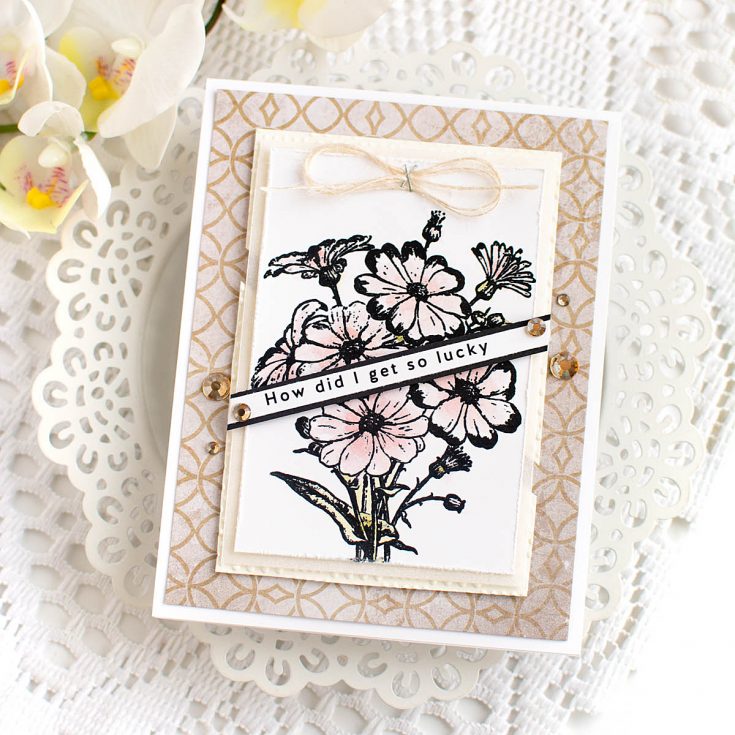
Next, I trimmed that panel down, and roughed up the edges a bit with my paper distresser – the first step in adding texture! I matted that with a layer of the Ice vellum in the kit, then added a tiny bow with the twine in the kit, looped into a simple bow, and attached with my Tiny Attacher in a criss cross design. I used the free BONUS embossing folder on some of the ivory cardstock, trimmed it down, and cut a diagonal strip out of the center before adhering it behind the other layers.
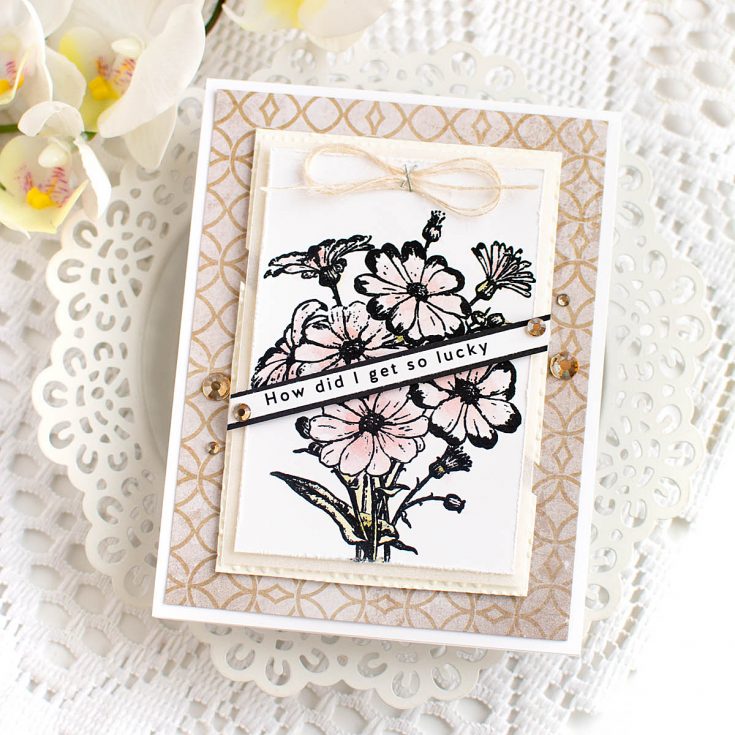
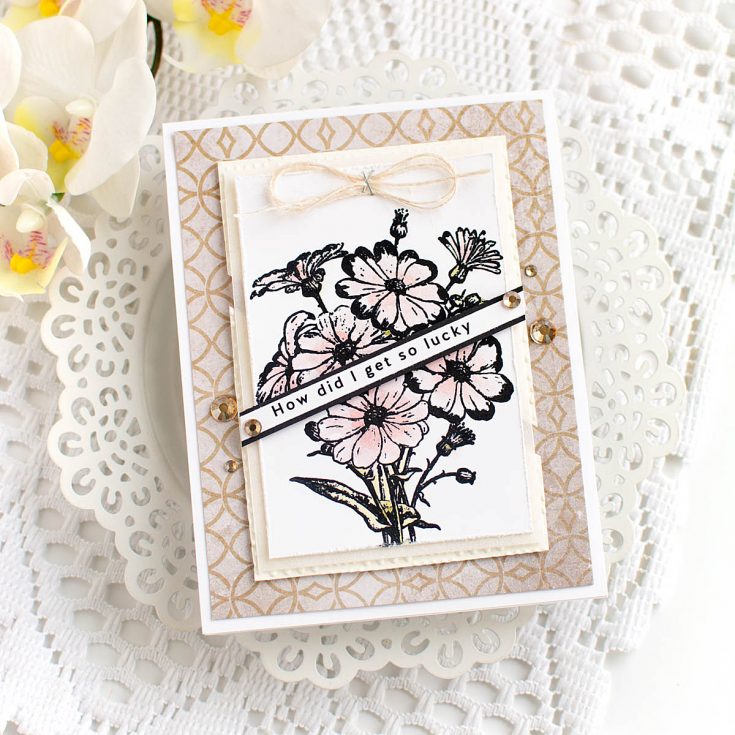
Next up – I chose a sentiment, trimmed it down, and matted it with a bit of black cardstock to make it pop. Added that over my layers on a diagonal with foam adhesive, and trimmed off the extra. Finally, attached this entire panel with thin foam onto some trimmed down pattern paper from the kit, and then onto a white cardbase.
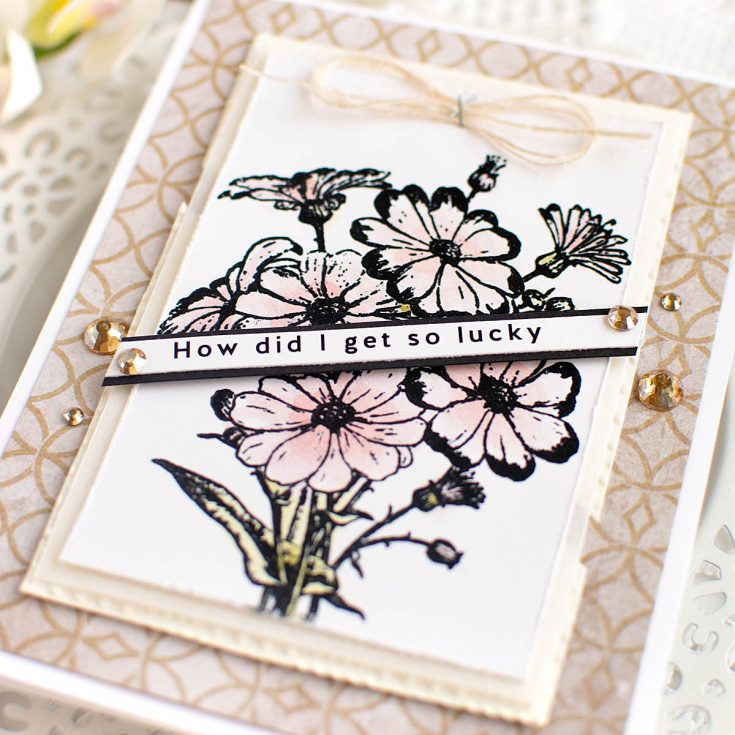
Finished off with just a few Dazzling Gems in gold for a bit of sparkle and shine! What is your favorite way to add texture and layers?
SUPPLIES:
|
Thanks so much for stopping by, and thanks to Heather for being our guest!
Did you know?! We’ve made our card kit subscription BETTER THAN EVER!
Special May 2025 Subscriber PERK!
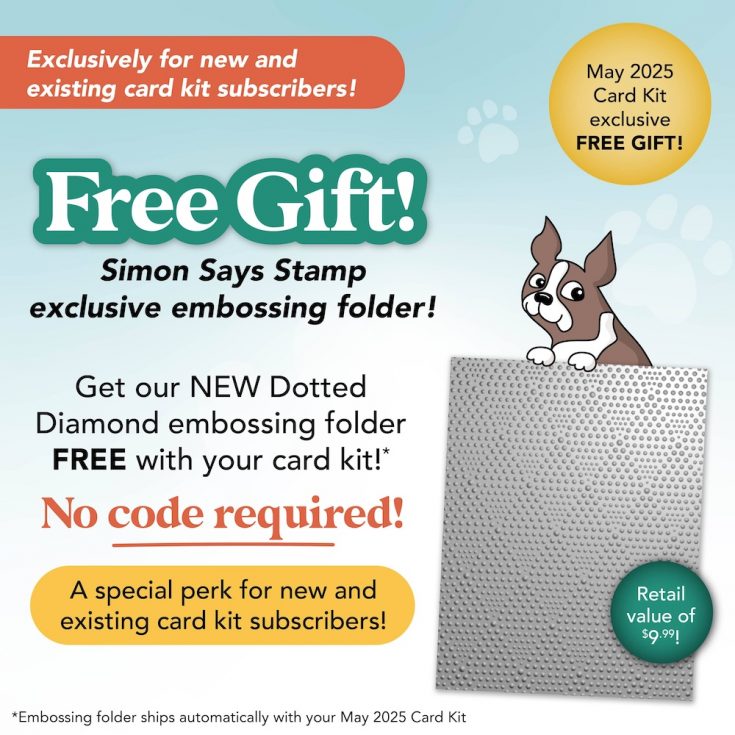
Learn more:
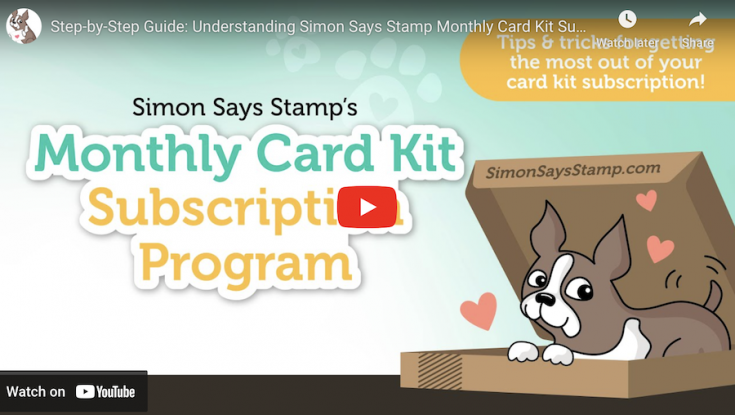
Here’s what makes our new service a crafting paradise:
Exclusive Access: As a subscriber, you get first dibs! Each month, you’ll get an exclusive sneak peek at our new kit, with the option to add more coordinating items to your cart, including handy replenishable supplies, all shipped together for your convenience.
Hassle-Free Payments: Say goodbye to monthly billings! Our automated system smoothly charges your preferred card, ensuring an uninterrupted flow of crafty goodness – unless you decide to pause, of course!
$5 Off Magic: Enjoy a special $5 discount off our kit’s retail price, exclusive to our beloved subscribers – no codes needed, just automatic savings!
Crafting Inspirations: Dive into a sea of creative ideas monthly, all tailored around your kit, to keep your inspiration flowing endlessly.
Flexibility First: Fear of commitment? Not here! Our subscription is as flexible as it gets – pause or cancel anytime, no strings attached.
Why wait? Step into the realm of our NEW Simon Says Stamp Monthly Card Kit service. Welcome a box full of crafting marvels, right to your doorstep. Craft with ease and let creativity come to you!
Ready to elevate your craft? Subscribe Now and open the doors to boundless creativity!
We’re thrilled to have you in our crafting community and can’t wait to embark on this renewed creative adventure together!


