Today is Full of Possibilities! Mixed Media Bird Tag
Hi friends! Happy Sunday! I’m delighted to welcome back special guest Anna-Karin Evaldsson to our guest with this adorable mixed media tag perfect for being on the verge of Spring! Read on to learn all the details and enjoy!
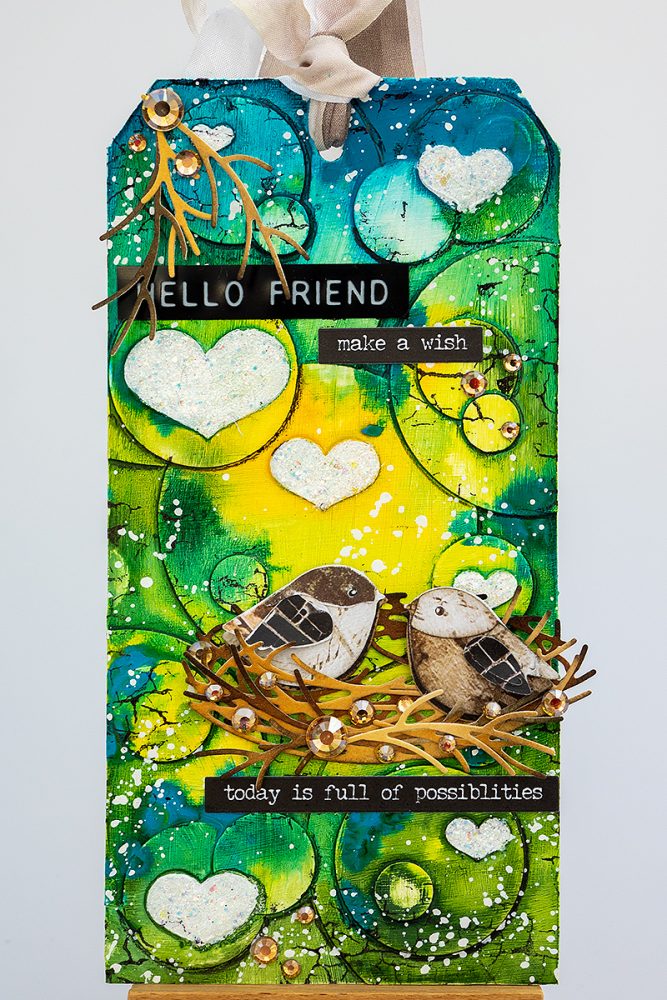
Hi everyone! There is a hint of spring in the air and I am happy to be here today with a new tutorial. It’s a fun and easy mixed media technique where die cut images are embedded into the background. It is also a great way to get even more use of your dies. I made a tag, but the techniques work just as well for cardmaking and scrapbooking.
The Simon Says Stamp Basic Shapes Circles die set is so useful and versatile. It is from the brand-new Favorite Things release and contains 18 circle dies in different sizes, which is a whole lot of circles! Today, I used the set to create a layered circle pattern on my background. I also added glittery hearts with a stencil and two cute little birds.
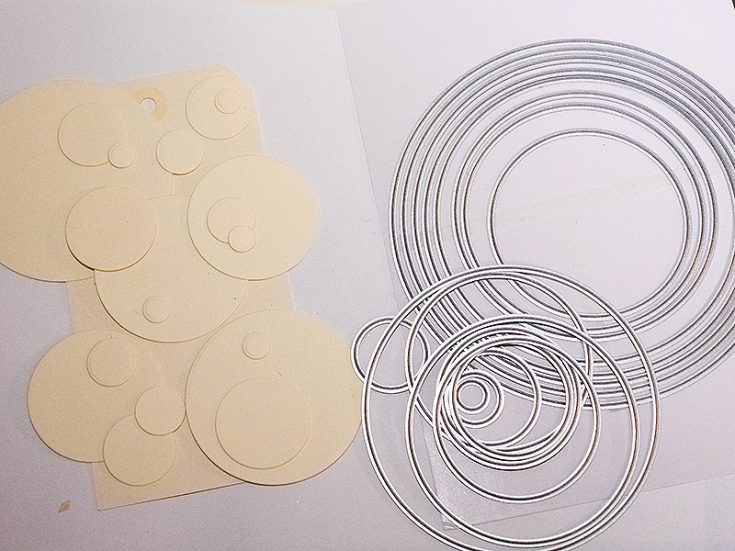
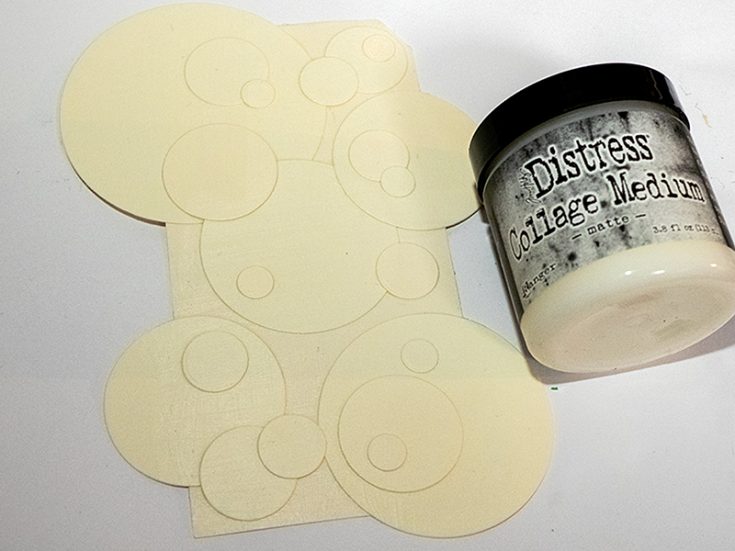
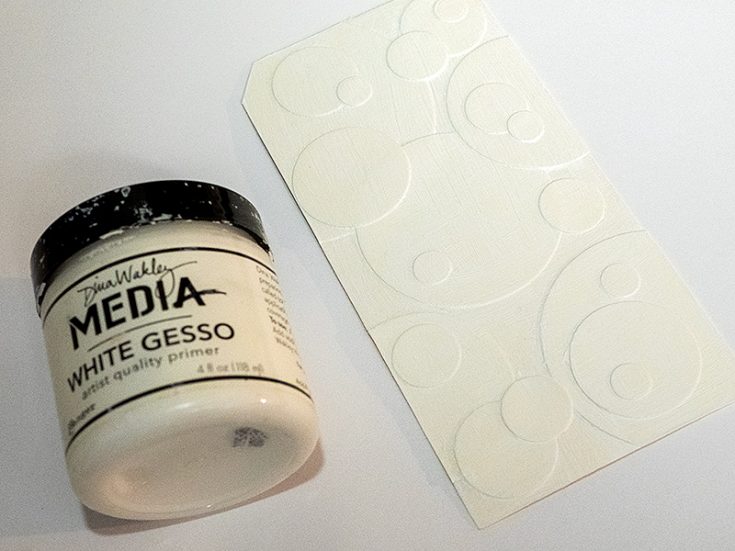
Start by die cutting circles in different sizes from Ranger’s Heavystock Cardstock. Layer them on a tag and move around until you are happy with the look. Snap a photo to help you remember where you placed the circles.
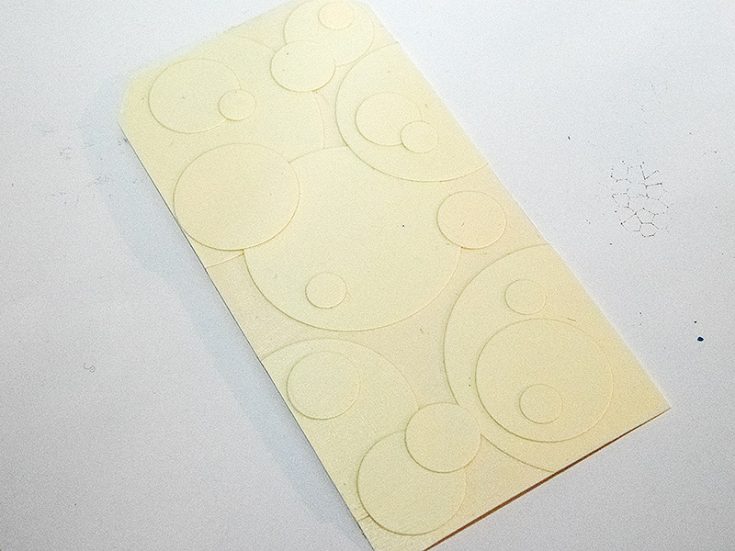
Glue the circles with Distress Matte Medium and add a layer of medium on top too.
Trim the edges.
Coat the tag with gesso. Leave to dry.
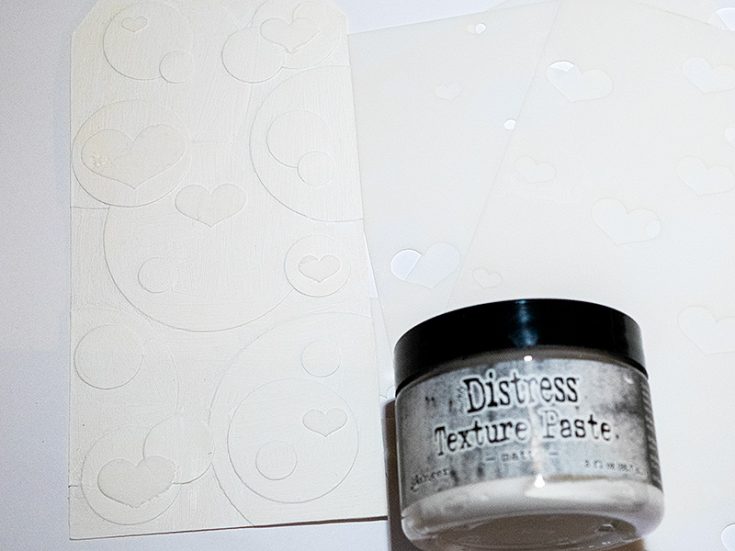
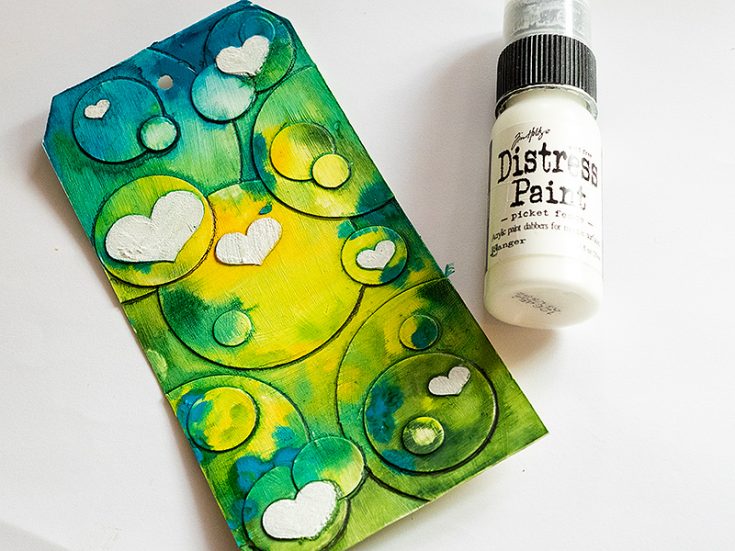
Use the Simon Says Stamp Outline Hearts stencil set to add hearts here and there on the tag. Apply Texture Paste with a palette knife through the stencil. The Outline Hearts set consists of four stencils and since they are meant to be used together, the hearts on each stencil are fairly far apart. This makes it much easier when you just want to use a heart here and there since you don’t need to mask off any areas.
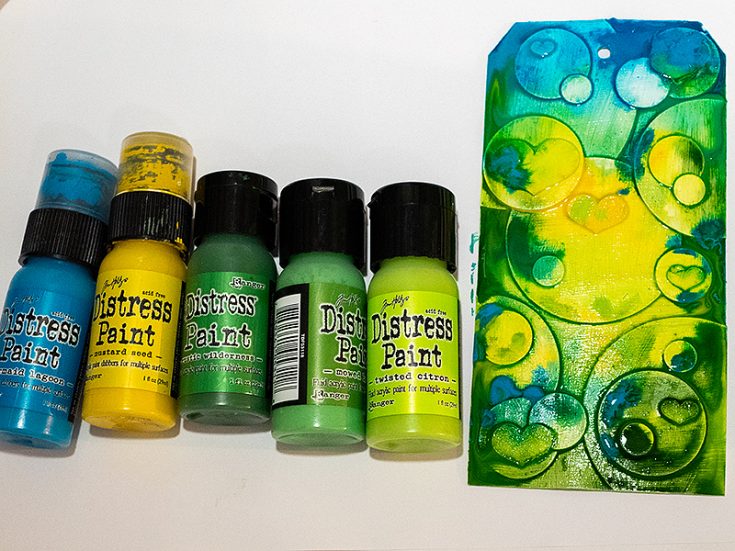
Paint the tag with Distress Paint and mist with plenty of water so that the colors blend. Leave to dry.
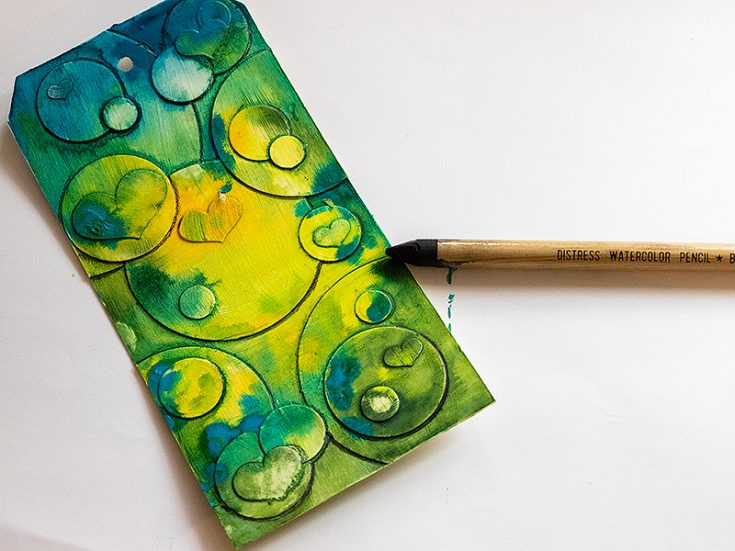
Use Tim Holtz Black Soot Watercolor Pencil to add shadows to the circles.
At this stage, I wanted more light elements on the tag and decided to paint the hearts white.
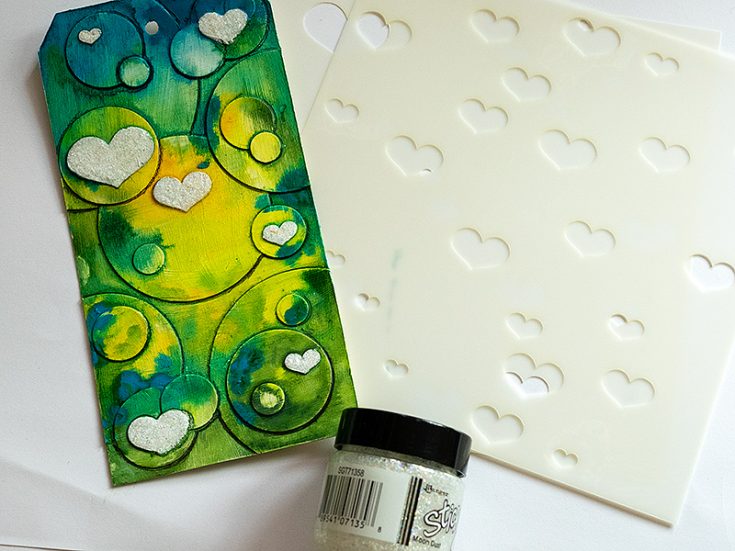
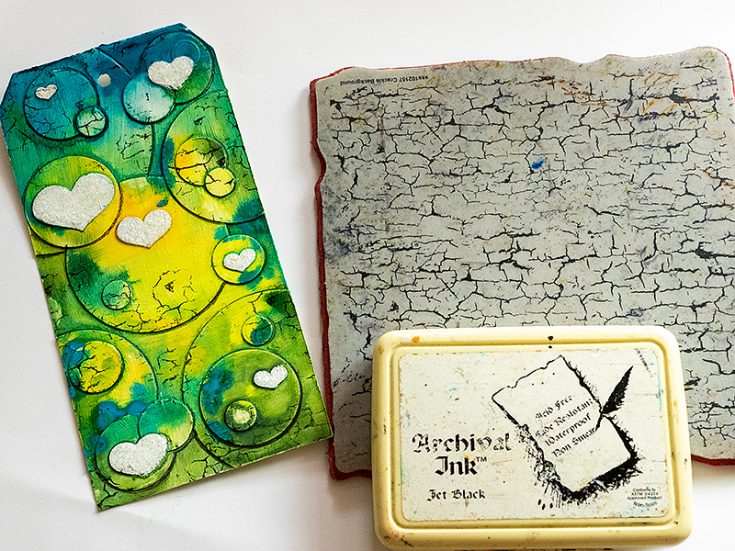
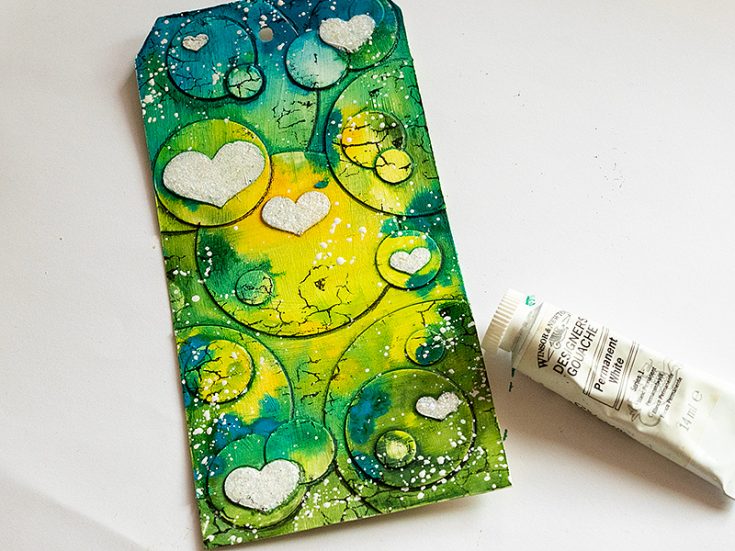
When the white paint was dry, I placed the stencil back and applied Moon Dust Stickles with a palette knife.
Stamp here and there with Simon Says Stamp Crackle Background and Jet Black Archival Ink.
Splatter the tag with Winsor & Newton Permanent White Gouache. Add a little water to the paint before splattering. Pick up with a paint brush and tap the brush to create splatters.
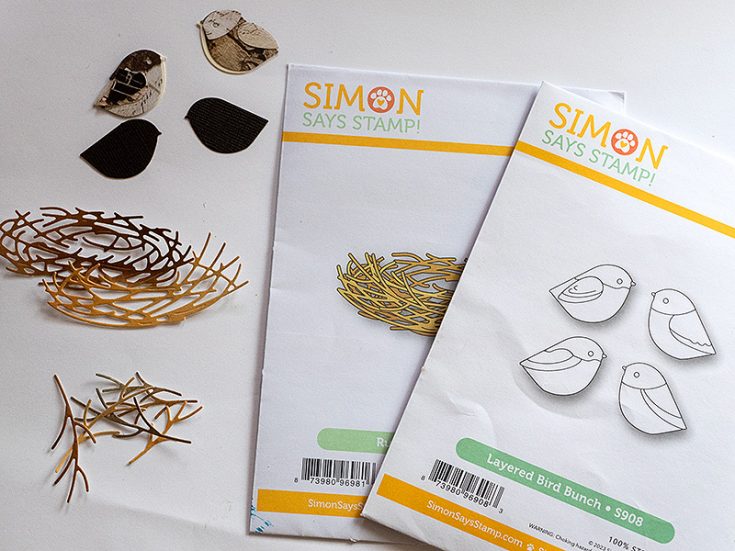
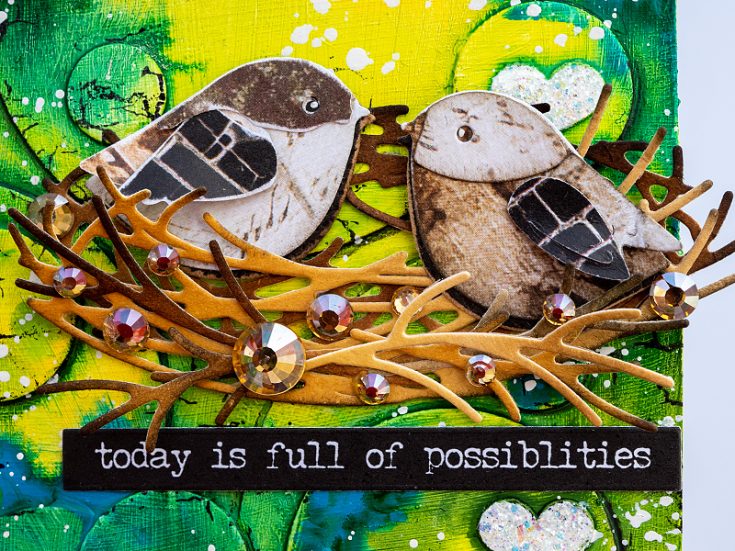
Die cut the Simon Says Stamp Layered Bird Bunch from Tim Holtz Halloween Backdrops paper. The backdrops papers have great textures for die cutting. Die cut Simon Says Stamp Rustic Nest from left-over inky paper, or use patterned paper.
Die cut the bird once more from black cardstock to use as a base and assemble the birds. Shape the wings a little. Glue the nest and the birds on the tag and add Simon Says Stamp Pawsitively Dazzling Gold Gems.
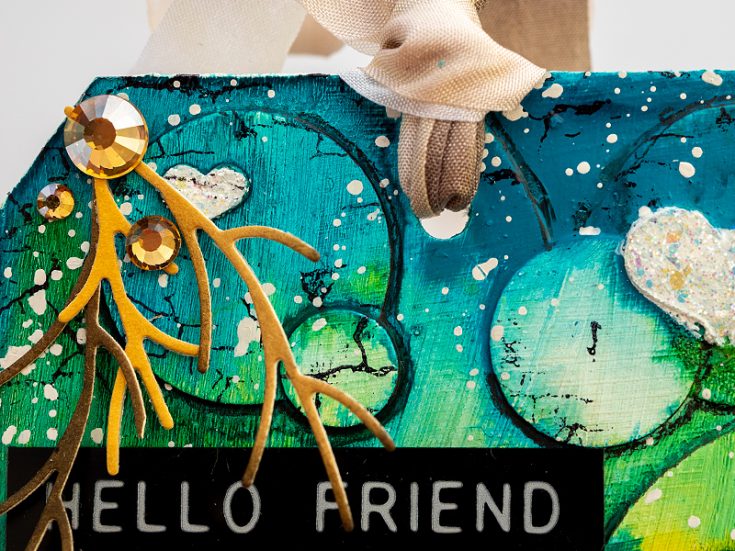
I glued a few twigs at the top of the tag too. The tag was tied with May Arts White Wrinkled Faux Silk Ribbon which had been dyed with Distress Ink.
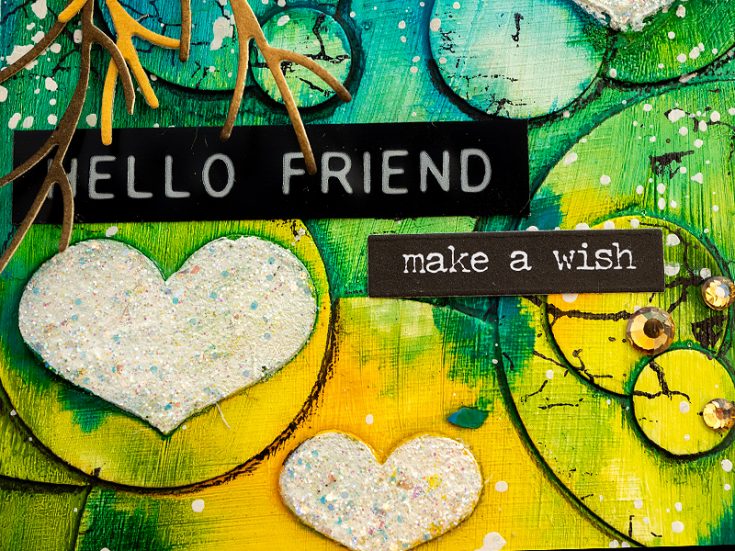
The white hearts are very glittery. I used sentiments from Tim Holtz Sentiments Label Stickers and Small Talk stickers.
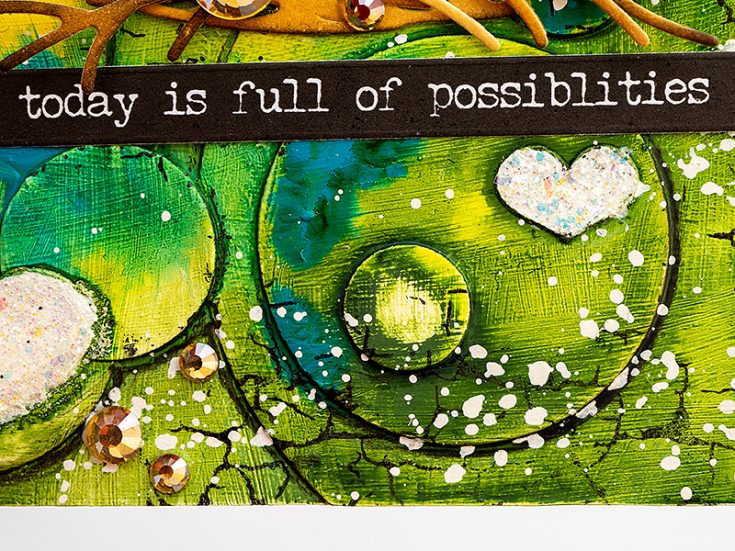
The texture of the brush marks is visible on the background.
Embedding die cuts in the background is a great way of getting even more out of your dies. There are so many possibilities. The background also becomes very sturdy. You can also try using patterned paper for the die cuts instead of cardstock. Thank you so much for looking! Happy crafting! –Anna-Karin
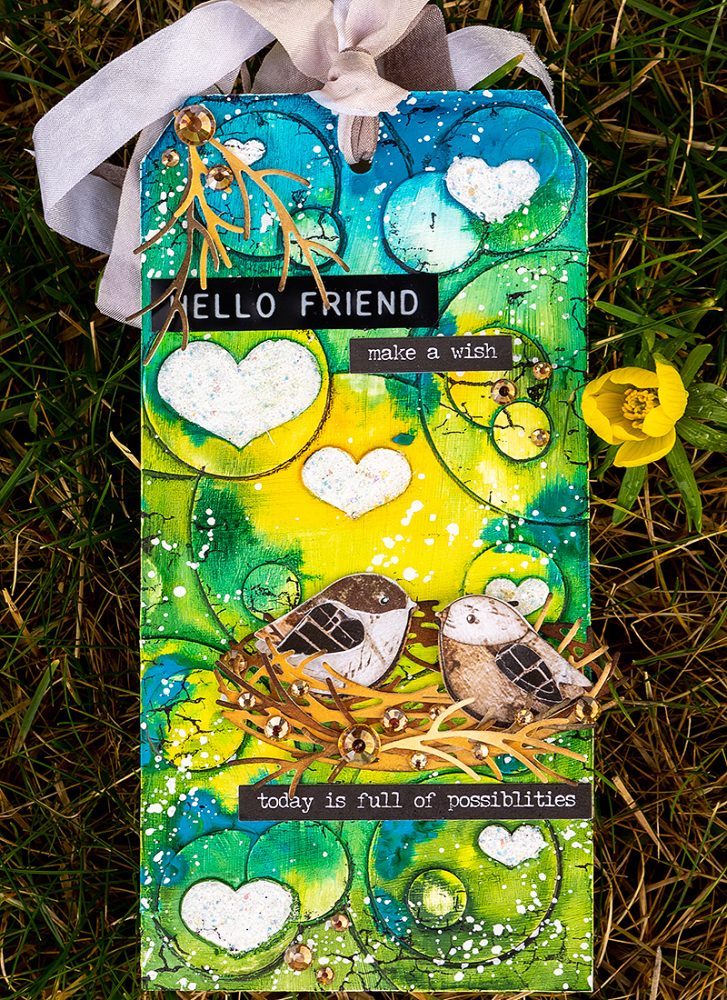
SUPPLIES:
|
Thanks so much for stopping by, and thanks to Anna-Karin for being our guest!
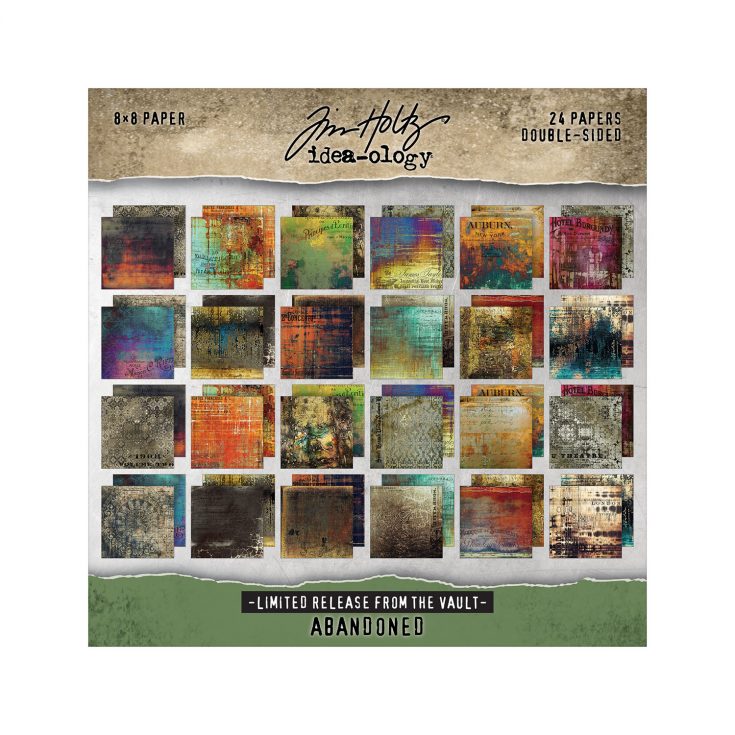
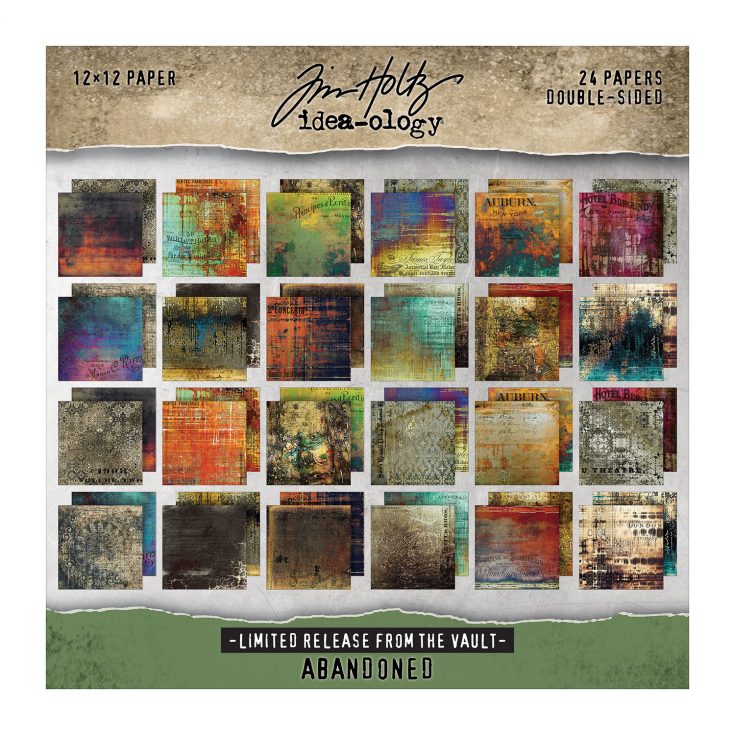
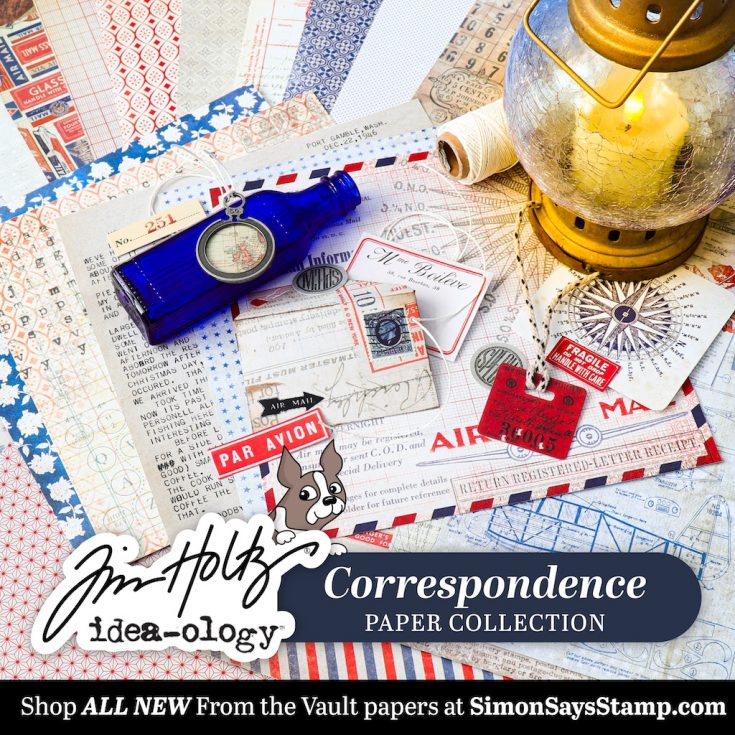
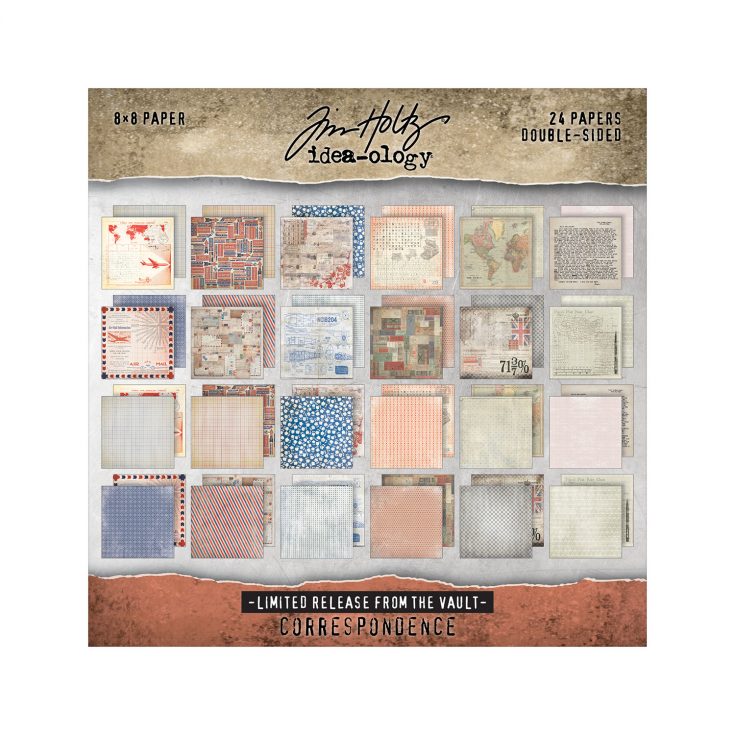
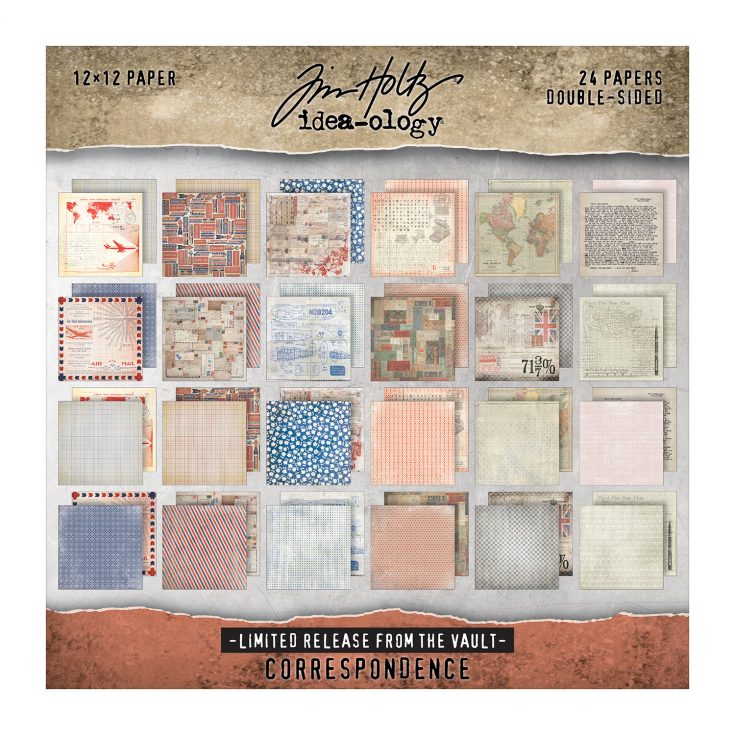
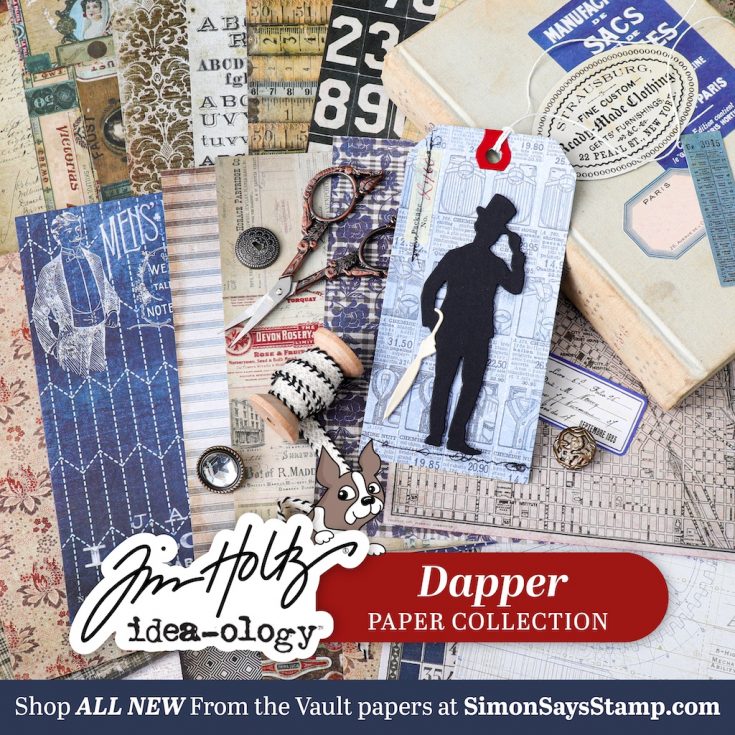
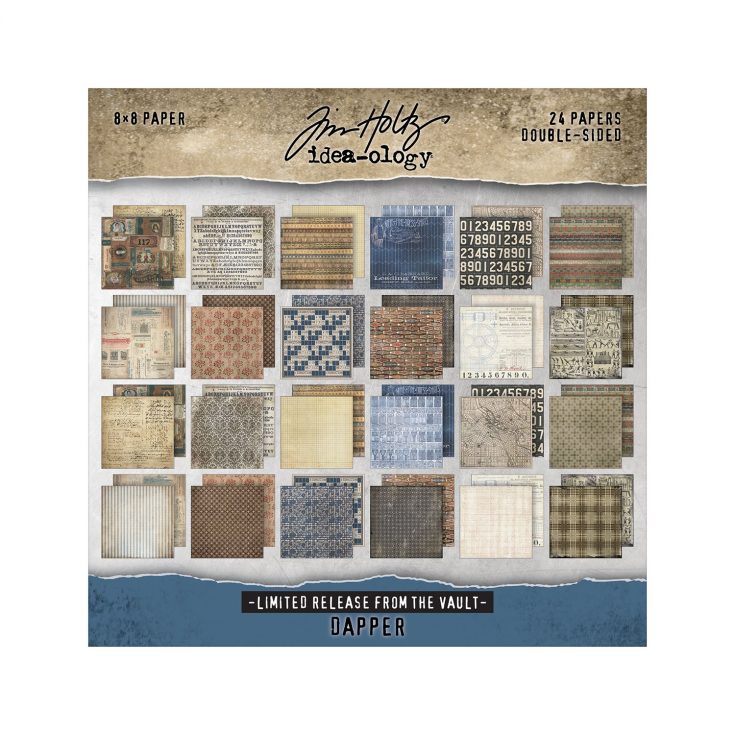
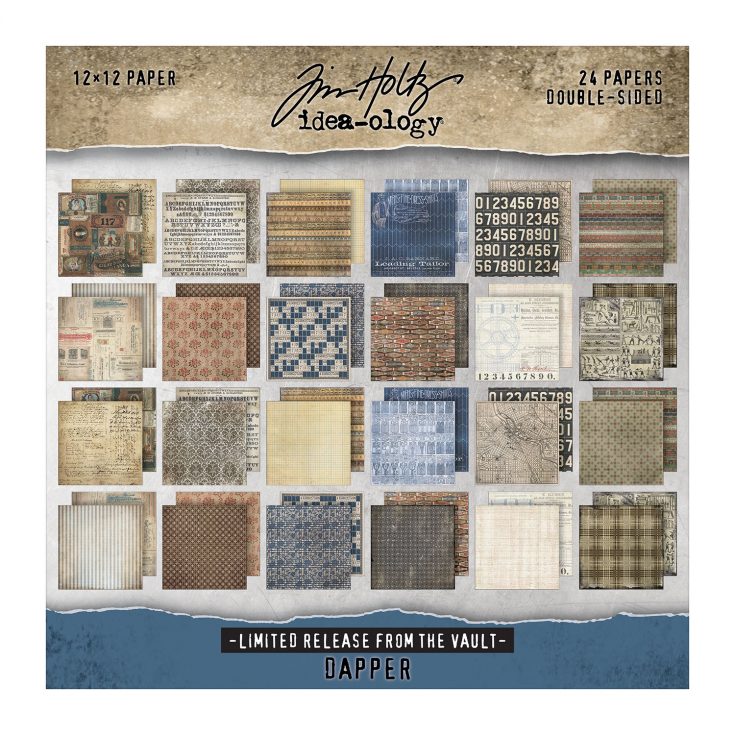
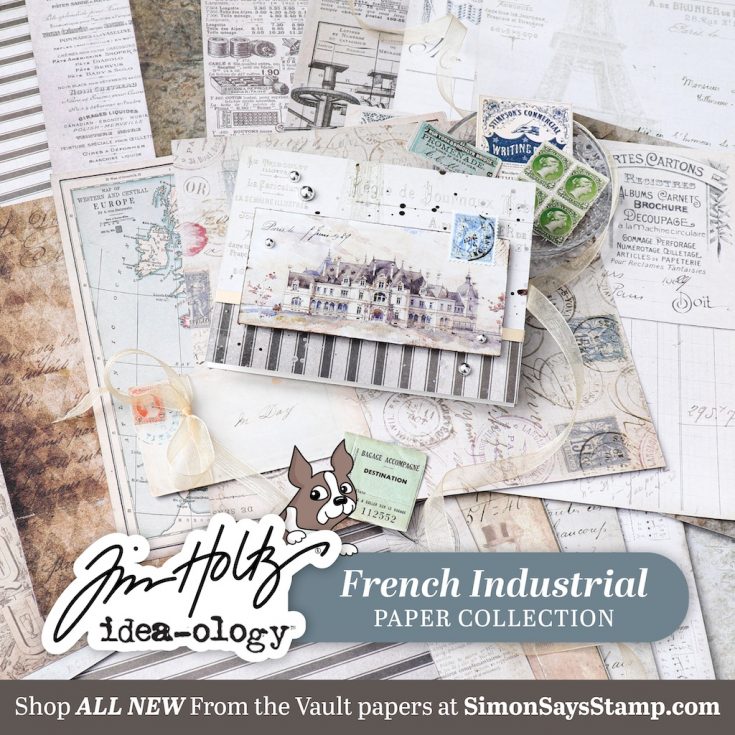
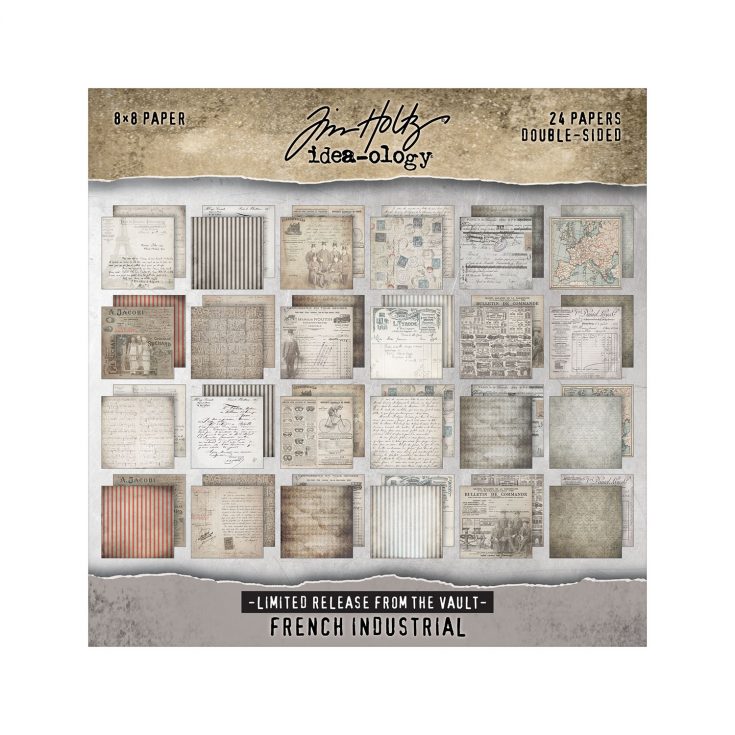
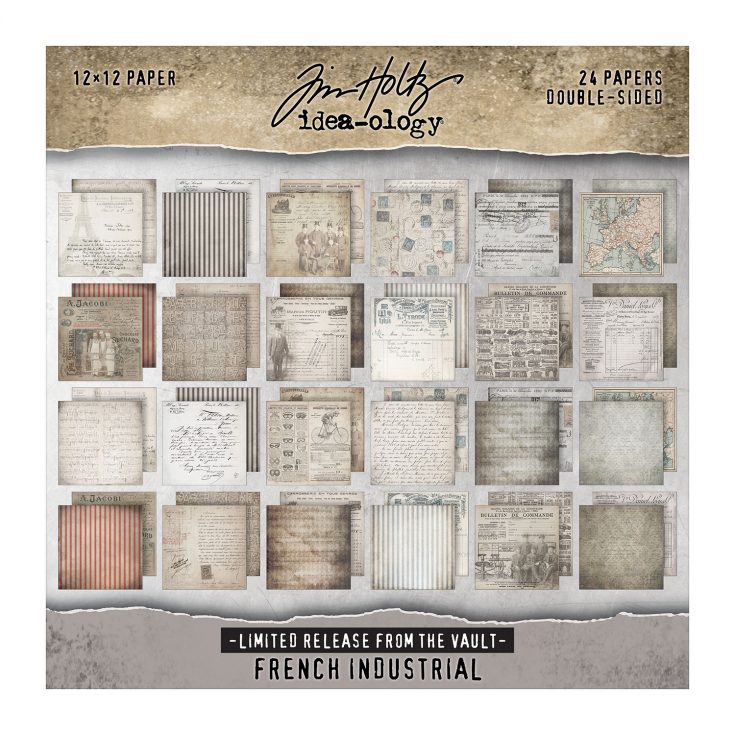
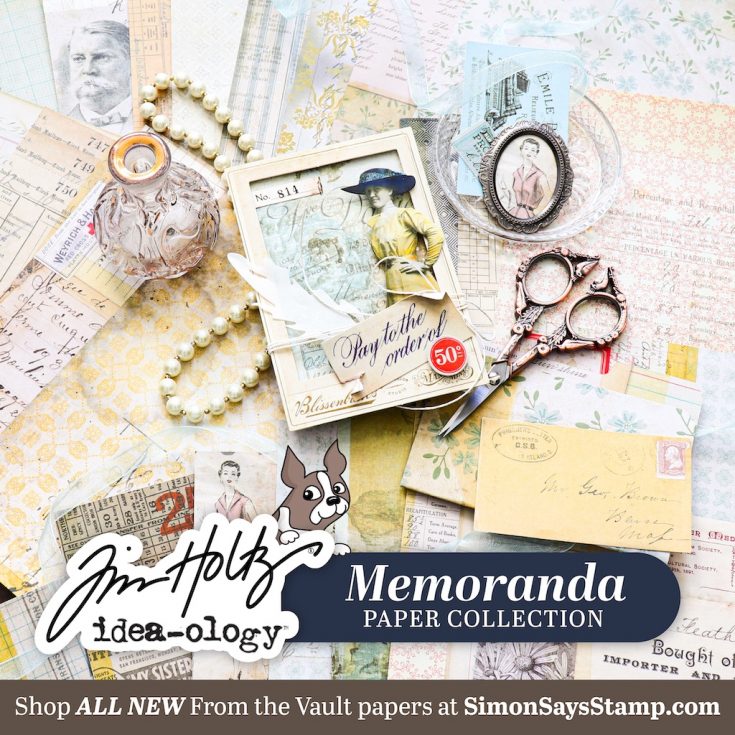
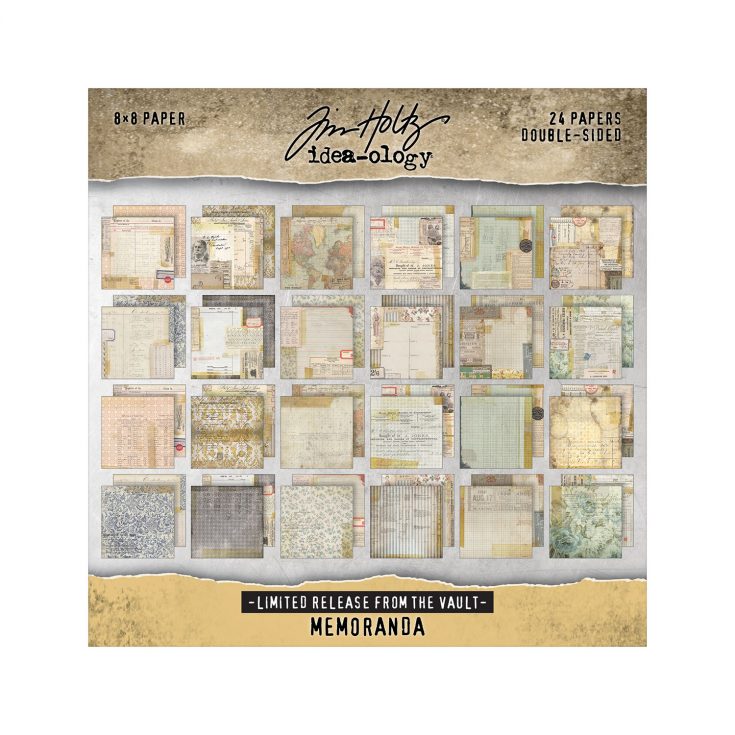
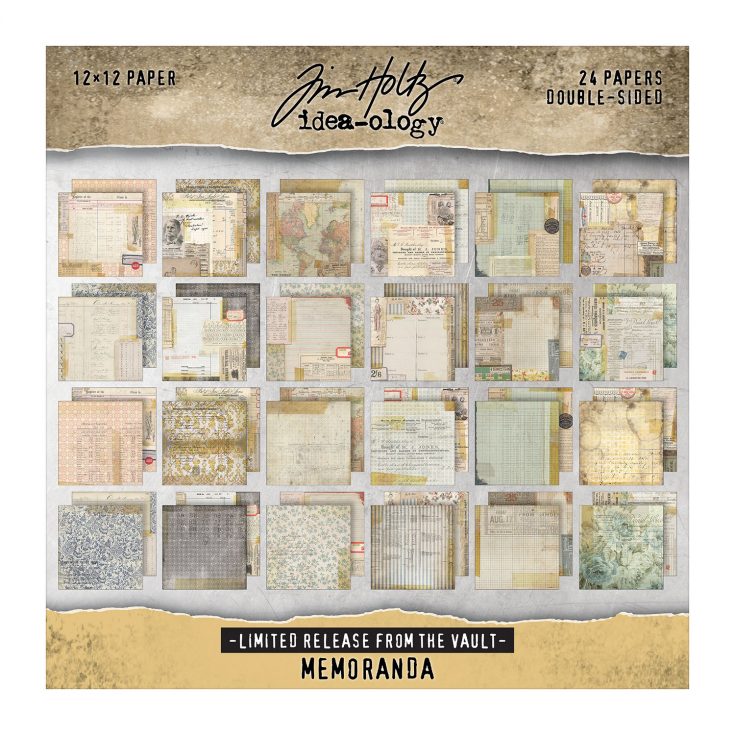
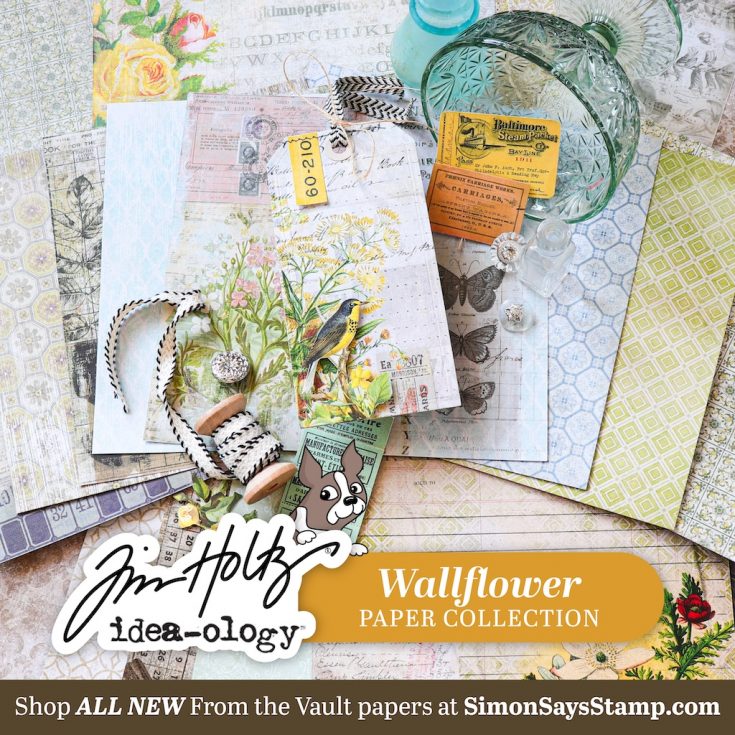
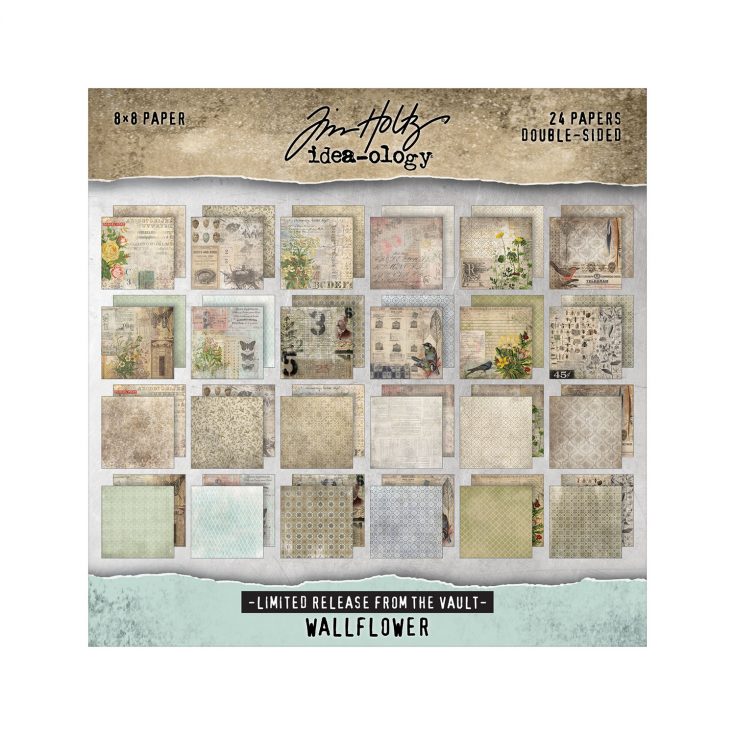
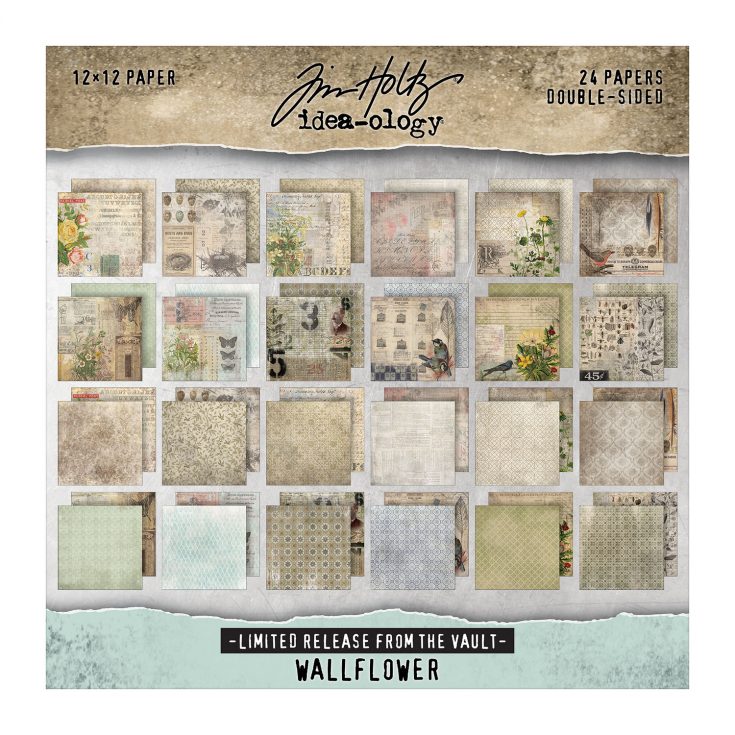
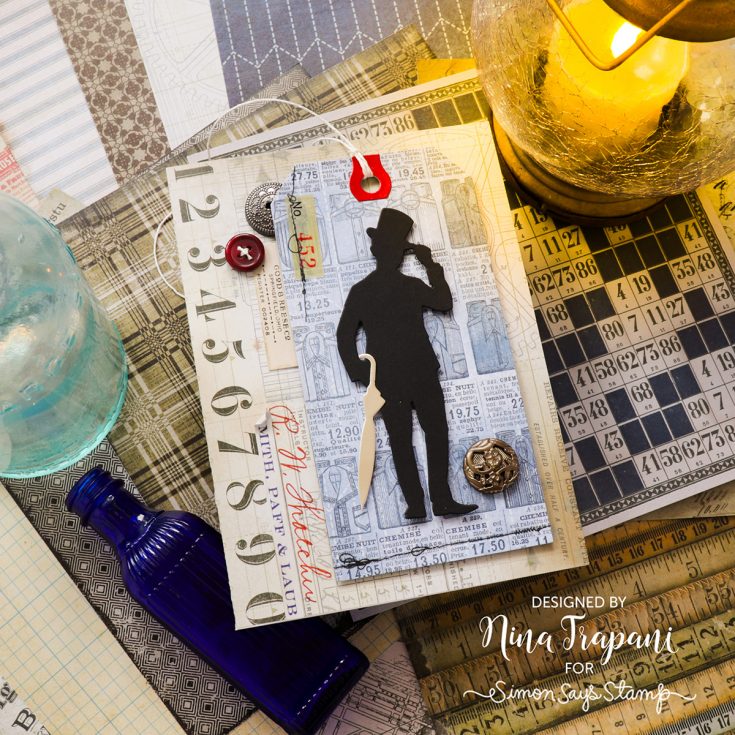
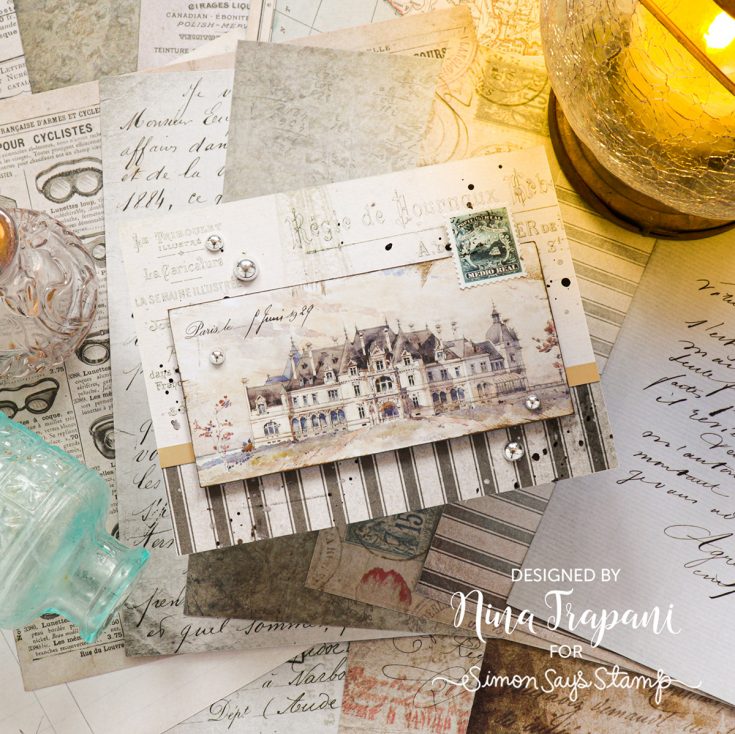
NEW Limited Edition Vault Tim Holtz idea-ology Paper Collections: Shipping Now!
Hi friends! Exciting news! 6 new gorgeous curated collections of Tim Holtz idea-ology papers have been reimagined and brought out of the vault in two size offerings and ready for creative delight! Choose your favorites or buy pick a bundle!
Did you miss Tim Holtz LIVE showcasing his from the vault idea-ology paper collections? Click or tap below to rewatch!

Ideas to INSPIRE!
Stay Tuned! We’re LIVE Today at NOON ET and You Won’t Want to Miss It!
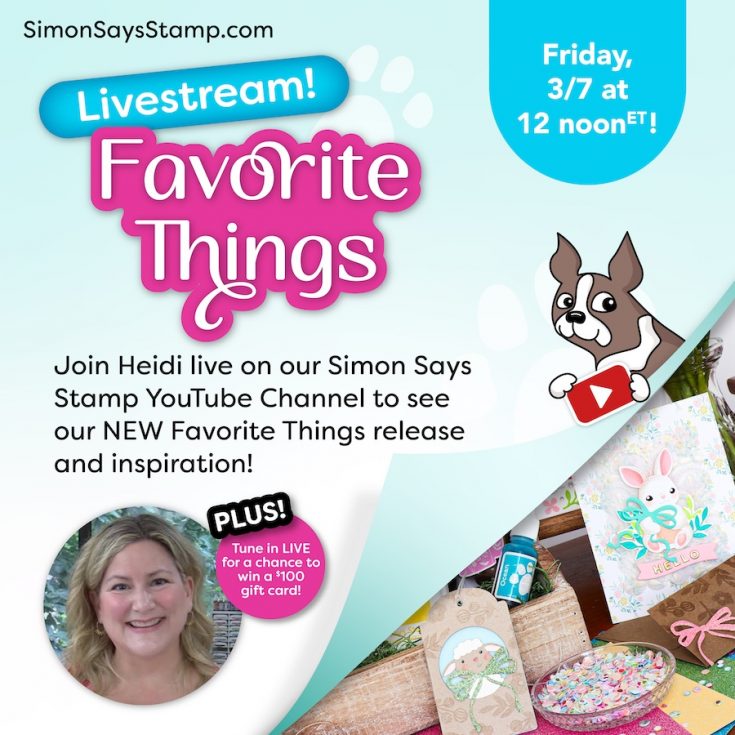
Join us live TODAY at 12 AM ET! Click or tap the bell by ‘Notify Me’ to be notified when we begin on Friday, March 7th at 12 AM ET!


