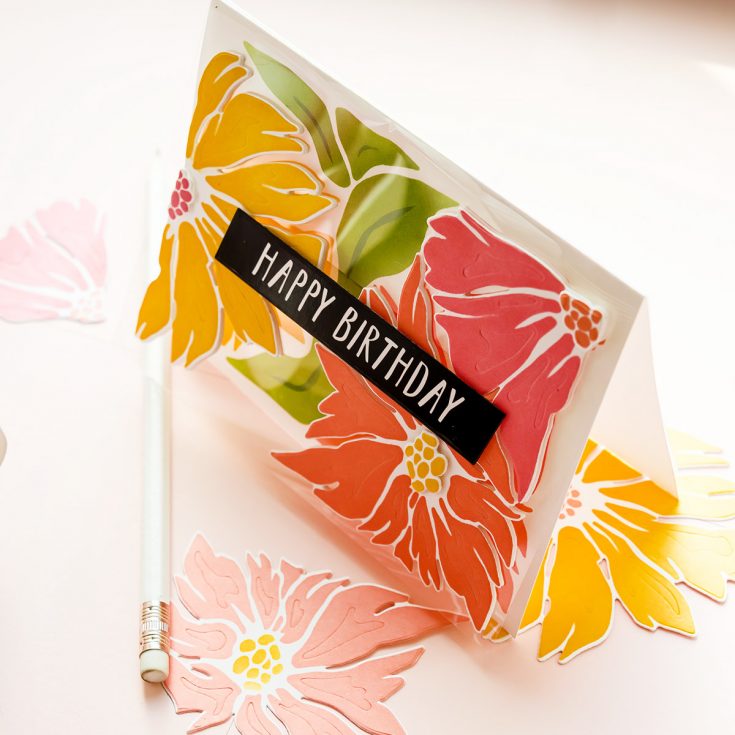
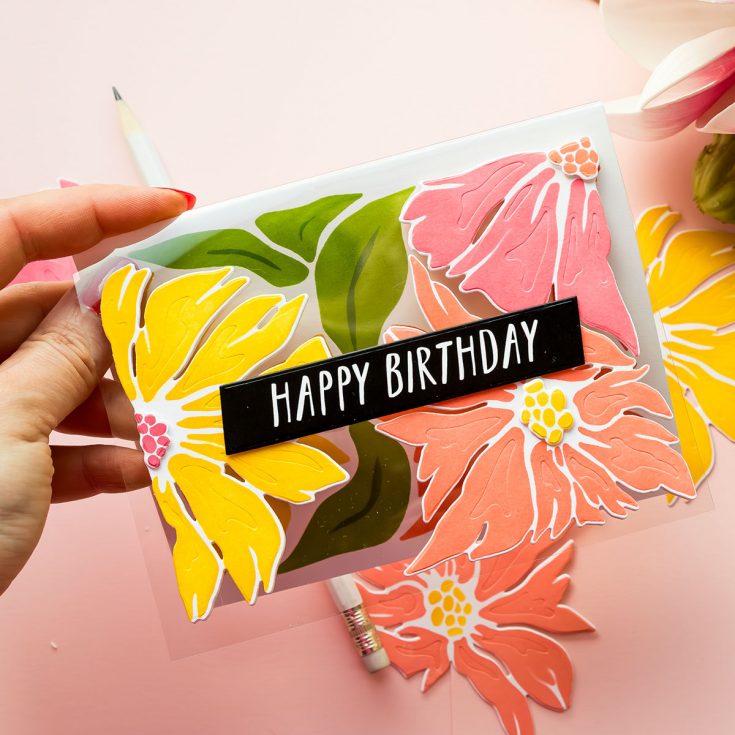
This Floral Card Floats?! Clear Base Technique You’ll Love: Yippee for Yana

Hi friend! Please join me in welcoming back the oh-so-talented and amazing Yana Smakula! (Please note: our dear friend Yana is Ukrainian. To show support to our brothers and sisters in Ukraine, please see Yana’s post HERE.)
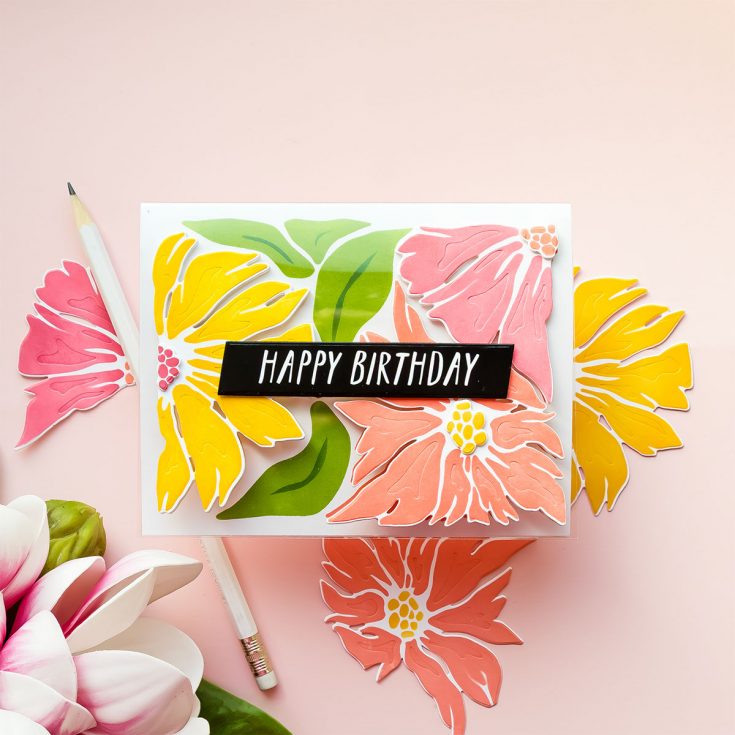
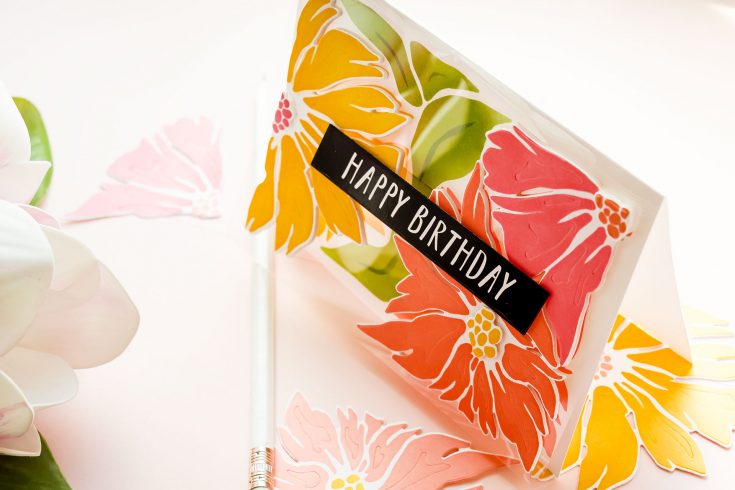
Hi everyone! Welcome back for another Yippee for Yana episode. Today I’m sharing a fun and unique cardmaking project — a clear card base card featuring ink-blended florals. If you’ve never made a clear card before, this is a great technique to try, and I’ll walk you through the entire process step by step.
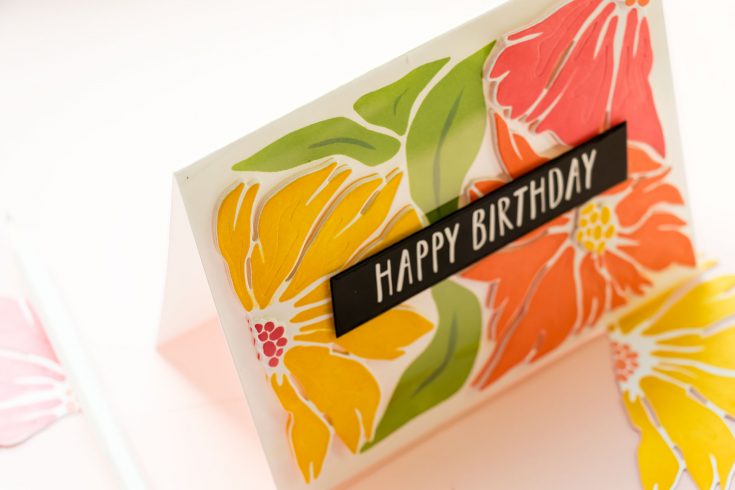
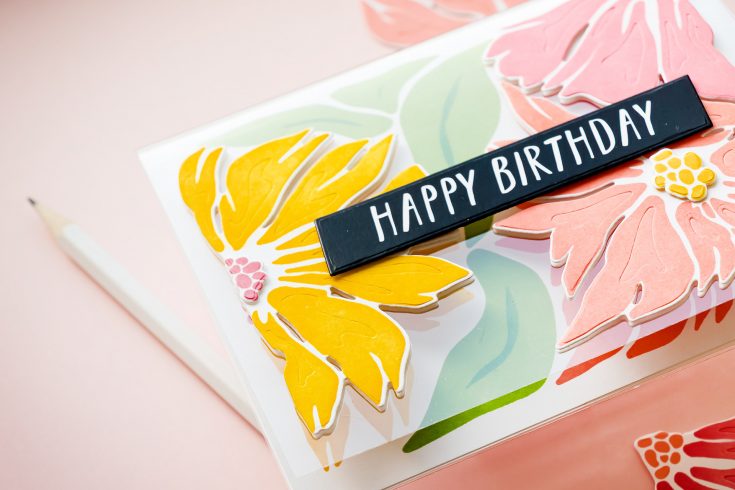
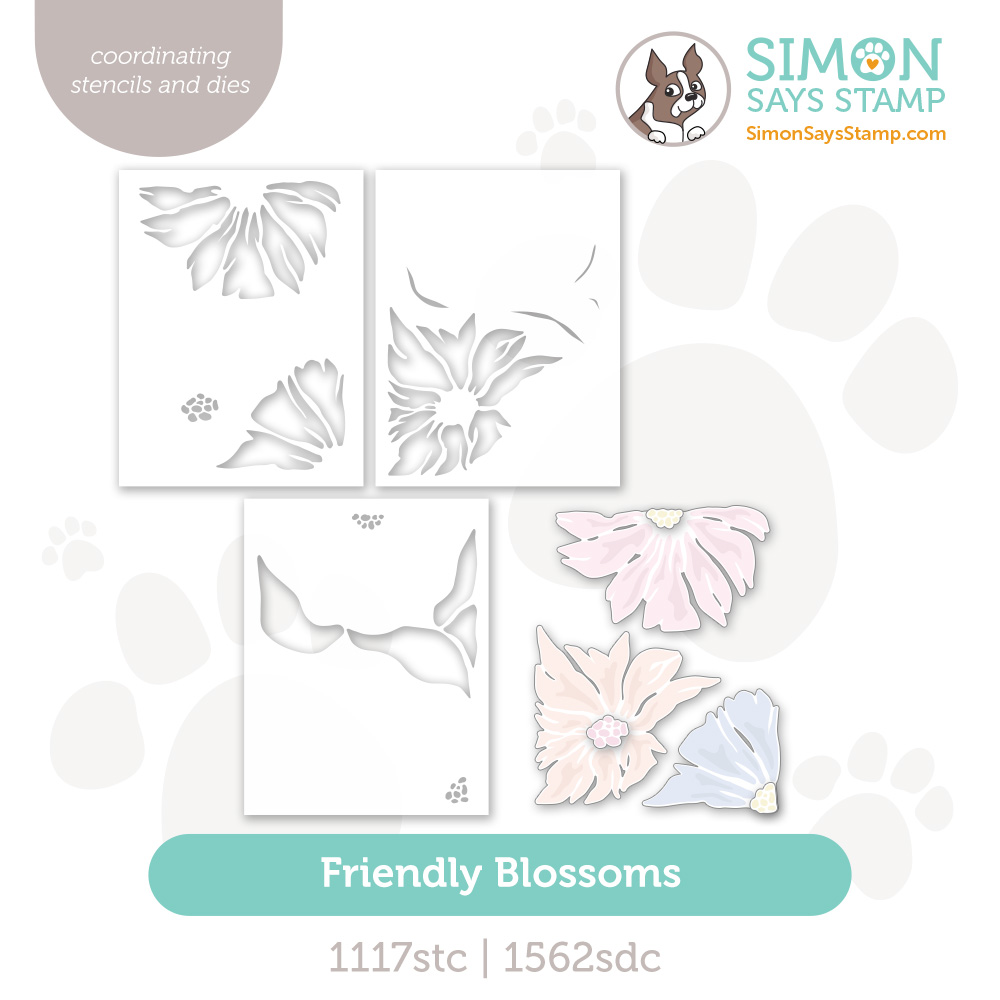
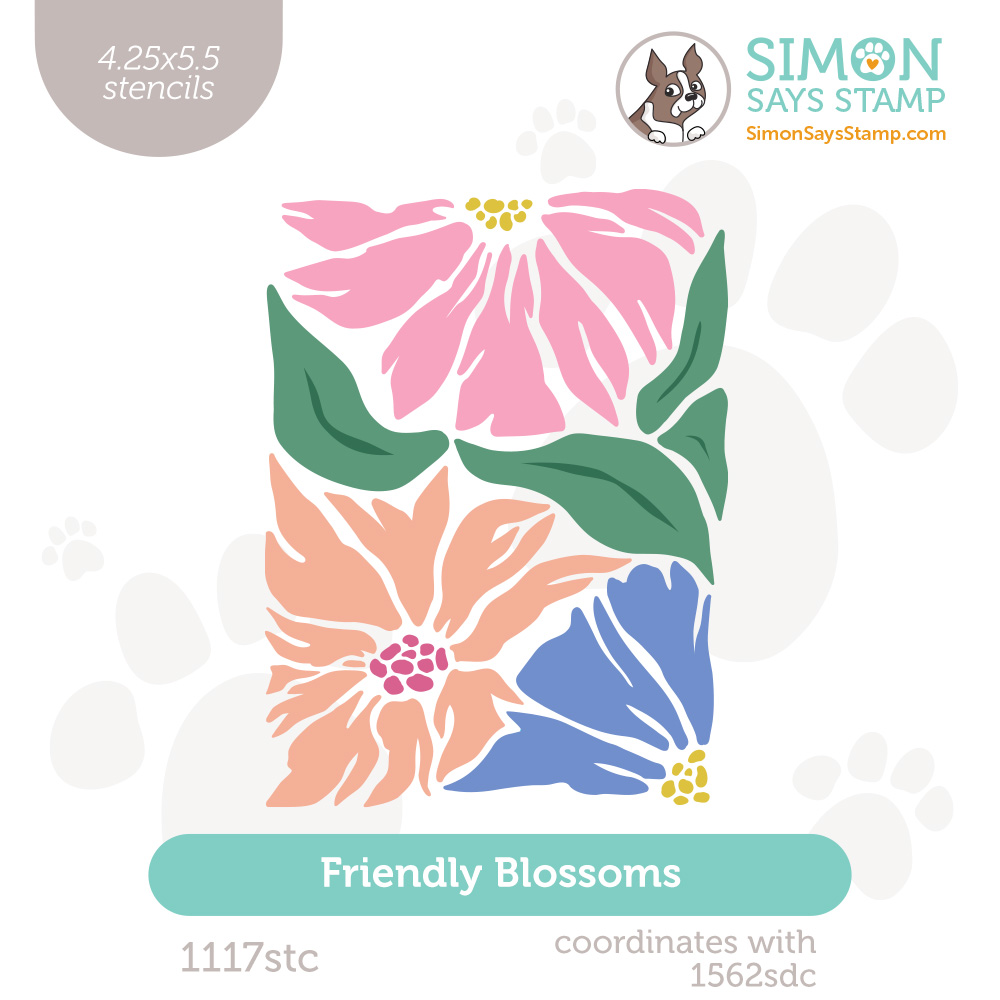
This card combines the beautiful Simon Says Stamp Friendly Blossoms Stencils with coordinating dies to create a layered floral design that appears to float on the front of the card.
Create the Ink-Blended Background
I started by creating an A2 top-folding card base from white cardstock. This panel goes inside the clear acetate card base and serves as both the background and a place to write a personal message.
Using the Simon Says Stamp Friendly Blossoms Stencils, I ink blended the floral design directly onto the front of the cardstock panel. Before blending, I added masking paper to the back of the panel to keep it clean.
For the first stencil layer (the flowers), I used:
- Honey ink for the large flower
- Rhubarb ink for the second flower
These stencils include helpful labels for each element, making alignment simple and intuitive. Because the stencil design is quite detailed, I recommend blending gently or even tapping the ink onto the surface to avoid shifting the stencil and to preserve fine details.
Next, I layered in the leaves using Pearfection ink. For the flower centers, I reused the same ink colors but switched them around for a more playful and balanced look.
The final stencil layer adds extra details, including leafy vines and an additional flower. I used Field ink (a darker green) for depth and Salmon ink for the final bloom. Masking certain areas during this step helps keep colors clean and prevents unwanted blending.
Die Cut the Floral Elements
To create dimension on the card front, I repeated the ink blending on a second panel — focusing only on the flowers since those would be die cut.
I used the Simon Says Stamp Friendly Blossoms Dies to cut out the floral elements. These dies not only cut the shapes but also add subtle embossed details, making the flowers look more polished and dimensional.
I also die-cut flower centers and adhered them using thin foam adhesive squares.
Assemble the Clear Card Base
Now for the fun part — assembling the clear card.
I placed the ink-blended cardstock card base inside the clear acetate card base. To secure the two together without visible adhesive, I used a sentiment strip and adhered it to the back of the card. Then I added double-sided adhesive behind that area to attach the layers seamlessly.
For the front design, I adhered the die-cut flowers using foam adhesive squares to create dimension. Because the card base is clear, the back of the foam adhesive would normally be visible from the inside.
To solve this, I added extra die-cut pieces to the inside of the card, aligning them behind the front flowers to completely hide the adhesive. This simple trick keeps everything looking clean and professional.
Add the Sentiment
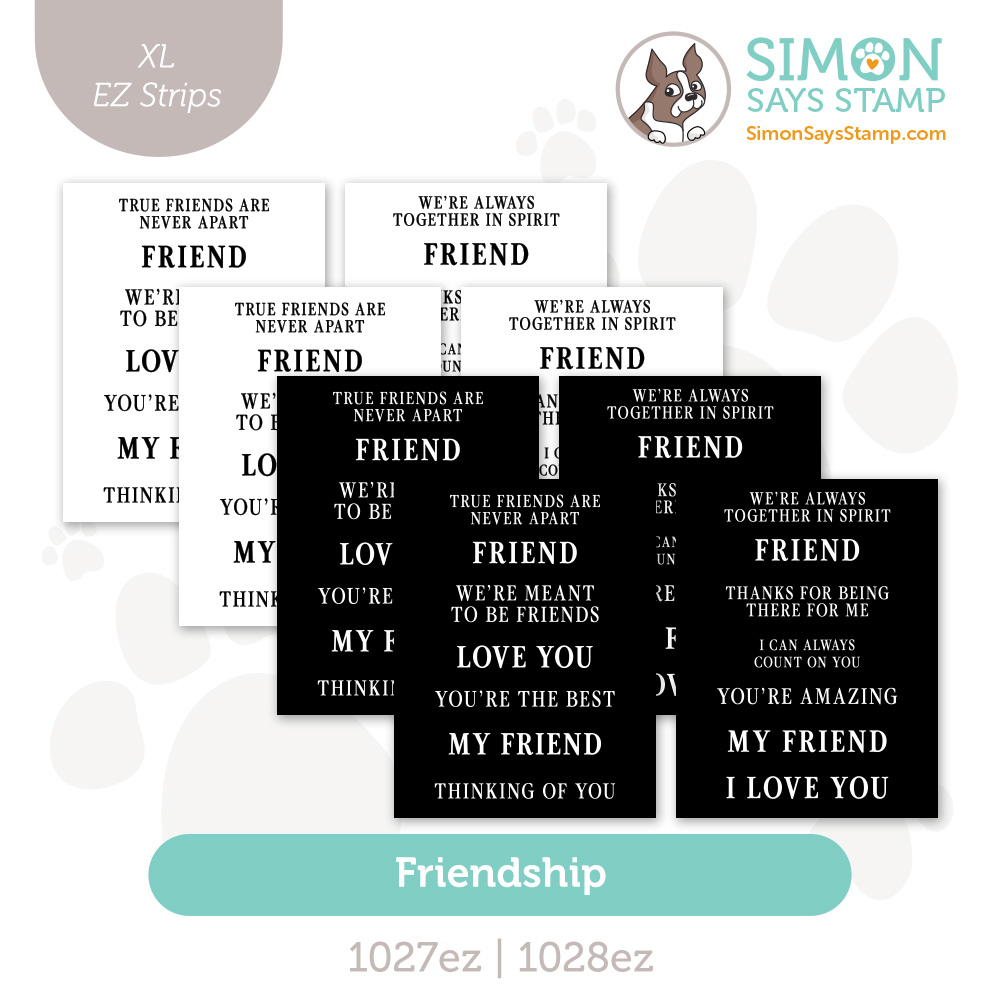
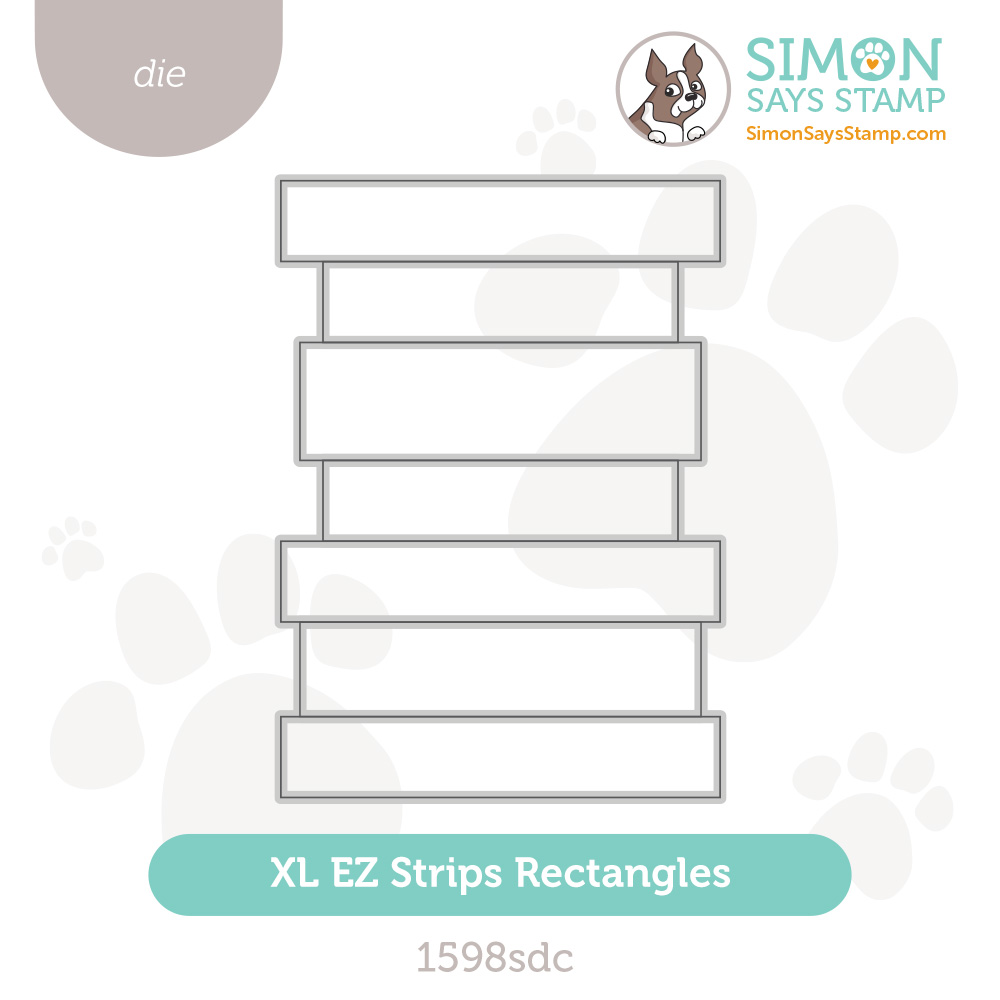
I finished the card with a “Happy Birthday” sentiment, die cut using the Simon Says Stamp XL Easy Strips Slanted Rectangle Dies. I carefully positioned the sentiment so the adhesive sits only on top of the flowers, ensuring it remains hidden from the inside of the card.
Finished Card
The result is a stunning, clear card with floating florals, vibrant ink blending, and a clean, polished interior. You still have plenty of space inside to write a personal message, and the added sentiment on the back gives the card a thoughtful finishing touch.
Clear card bases are a fantastic way to add interest and dimension to your cardmaking projects. If you’re looking for a fresh idea, this technique is definitely worth trying.
Thanks so much for joining me today. I hope you feel inspired to create your own clear card with the Simon Says Stamp Friendly Blossoms collection!
WATCH THE VIDEO:

SUPPLIES:
|


Ways to support Ukraine:
If you are looking for ways to support Ukraine, we encourage you to visit this page on Yana’s blog:

A big thank you to YOU, our reader — and to Yana for being our guest!
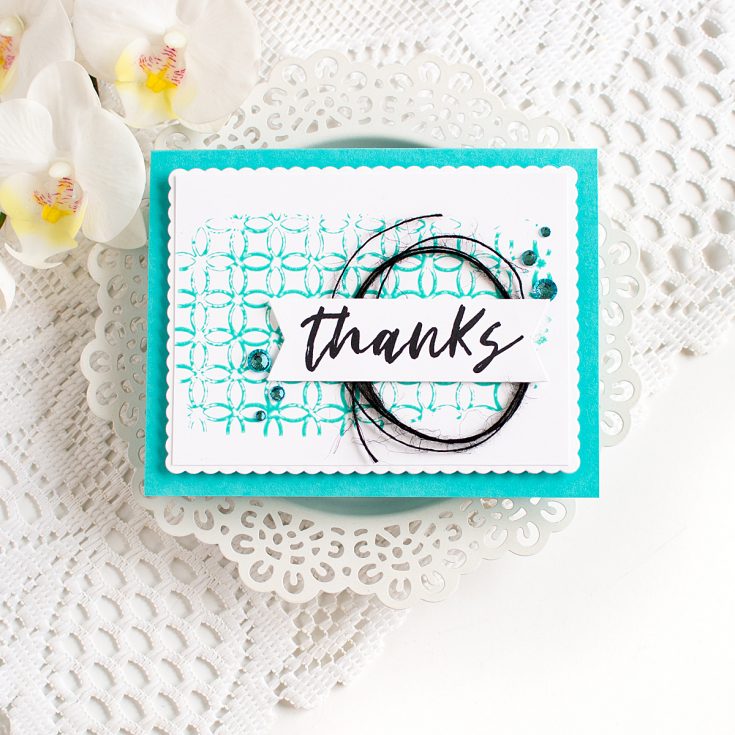
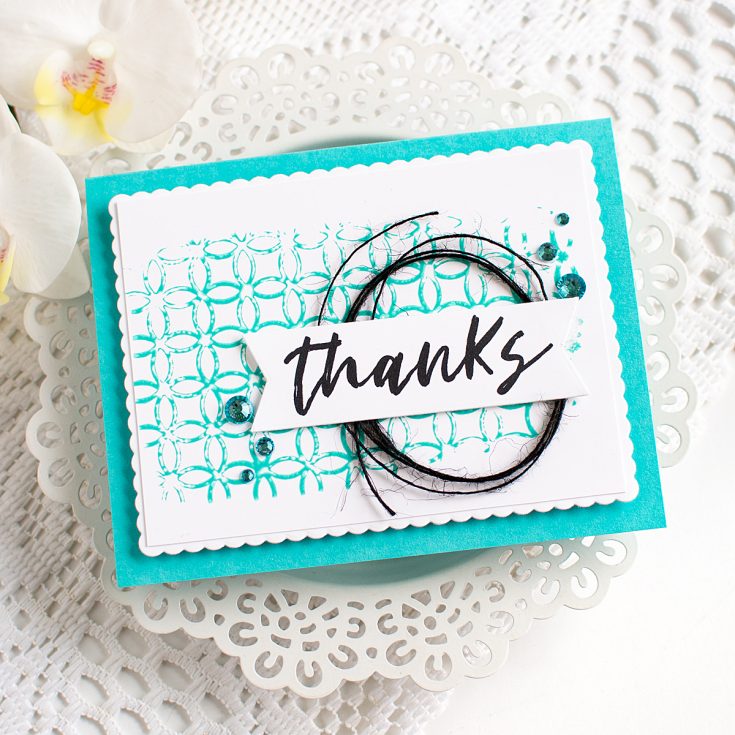
Monochromatic Teal Thanks Card featuring components of our April 2026 Card Kit!
Hello everyone! Heather Hoffman here today, and I have had so much fun playing with the April 2026 Card Kit: A Little Artsy – not to mention some of the amazing add-ons! I mixed and matched some elements from the kit, one of the add-ons, and a couple dies to pull it all together. Keep reading to find out more! (editor’s note: This card kit sold out super fast! Thank you! Fortunately, individual products to make this card are still available!)
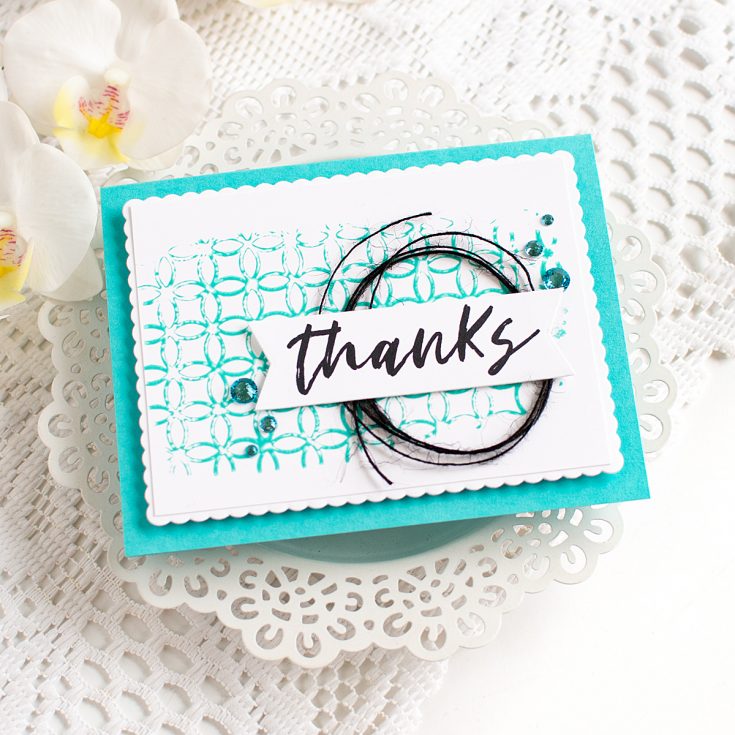
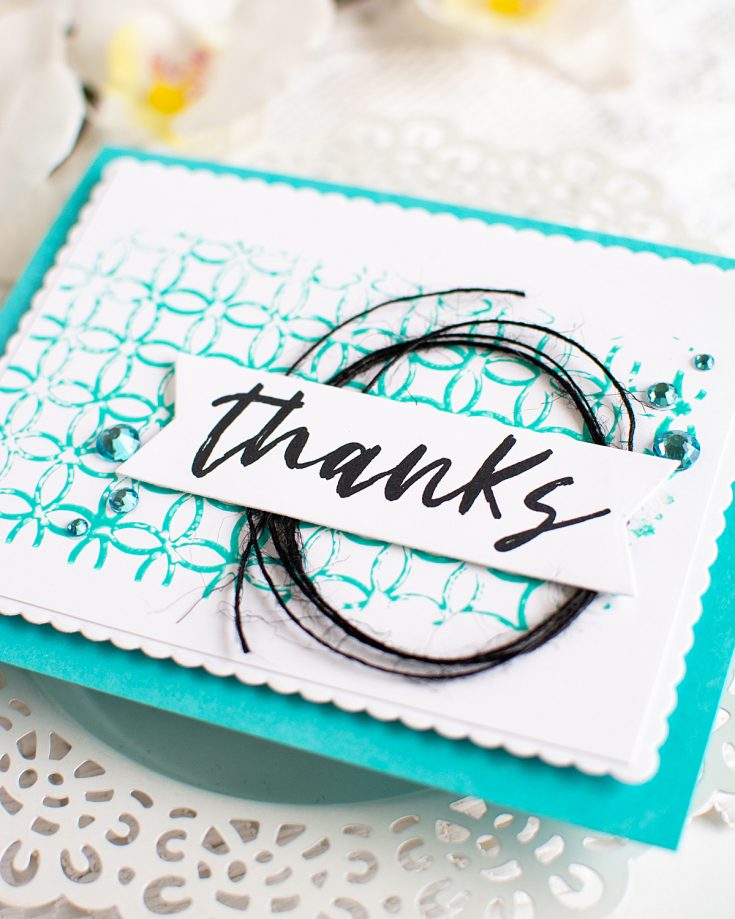
The first part of this card actually happened by accident! I was playing with the Petal Lattice stencil (one of the add-ons), and trying to apply the Salvaged Patina paint in the kit through the stencil with a wide brush. Unfortunately, my efforts failed, and I ended up with a big blob of paint. However, as I looked at the paint still on the stencil, I wondered what would happen if I pressed it onto another piece of cardstock, kind of like a stamp. I placed a clean sheet of printer paper over the top to press it in place and avoid any smears, and when I peeled it back, I had that amazing background! So fun!
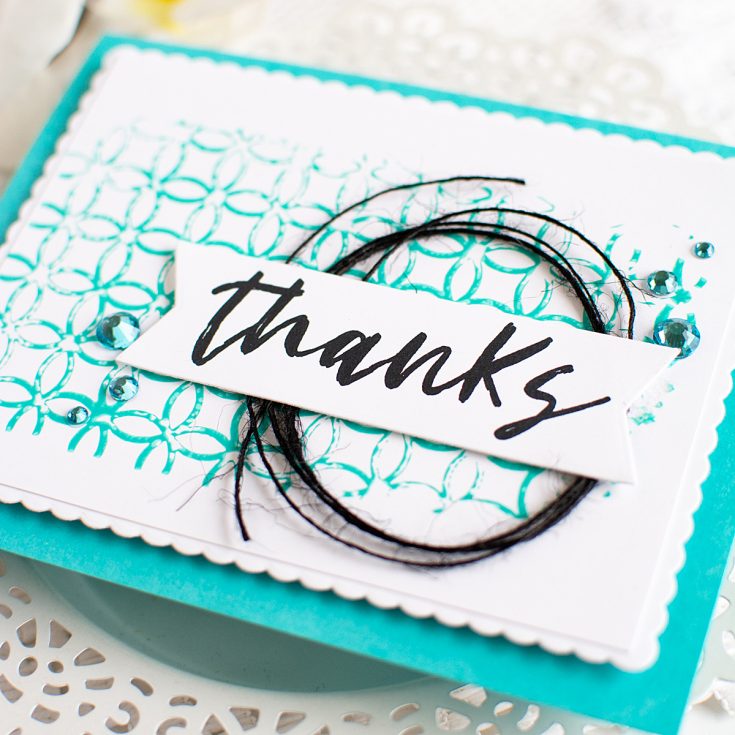
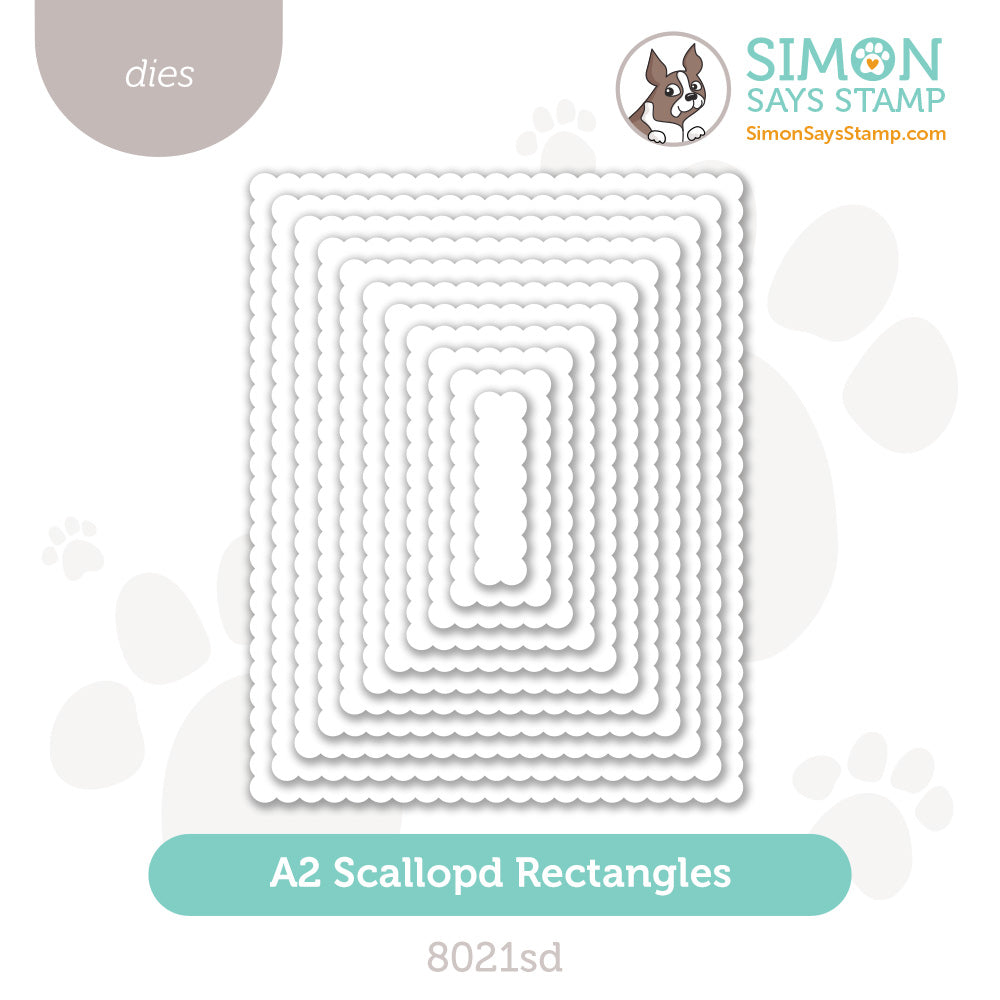
I really wanted to let that background shine, so I decided to keep the rest of the card fairly simple, and use monochromatic colors. I pulled out the Scalloped Rectangles die to create a border for that panel, then adhered both of those with foam tape on a cardbase created with some of the Audrey Blue cardstock in the card kit.
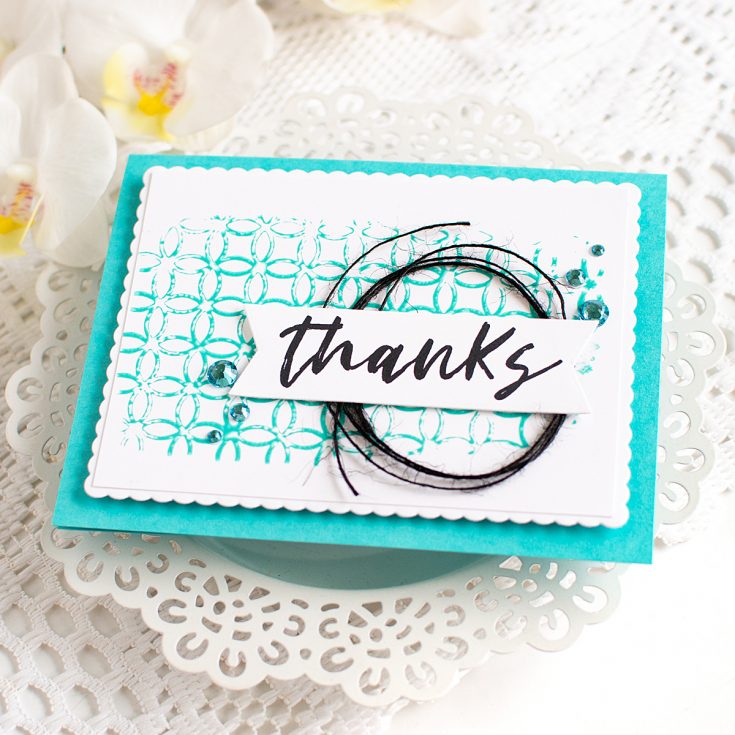
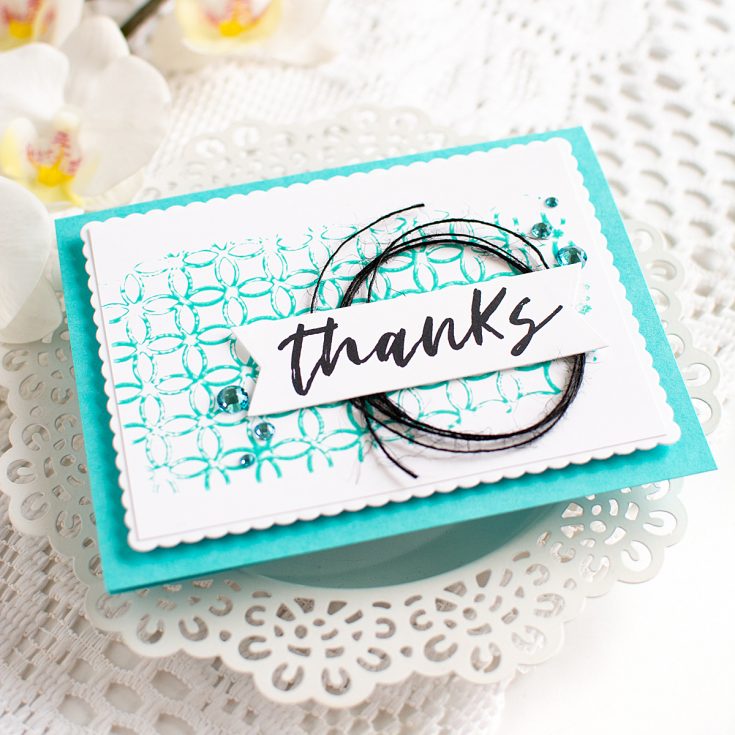
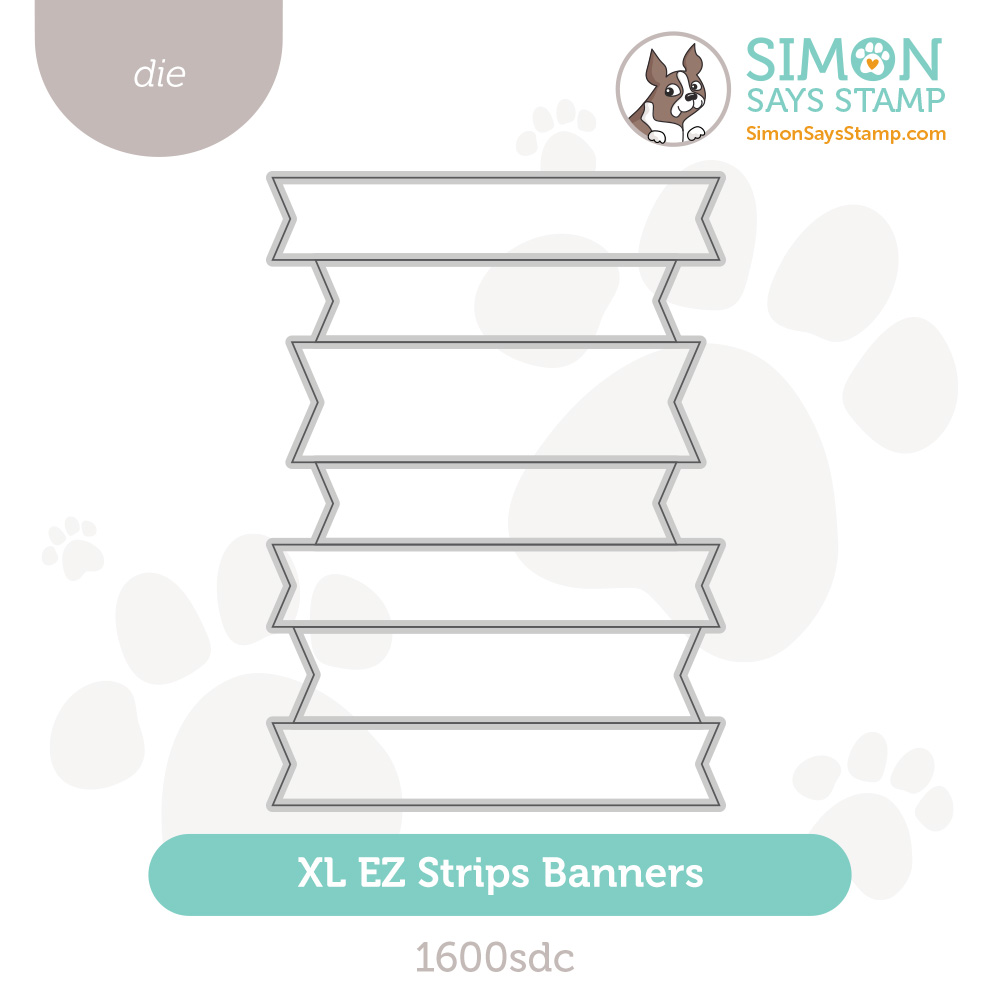
I stamped a sentiment from the A Little Artsy stamp set in the kit on a banner that I cut from a panel of cardstock with XL EZ Strips Banners die (these are great for just creating banners to stamp other sentiments on too!). I looped the Black Twine in the kit behind the sentiment, and adhered it with foam adhesive. Finished off with some perfectly coordinating Dazzling Gems in Surf for a touch of sparkle!
Have you ever discovered a new technique without meaning too? I love happy accidents like this!
SUPPLIES:
|


Thanks so much for stopping by, I hope you have a wonderful day!
Did you know?! We’ve made our card kit subscription BETTER THAN EVER!

Here’s what makes our new service a crafting paradise:
Exclusive Access: As a subscriber, you get first dibs! Each month, you’ll get an exclusive sneak peek at our new kit, with the option to add more coordinating items to your cart, including handy replenishable supplies, all shipped together for your convenience.
Hassle-Free Payments: Say goodbye to monthly billings! Our automated system smoothly charges your preferred card, ensuring an uninterrupted flow of crafty goodness – unless you decide to pause, of course!
$5 Off Magic: Enjoy a special $5 discount off our kit’s retail price, exclusive to our beloved subscribers – no codes needed, just automatic savings!
Crafting Inspirations: Dive into a sea of creative ideas monthly, all tailored around your kit, to keep your inspiration flowing endlessly.
Flexibility First: Fear of commitment? Not here! Our subscription is as flexible as it gets – pause or cancel anytime, no strings attached.
Why wait? Step into the realm of our NEW Simon Says Stamp Monthly Card Kit service. Welcome a box full of crafting marvels, right to your doorstep. Craft with ease and let creativity come to you!
Ready to elevate your craft? Subscribe Now and open the doors to boundless creativity!
We’re thrilled to have you in our crafting community and can’t wait to embark on this renewed creative adventure together!
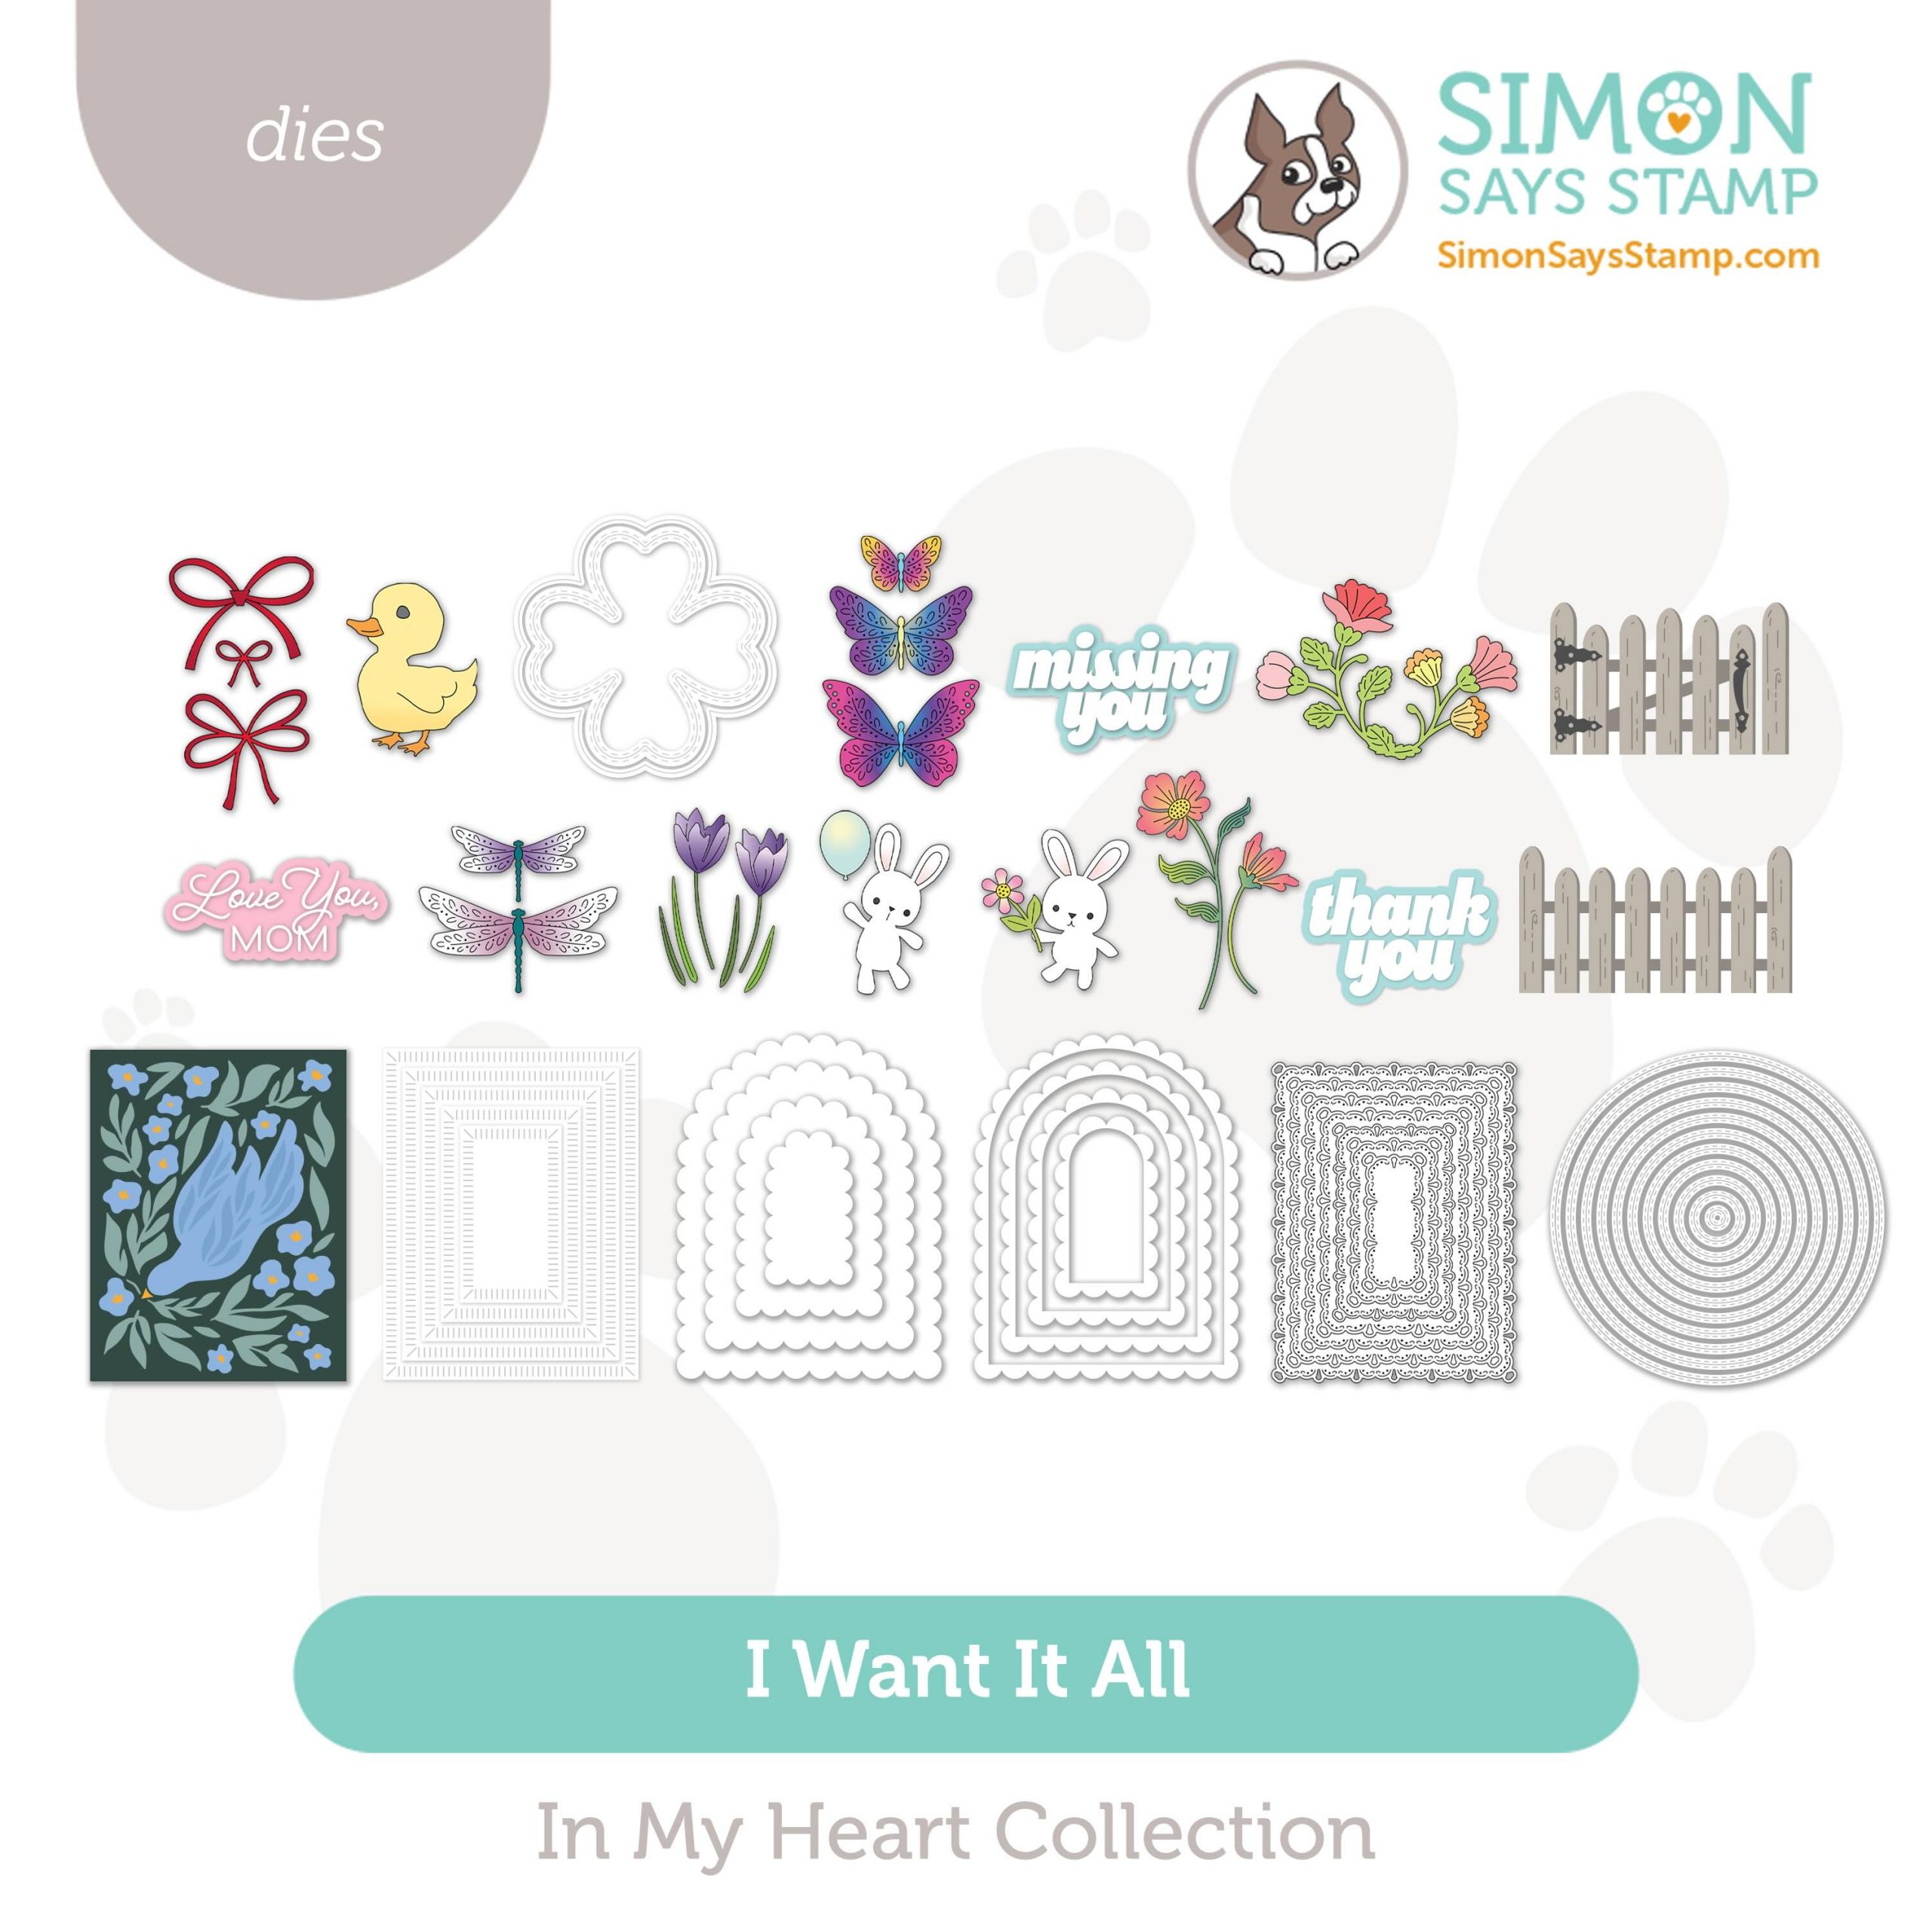
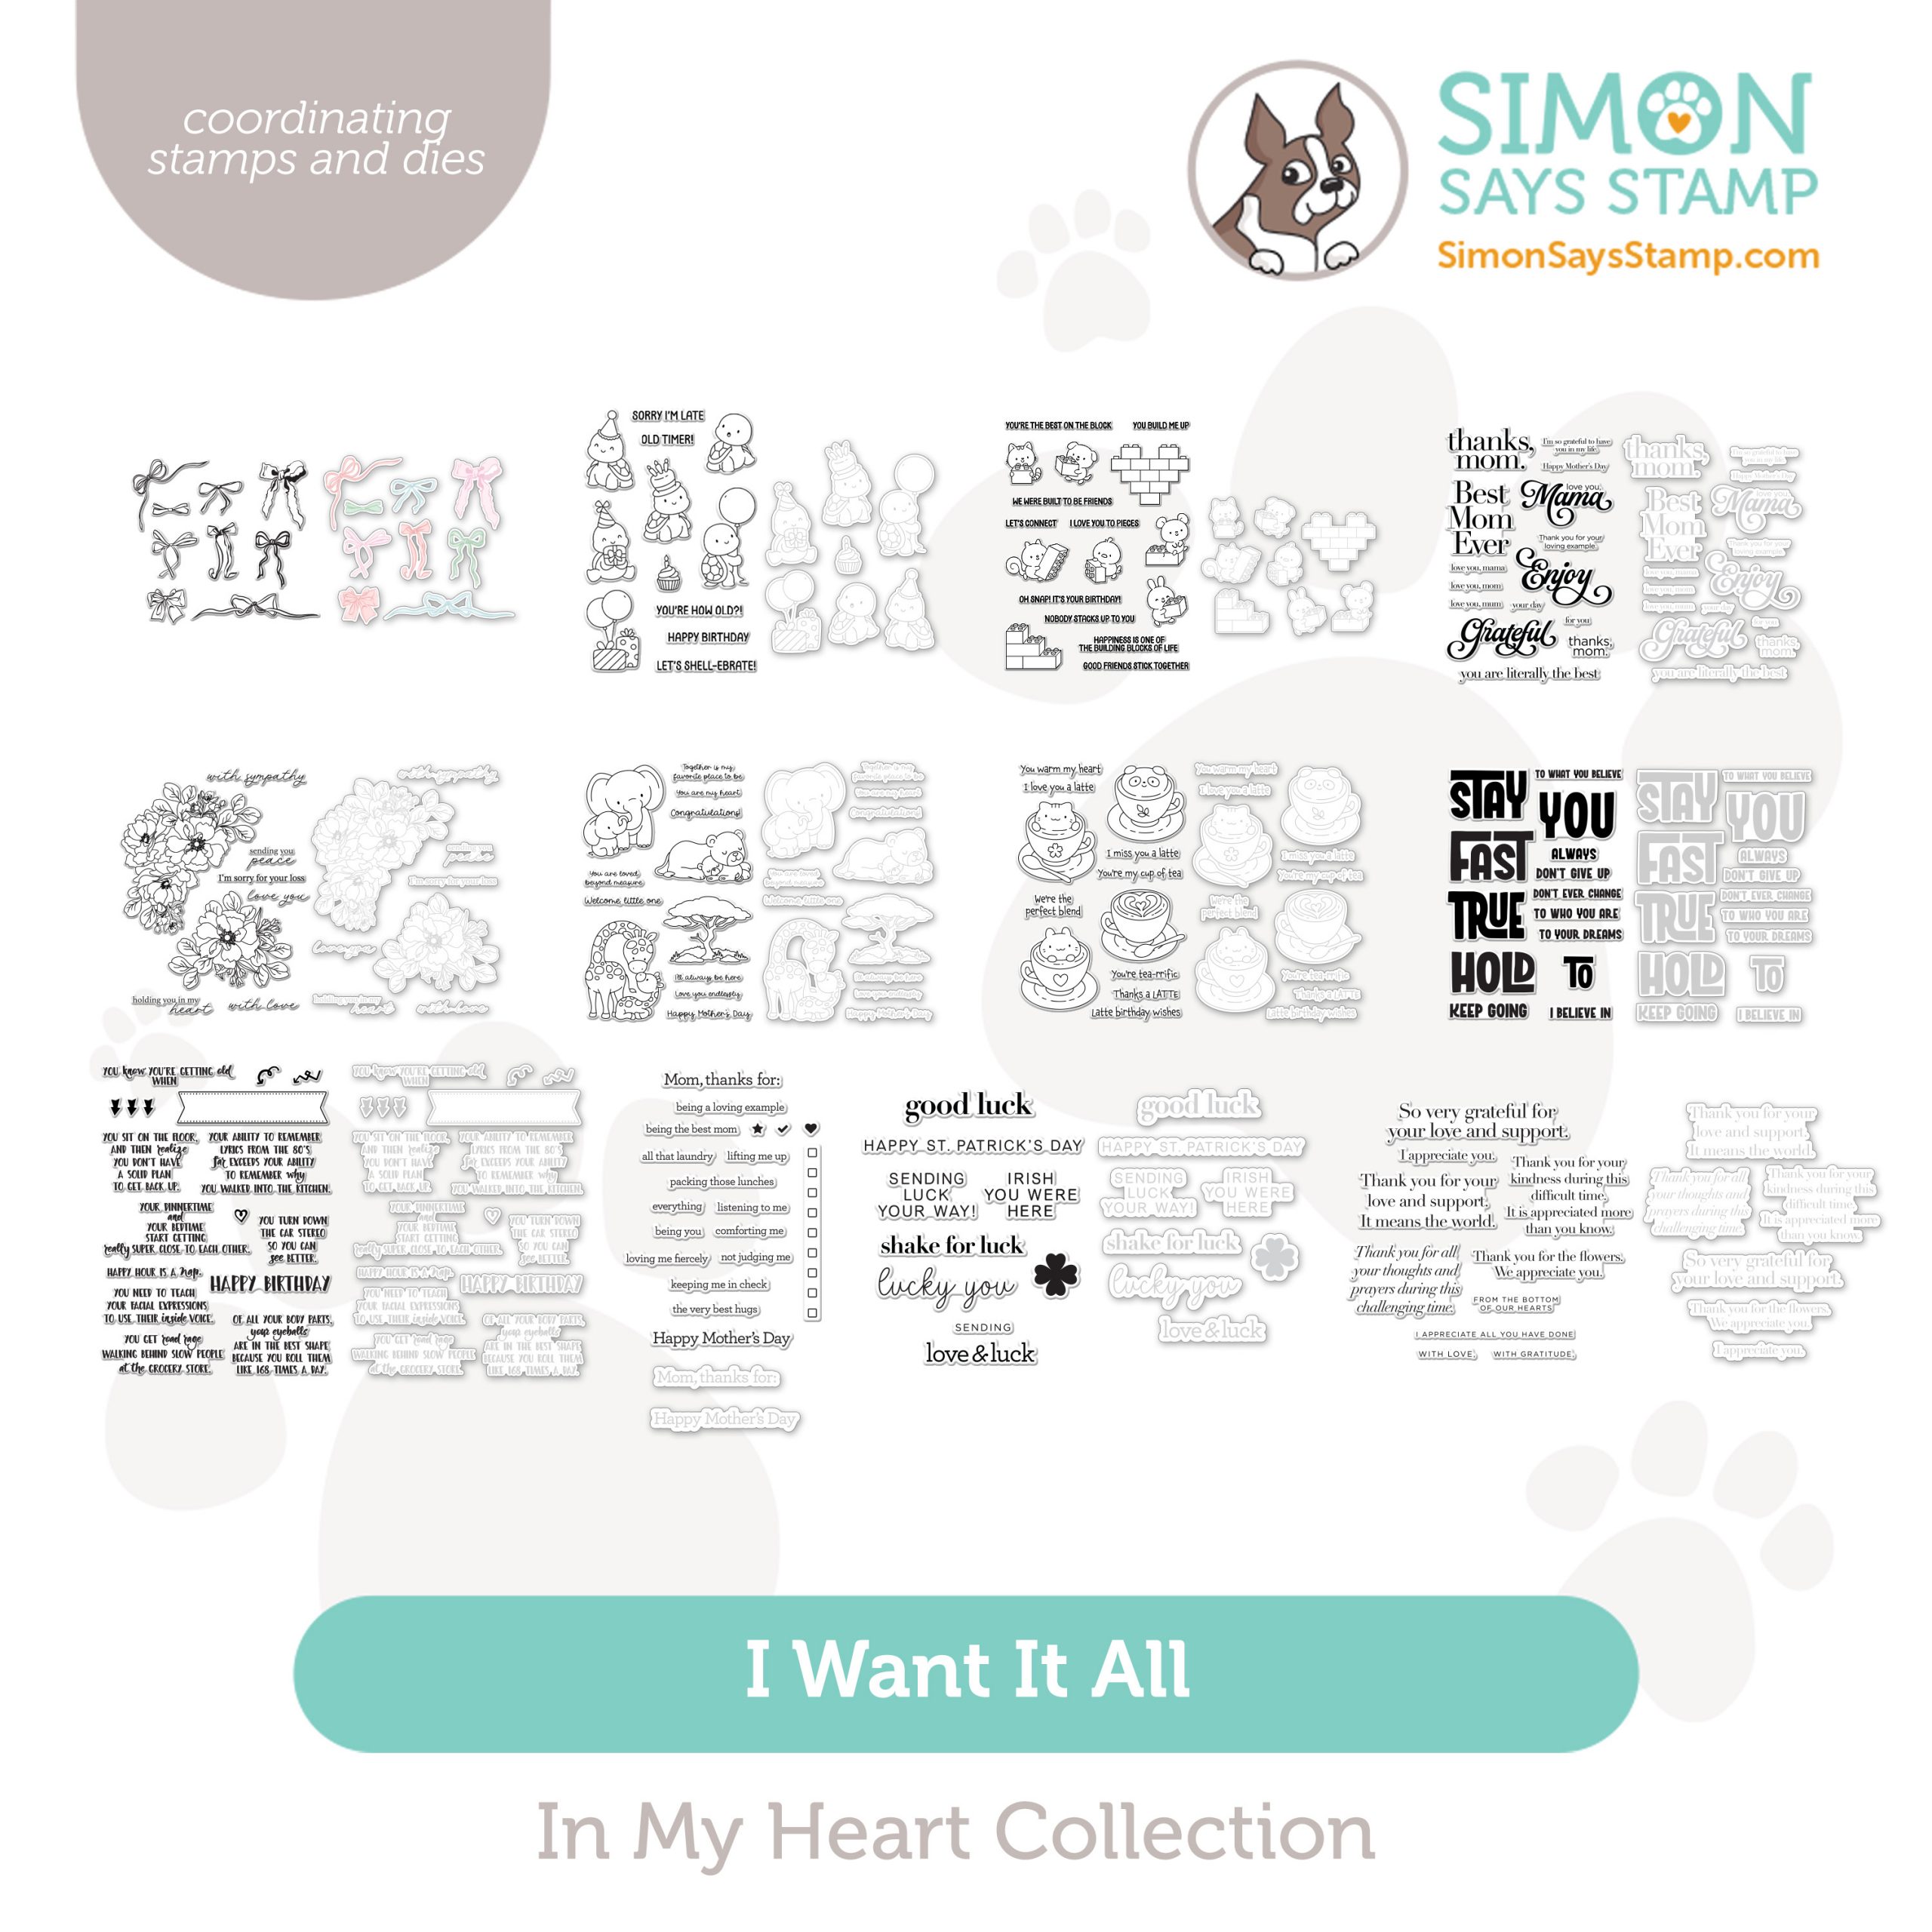
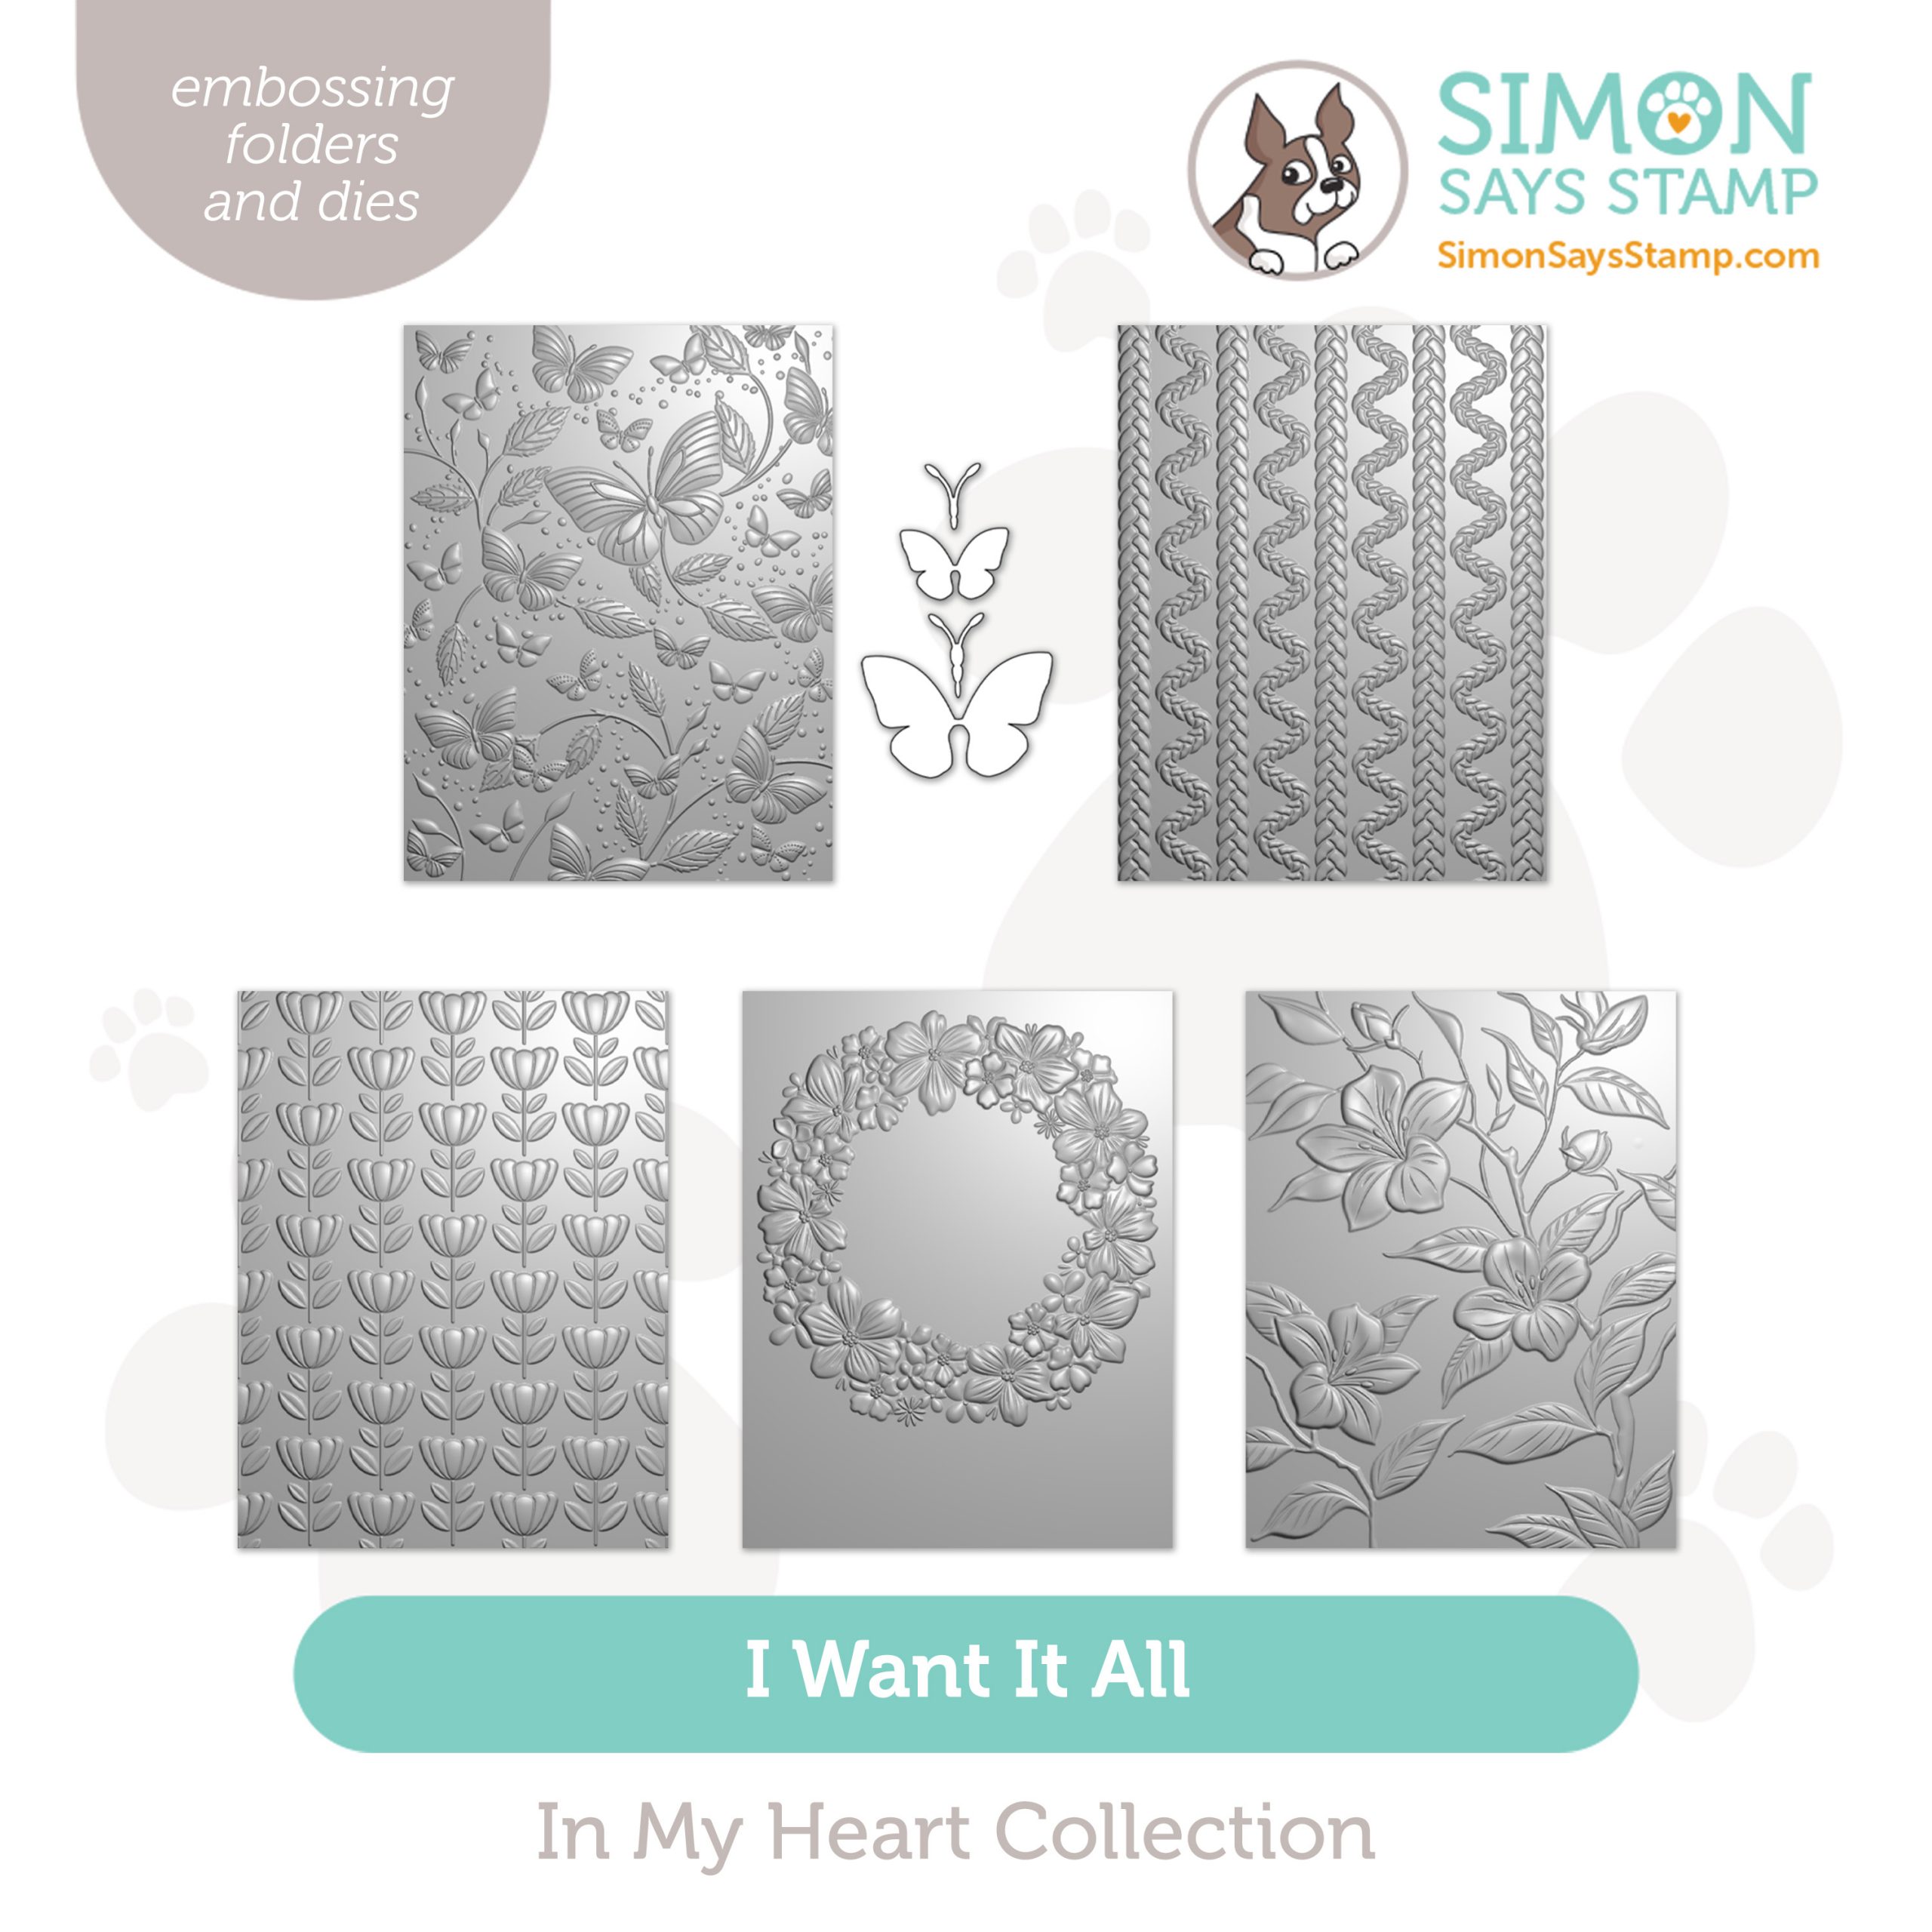
In My Heart Blog Hop 2!
Hello, friends, and welcome to day two of our In My Heart release blog hops! If you missed yesterday’s hop, be sure to circle back and check it out HERE.
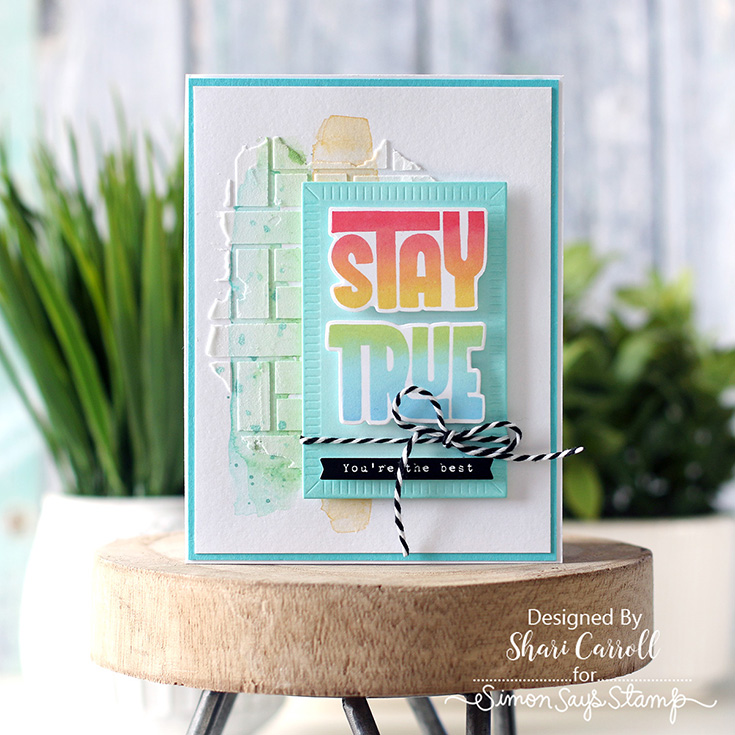
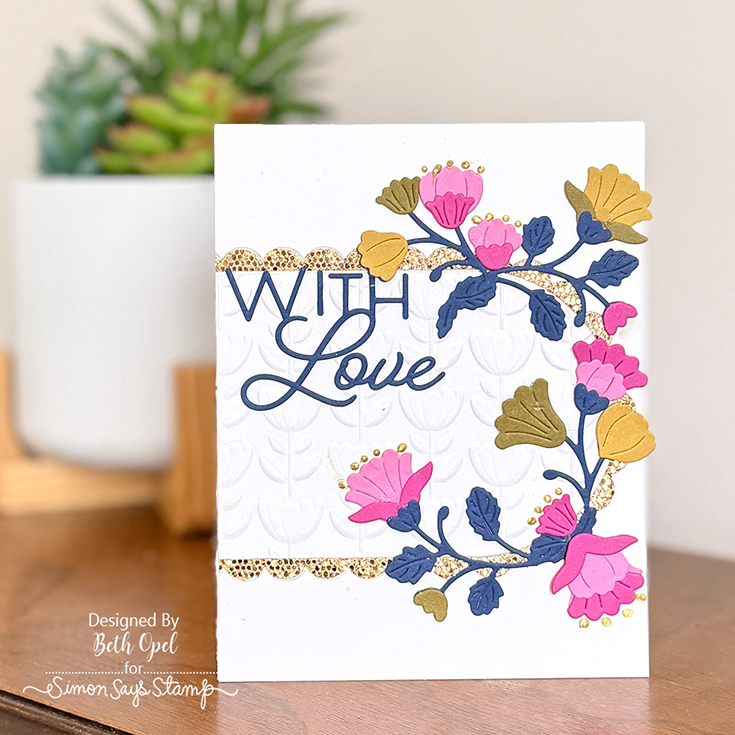
Before we hop, let’s take a look at some fabulous inspiration from Shari Carroll and Beth Opel:
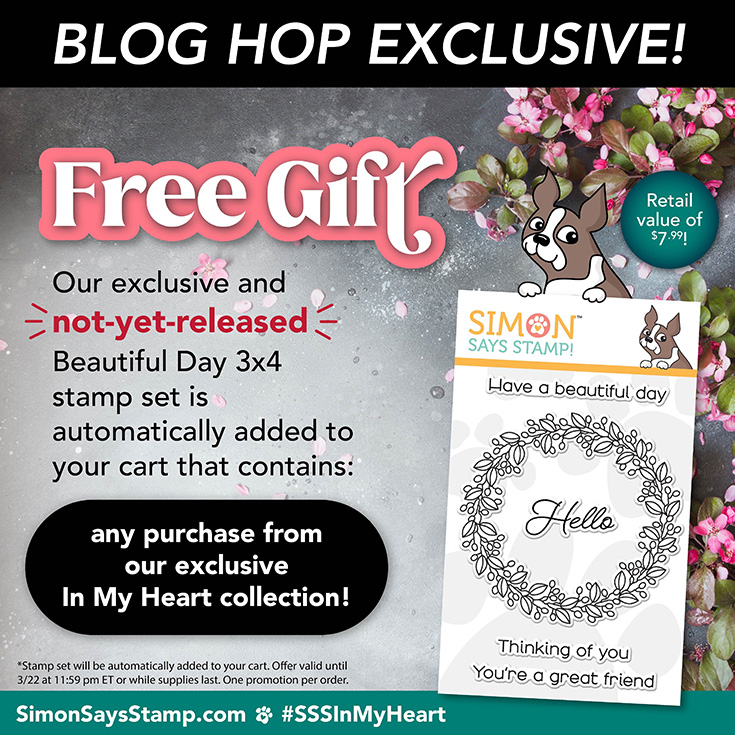
We love our customers! And we love your enthusiasm for our exclusive releases and blog hops. To celebrate, Simon has set aside a free gift just for you! Our not-yet-released Simon Says Stamp Beautiful Day 3×4 stamp is automatically added to your cart that contains any purchase from our exclusive In My Heart collection! Check out the details on the banner at the top of this post for information about claiming your gift.
Ready for even more In My Heart inspiration? Hop along with these talented designers! You’ll be inspired AND for every comment you leave on each blog, you’ll earn a chance to win a $25 Simon Says Stamp store shopping spree. YAY!
- Simon Says Stamp Blog <<YOU ARE HERE!
- Nina-Marie Trapani
- Heather Hoffman
- Laura Bassen
- Nichol Spohr
- Emily Midgett
- Amy Rysavy
- Keisha Charles
- Sandi MacIver
- Anna-Karin Evaldsson
- Lorraine Aquilina
- Alberto Gava
- Natasha Vacca
- Barb Engler
- Debbie Frank
Please share some feedback with these creative artists who work hard to inspire and excite us! Your comments mean so much to them.
Thanks again for joining us today!

We hope you will join us on Instagram on Friday, March 27, for an Instagram Hop featuring our In My Heart release! We are excited to share awesome ideas from several creative minds using these fantastic products.
You’ll love browsing our In My Heart gallery on our blog for loads of additional inspiration, and you can add your projects to these galleries as well!
Shop the entire collection:


Can’t pick a favorite? Shop our New Bundles:
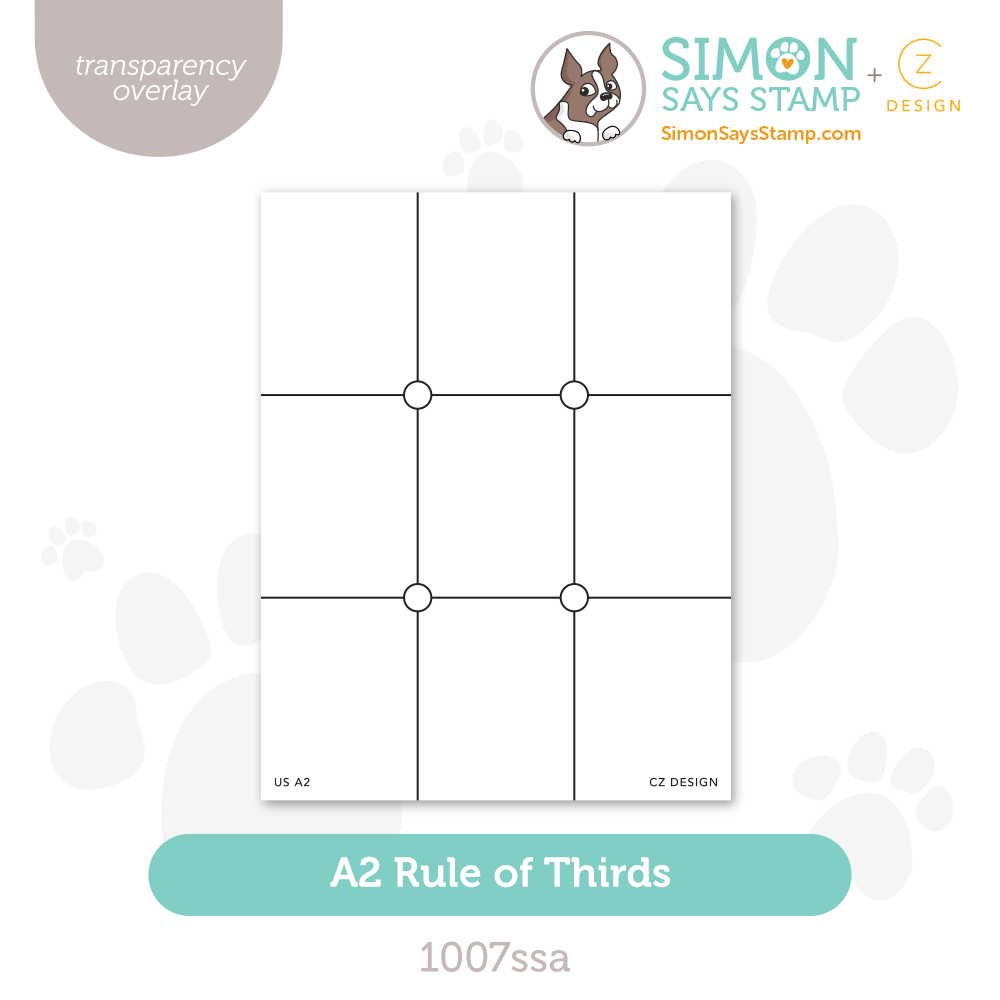
Quick tip!
Learn more about the new tool from our exclusive CZ Design Collection, A2 Rule of Thirds:


