Tiny But Mighty Stamp Set 3 Ways!
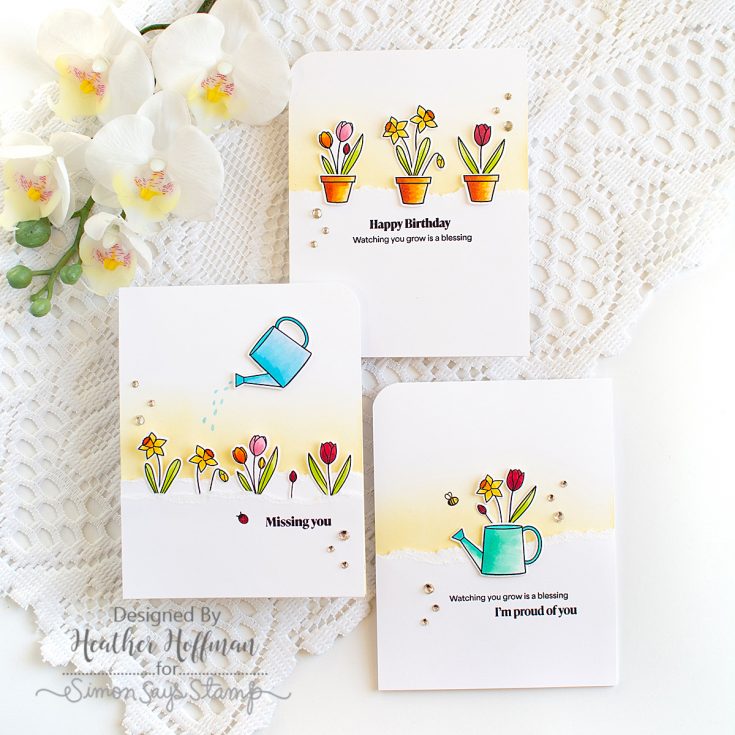
Hi friends! Heather Hoffman here today with a trio of cards using one tiny little stamp set that has so many possibilities! The Budding Blossoms set is newly released in the Rainbow Splash collection, which is perfect for simple cardmaking, and I thought it would be fun to show how just this one set and very simple supplies could create so many different cards!
The Budding Blossoms stamp and die were actually designed by my daughter, Katie who is now working as a graphic designer for Simon Says Stamp. She had come up with some ideas to use this set, so I asked her if I could use those as inspiration to create actual cards. I added some simple touches to make them my own, and I think they are absolutely ADORABLE!
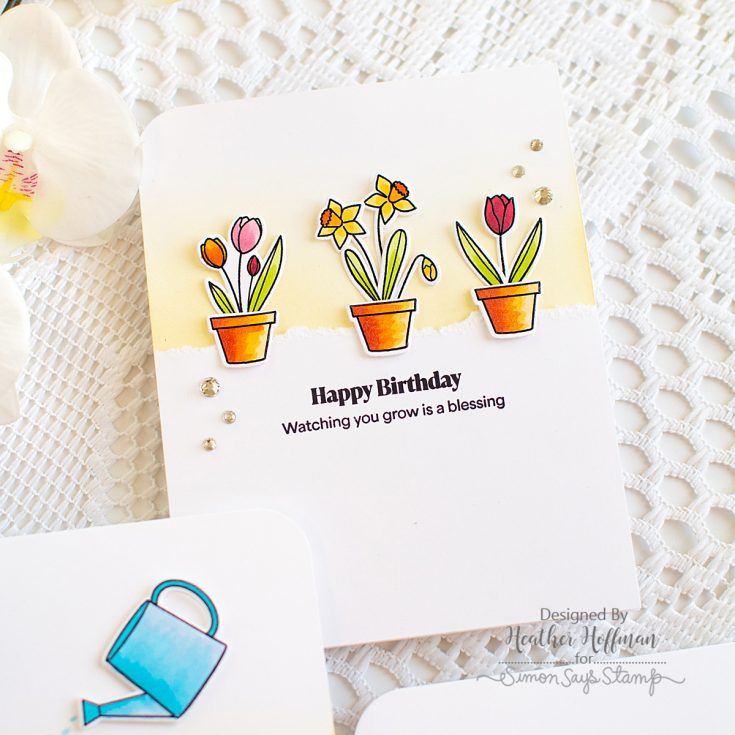
To start with, I stamped lots of the images from the set in Nocturne ink, and heat embossed with clear embossing powder. This gave them lovely shine, and also made them work for some simple Copic coloring without the ink smudging. I used lots of Copic marker colors to get some simple dimension, but this could easily be done with watercolors, colored pencils, or simpler color combos. Once they were all colored, I die cut them all with the coordinating dies.
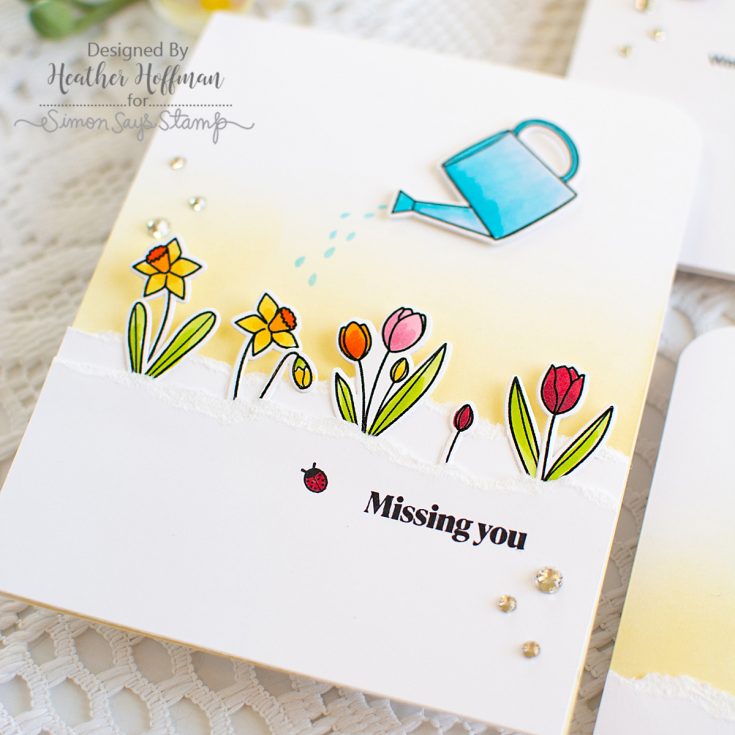
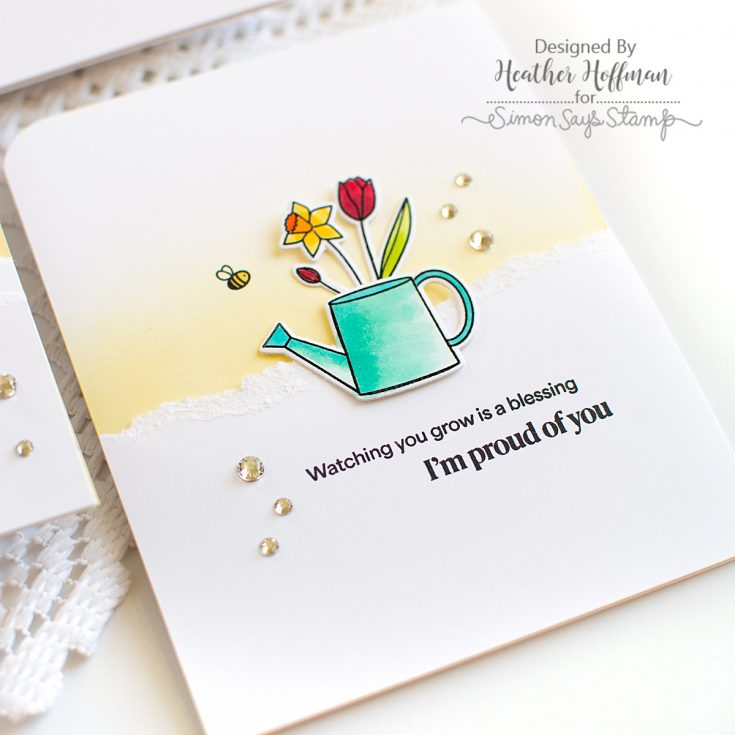
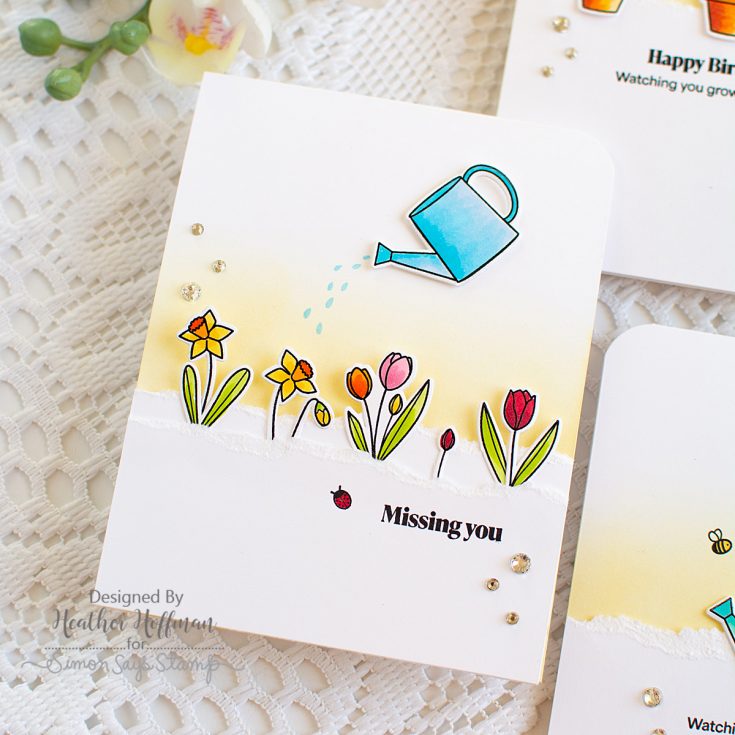
Instead of using a die to cut a decorative edge (which would be a lovely option!), I tore some white paper to add a bit of texture on the edges. Then, I blended some Butter ink on the cardbase behind where the torn edge would sit to help it pop a bit extra and add some more dimension. Before adhering those front panels, I stamped my sentiments, then popped those panels up with foam dimension. I stamped the water from the watering can on one card with Marine ink as well.
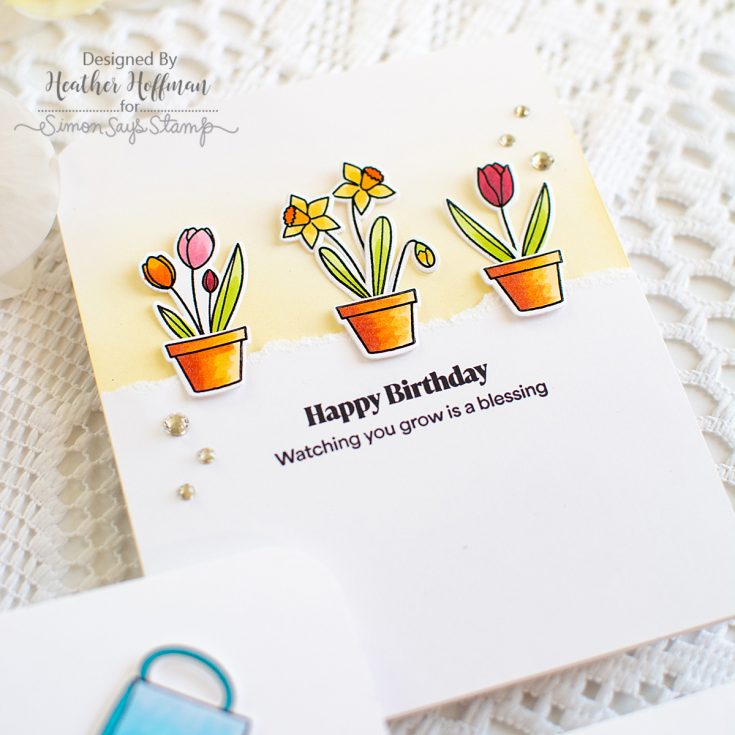
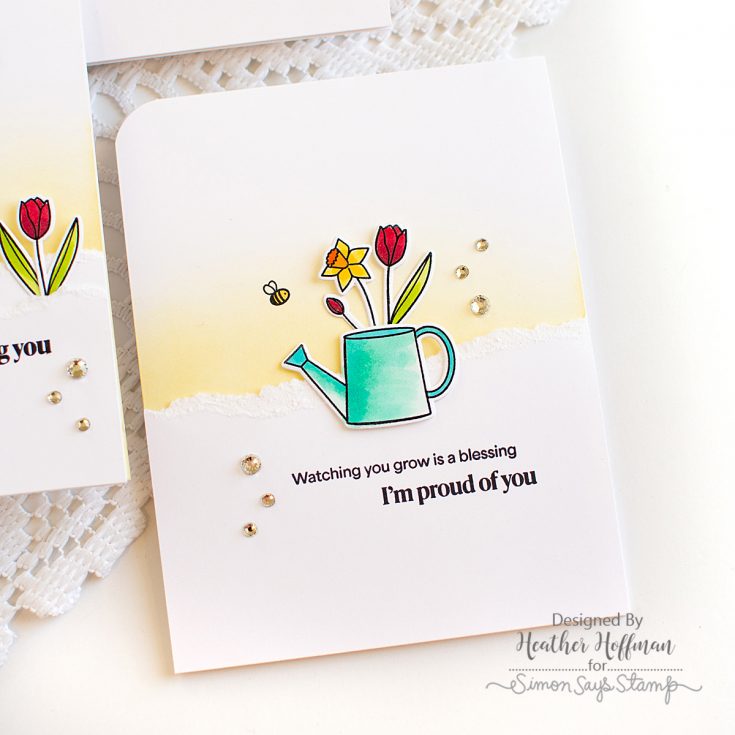
Final touch was a rounded corner on each card, and a sprinkle of Dazzling Gems in Clear for some sparkle! I just love the fresh spring vibe these cards give me!
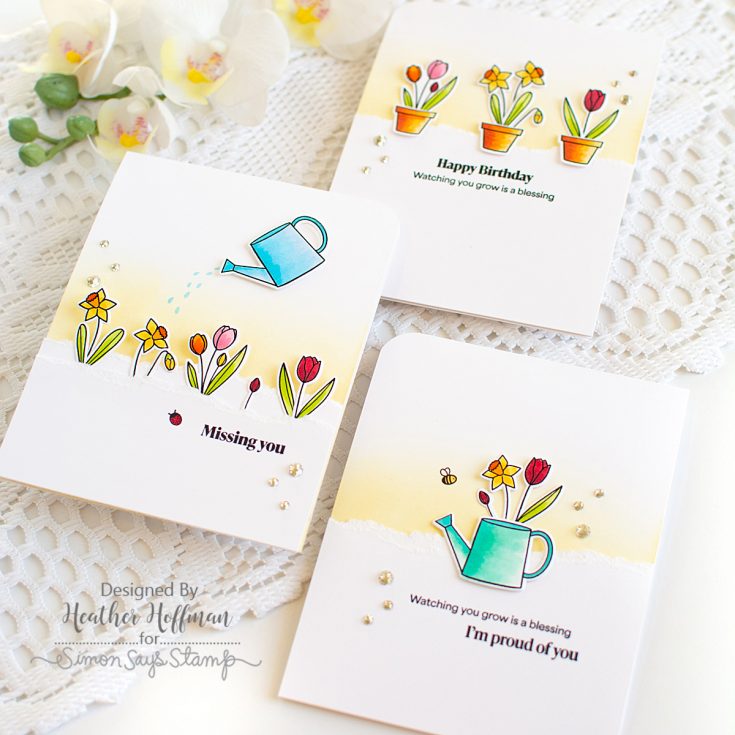
Do you like to see how many ways you can use one simple stamp set? It’s always fun to challenge yourself to keep the supplies simple and let the designs shine!
SUPPLIES:
|


Thanks so much for stopping by!
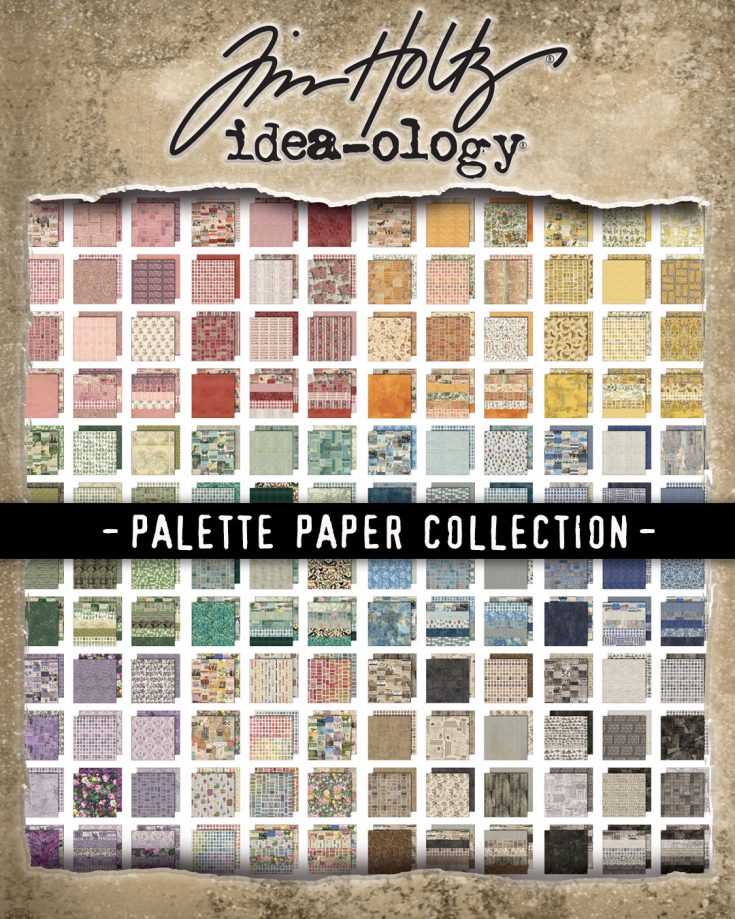
Continue to Build Your Palette! 3 NEW Tim Holtz idea-ology paper collections to love!
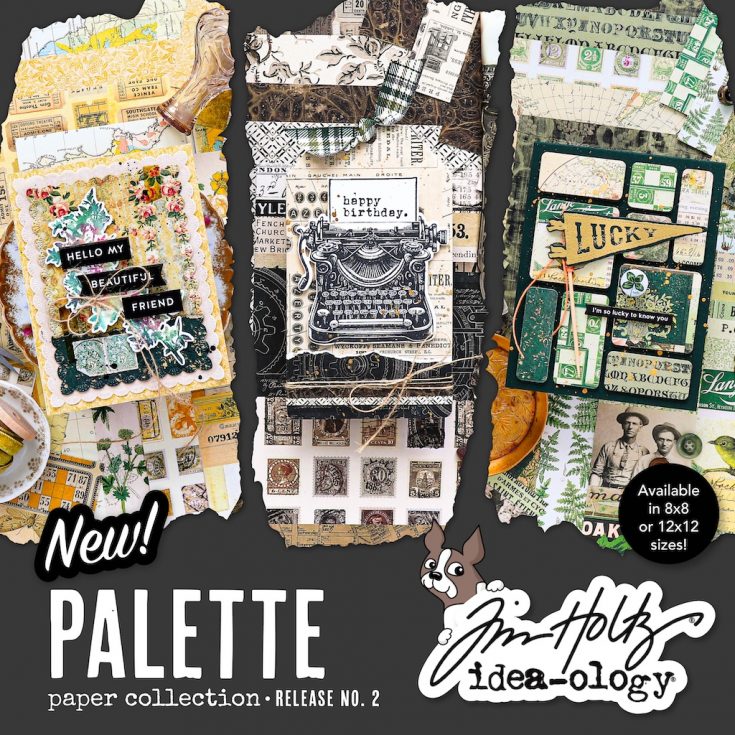
Your creative palette just grew! The Tim Holtz idea-ology Palette Paper Collection continues with three brand-new hues—Yellow, Green, and Neutral—each thoughtfully curated to inspire layered storytelling, texture-rich backgrounds, and beautifully timeworn details. Whether you’re journaling, cardmaking, scrapbooking, or diving into mixed media, these new palettes are designed to work seamlessly with your existing collection—or shine all on their own.
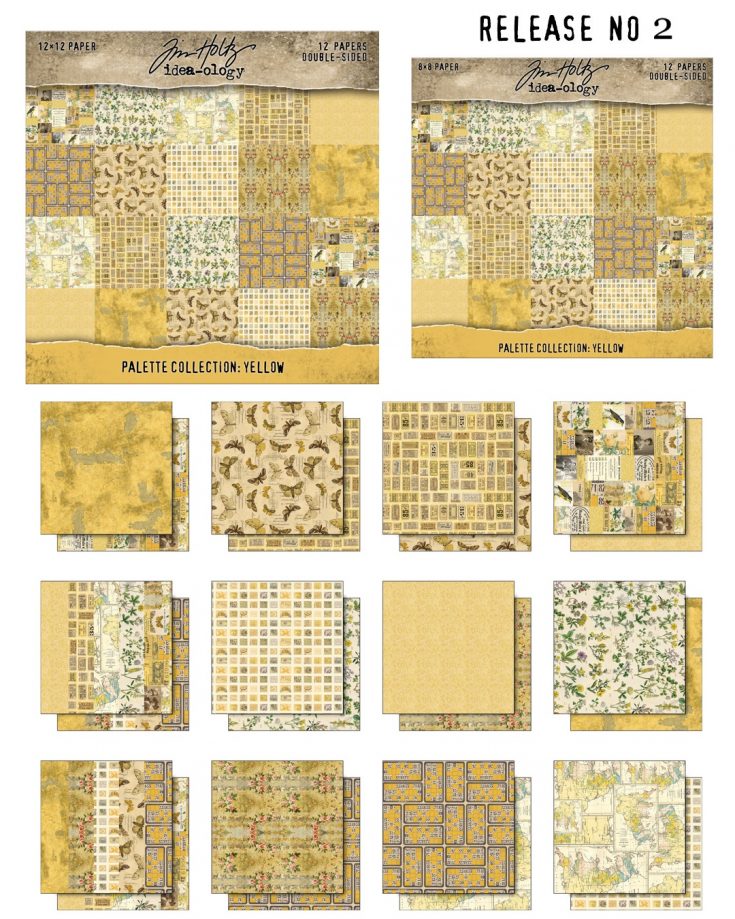
Meet Yellow: Warm, mellow, and beautifully timeworn. This curated palette blends golden yellows, soft ochres, and muted mustard tones with vintage-inspired botanicals, maps, ledgers, ticket blocks, and aged textures. Designed for layering and storytelling, these 12 double-sided papers add a timeless glow to cards, journals, scrapbooks, and mixed-media makes.

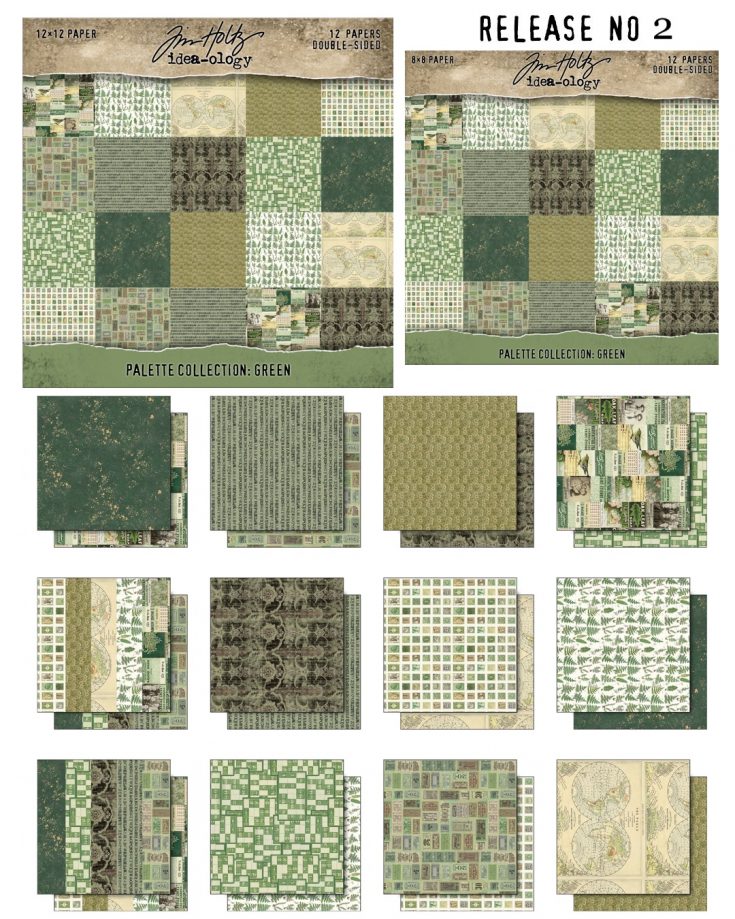
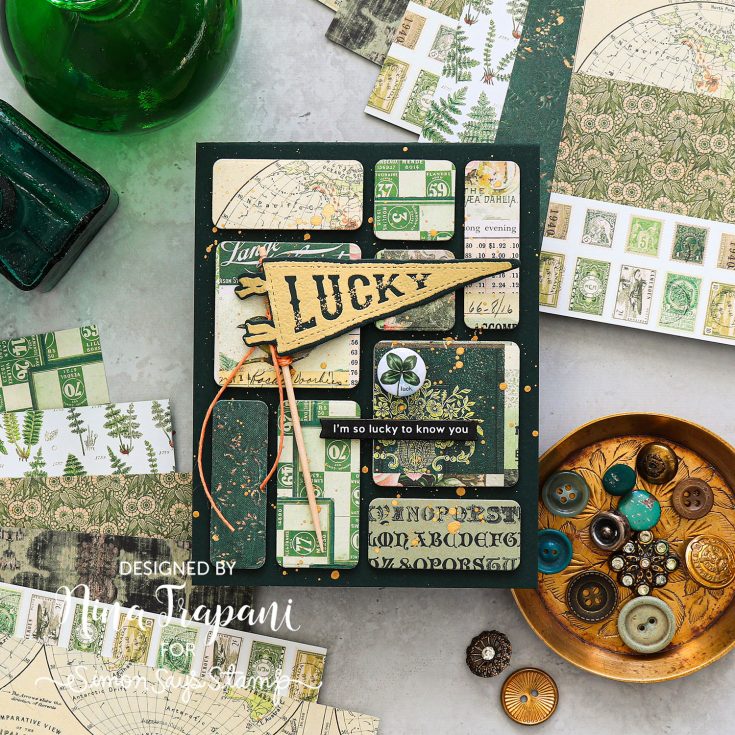
Meet Green: Earthy and organic with a vintage soul. Mossy greens, soft sages, deep forest tones, and weathered olives pair with botanicals, maps, typography, and aged textures across 12 double-sided papers. Perfect for layered storytelling in cards, journals, scrapbooks, and mixed-media projects.
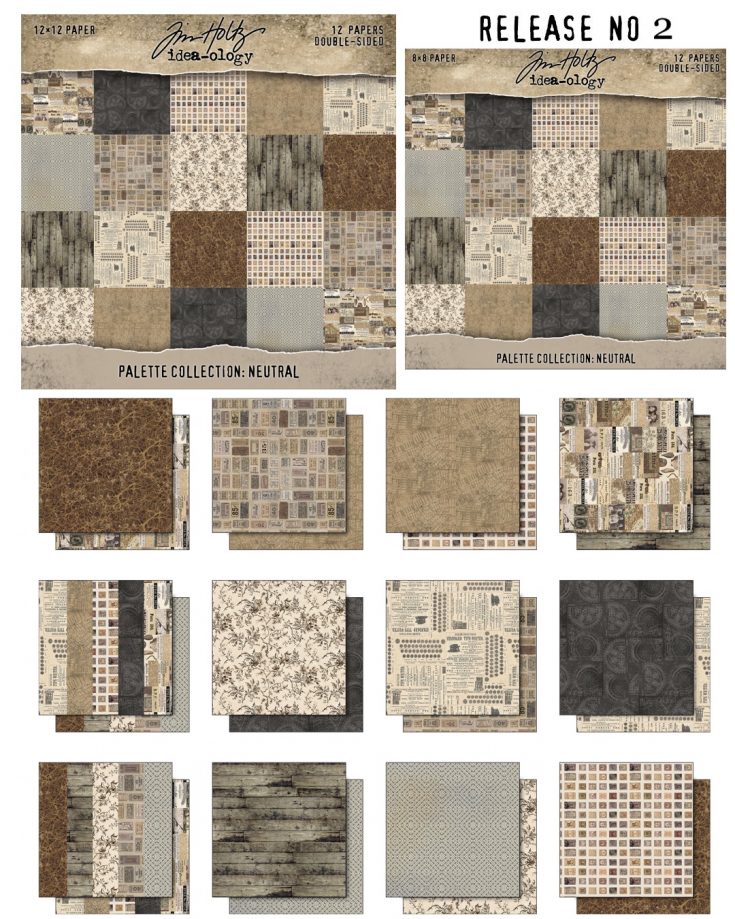
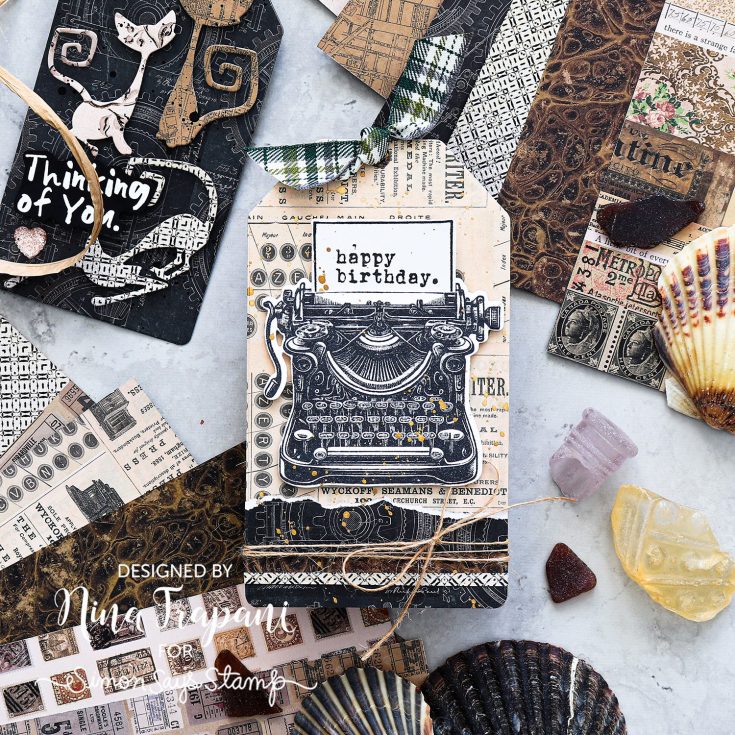
Meet Neutral: Timeless and versatile with a vintage soul. Soft creams, warm tans, weathered grays, and deep charcoals create the perfect foundation for layered storytelling. These 12 double-sided papers feature ledgers, typography, botanicals, woodgrain, textures, and ephemera-style patterns—ideal for journaling, cardmaking, scrapbooking, and mixed-media projects.
Available in both 8 × 8 and 12 × 12 sizes—ready to bring your next creative vision to life!
Lighthearted Card Making with Whimsy Stamps
Hi friend! Happy Sunday! Please join me in welcoming special guest Cari Scharping of Whimsy Stamps to our blog today to share a one of a kind card idea to see the humor in aging! Be sure to read on to catch all of the details and enjoy!
Hello crafty peeps! I can’t believe it’s March already! Where is the year going? I am so excited to be back posting on the Simon Says Stamp’s blog. Today I am sharing a card I made with some of the coolest new products from Whimsy Stamps. If you haven’t seen their Terrific Tickets collection you are missing out!
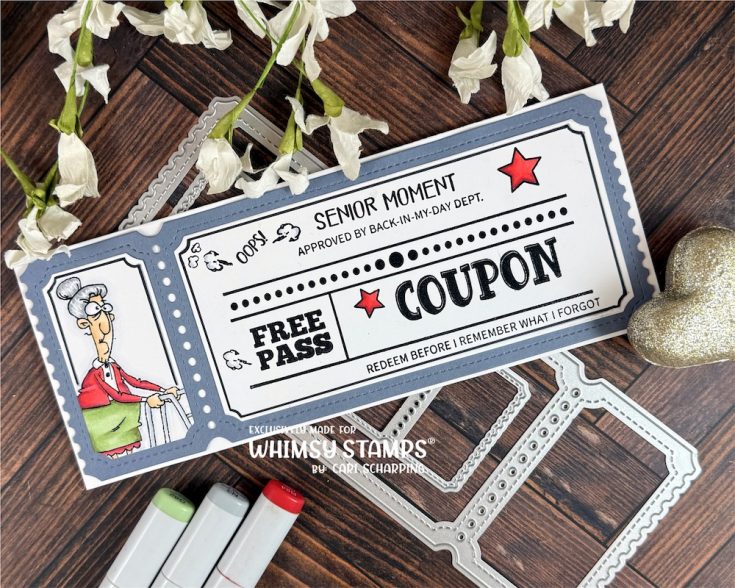
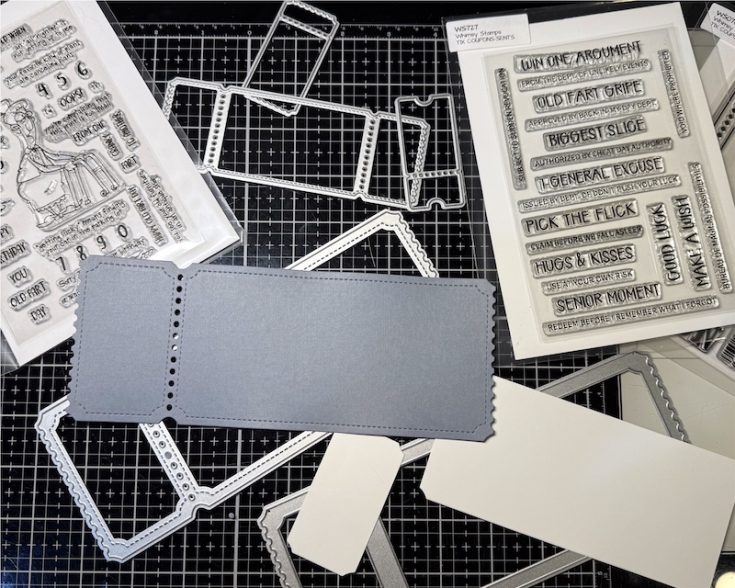
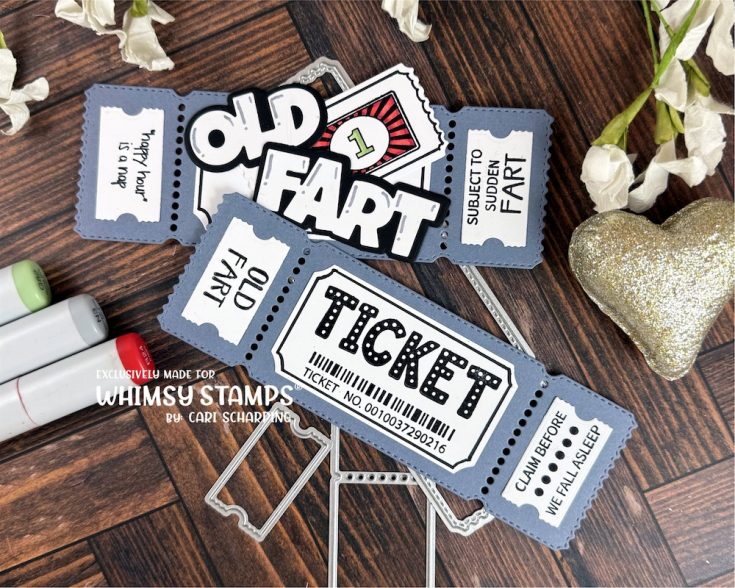
My card features the latest addition to the collection, the Terrific Slim Tickets and Windows dies sets along with the coordinating Ticket Coupons stamp sets. I also chose an older stamp set, Old Fart, to complement these. My inspiration for this card came from Whimsy Stamps’ own Creative Director, Deb Davis, and a card she crafted using the Terrific Slim Tickets and Old Fart quick card fronts. I loved it so much I wanted to do something similar.

It was the “Senior Moment “sentiment from the Ticket Coupons Sentiments stamp set that I was going to base the rest of my card on. (Oh, my mom would have gotten such a kick out of this card if she was still here!) I chose a gray cardstock to match the old ladies’ hair from the Old Fart stamp set and I die cut bases for the main card and the two ticket inserts to place inside the card using the Terrific Slim Tickets dies. I then used the Terrific Tickets Windows dies and white cardstock to die cut the center pieces.
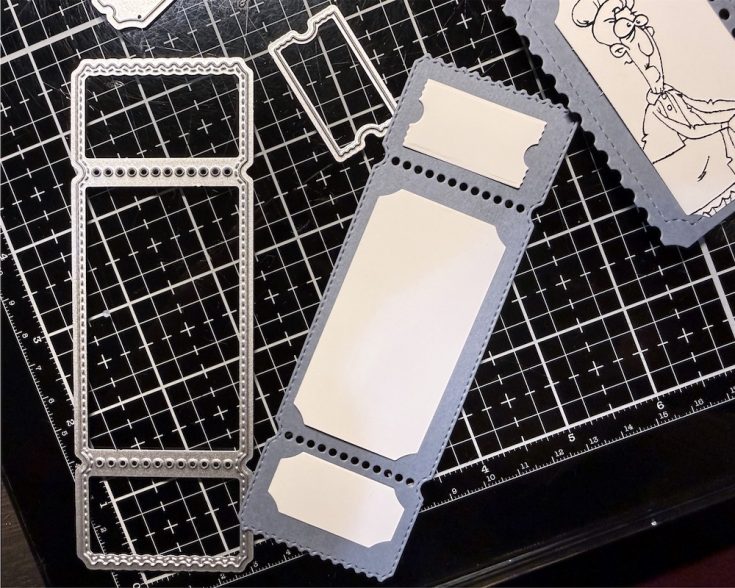
I then began to stamp the individual window elements. I always prefer to stamp with VersaFine Nocturne Pigment Ink and emboss with a fine clear embossing powder. I like the raised look of the images, and I know for certain the black ink won’t streak if I am coloring the image. When stamping the large (and small) tickets you can choose to make so many different combinations using the coordinating Ticket CouponElements or Sentiments. The possibilities are endless.
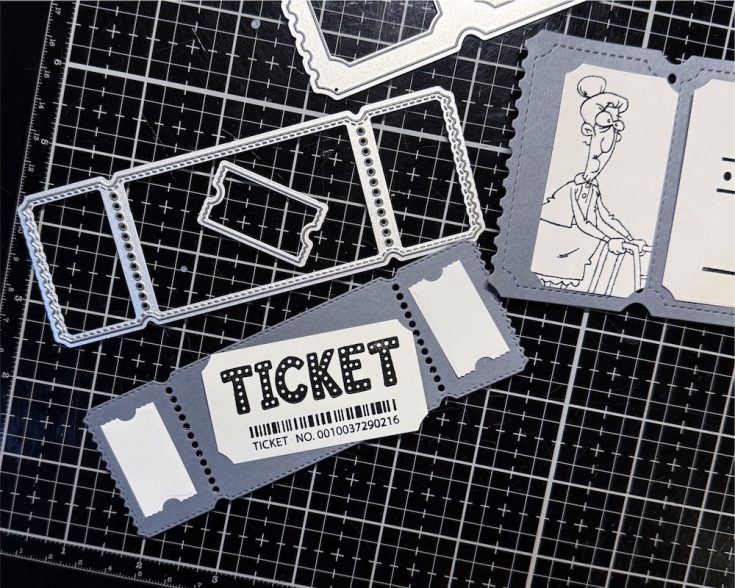

I masked off several stamps from both the Ticket Coupon: Sentiments, Ticket Coupon: Elements and Old Fart stamp sets to create the unique sentiments for the smaller tickets. And since I was going all out with the senior-theme, I also decided to die cut the “Old Fart” from the Old Fart Geezer Word and Shadow dies using black and white cardstock. It knew would fit into my card somewhere. I colored Ms. Maple, as I like to call her, using Copic markers. I added a touch of color to the stars and “1” ticket and finally I took my black Copic and made an outline around each of the larger ticket centers. I think it really makes them pop!


Lastly, I simply assembled all the pieces with double-sided tape and adhered the large die to a 3 3/8” x 8 3/8” card base made of white cardstock. This is going to make such a fabulously fun package to send to a friend. Sorry you aren’t here to give it to Mom, but I can hear you laughing.
P.S. Did anyone notice the reference to a FREE “PASS” and the little “toots”!
SUPPLIES:
|


Thanks so much for stopping by, and thanks to Cari for being our guest!


