DIY Floral Heart Pocket Decor | Words of Love Wall Hanging: Making the Cut
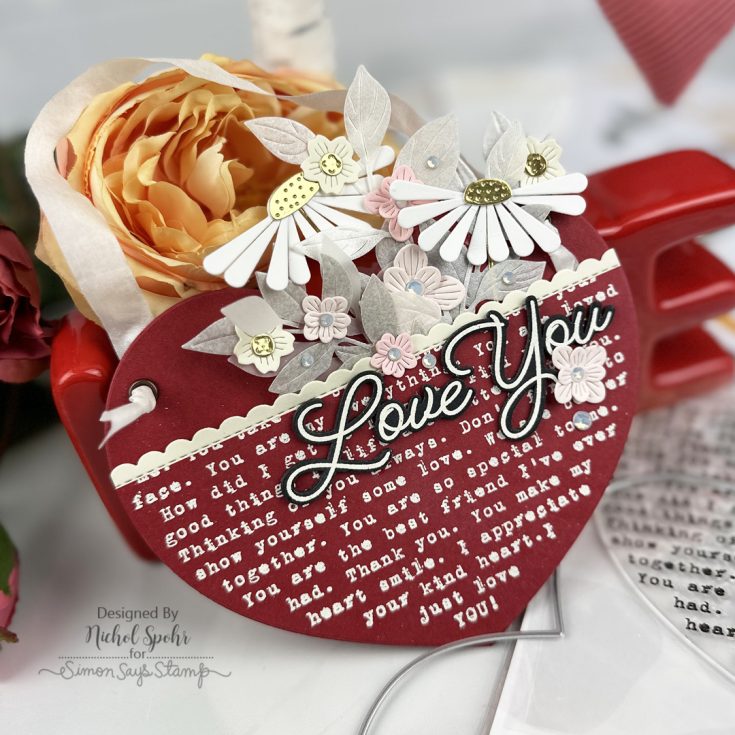
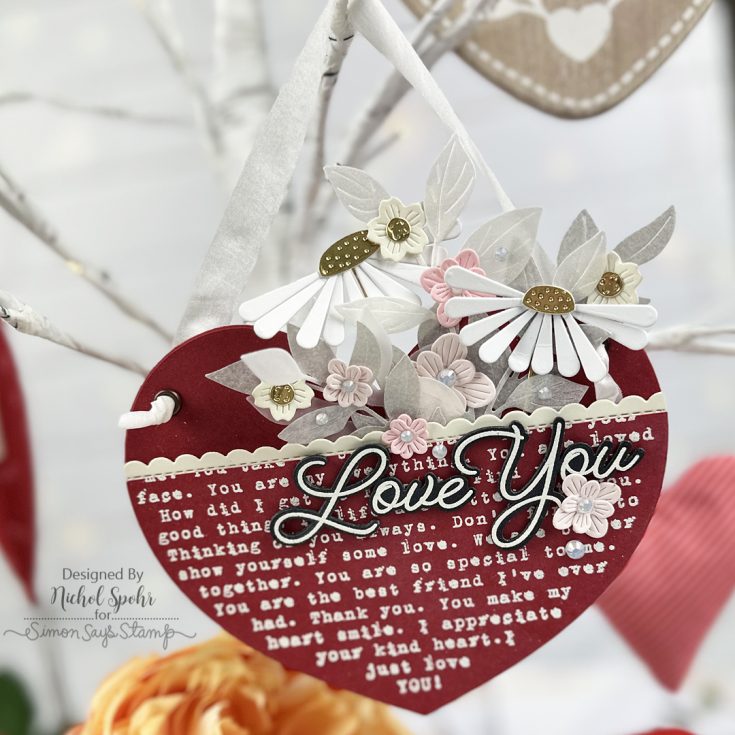
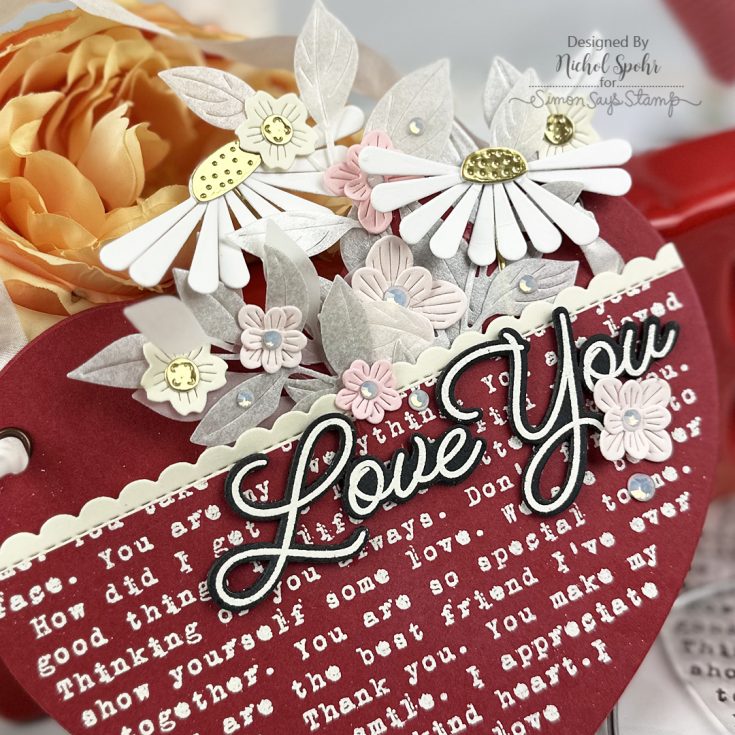
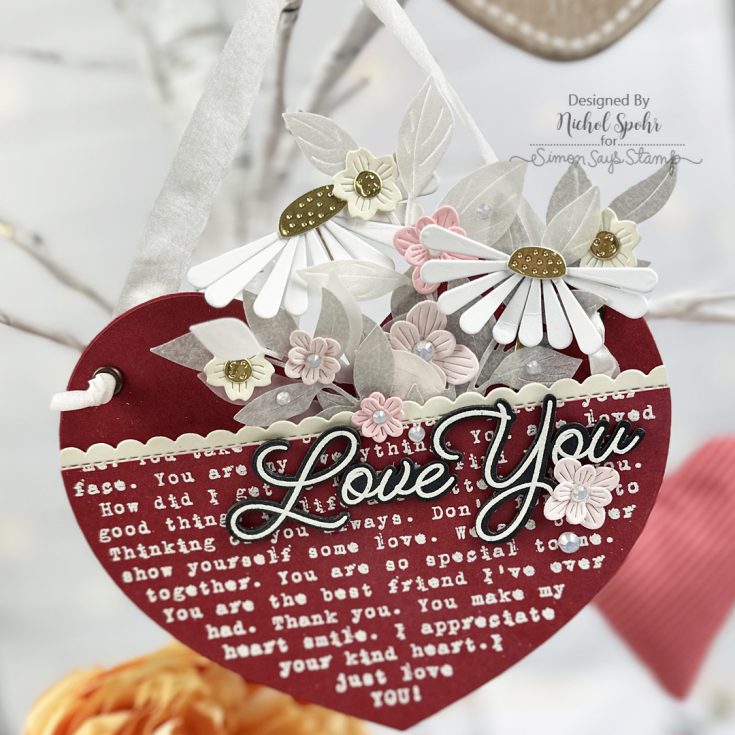
Hi friend! Happy Thursday! Please join me in welcoming special guest Nichol Spohr to our blog back in our monthly installment of Making the Cut – our monthly blog series that celebrates the love of all things die cutting! Nichol is showcasing some gorgeous new products JUST released in our exclusive Heart to Heart collection including our Words of Love Bundle, and pretty floral staples like our Tilted Daisies, Beautiful Branch, Lush Leaves, and Leafy Sprig! Be sure to watch the video for all the details and enjoy!
WATCH THE VIDEO:

SUPPLIES:
|
A big thank you to YOU, our reader — and to Nichol for being our guest!
Charming Heart Banner by Richele Christensen
Hi friend! I hope you’re having a great week so far! We’re delighted to welcome back special guest Richele Christensen with this darling heart banner idea! Read on to learn more and enjoy!
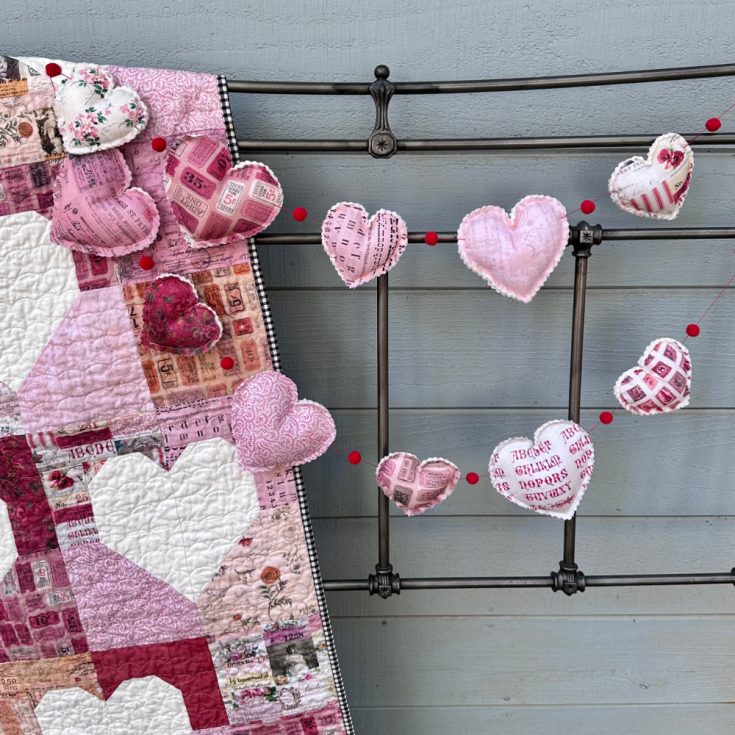
Hello friends! I’m so happy to be back with this adorable heart garland using the Tim Holtz Palette Collection. The garland is hanging in my studio widow and it just makes me smile. The Palette collection in Pinks and Reds are so cute together. The hearts are easy to make and you could even had sew them! Now all you need to do is choose your favorite Palette fabrics.
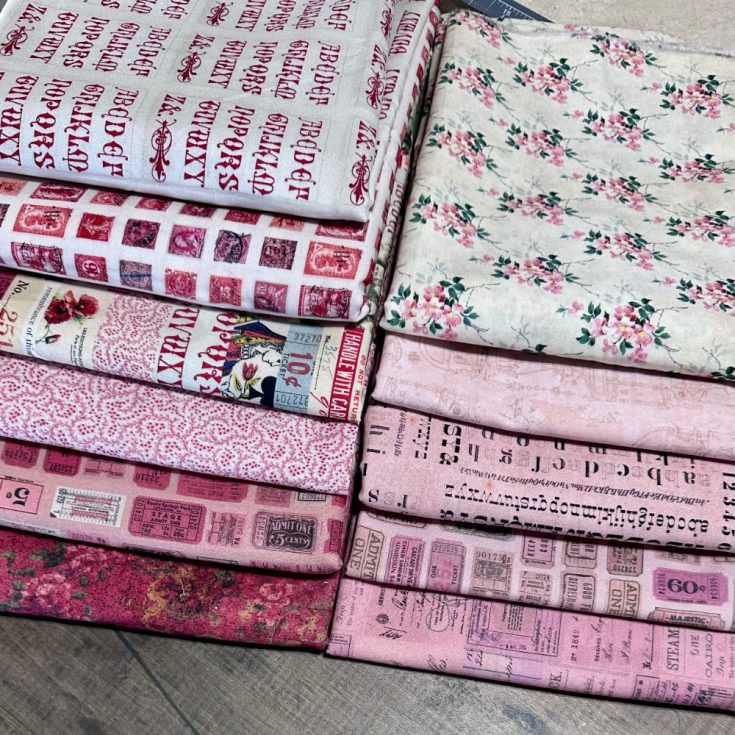
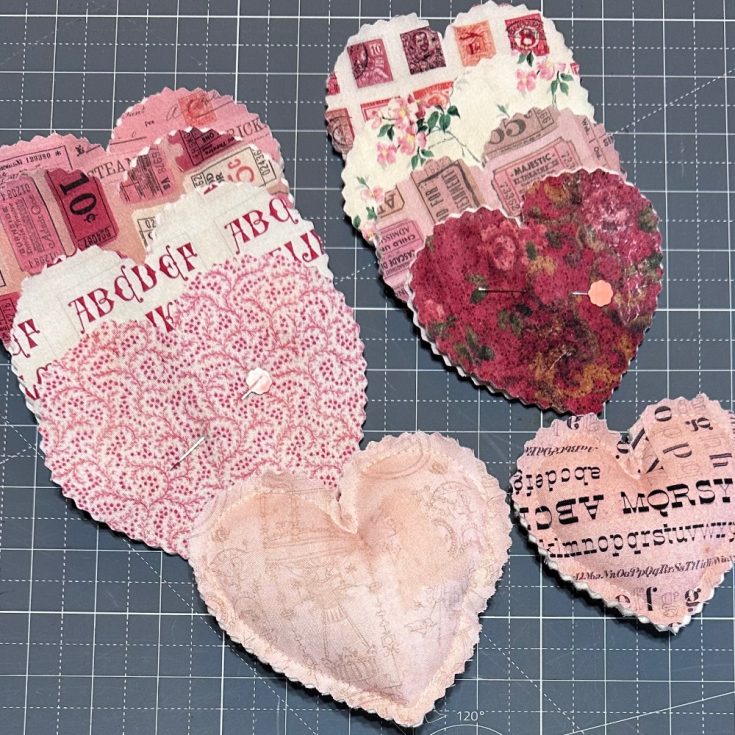
Gather 5-Pinks and 6-Reds from the Palette Collection or you could use any of the colors. The Palette fabrics I used in the Pinks are Ephemera, Tickets, Typography, Toile and Wallpaper. For the Reds I’ve used Tapestry, Tickets, Tiny Print, Collage, Stamps and Typography. These will all be beautiful for our garland.
Use pinking sheers or regular scissors to cut out the fabrics and batting or you could also use felt. You will need 2 pieces of fabric and 1 felt or batting for each heart. You could also use a die to cut the hearts out. The hearts are about 4” and 5” across.
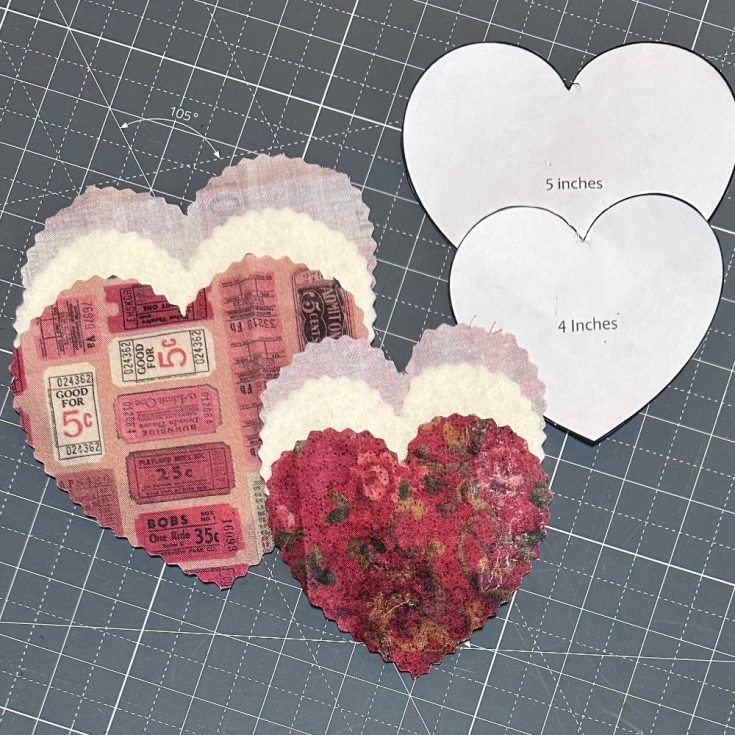
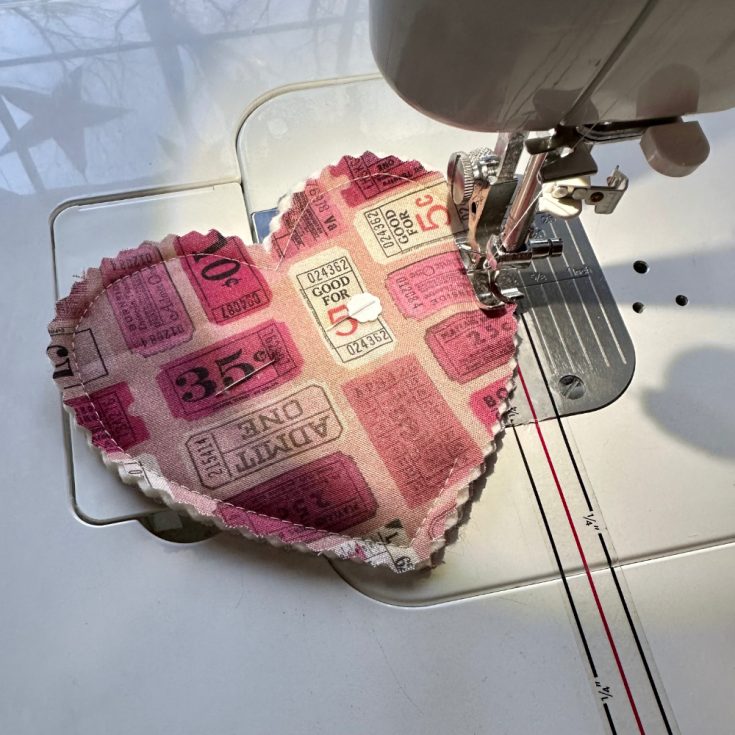
Pin all your heart sets together, one fabric right side down, batting or felt and another fabric right side up.
Sew around the edge about 1/4” in from the outside. Leave a 1 1/2” opening so you can stuff them.
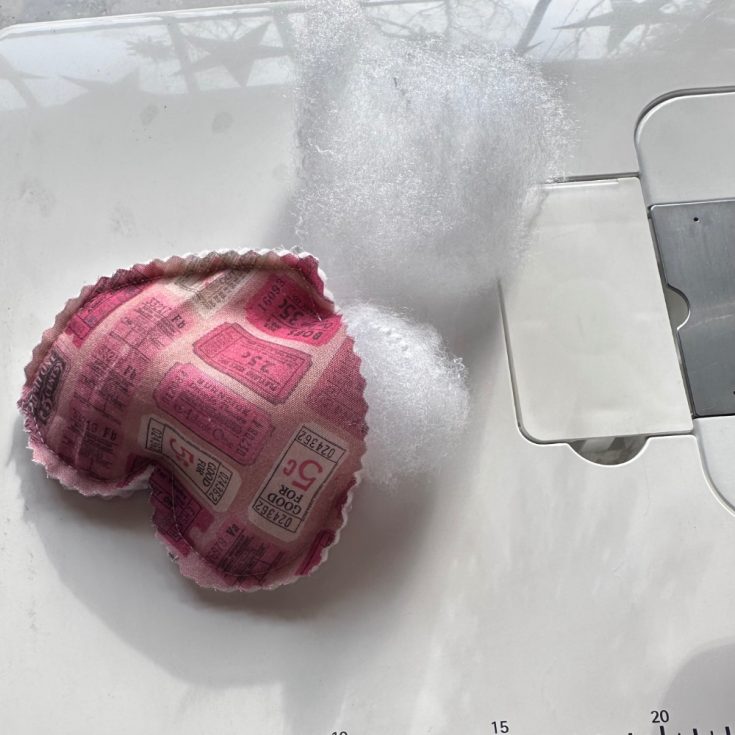
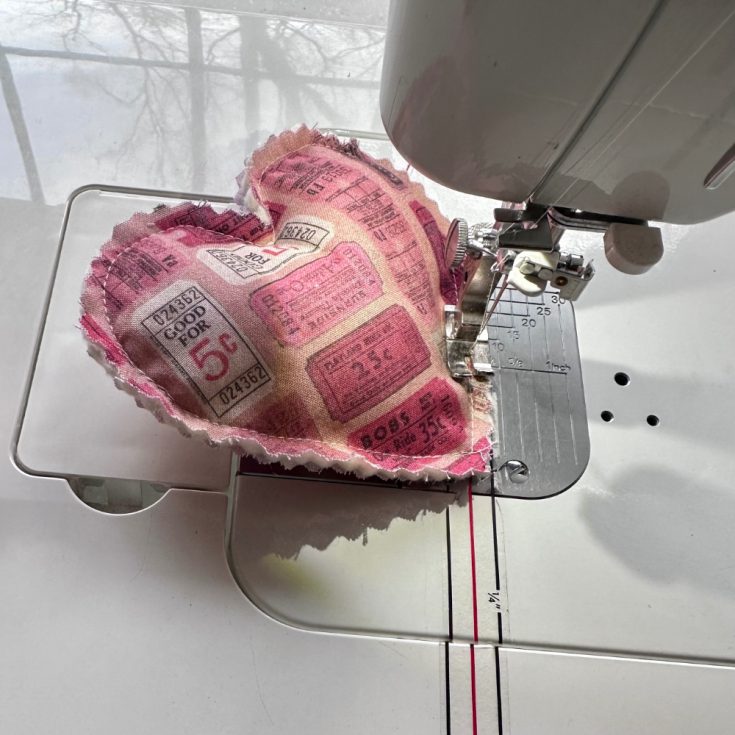
Stuff the heart with a little fiberfill to make the hearts a little puffy.
Sew the opening closed.
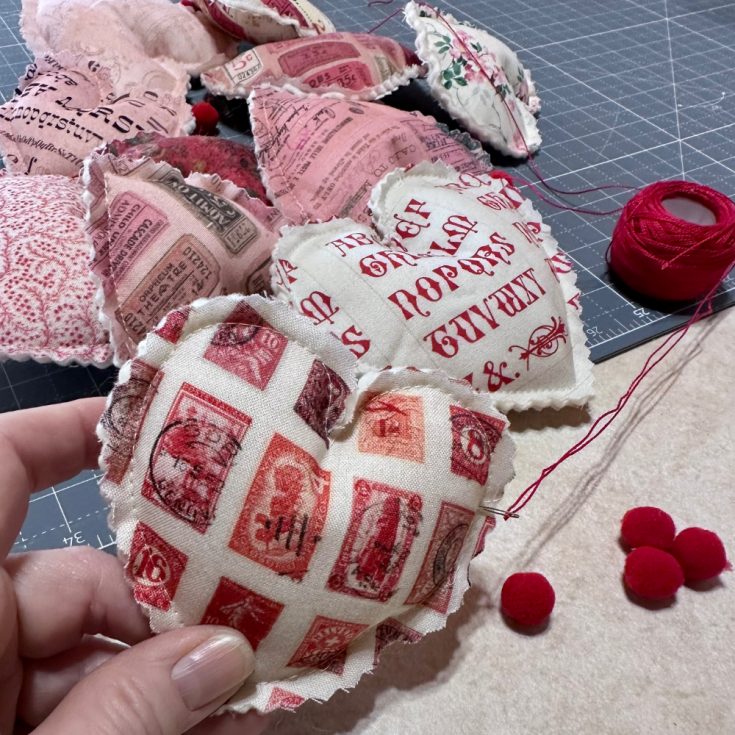
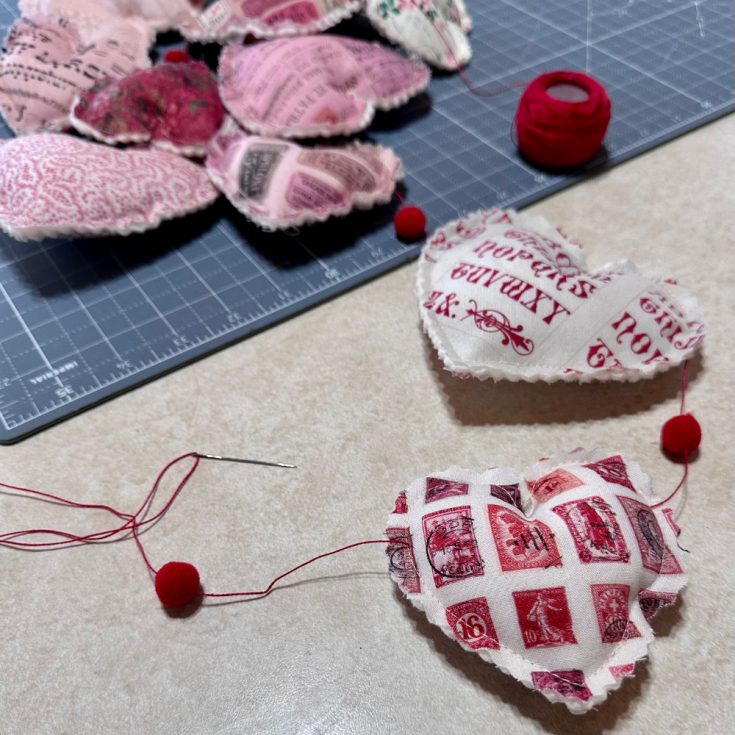
String the hearts and pom poms (optional) on to a piece of Pearl Cotton or Embroidery floss. You will need to push the needle across the heart a little bit down from the top of the heart.
Continue stringing the hearts and pom poms adding a loop at each end for hanging.
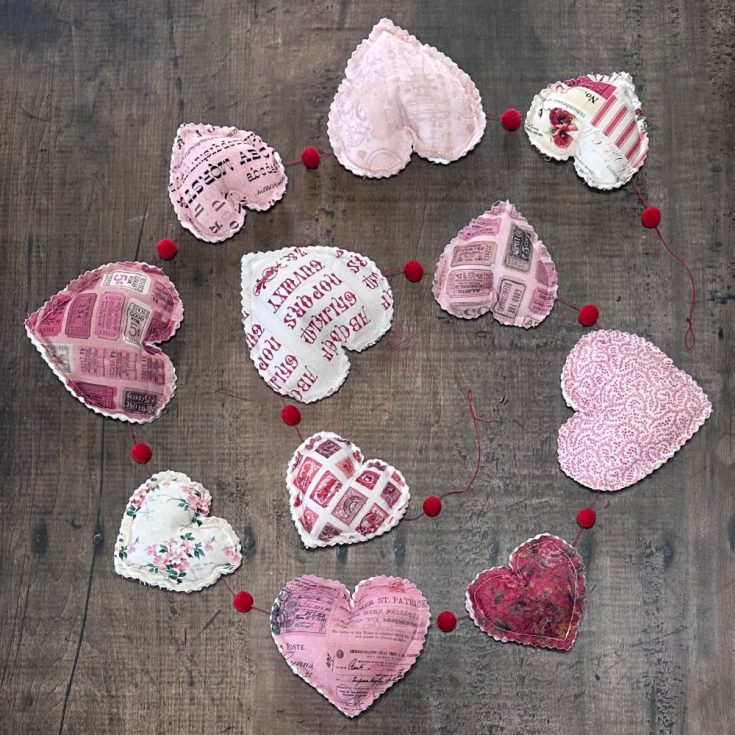
Enjoy your heart garland.
Thanks so much for stopping buy and happy sewing! –Richele
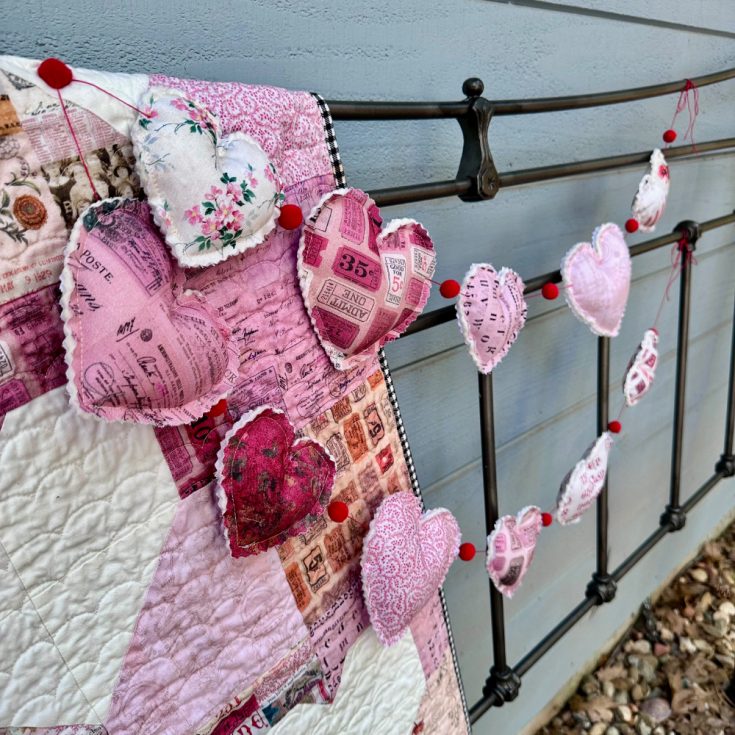
SUPPLIES:
|
A big thank you to YOU, our reader — and to Richele for being our guest!
Woven Heart Cards by Paula Cheney
Hi friends! Happy Monday! I’m delighted to welcome back special guest Paula Cheney to the blog today with four GORGEOUS examples of projects you can make with paper weaving! Read on for all the details and enjoy!
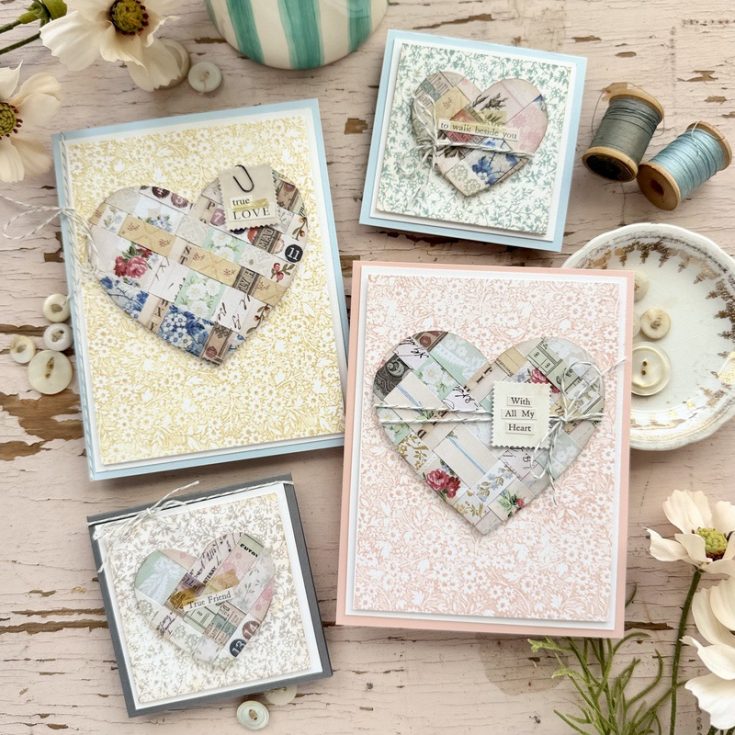
Since February is the month of love, I decided to create a few simple cards to celebrate the season. Usually, idea-ology Paper Strips are just lined up and glued down in rows. While that’s a classic look, I wanted to take things to the next level by weaving them! With 89 strips in the package, you’ll have plenty of material to experiment with both techniques!
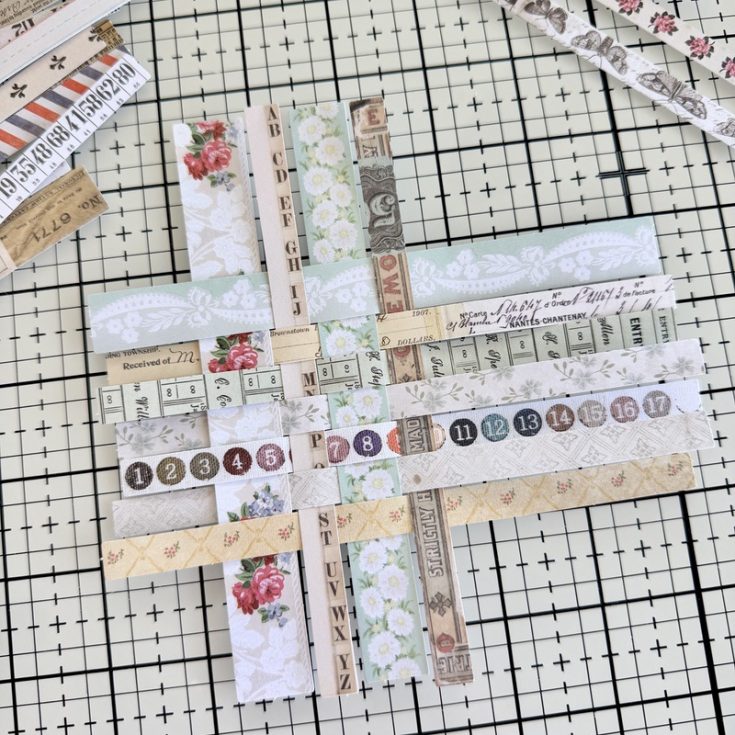
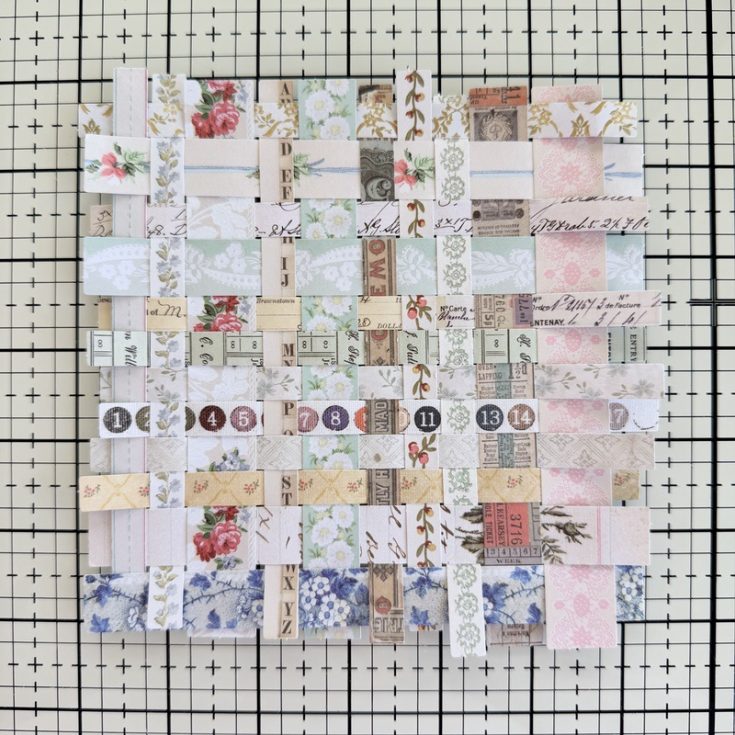
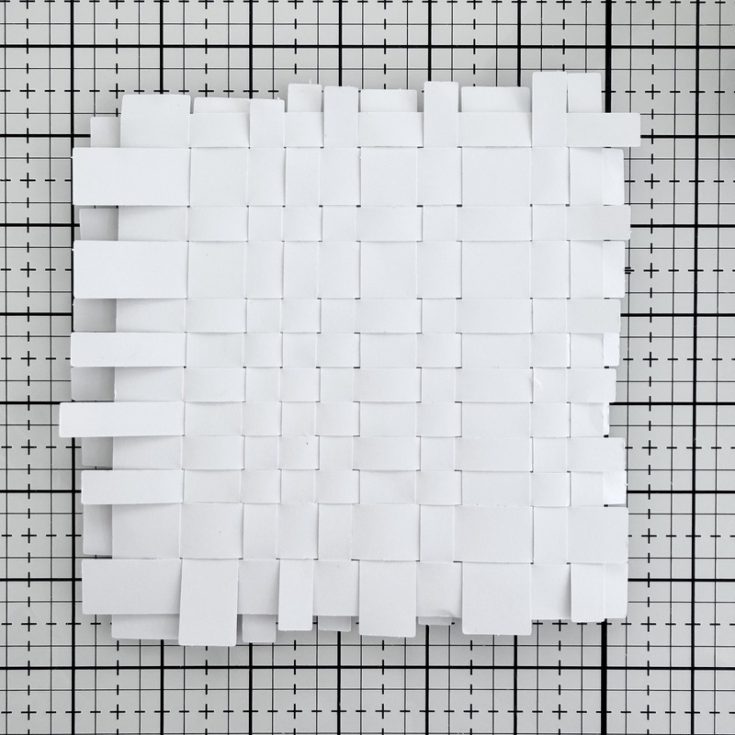
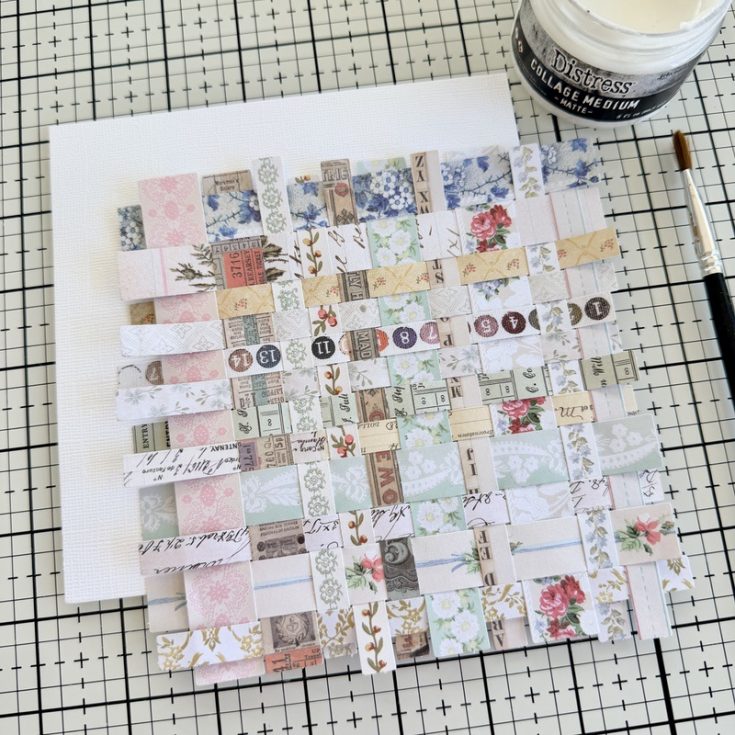
First, get organized by separating your strips into three widths. Once you’ve picked out the prints you love most, start weaving them together. To make the most of your 6-inch strips, try to keep the ends even as you work. Don’t be afraid to give them a little tug—keeping the weave tight will make your final piece look amazing!
Continue weaving until you have a 6 inch square.
Turn the woven Paper Strips over. You should not see any gaps in the weaving. If you have gaps, just shimmy the strips to close the gaps before moving to the next step.
Cut a 6 inch piece of scrap cardstock.
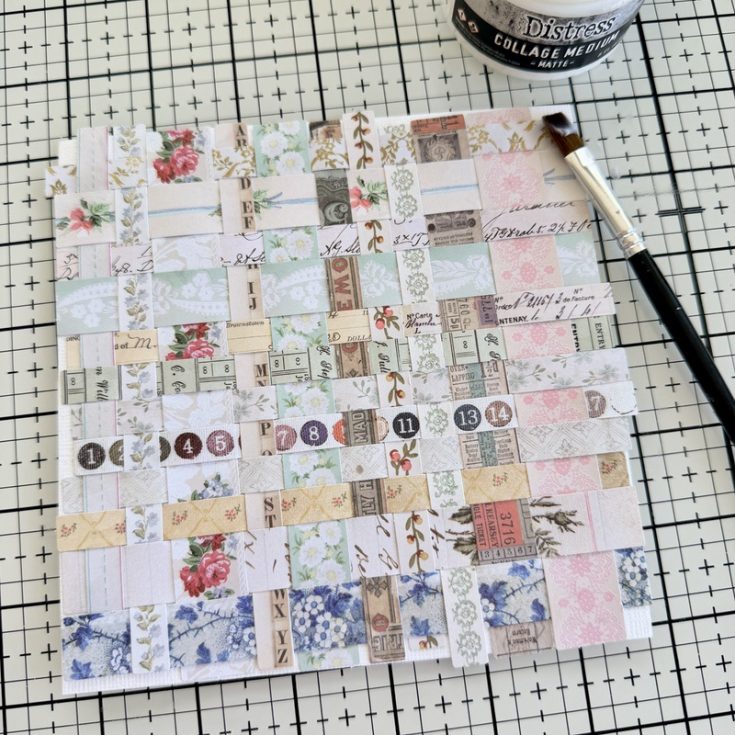
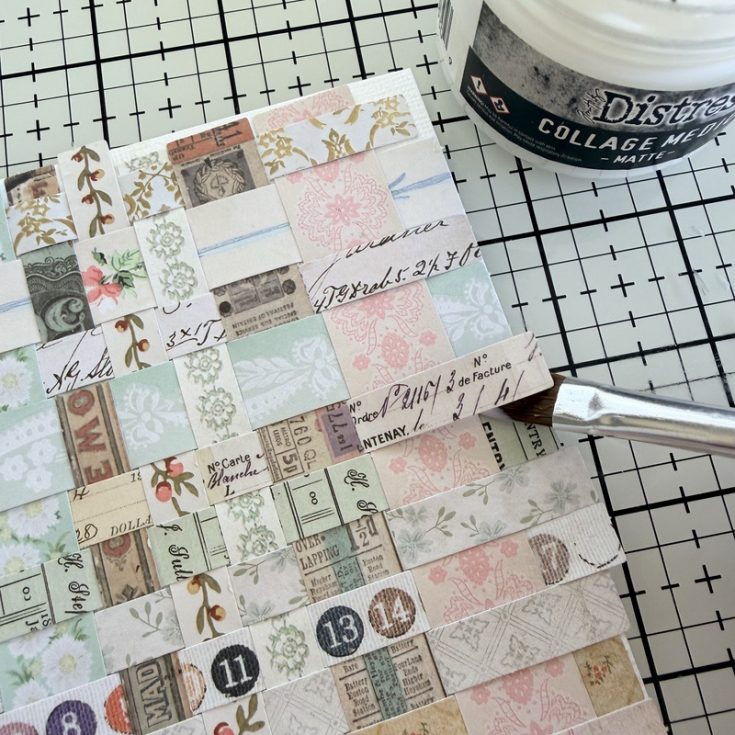
Use Collage Medium to adhere the woven paper to the cardstock.
Use a small brush to glue any pieces that might be sticking up on the edges.
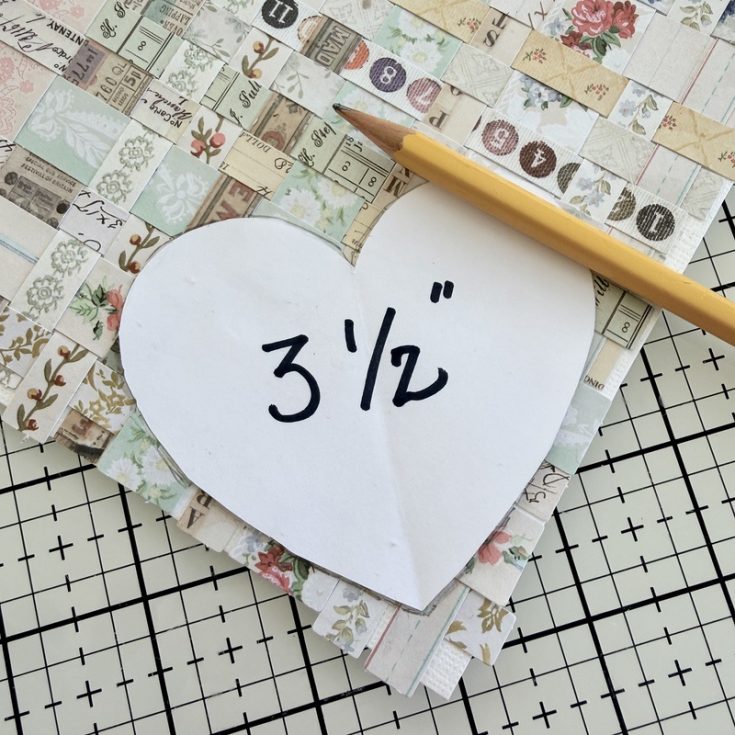
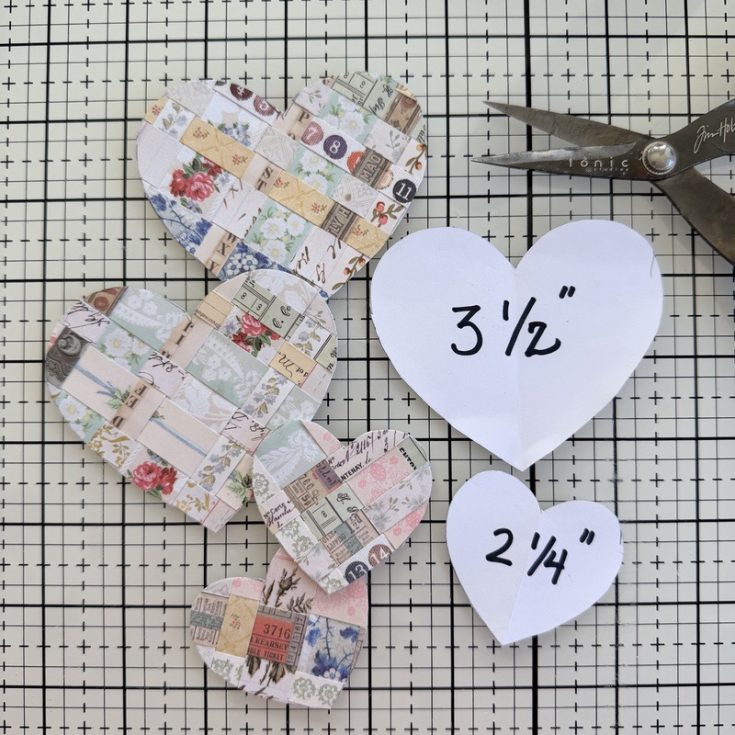
Make a heart template from some scrap paper. I made two templates, one 3 1/2” wide and the other 2 1/4” wide. You can use your computer to make the heart shape or just fold a paper in half and draw your own heart like we all did when we were kids! (editor’s note our Basic Hearts also are perfect for making Heart templates!) Once the template is cut out, lay it on the woven strips and use a pencil to draw around the edge. Use a sharp scissors like Tim Holtz Tonic Snips for easy cutting!
I was easily able to cut two large and two small hearts from my 6 inch square of woven paper! Once the hearts are cut out, look for any loose strips on the edges. Glue them down before moving to the next step.
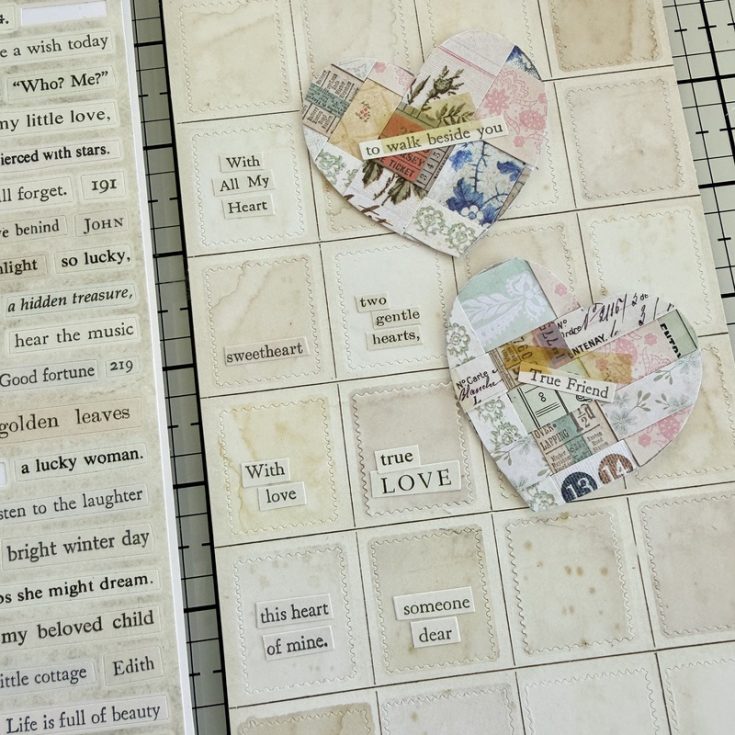
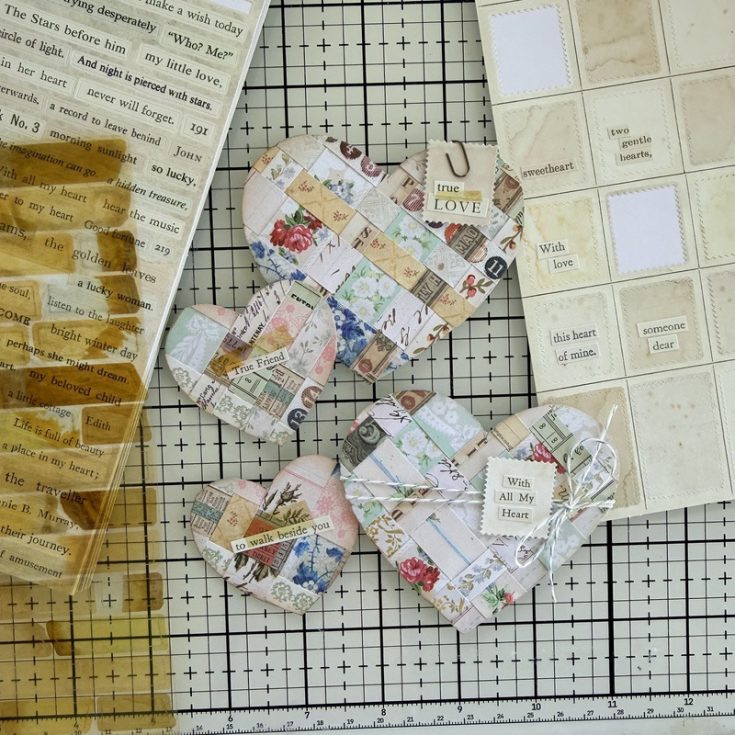
The Postmarked Sticker book has a sheet of blank stamp stickers at the very back. I added Clipping Stickers to the stamps and directly to the small woven hearts, along with a few pieces of Cello Tape.
Use the stamps to embellish the woven hearts along with some string, Mini Paper Clips and Cello Tape Stickers.
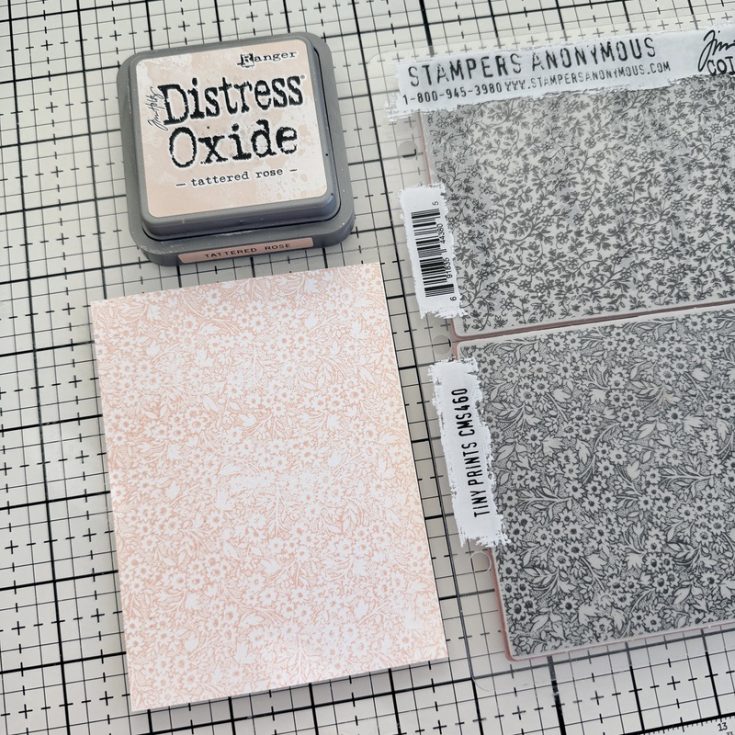
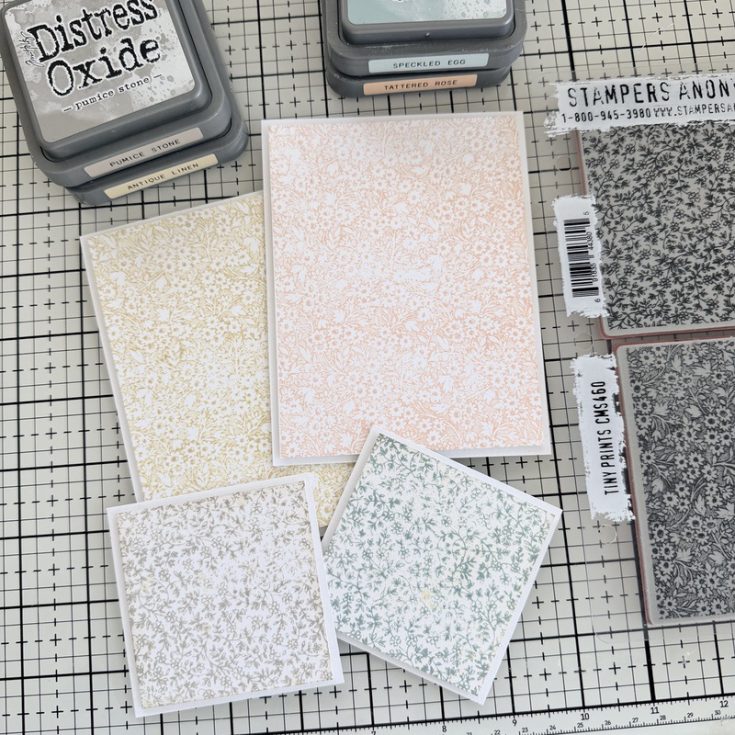
Now let’s make some card backgrounds for the woven hearts. I cut Distress Watercolor Cardstock and stamped it with Distress Oxide Tattered Rose using the Tiny Prints stamp from Stampers Anonymous. I continued making a few backgrounds using muted colors like Pumice Stone, Speckled Egg and Antique Linen.
Once the backgrounds are stamped and the ink is dry, mount them on Distress Watercolor Cardstock using Thin 3D Foam Squares.
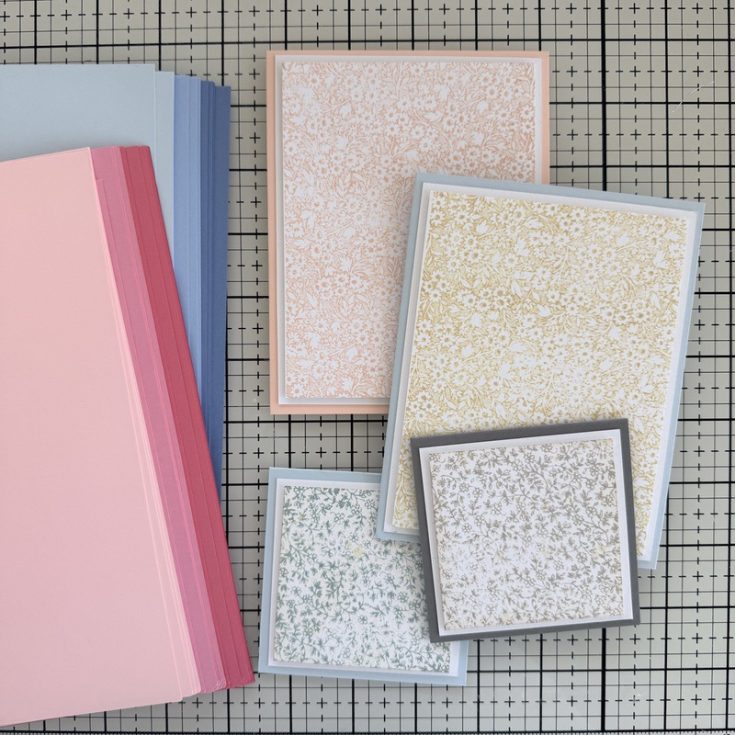
For the card itself, I used Spellbinders ColorWheel Cardstock because it’s a heavyweight 100lb paper with a solid color core and smooth matte finish. Honestly, it’s beautifully smooth with a vast array of colors. It is my go-to cardstock of choice!
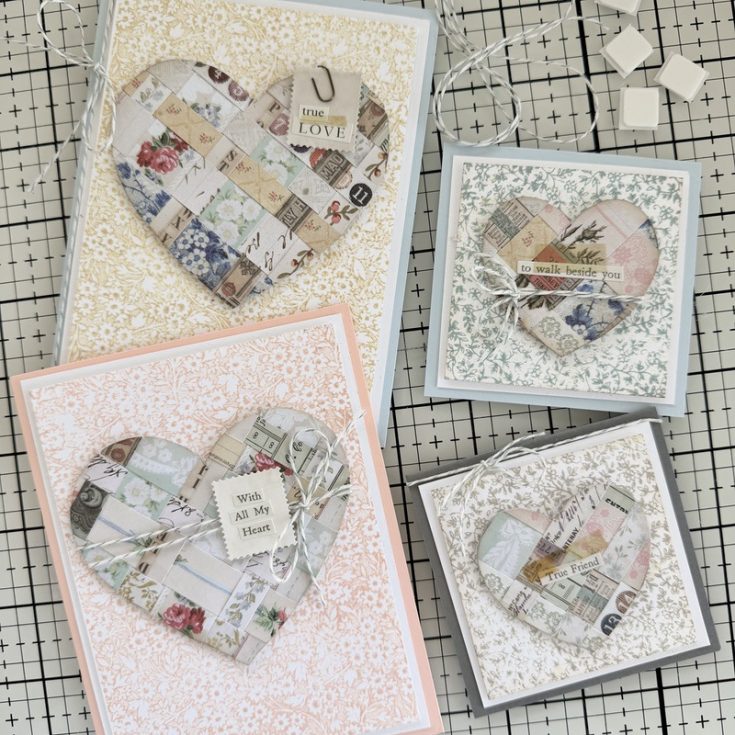
Now add the woven hearts to the card fronts with Thin 3D Foam Squares. I added a bit more string to each card for texture.
SUPPLIES:
|
Thanks so much to Paula for this gorgeous inspiration and to YOU our reader, for stopping by today!


