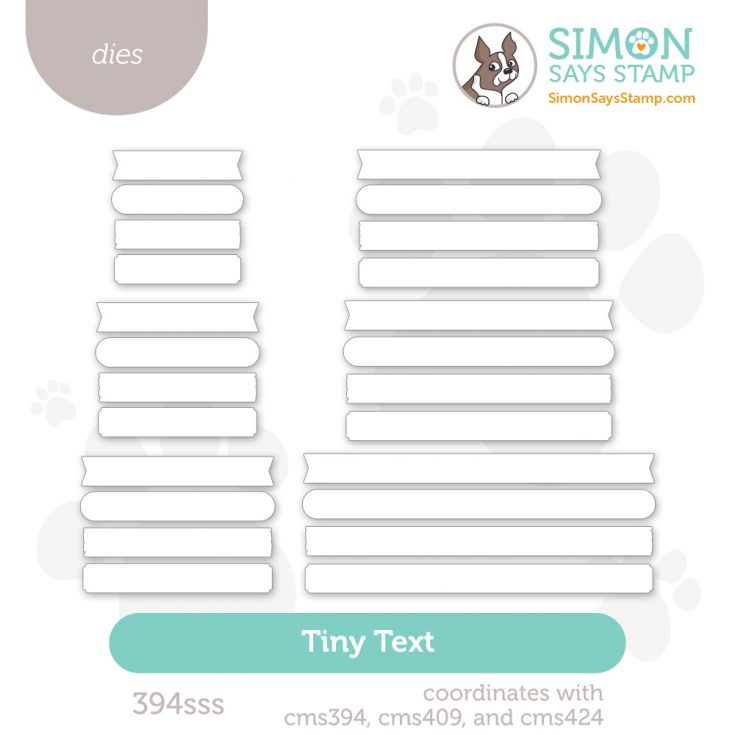
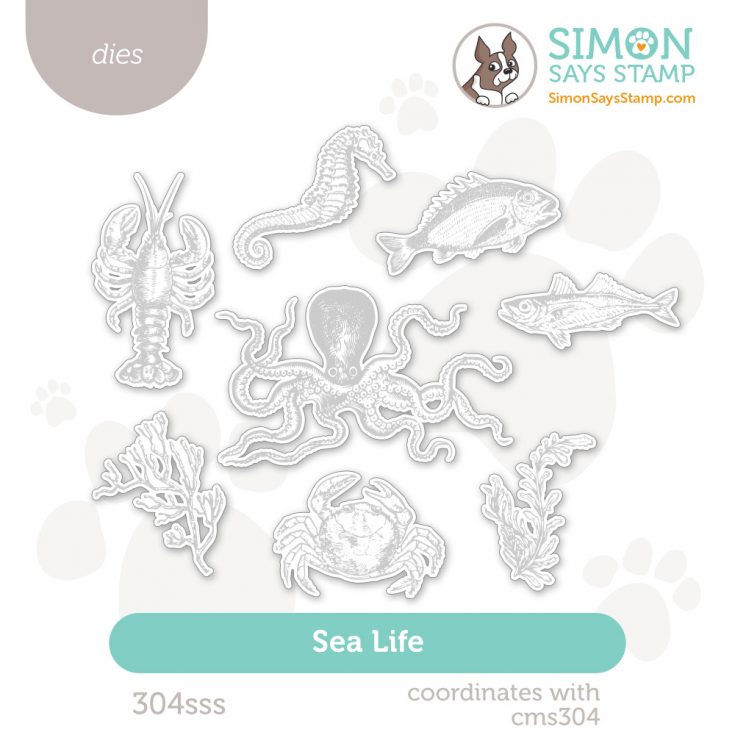
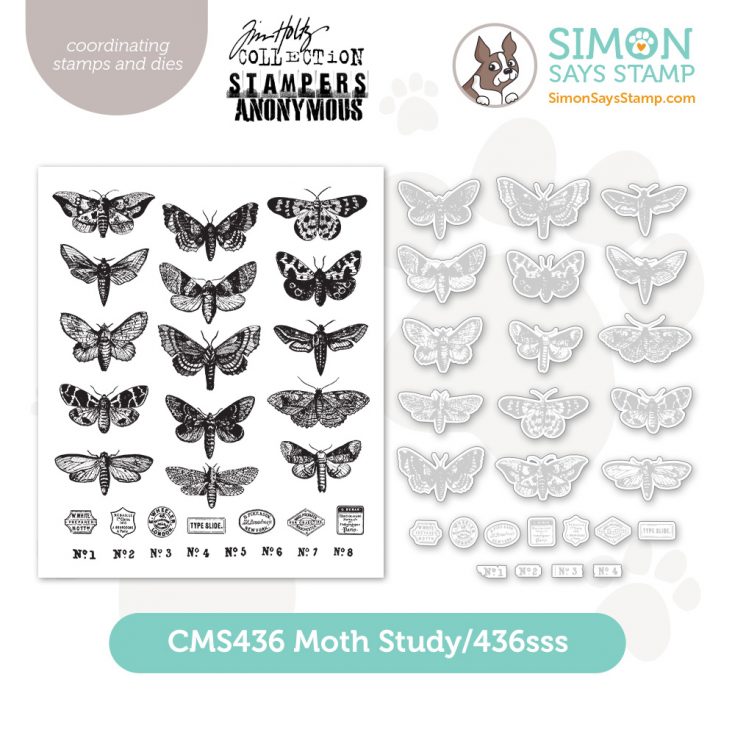
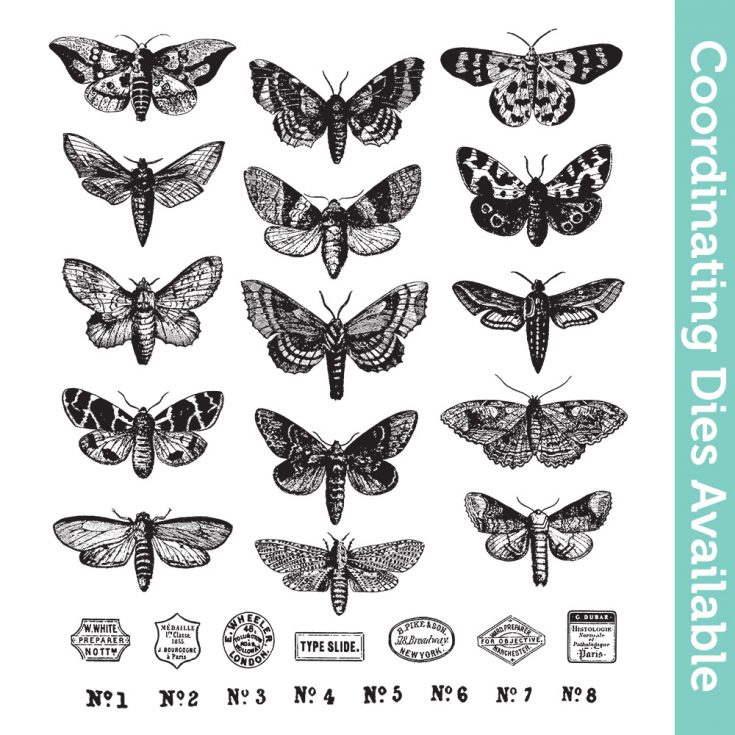
NEW Simon Says Stamp Exclusive Coordinating Dies Designed to match Tim Holtz Stamps in Action [Blog Hop!]
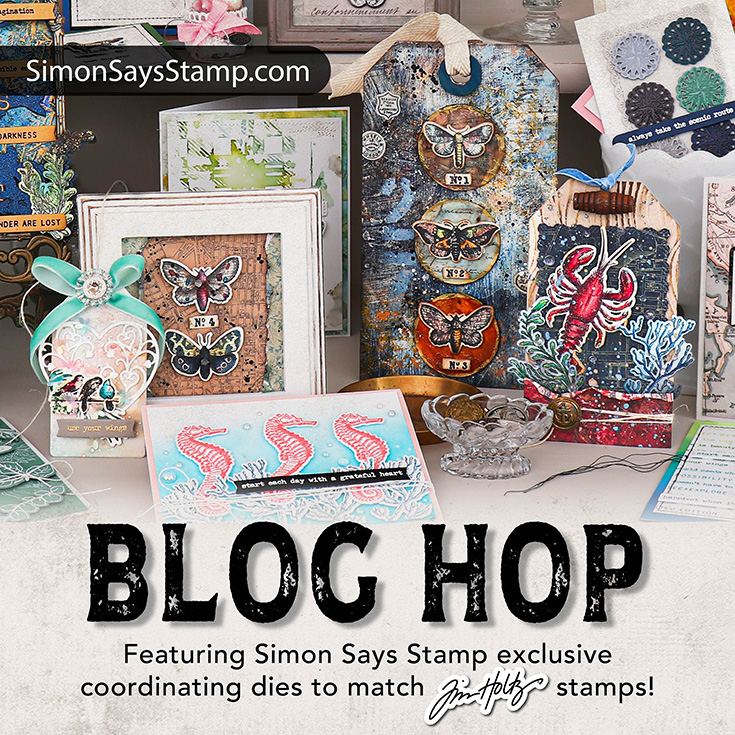
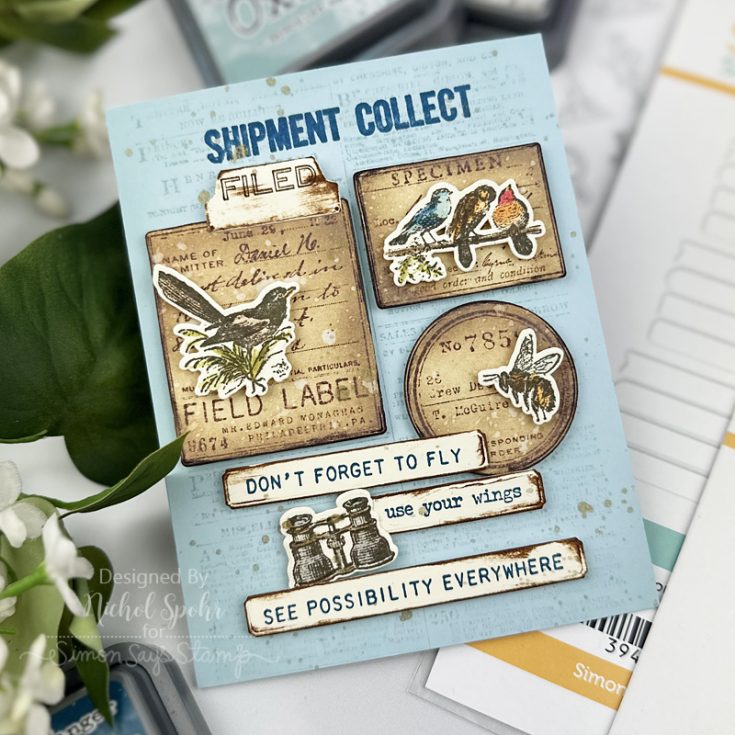
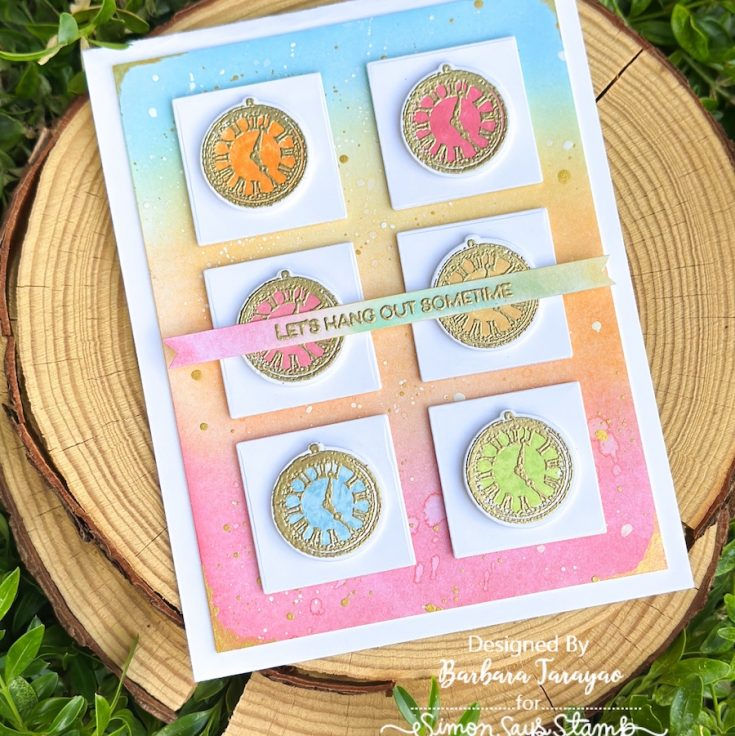
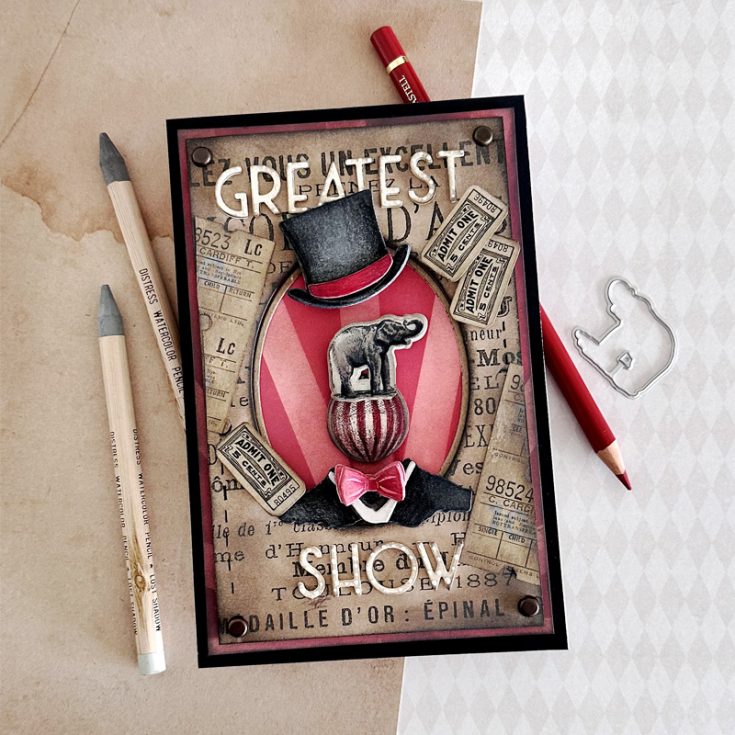
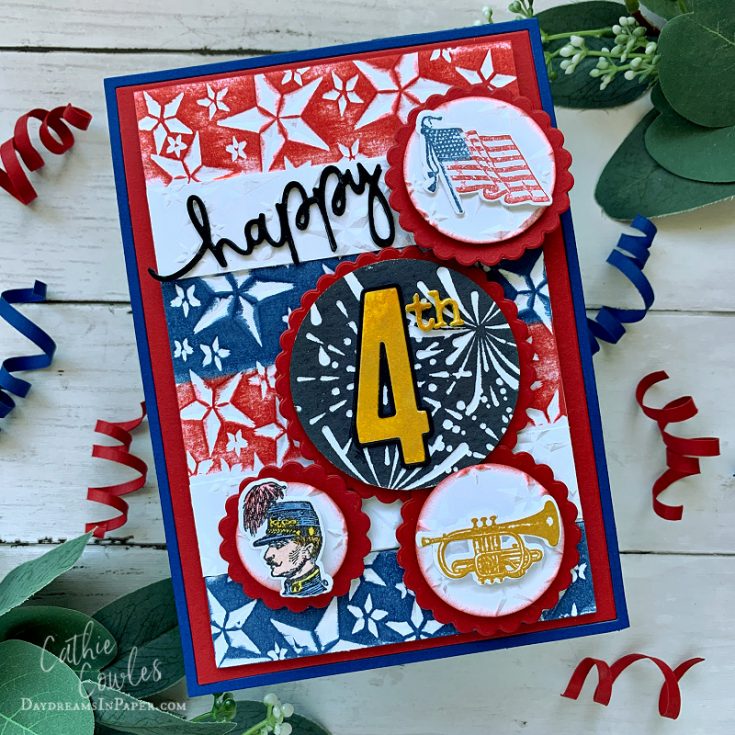
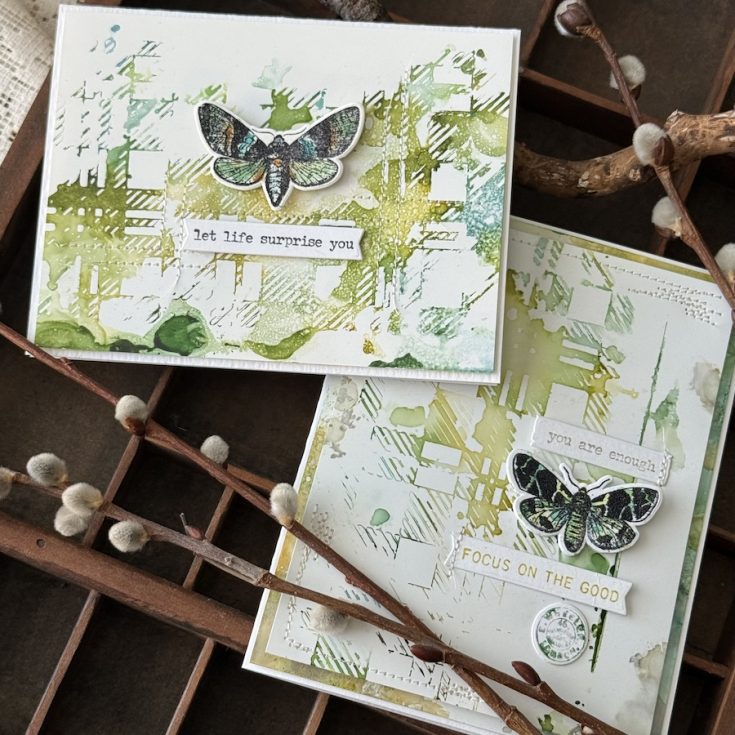
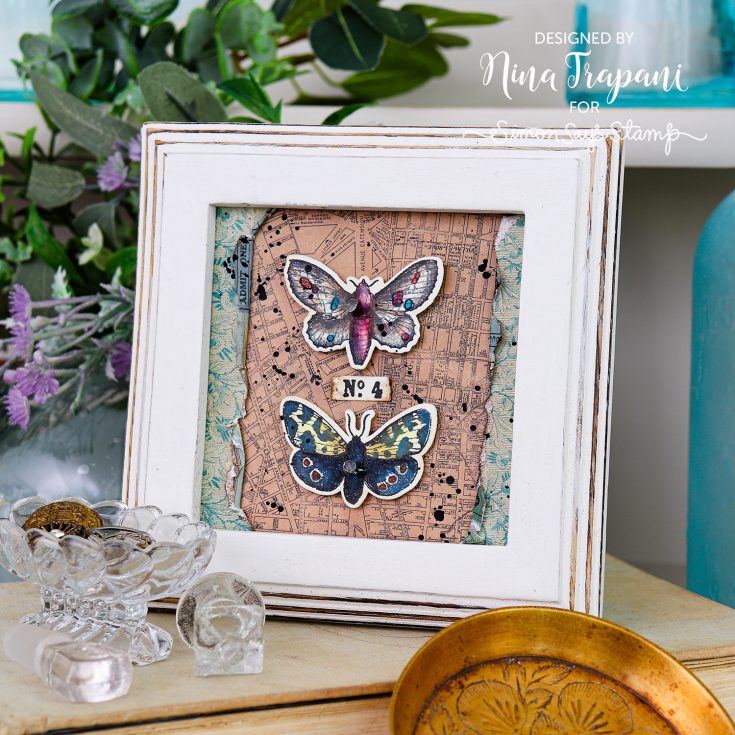
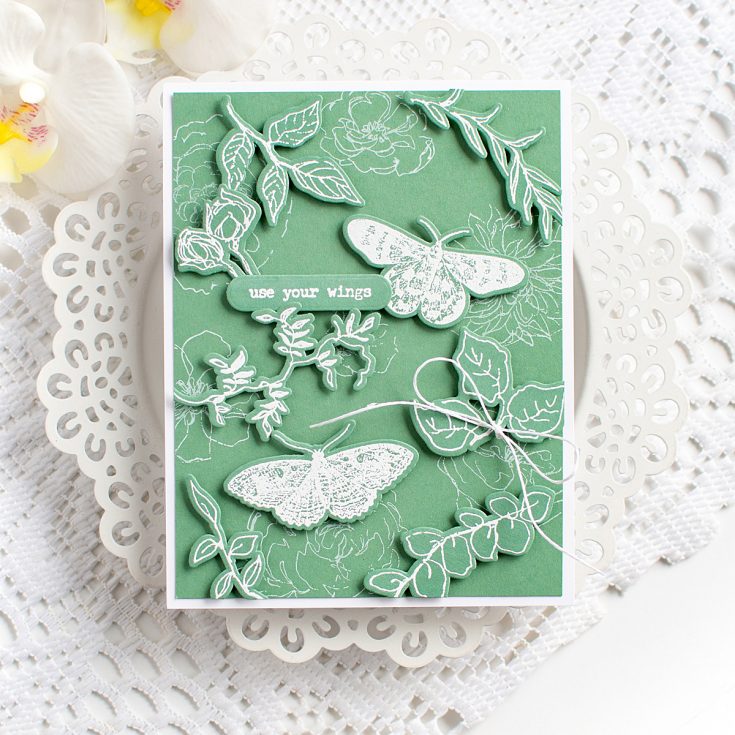
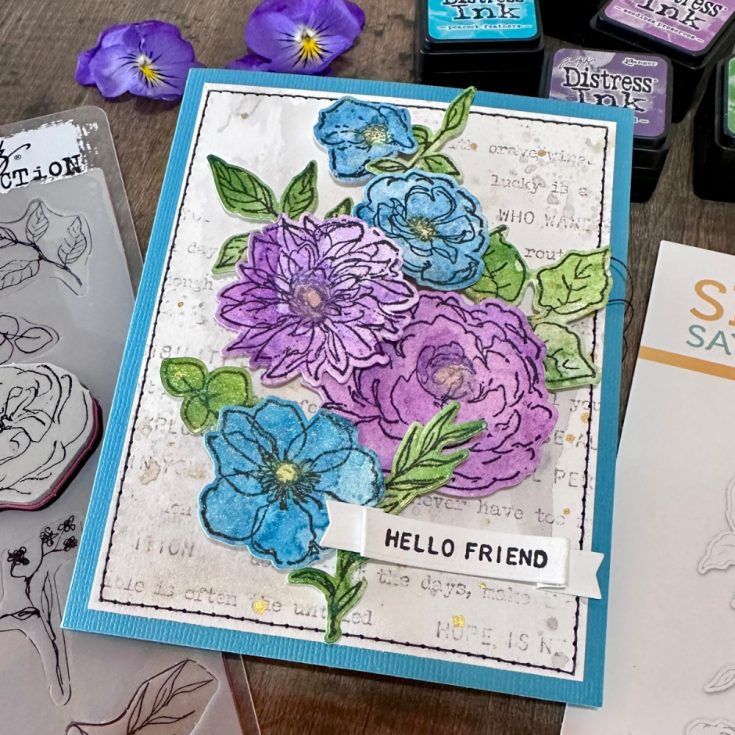
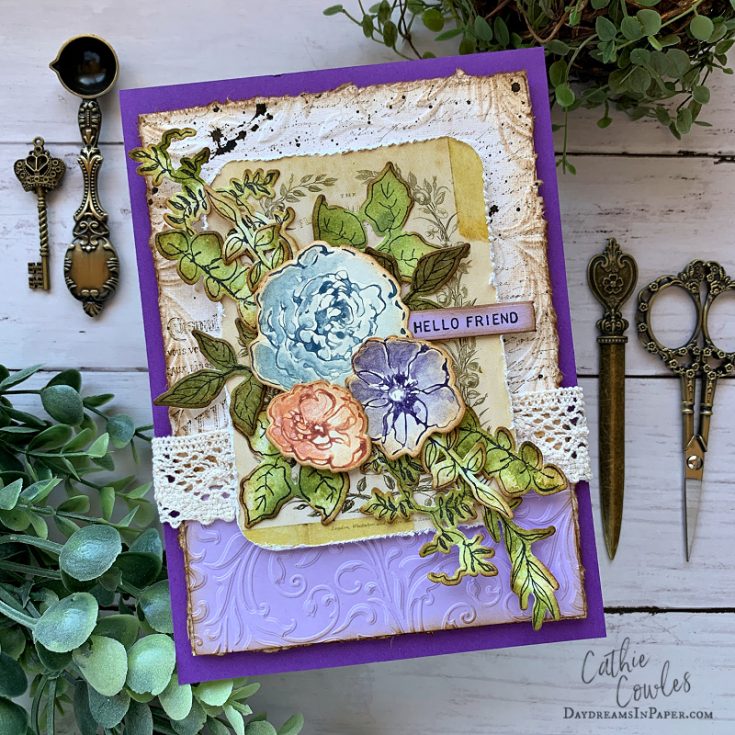
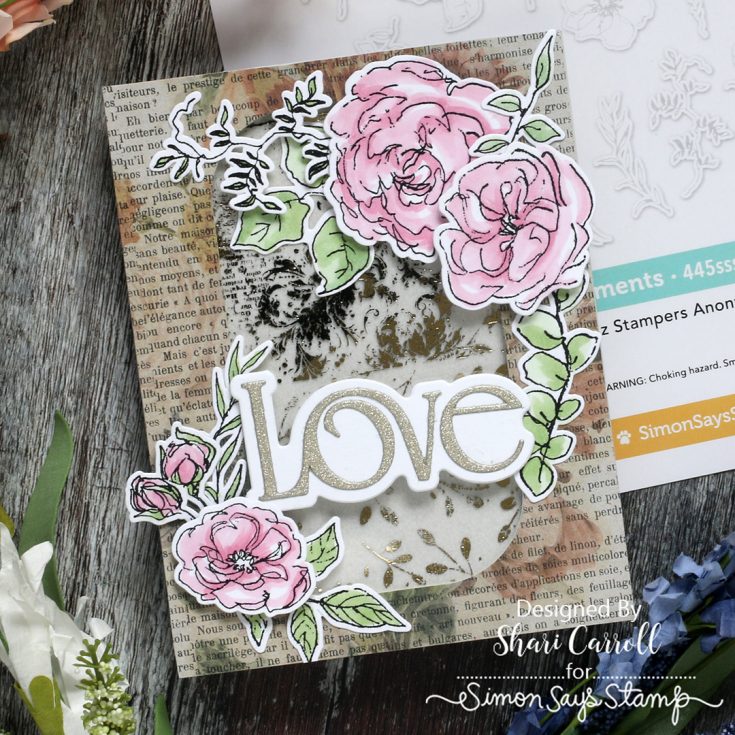
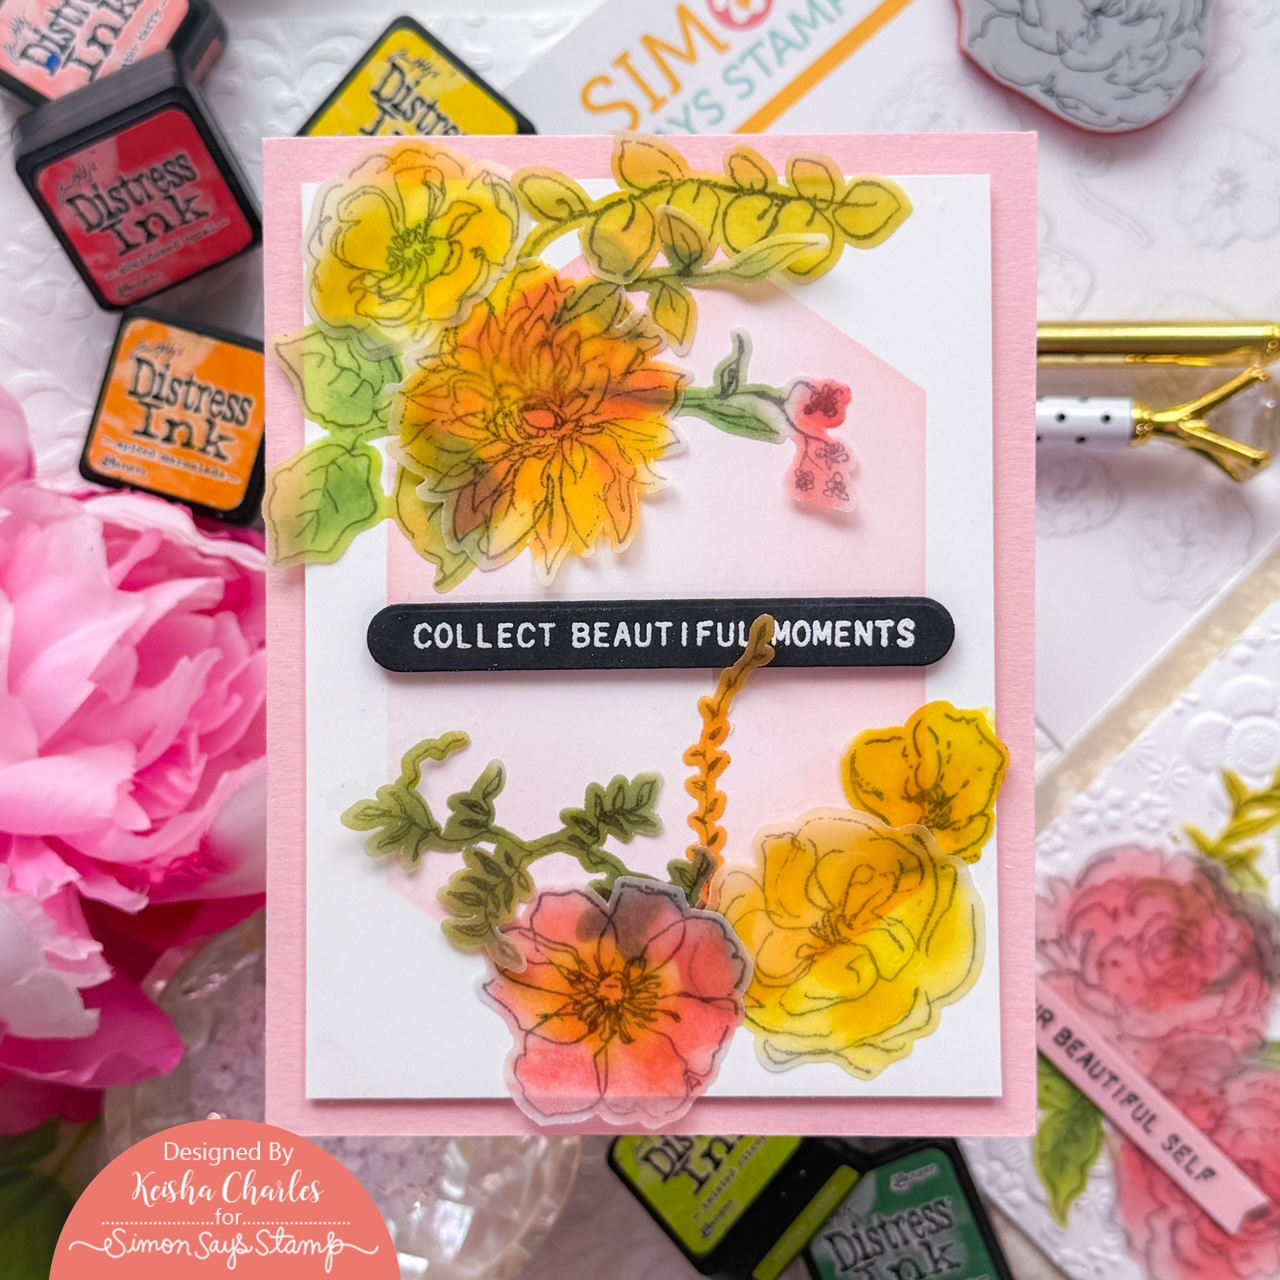
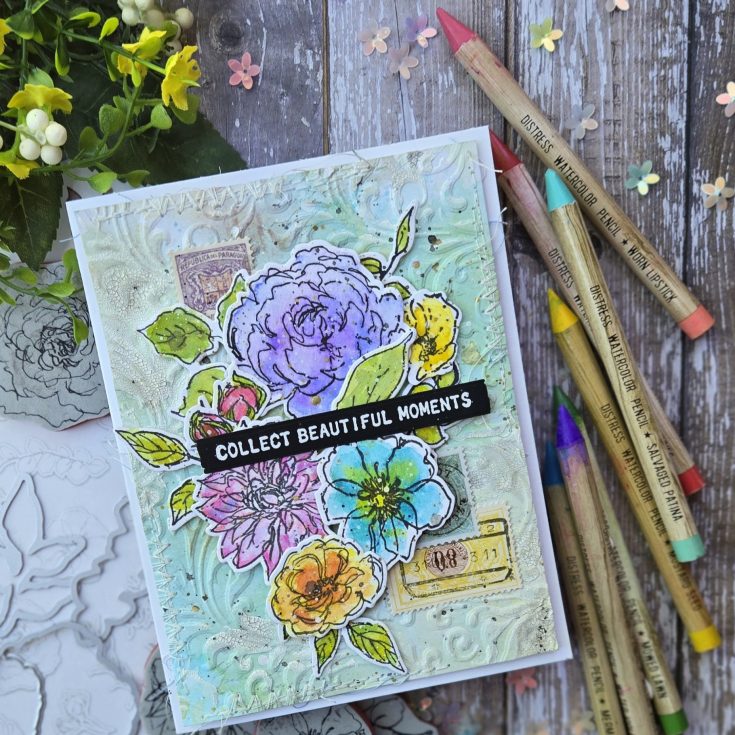
Hate fussy cutting and LOVE Tim Holtz Stampers Anonymous rubber stamps? We have great news for you! Today we’re hosting a blog hop where you’ll find inspiration using our newly released Simon Says Stamp brand dies which coordinate with 6 previously released Tim Holtz/Stampers Anonymous stamps!
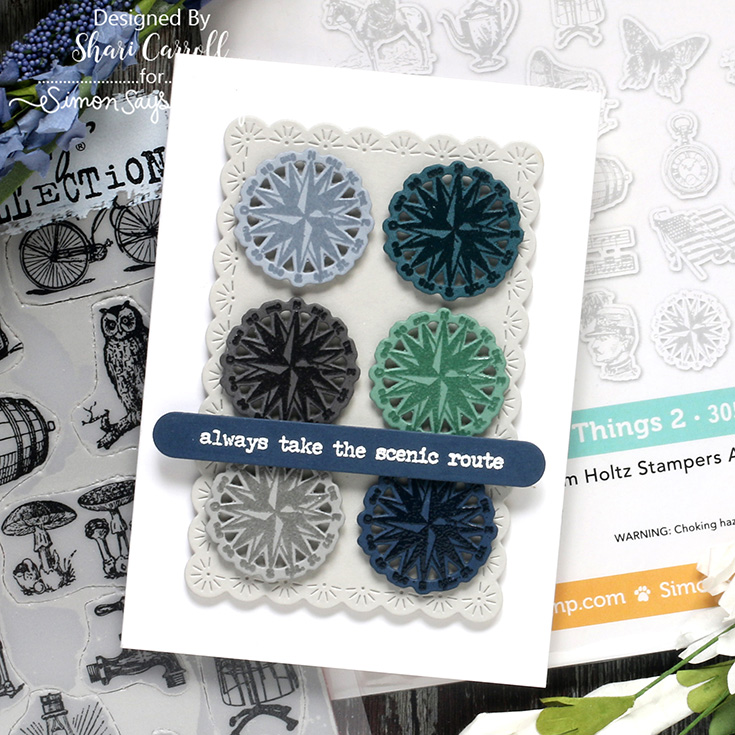
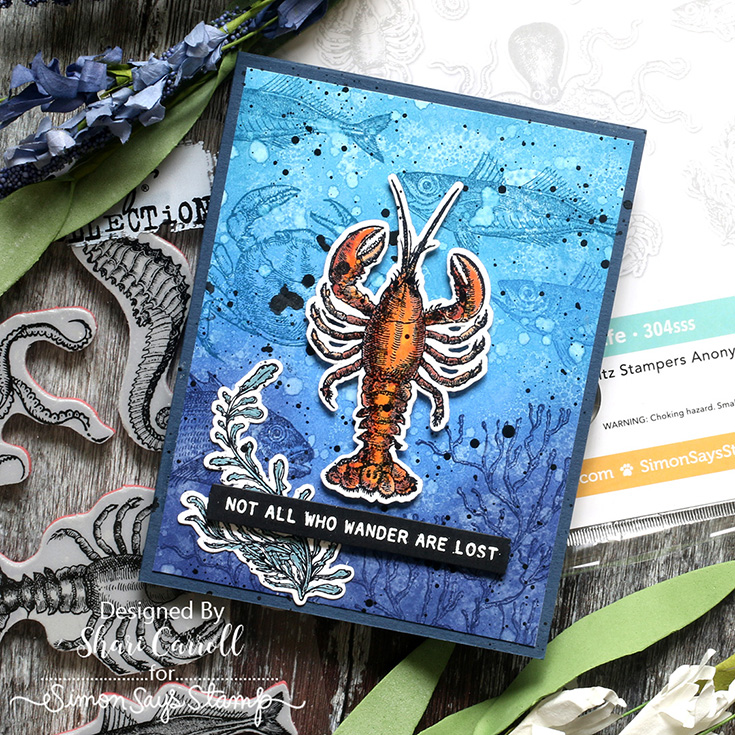
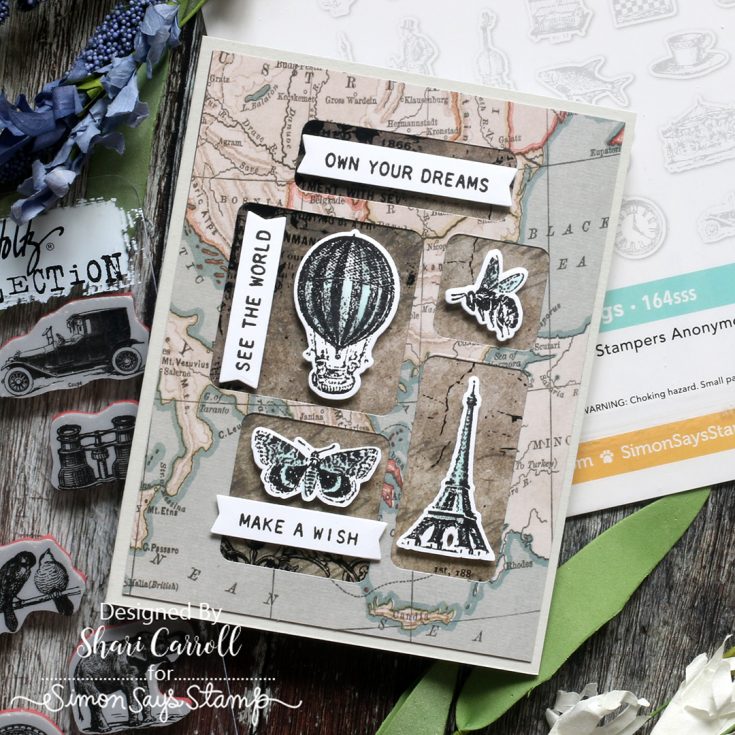
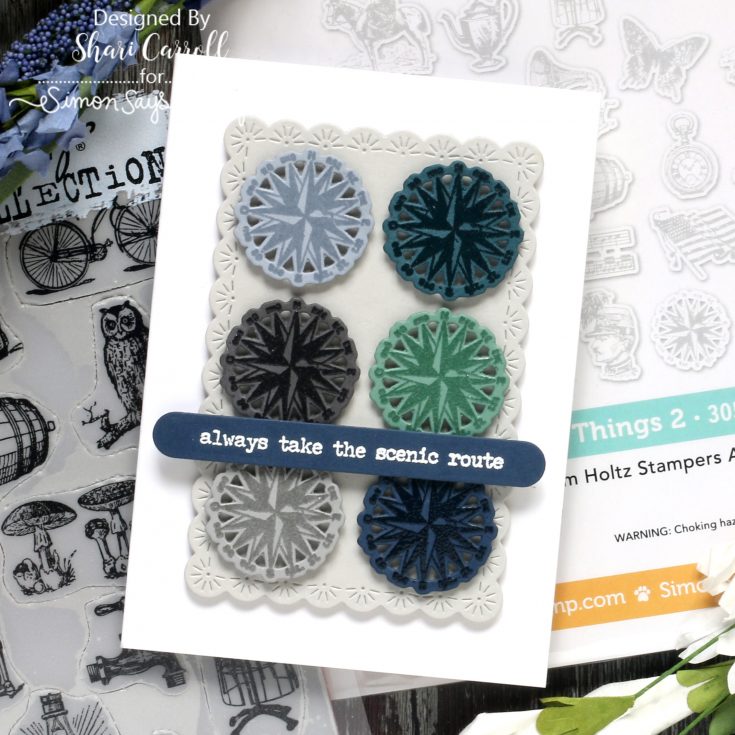
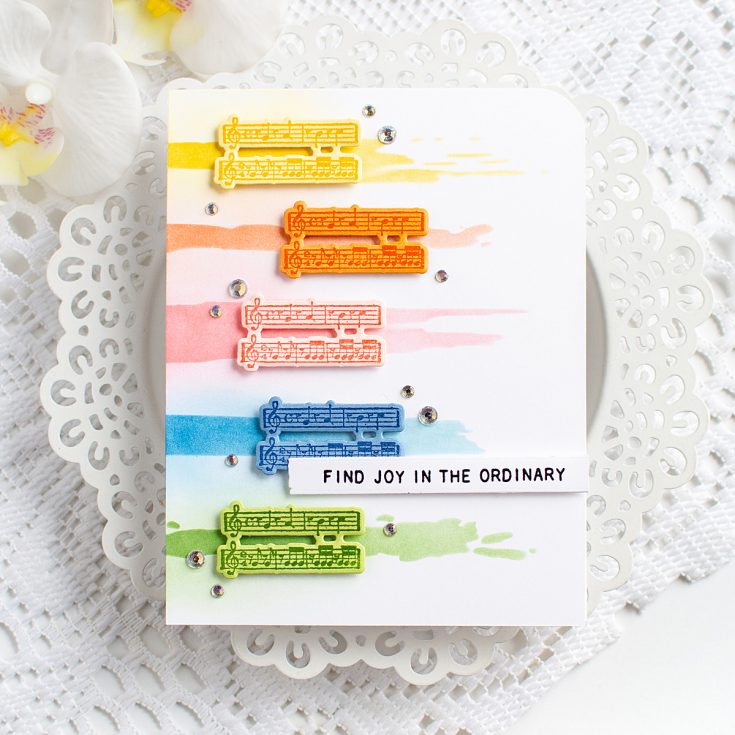
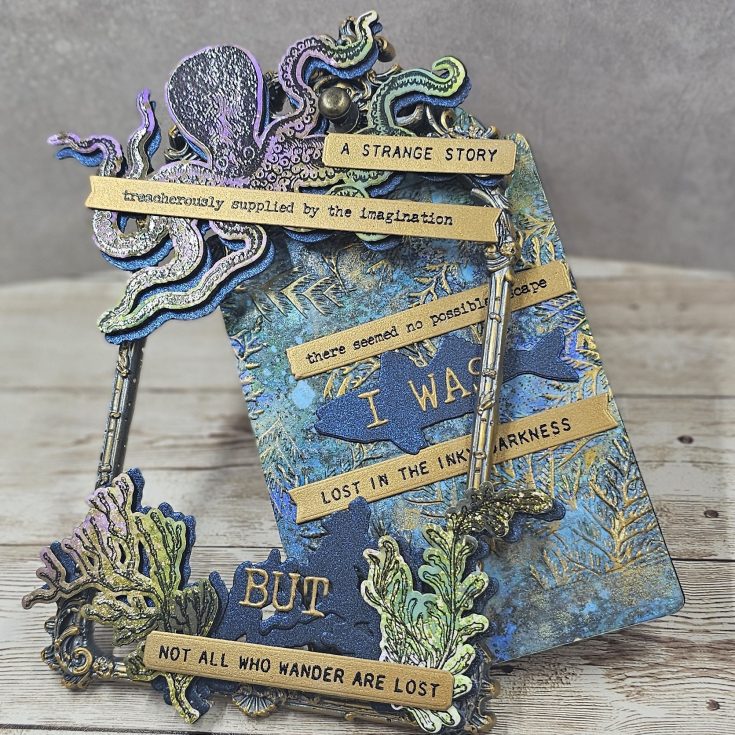
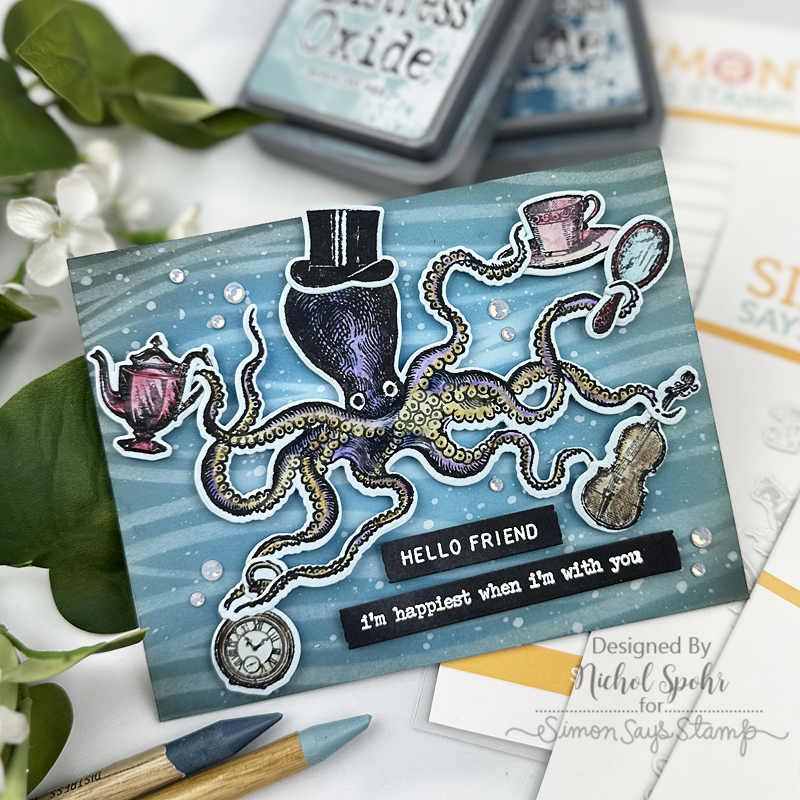
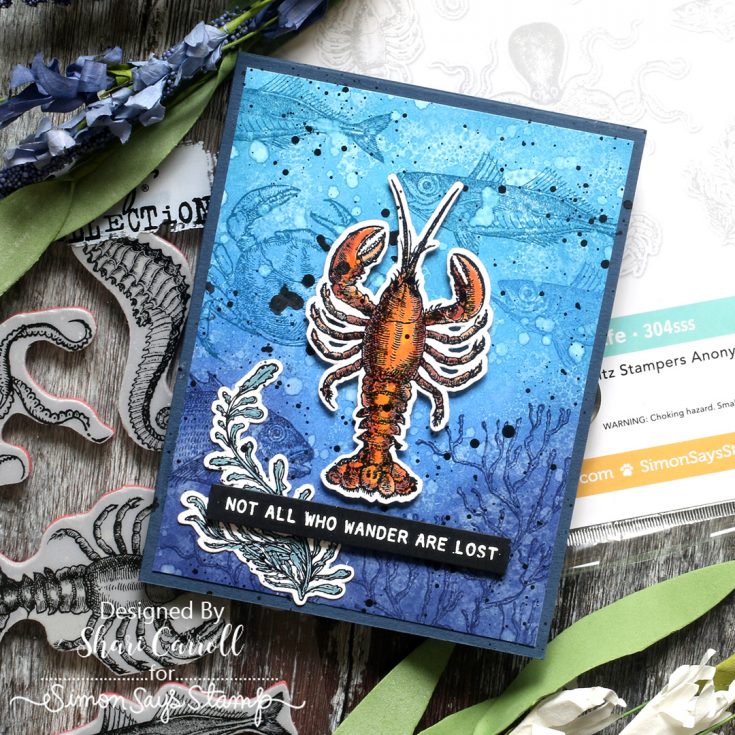
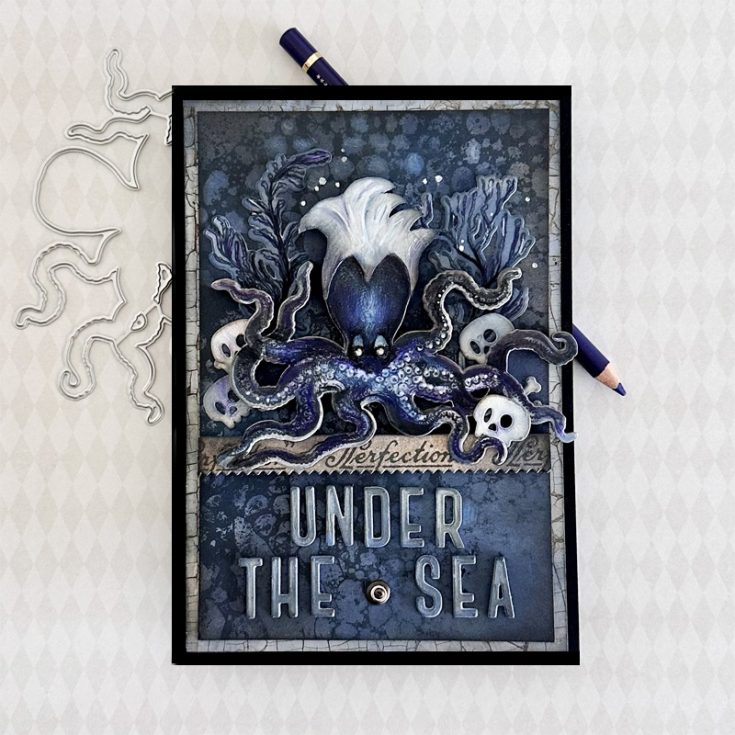
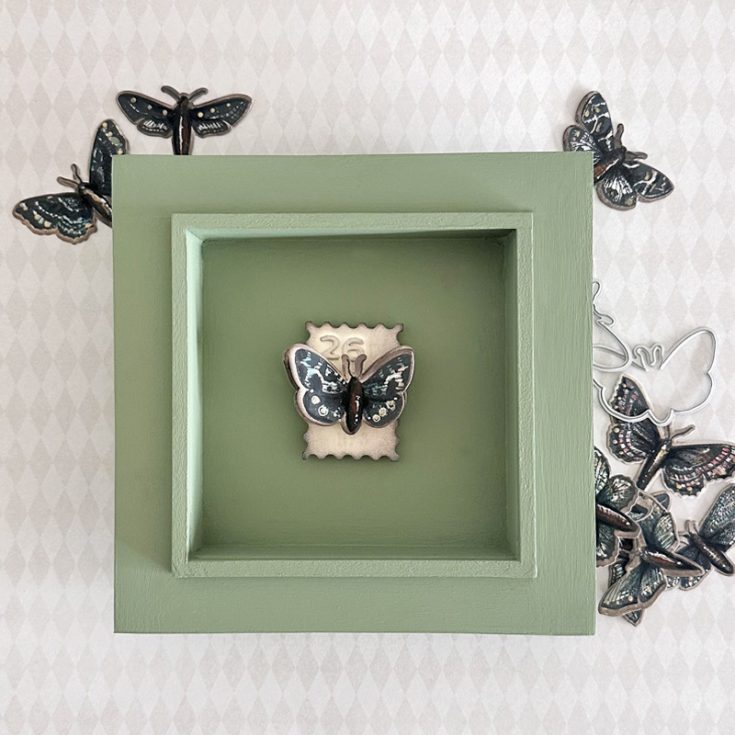
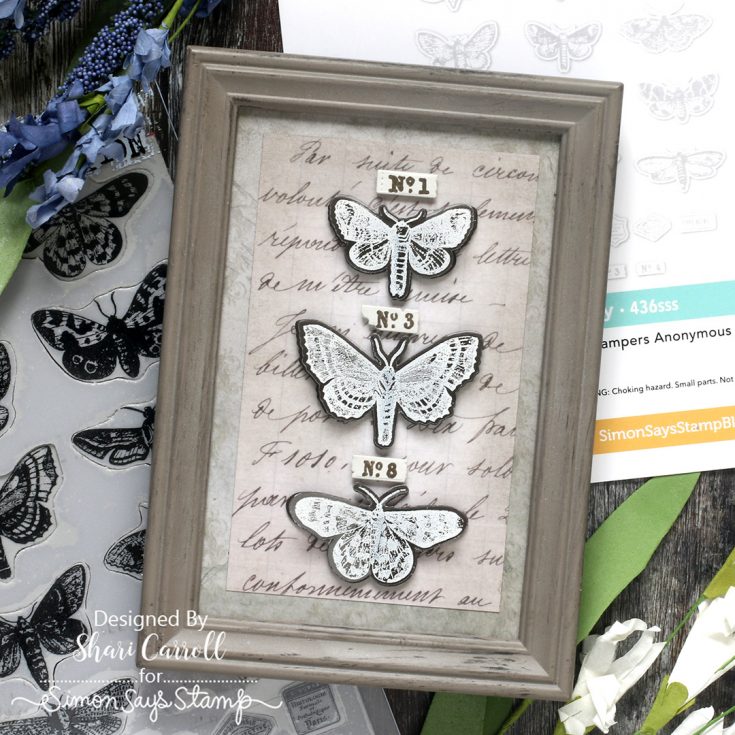
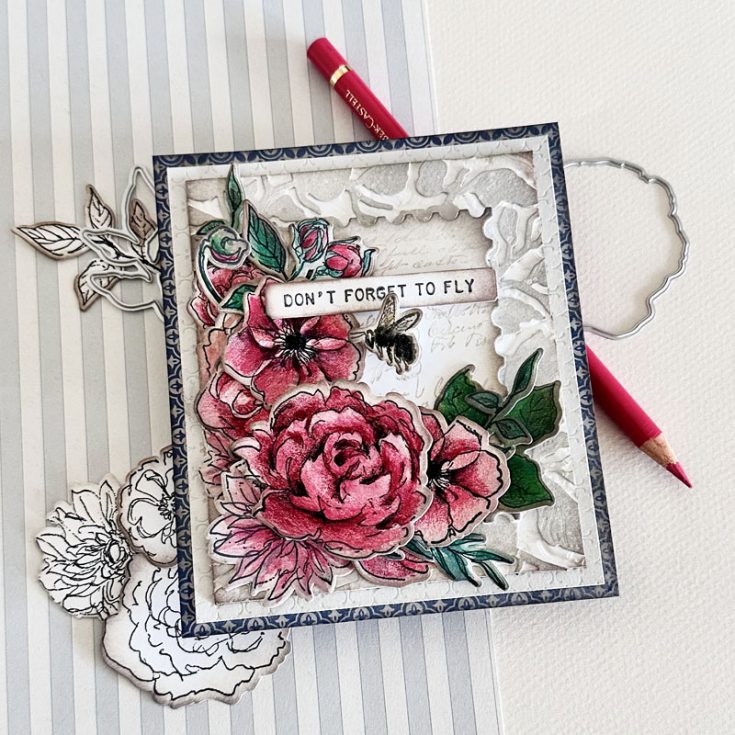
Let’s get a sneak peek of what’s in store for our blog hop today with inspiration from Shari Carroll! She used some of the new dies to make these fantastic projects.

Ready for even more inspiration? Hop along with these talented designers! You’ll be SO inspired.
- Simon Says Stamp Blog <<YOU ARE HERE!
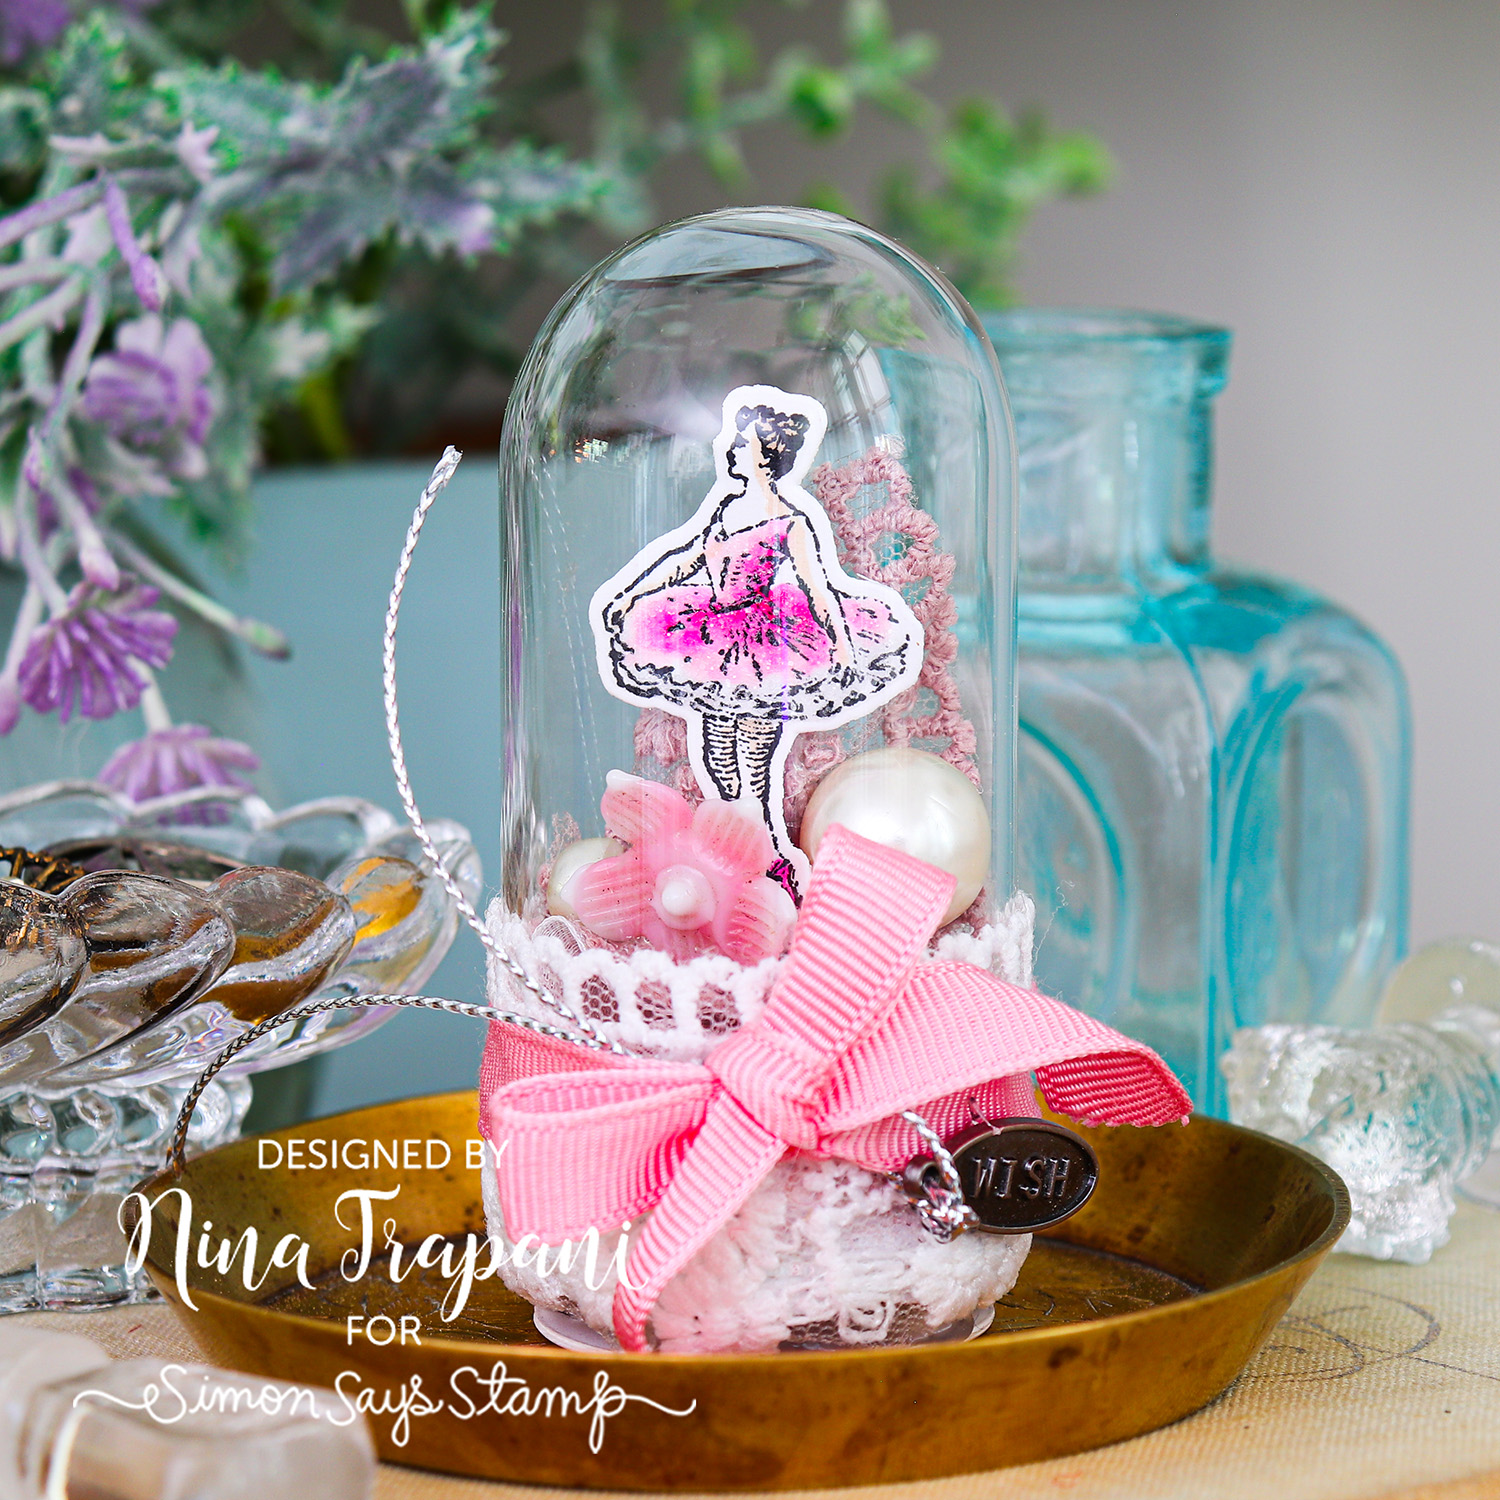
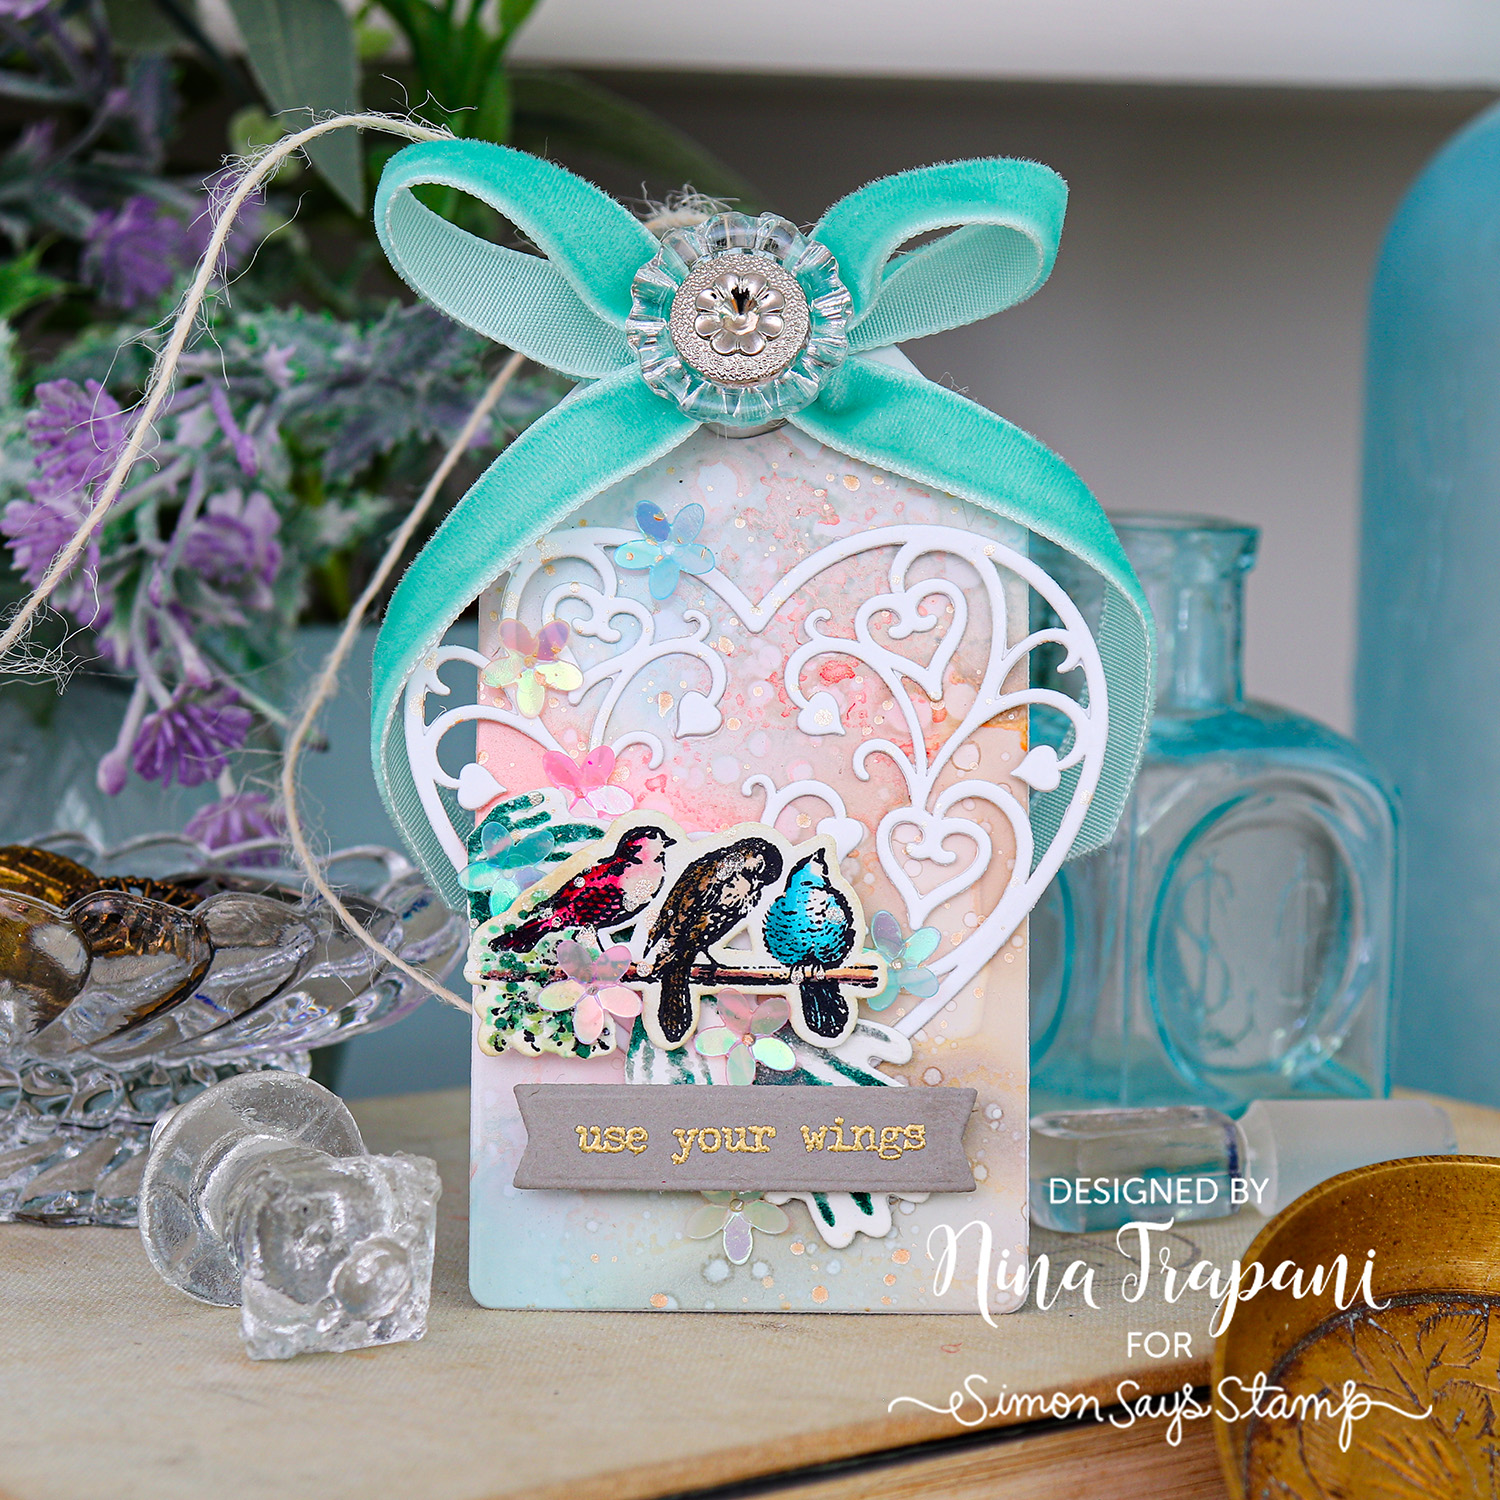
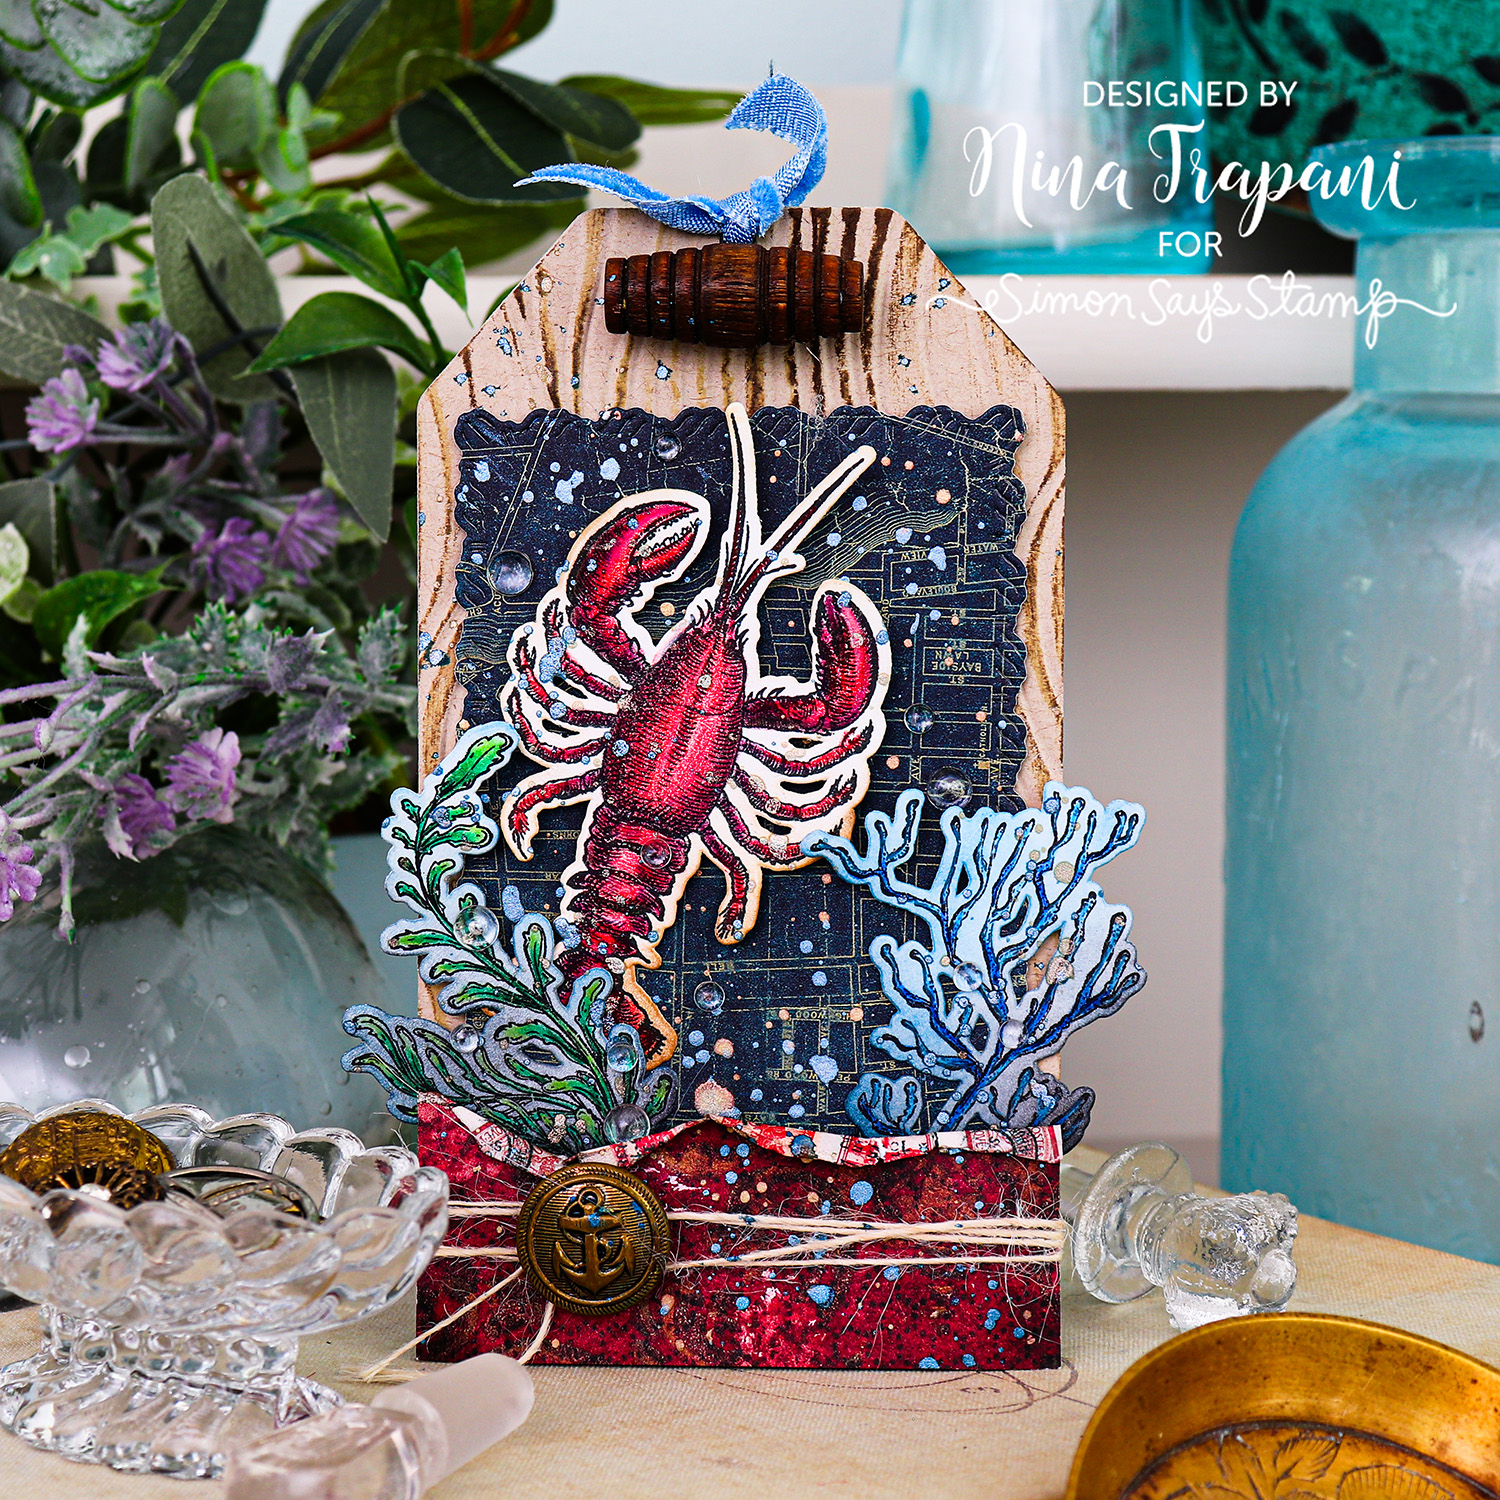
- Nina-Marie Trapani
- Cheiron Brandon
- Heather Hoffman
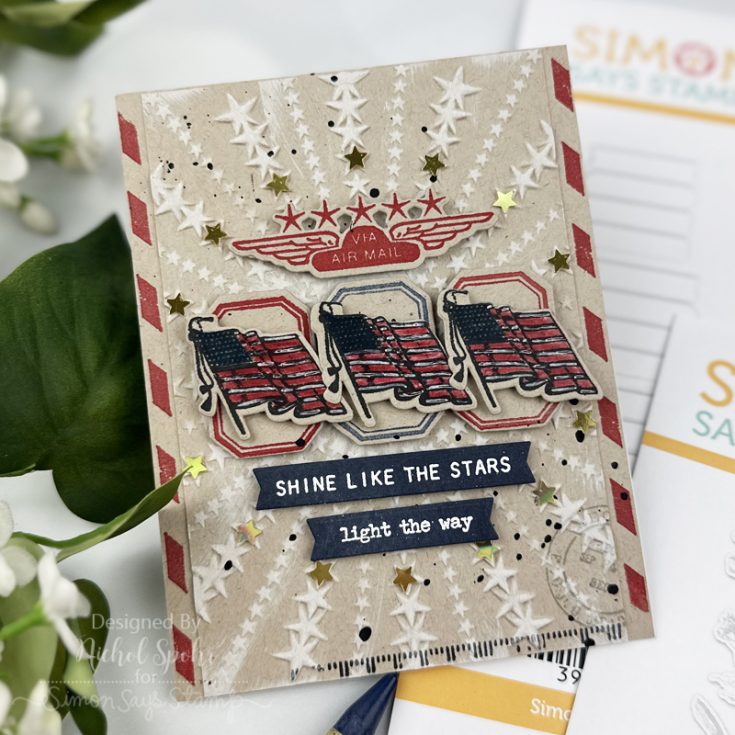
- Nichol Spohr
- Emma Williams
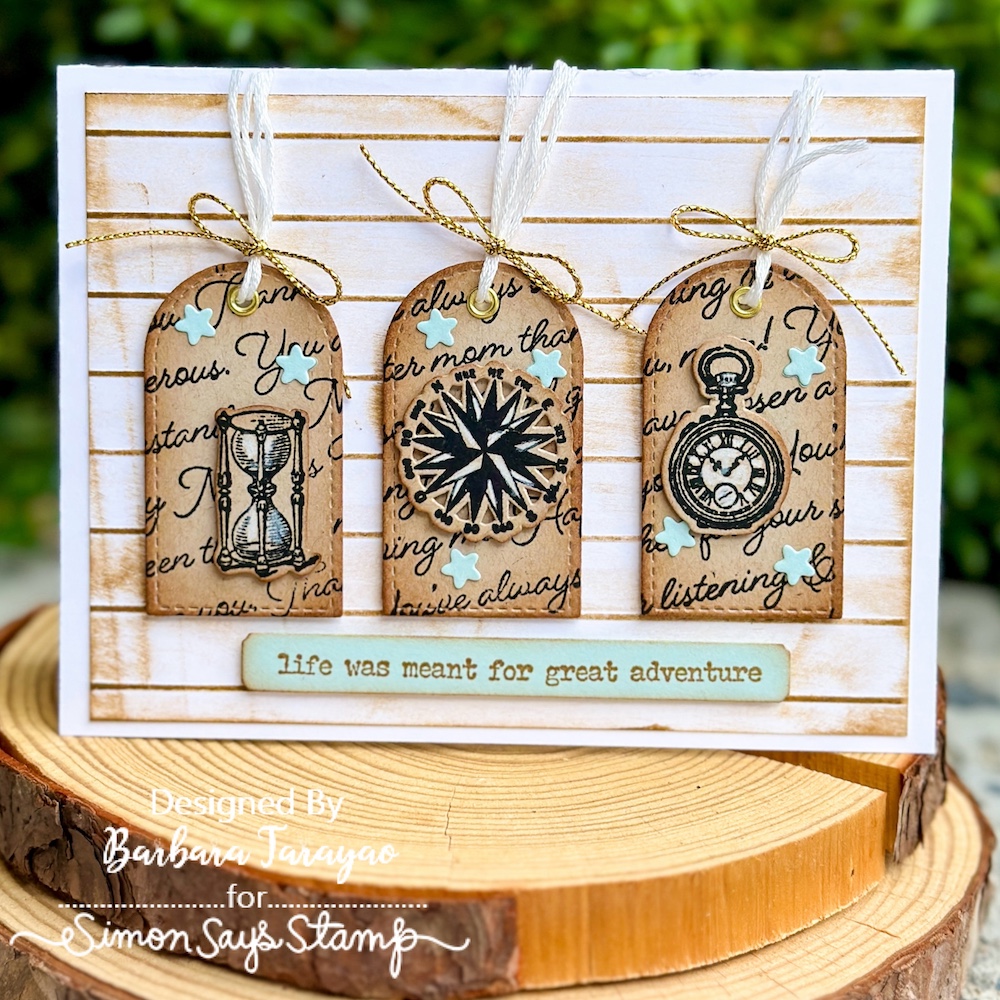
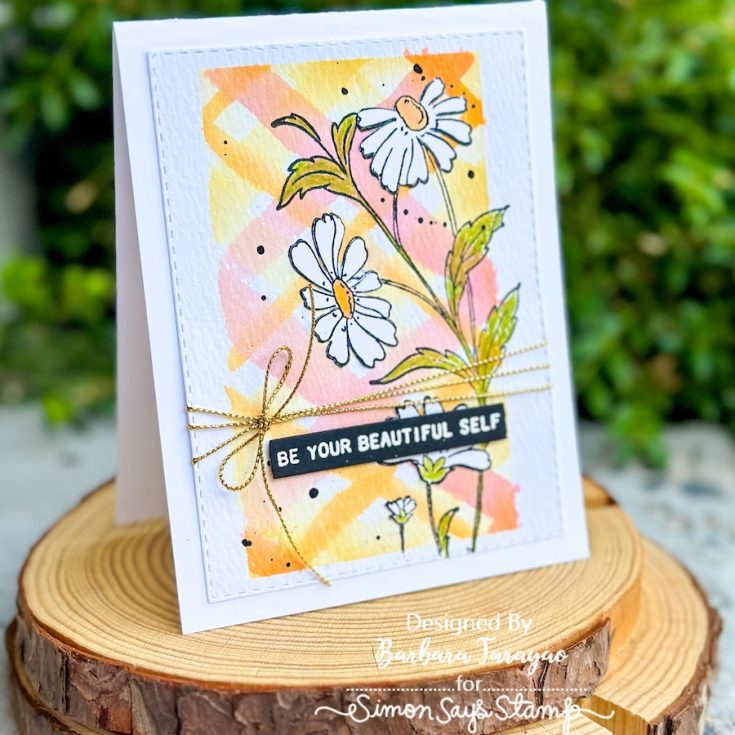
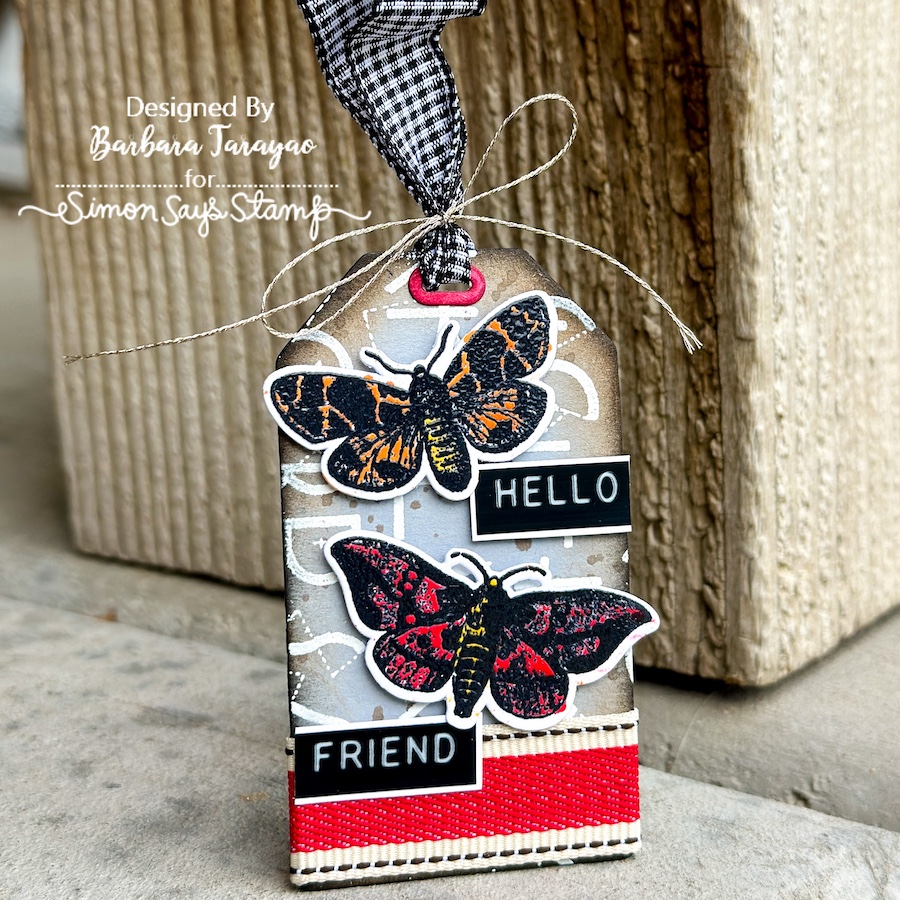
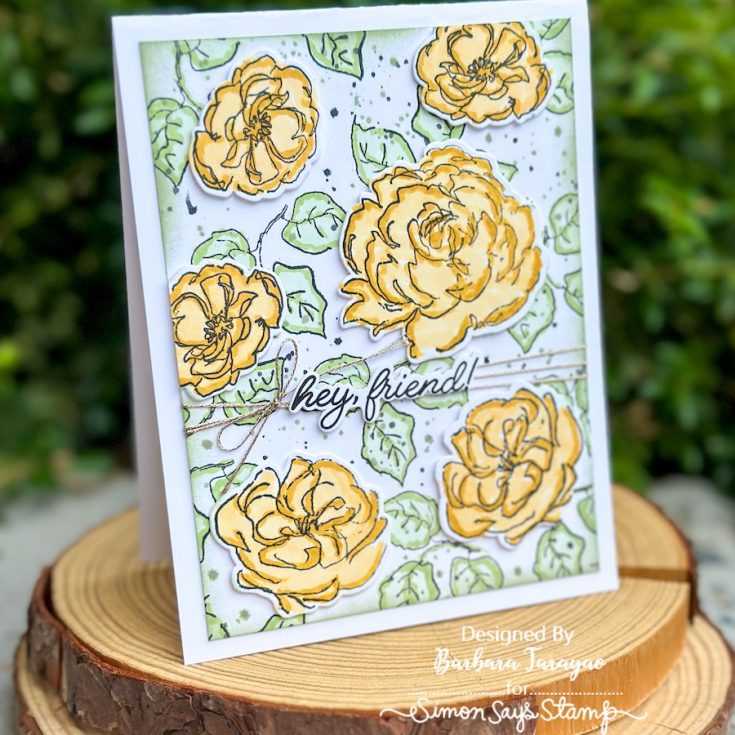
- Barbara Tarayao
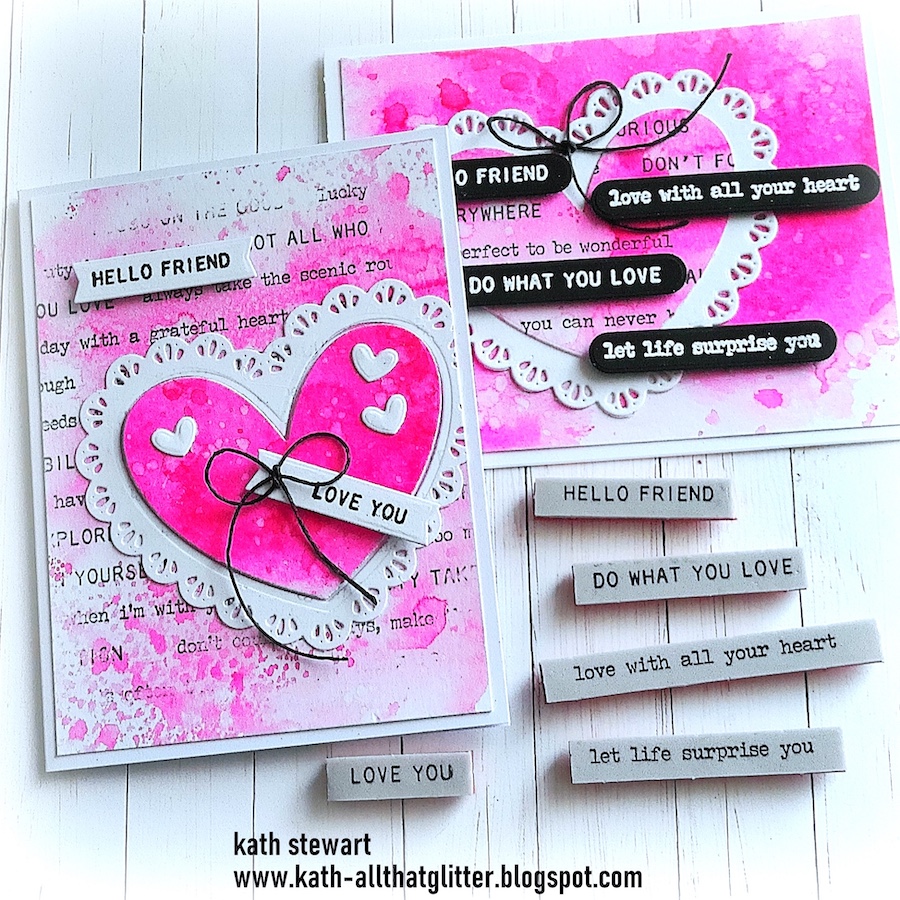
- Kath Stewart
- Tina Smith
- Mindy Eggen
- Tami Bastiaans
- Barb Engler
Please let these talented designers know how much you appreciate their designs. They work hard to inspire and excite us!
Thanks again for joining us today!
Looking for even MORE inspiration with these sets? Yesterday on Instagram we hosted another hop with lots of creative ideas!
Made especially for YOU, this exciting new collection is shipping now!


Missed us live? Catch the rewatch!

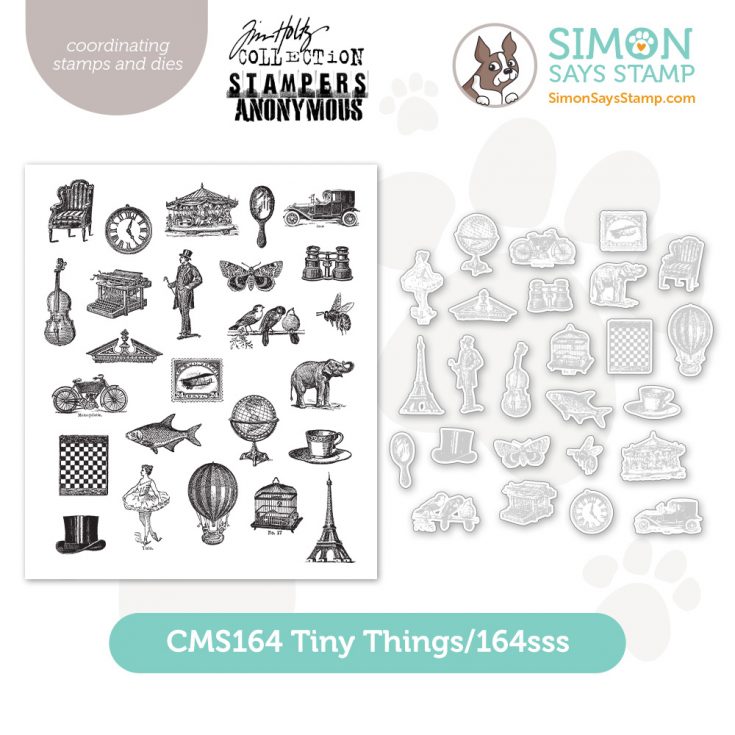
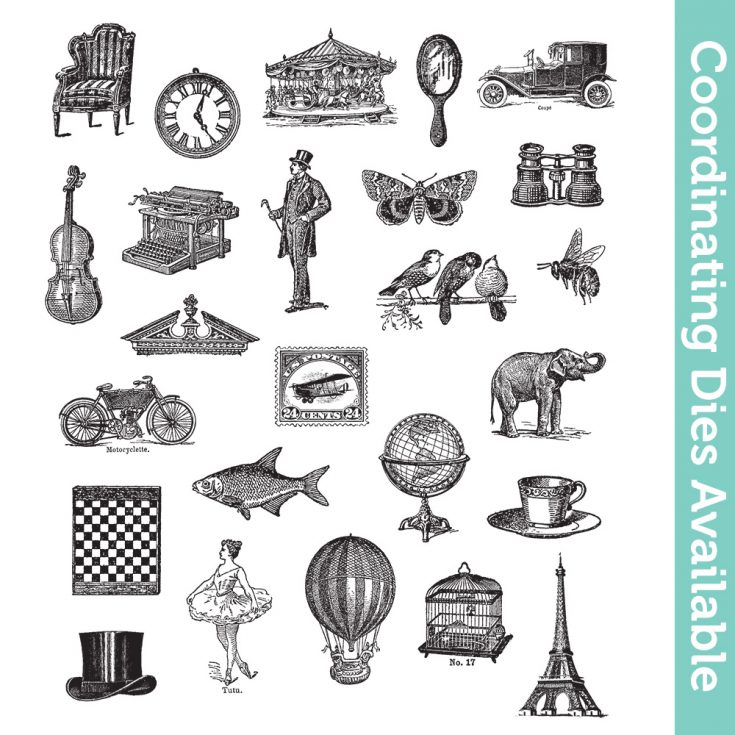
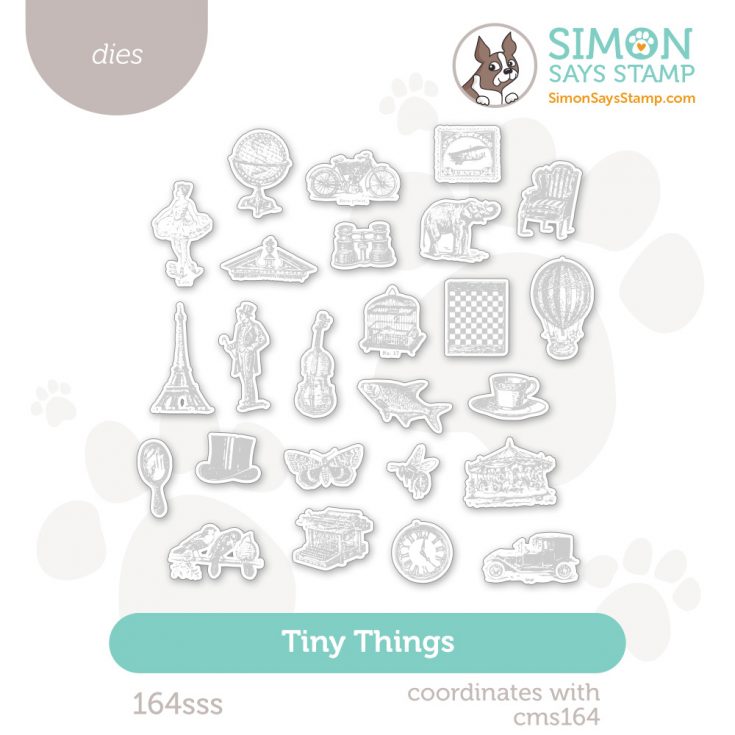
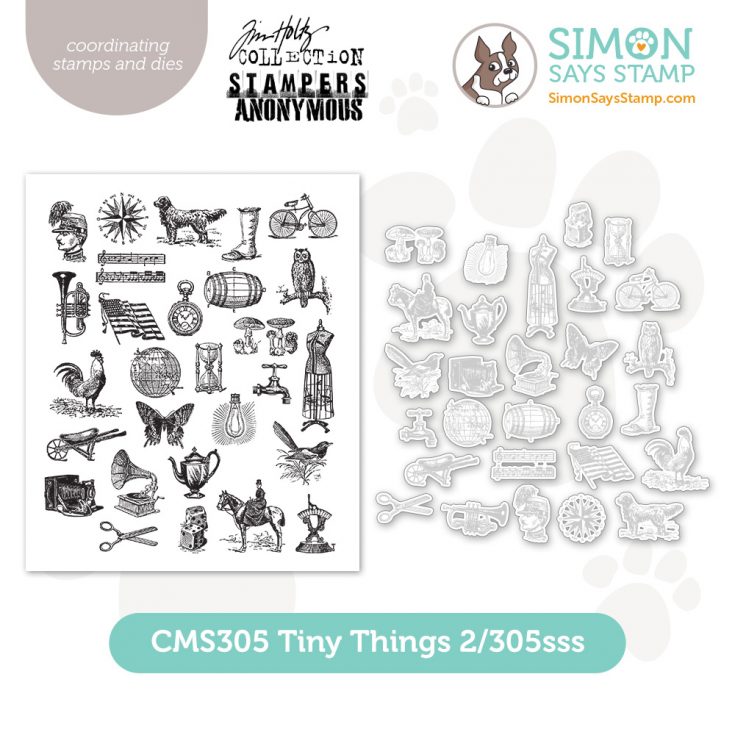
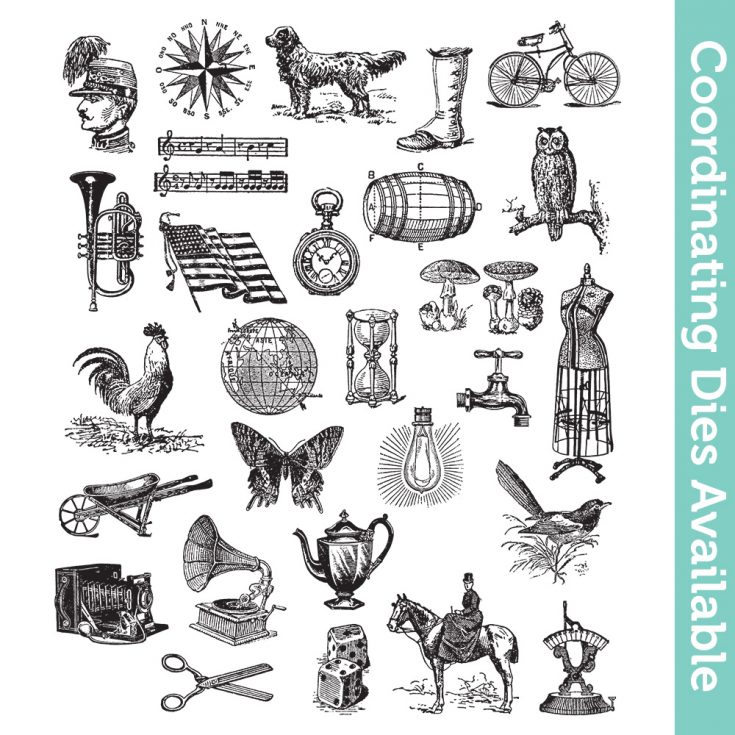
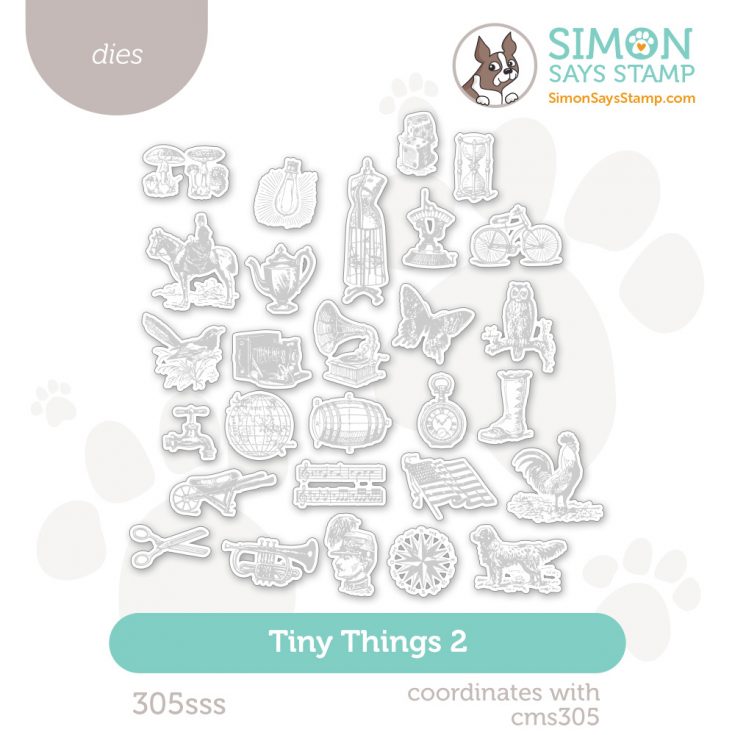
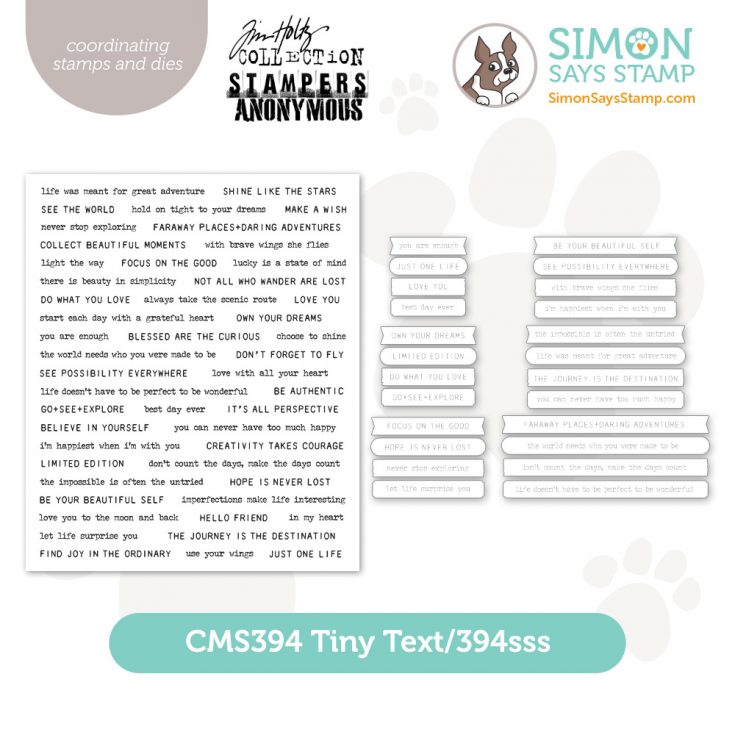
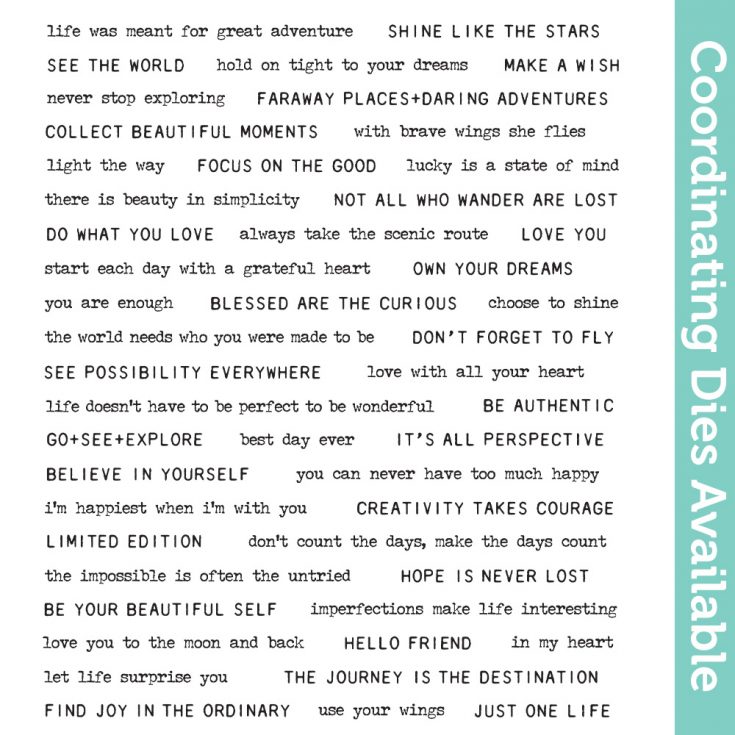
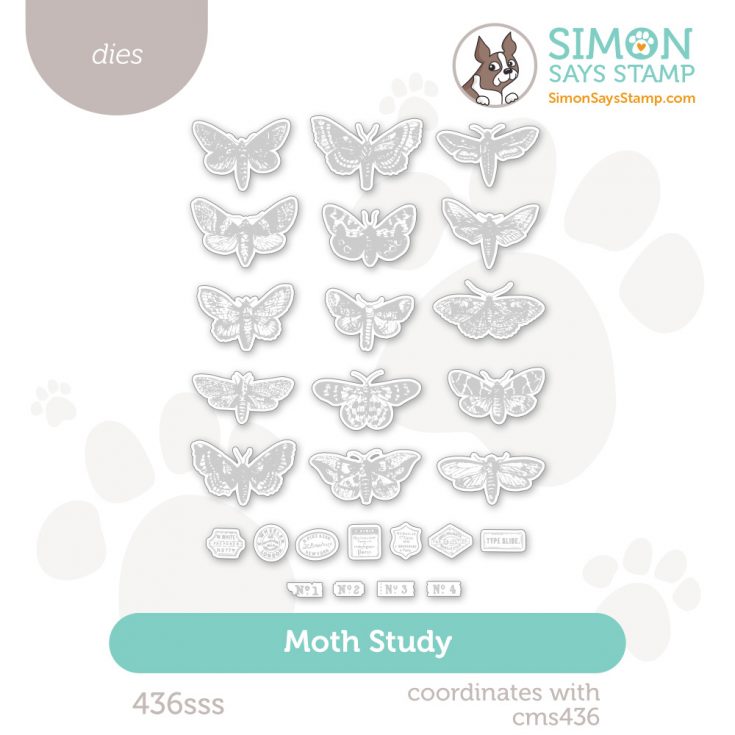
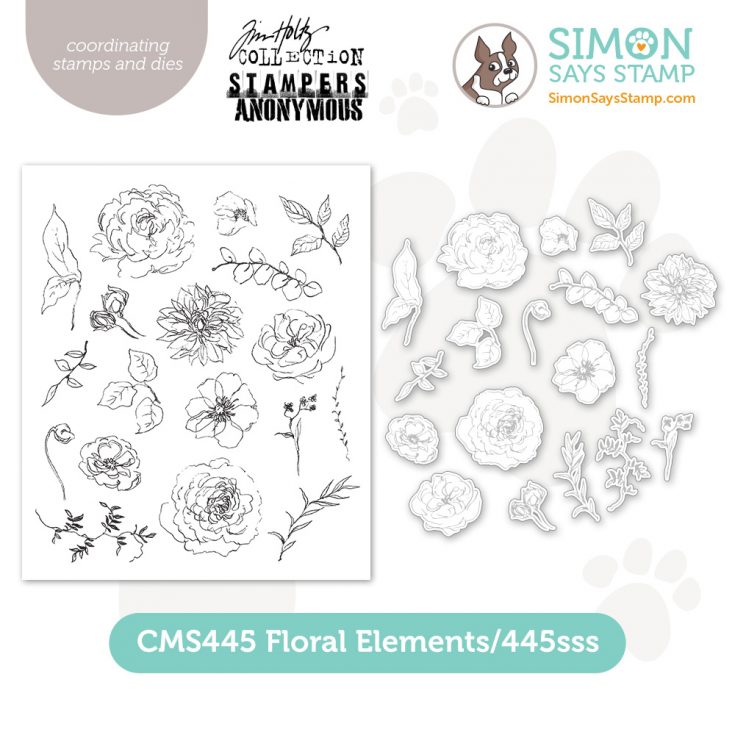
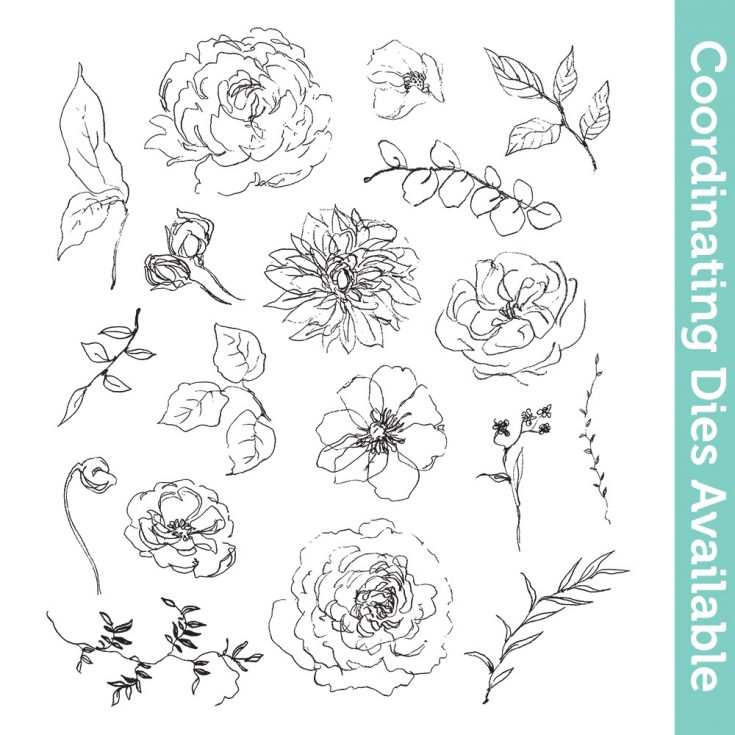
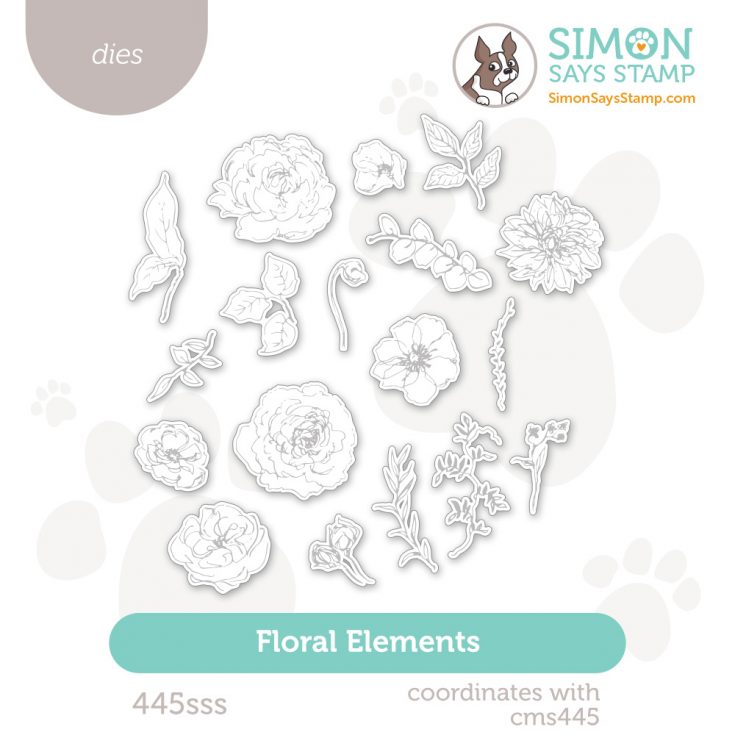
NEW Simon Says Stamp Exclusive Dies to Coordinate with Your Favorite Tim Holtz Stamps!
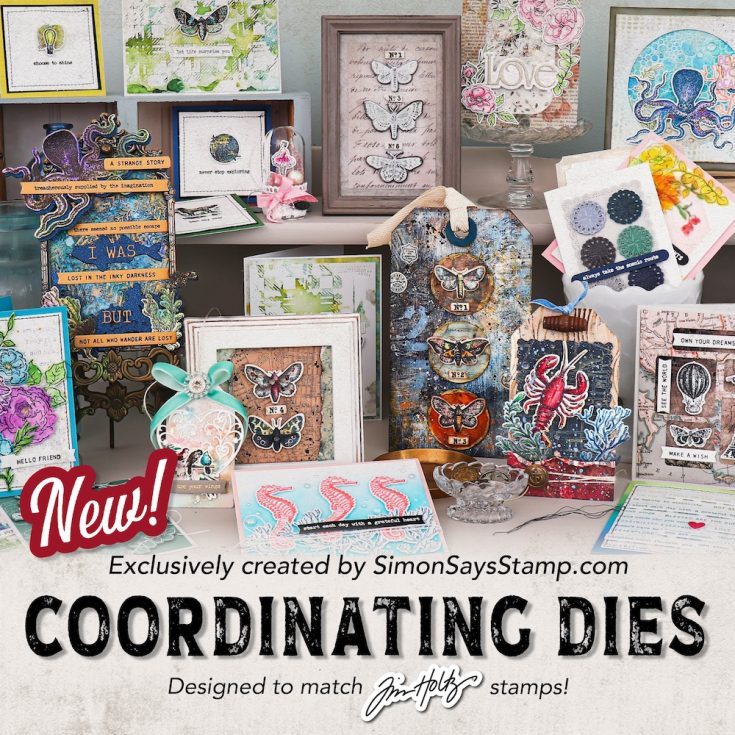
You asked—we delivered! Introducing our latest Simon Says Stamp exclusive coordinating dies, crafted to perfectly complement your favorite Tim Holtz stamp designs. Enjoy effortless die-cutting, seamless layering, and crisp, professional results every time.
Made especially for YOU, this exciting new collection is shipping now!


Missed us live? Catch the rewatch!
Join us LIVE today at 12 PM for a Special Exclusive Release!
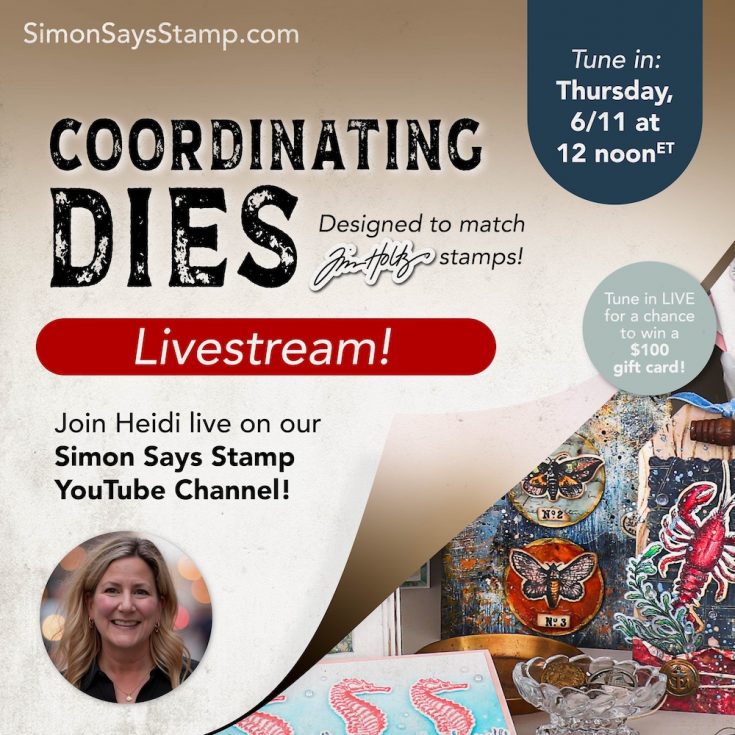
Hi friend! Set your alarm, click or tap the bell to be notified! Join Heidi LIVE to share the newest and way cool exclusive Simon Says Stamp coordinating dies to match your favorite Tim Holtz stamps! PLUS! A lucky commenter will win a $100 gift card! See you there!


