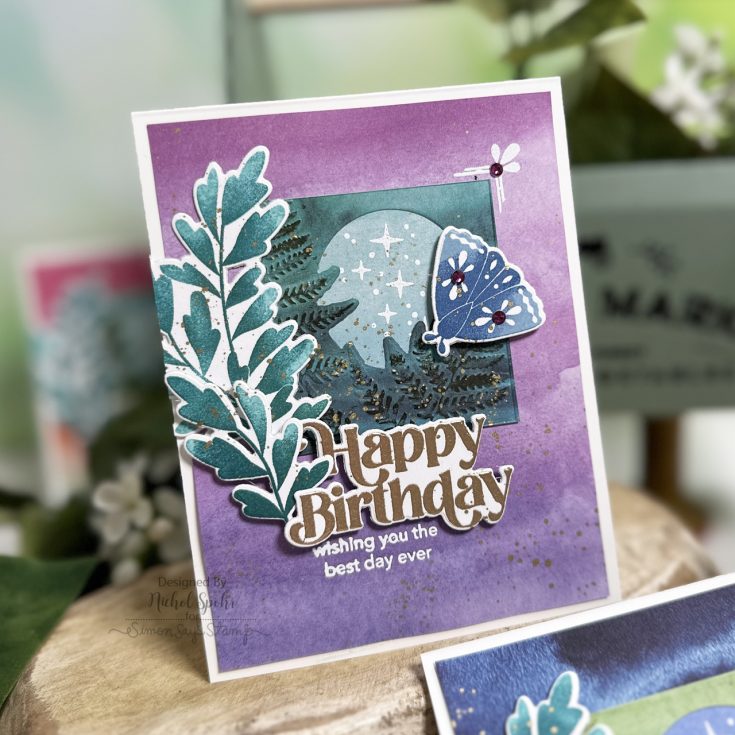
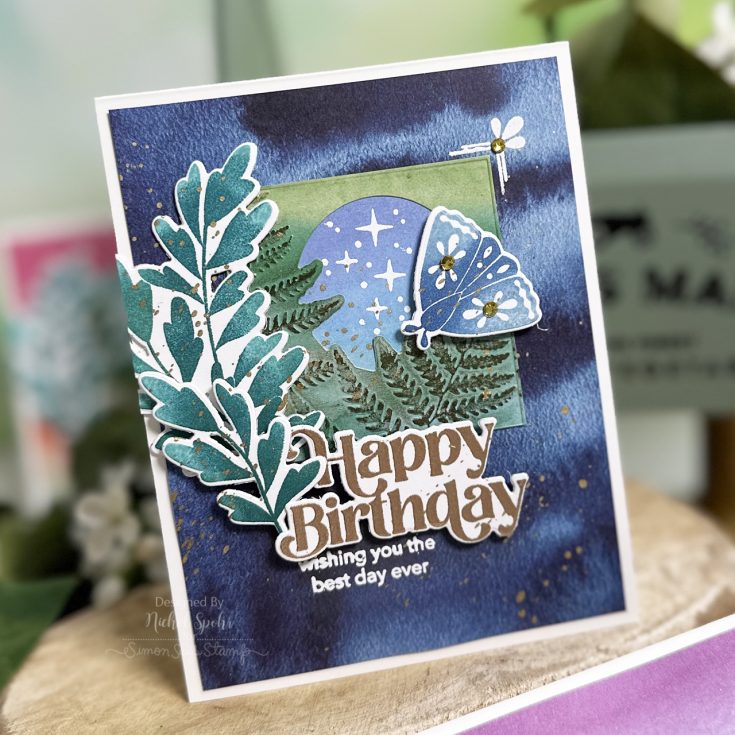
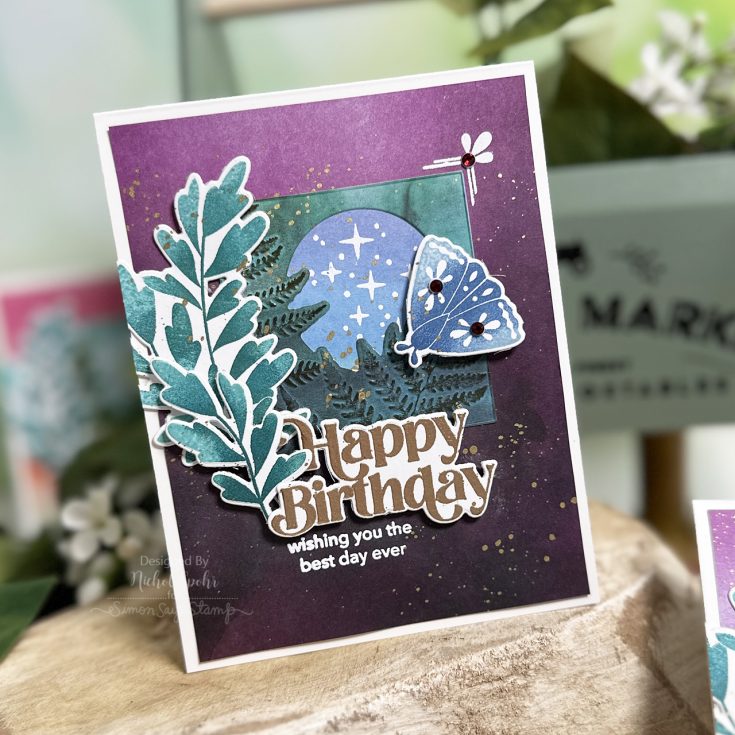
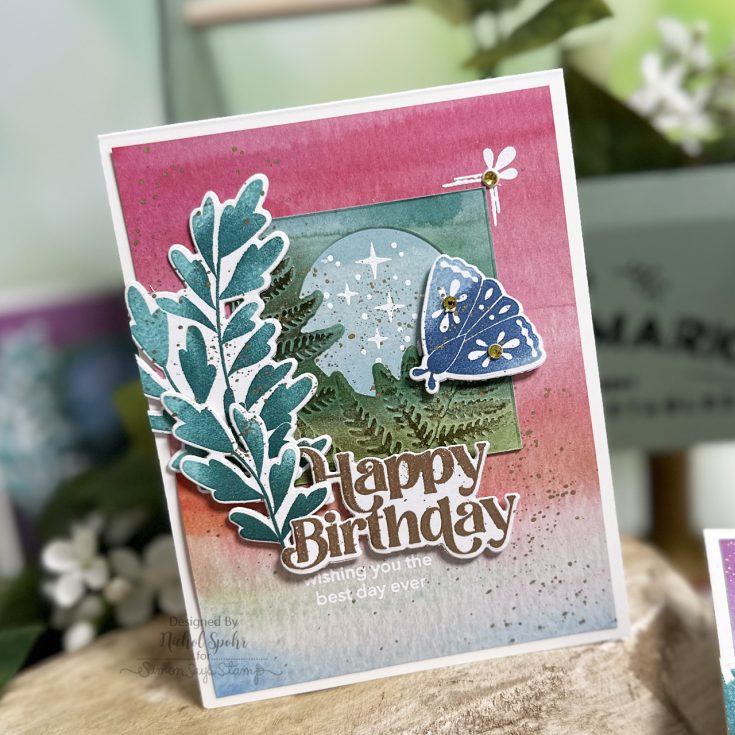
Create 4 Fabulous Cards with Nichol Spohr Using the May Card Kit
Hi friends! Happy Wednesday! We’re delighted to welcome back special guest Nichol Spohr with a gorgeous collection of cards to inspire beautiful makes showcasing our brand new Celestial Wishes May 2024 card kit! Be sure to watch the video for all the details and enjoy!
WATCH THE VIDEO:
SUPPLIES:
|


Thanks so much for stopping by, and thanks to Nichol for being our guest!
Did you know?! We’ve made our card kit subscription BETTER THAN EVER!
Learn more:
Here’s what makes our new service a crafting paradise:
🛍 Exclusive Access: As a subscriber, you get first dibs! Each month, you’ll get an exclusive sneak peek at our new kit, with the option to add more coordinating items to your cart, including handy replenishable supplies, all shipped together for your convenience.
💳 Hassle-Free Payments: Say goodbye to monthly billings! Our automated system smoothly charges your preferred card, ensuring an uninterrupted flow of crafty goodness – unless you decide to pause, of course!
💰 $5 Off Magic: Enjoy a special $5 discount off our kit’s retail price, exclusive to our beloved subscribers – no codes needed, just automatic savings!
📚 Crafting Inspirations: Dive into a sea of creative ideas monthly, all tailored around your kit, to keep your inspiration flowing endlessly.
🔄 Flexibility First: Fear of commitment? Not here! Our subscription is as flexible as it gets – pause or cancel anytime, no strings attached.
Why wait? Step into the realm of our NEW Simon Says Stamp Monthly Card Kit service. Welcome a box full of crafting marvels, right to your doorstep. Craft with ease and let creativity come to you!
🎉 Ready to elevate your craft? Subscribe Now and open the doors to boundless creativity!
We’re thrilled to have you in our crafting community and can’t wait to embark on this renewed creative adventure together! 🌈✂️💌
Make a Work of Art: Tim Holtz Gallery Tag! Not a Card (Reprise!) with Nina-Marie
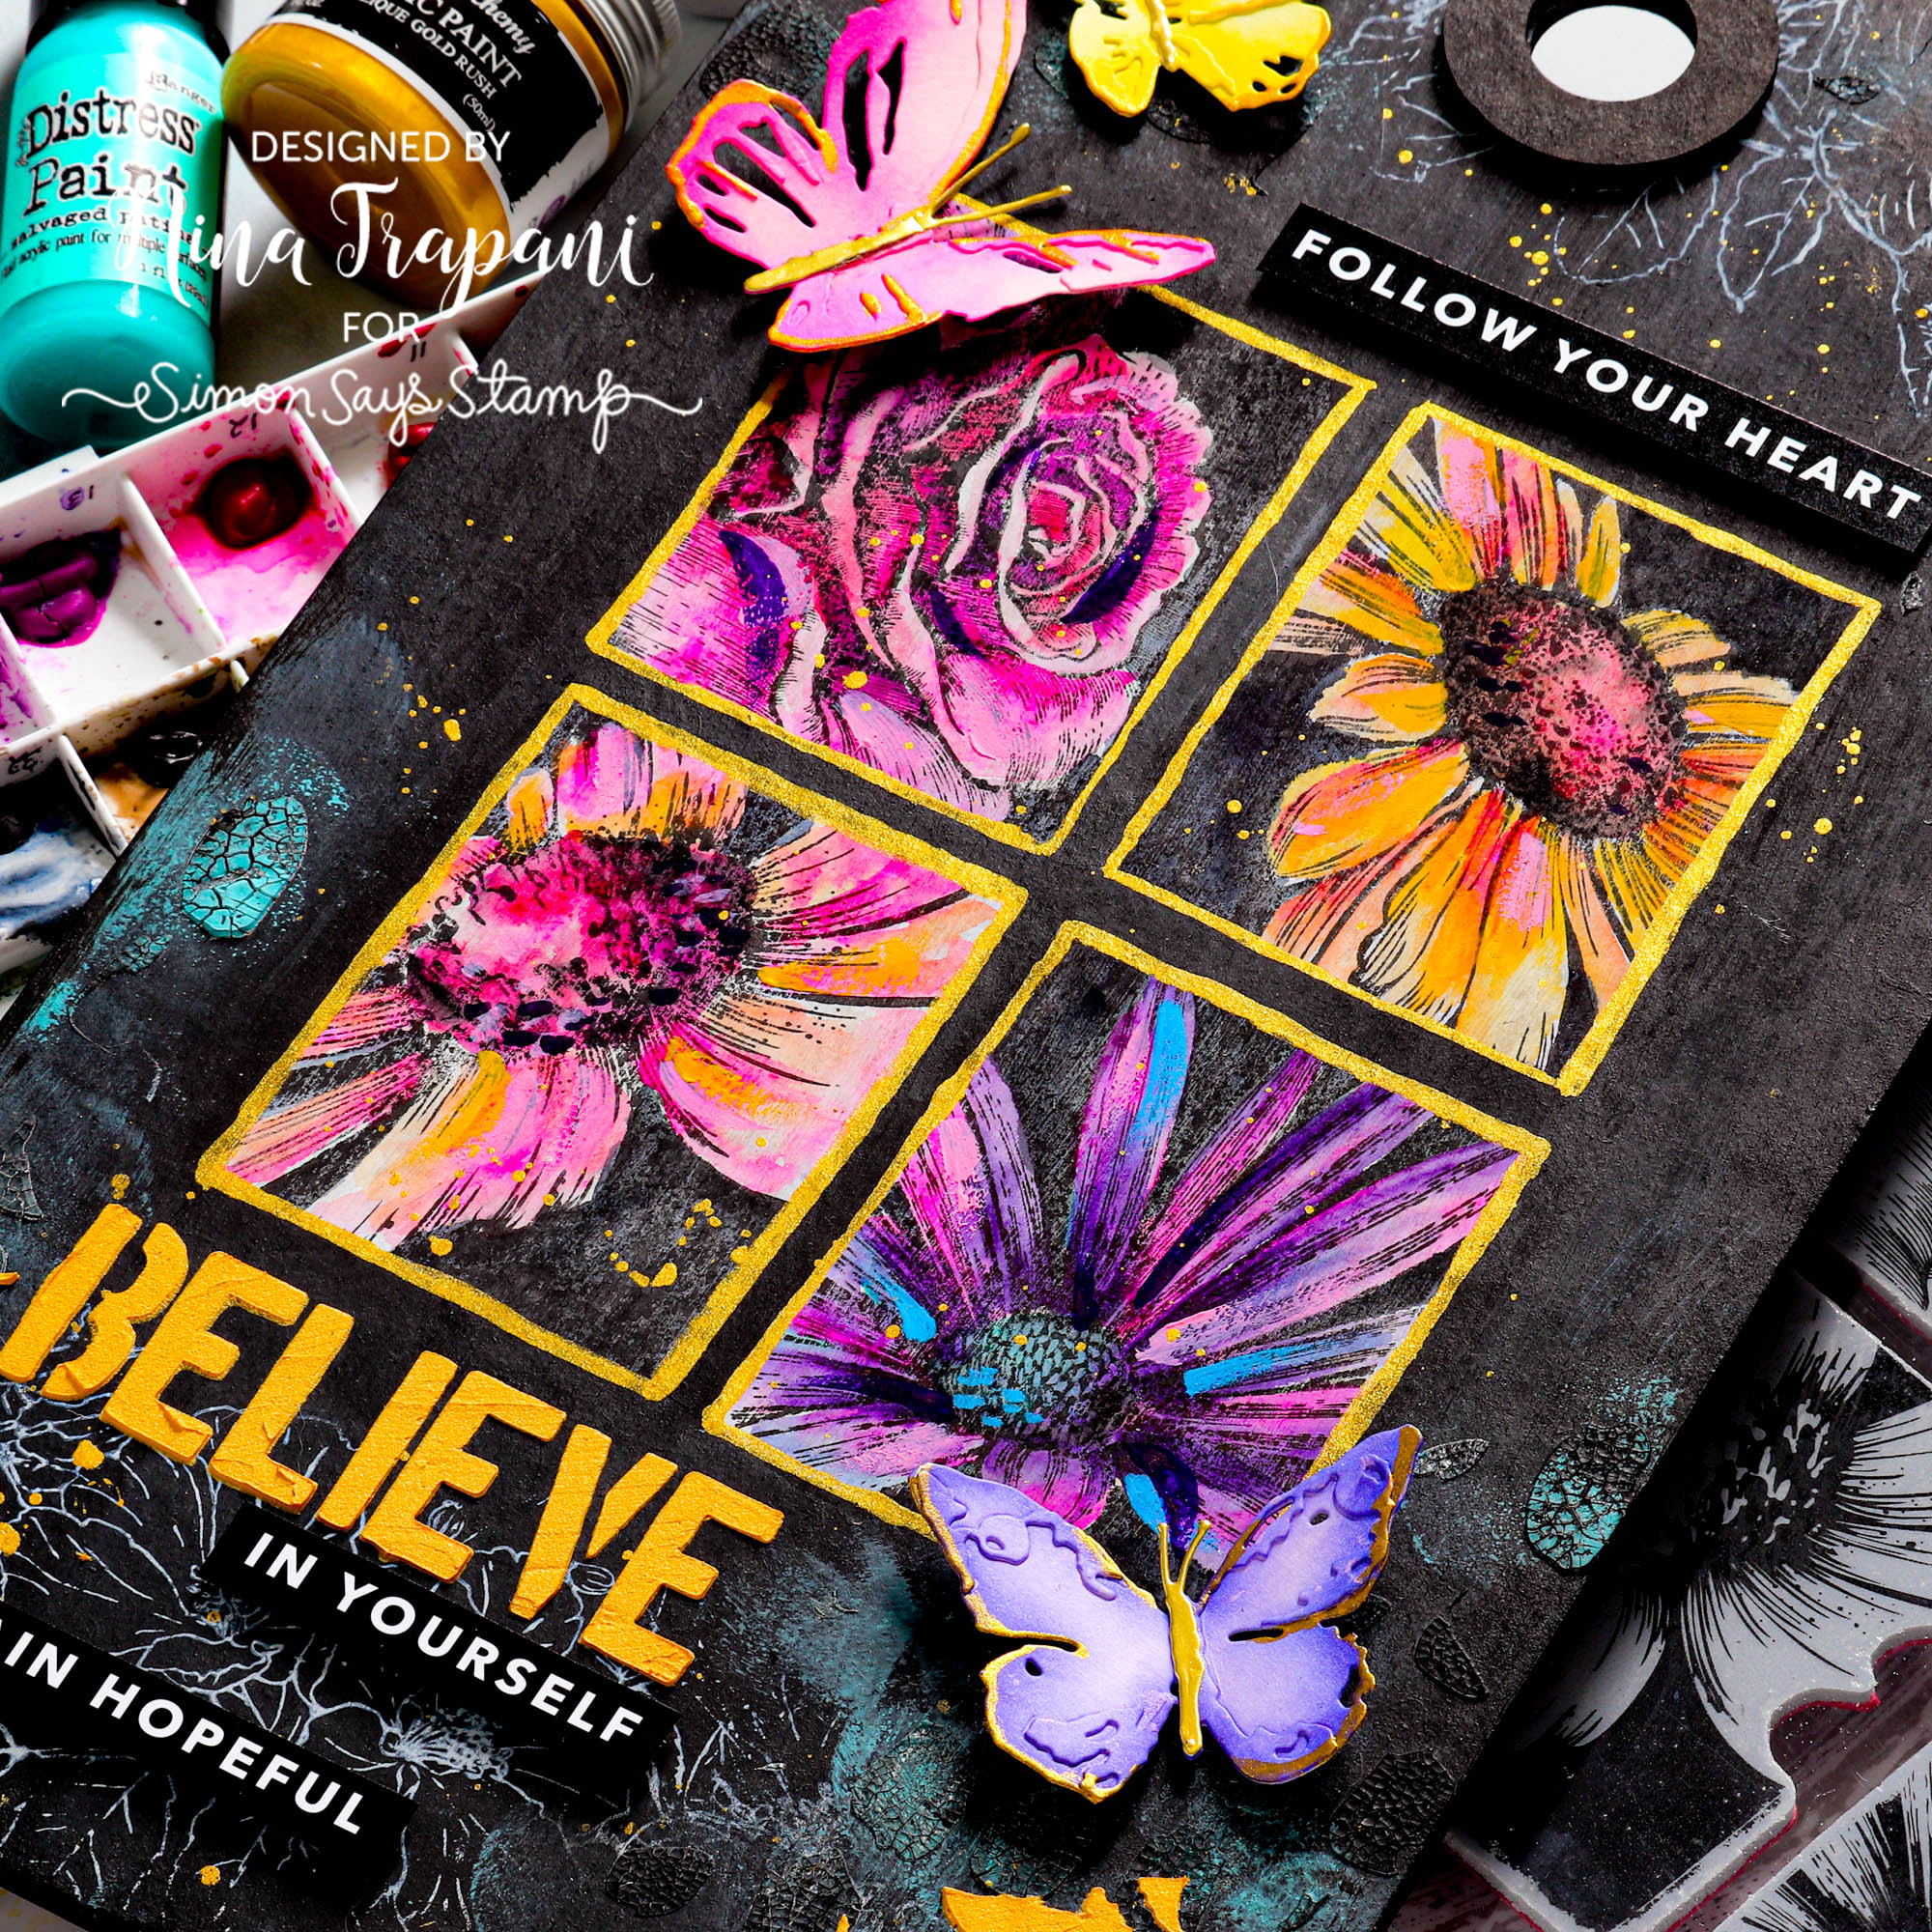
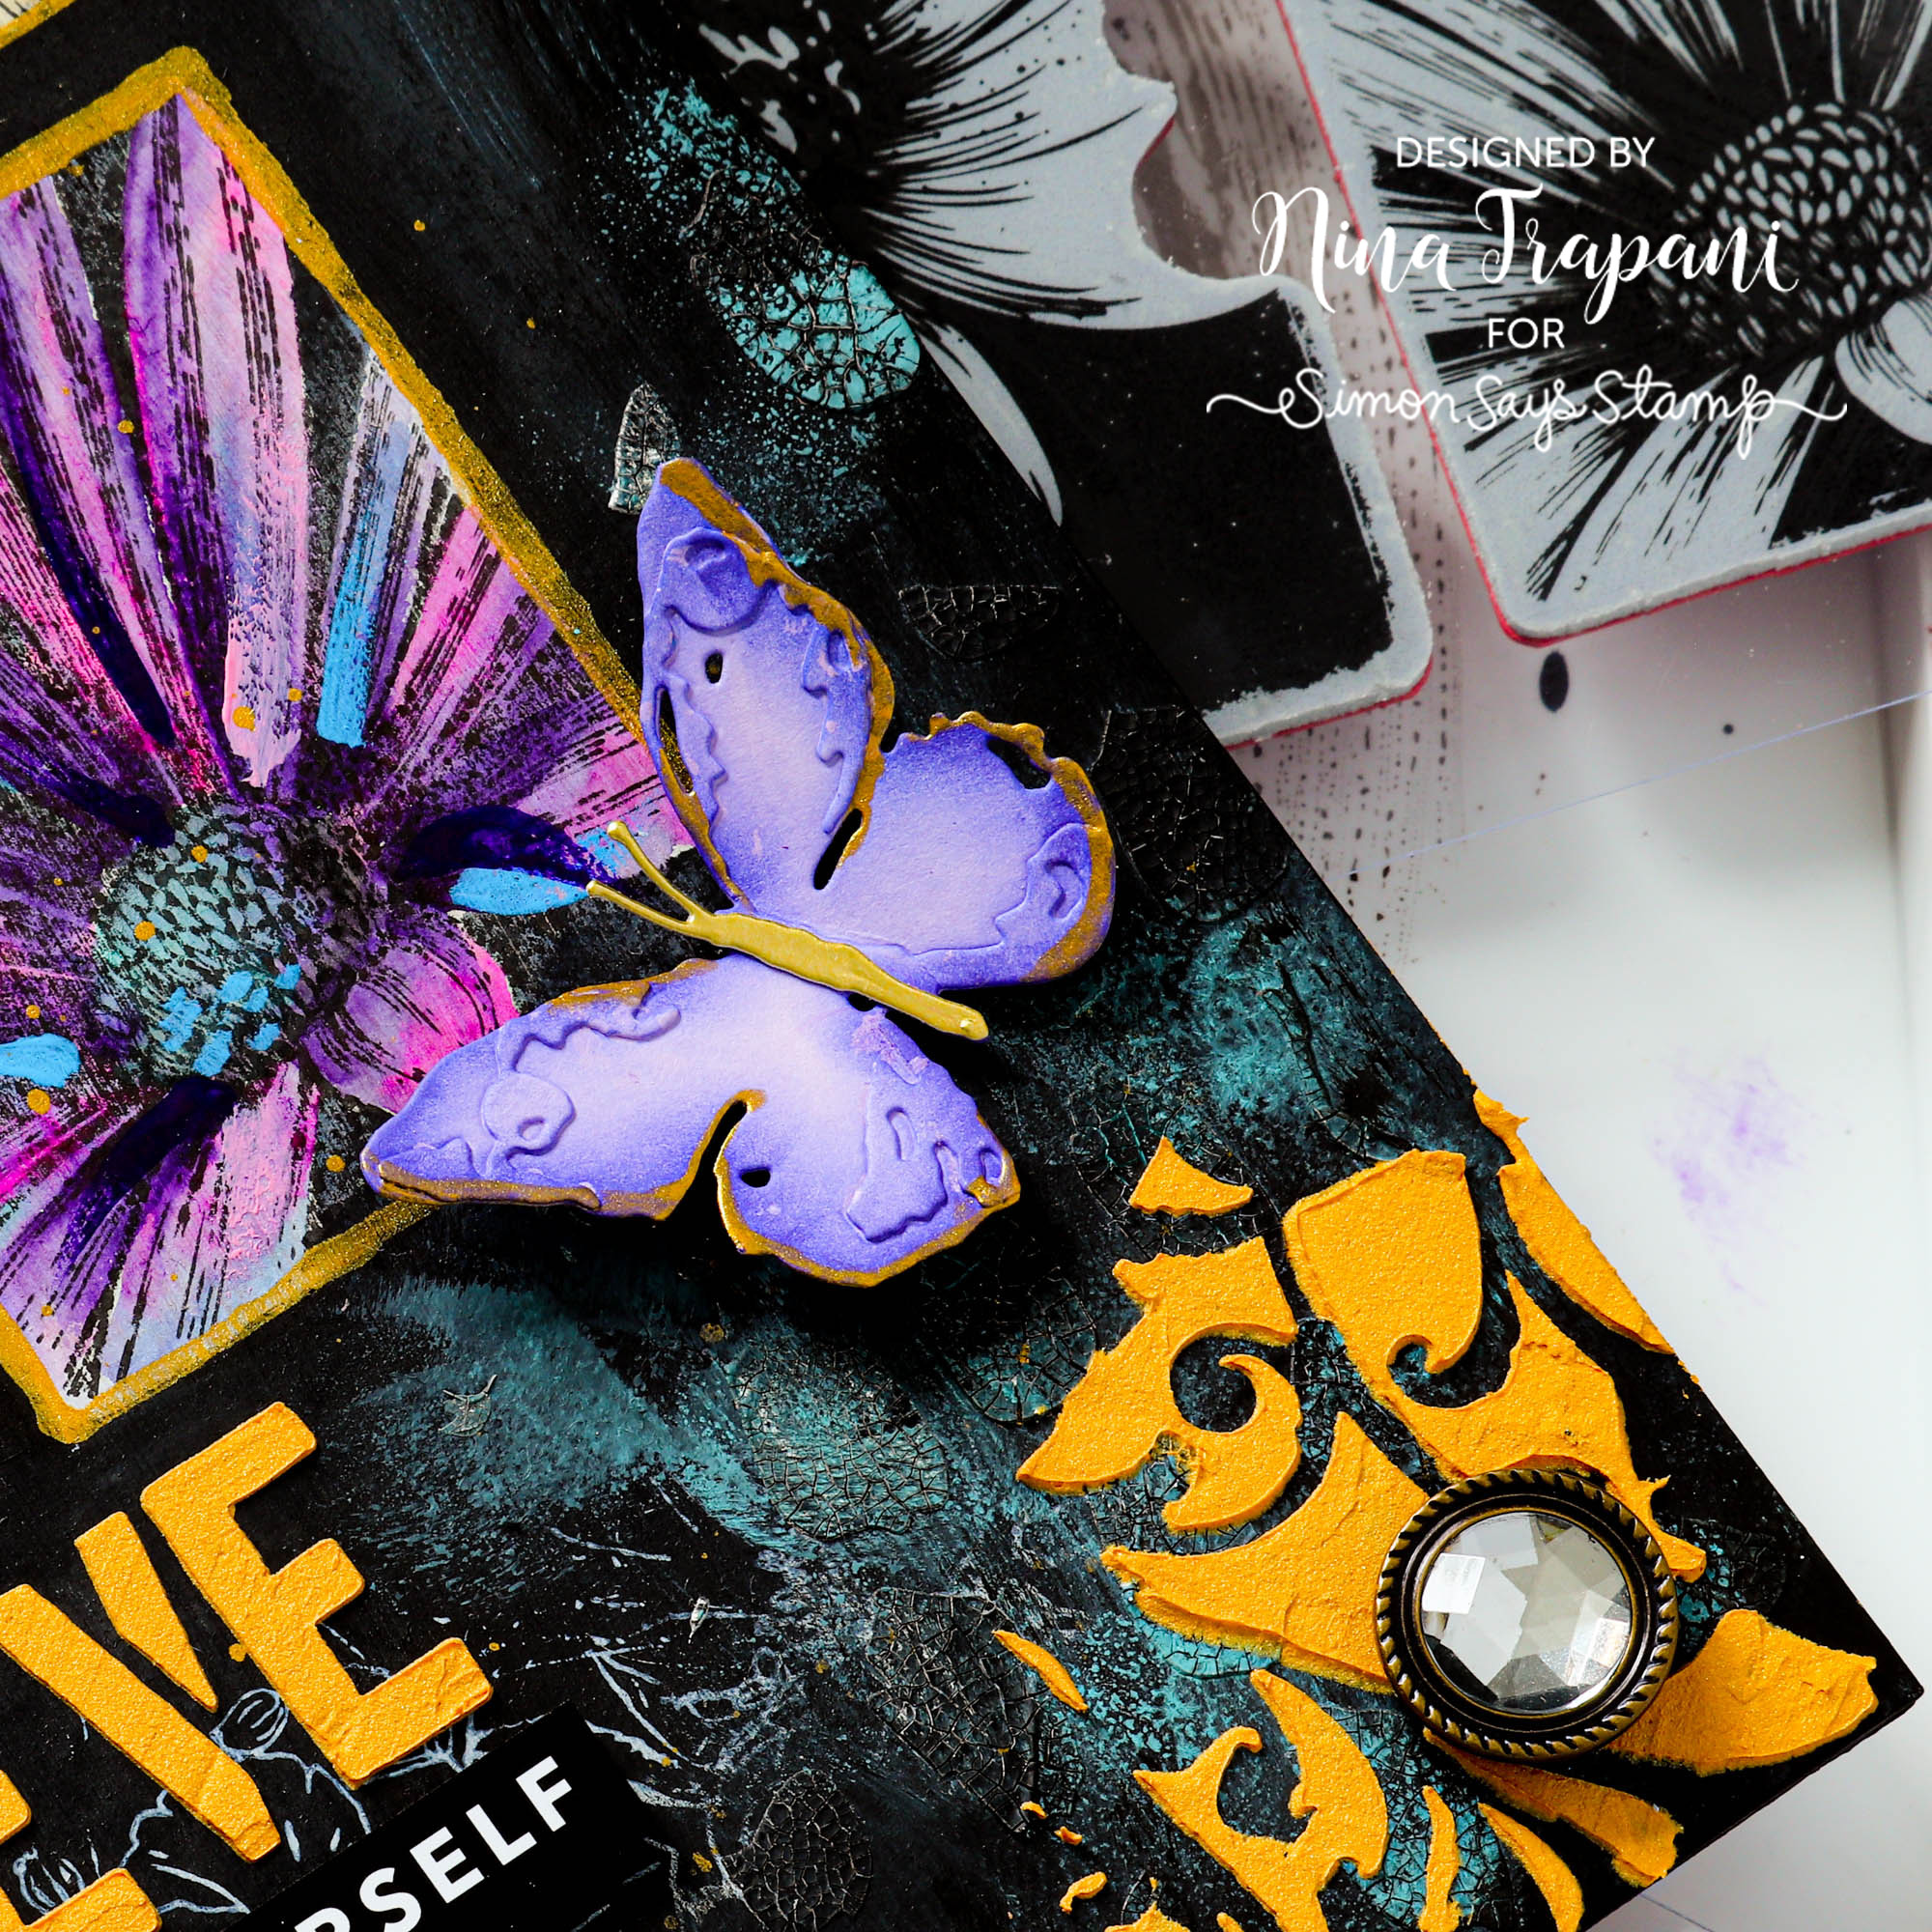
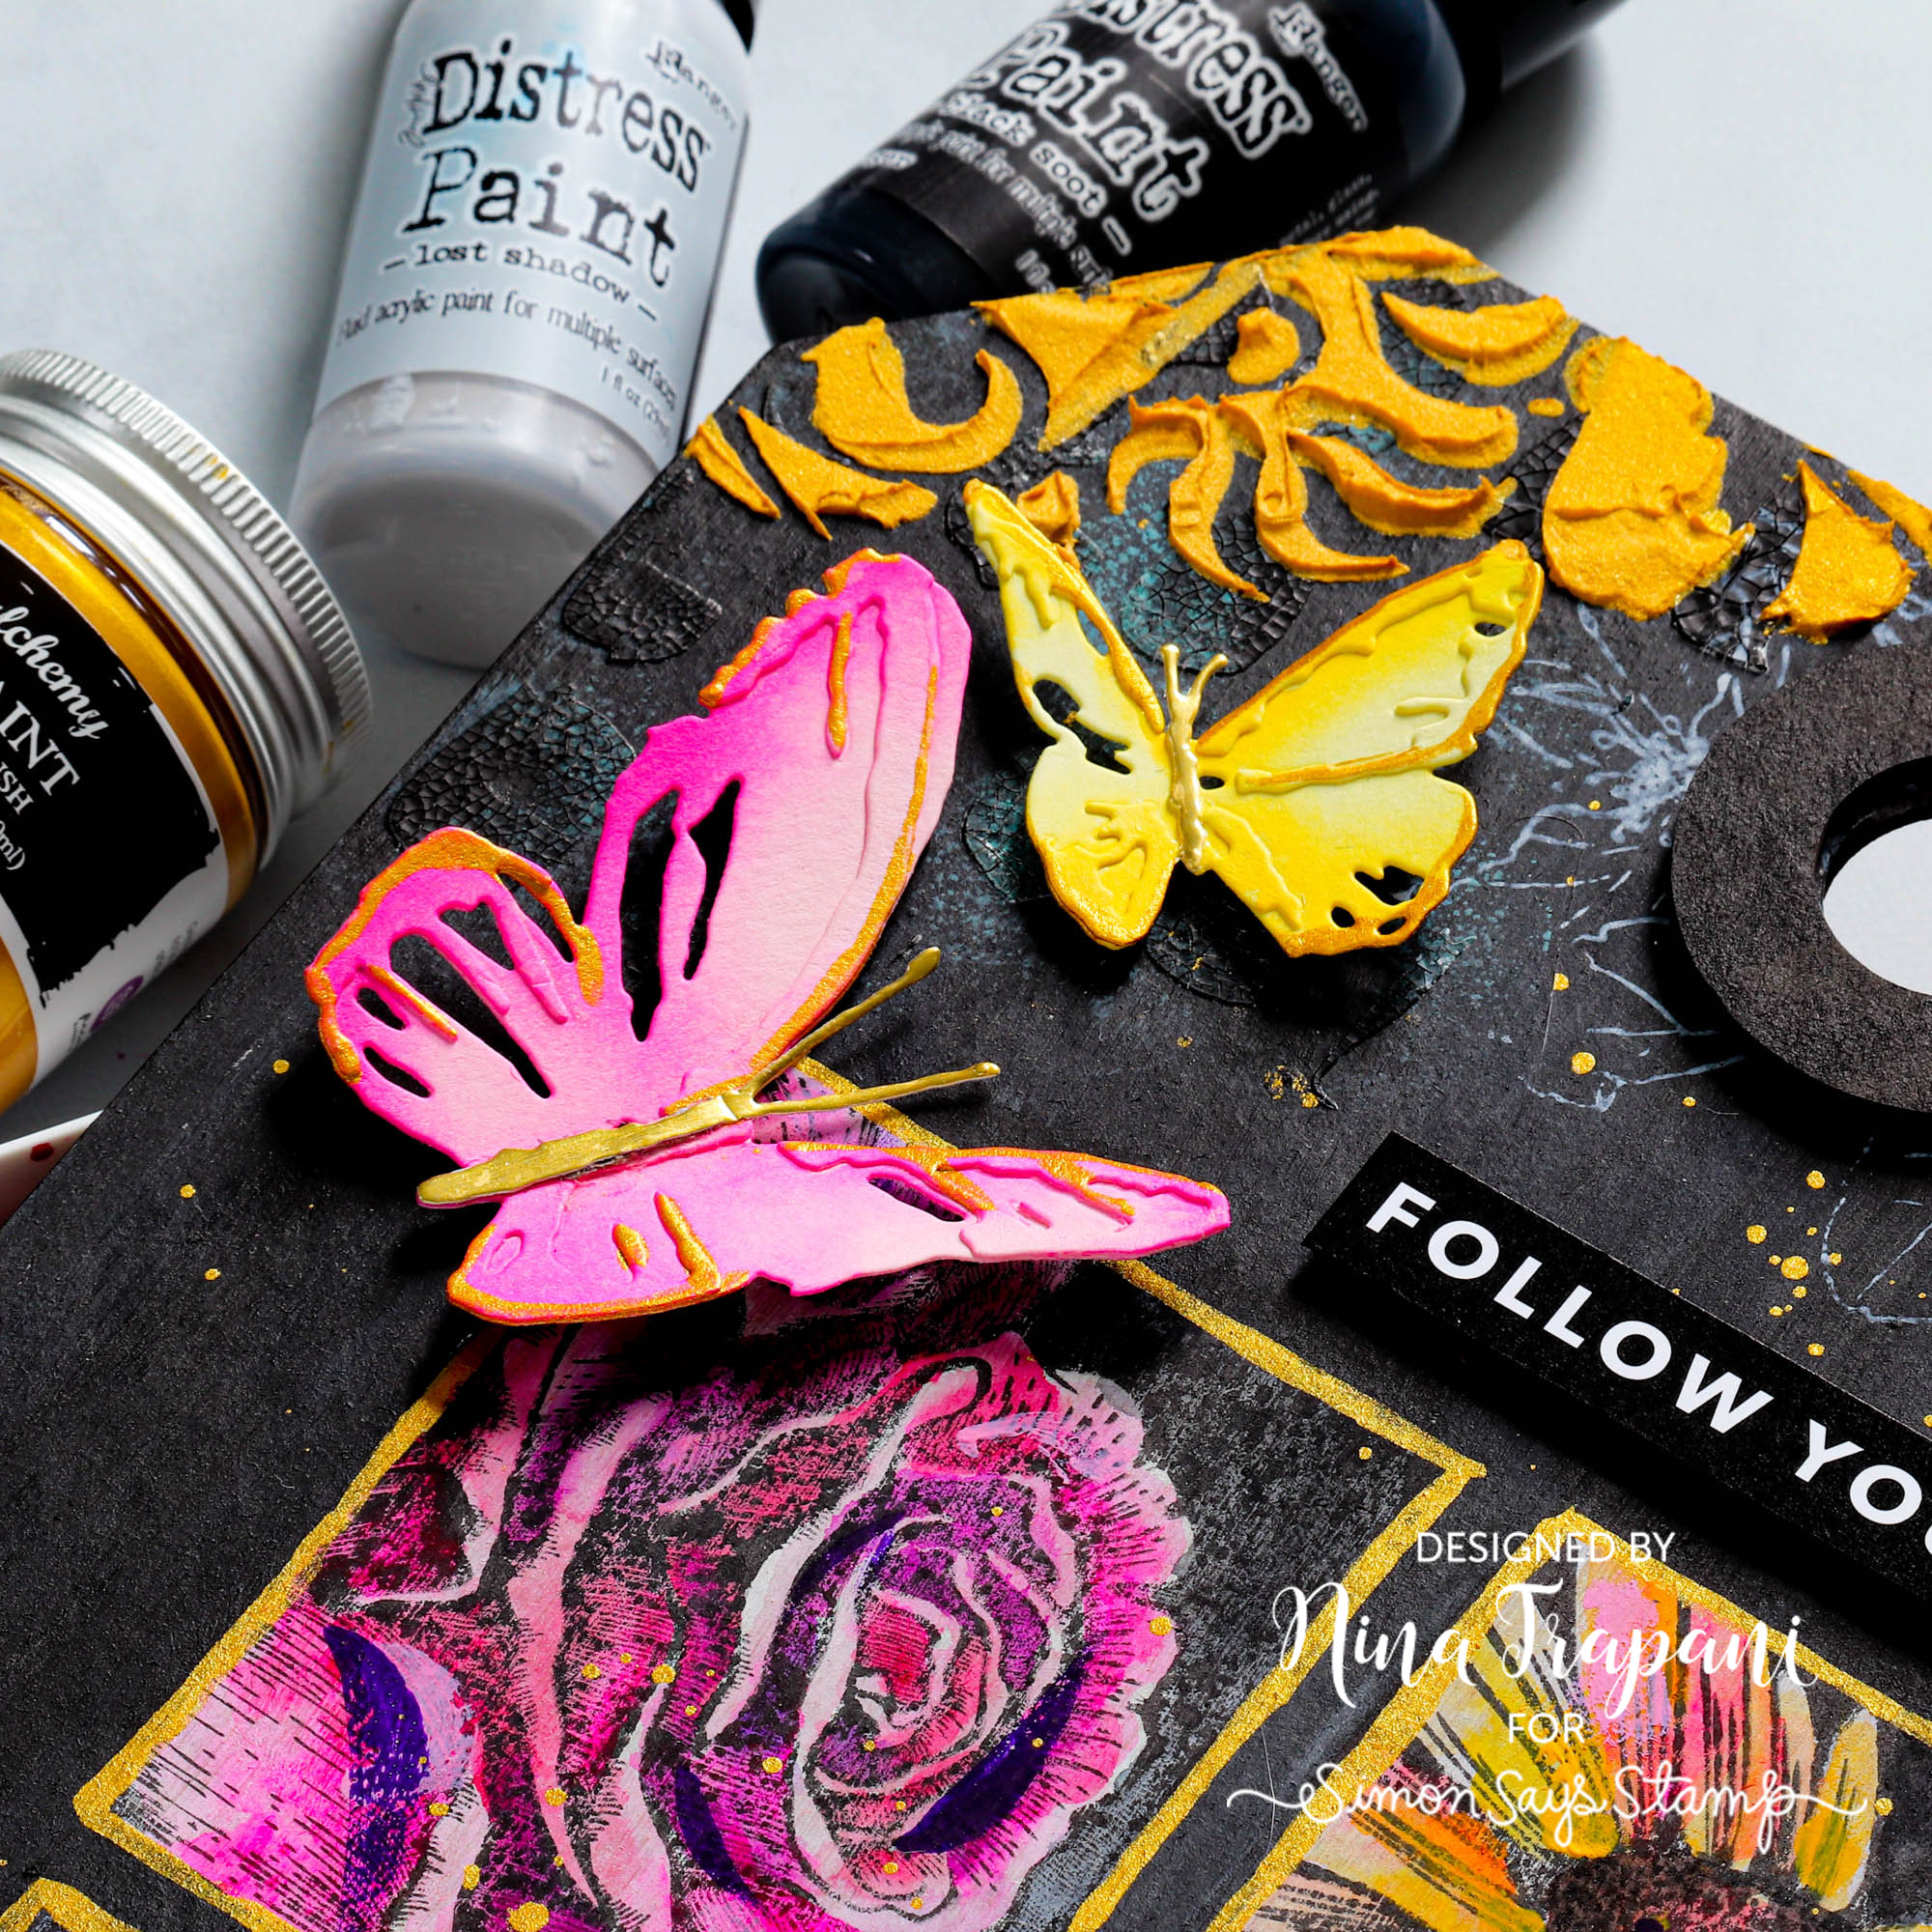
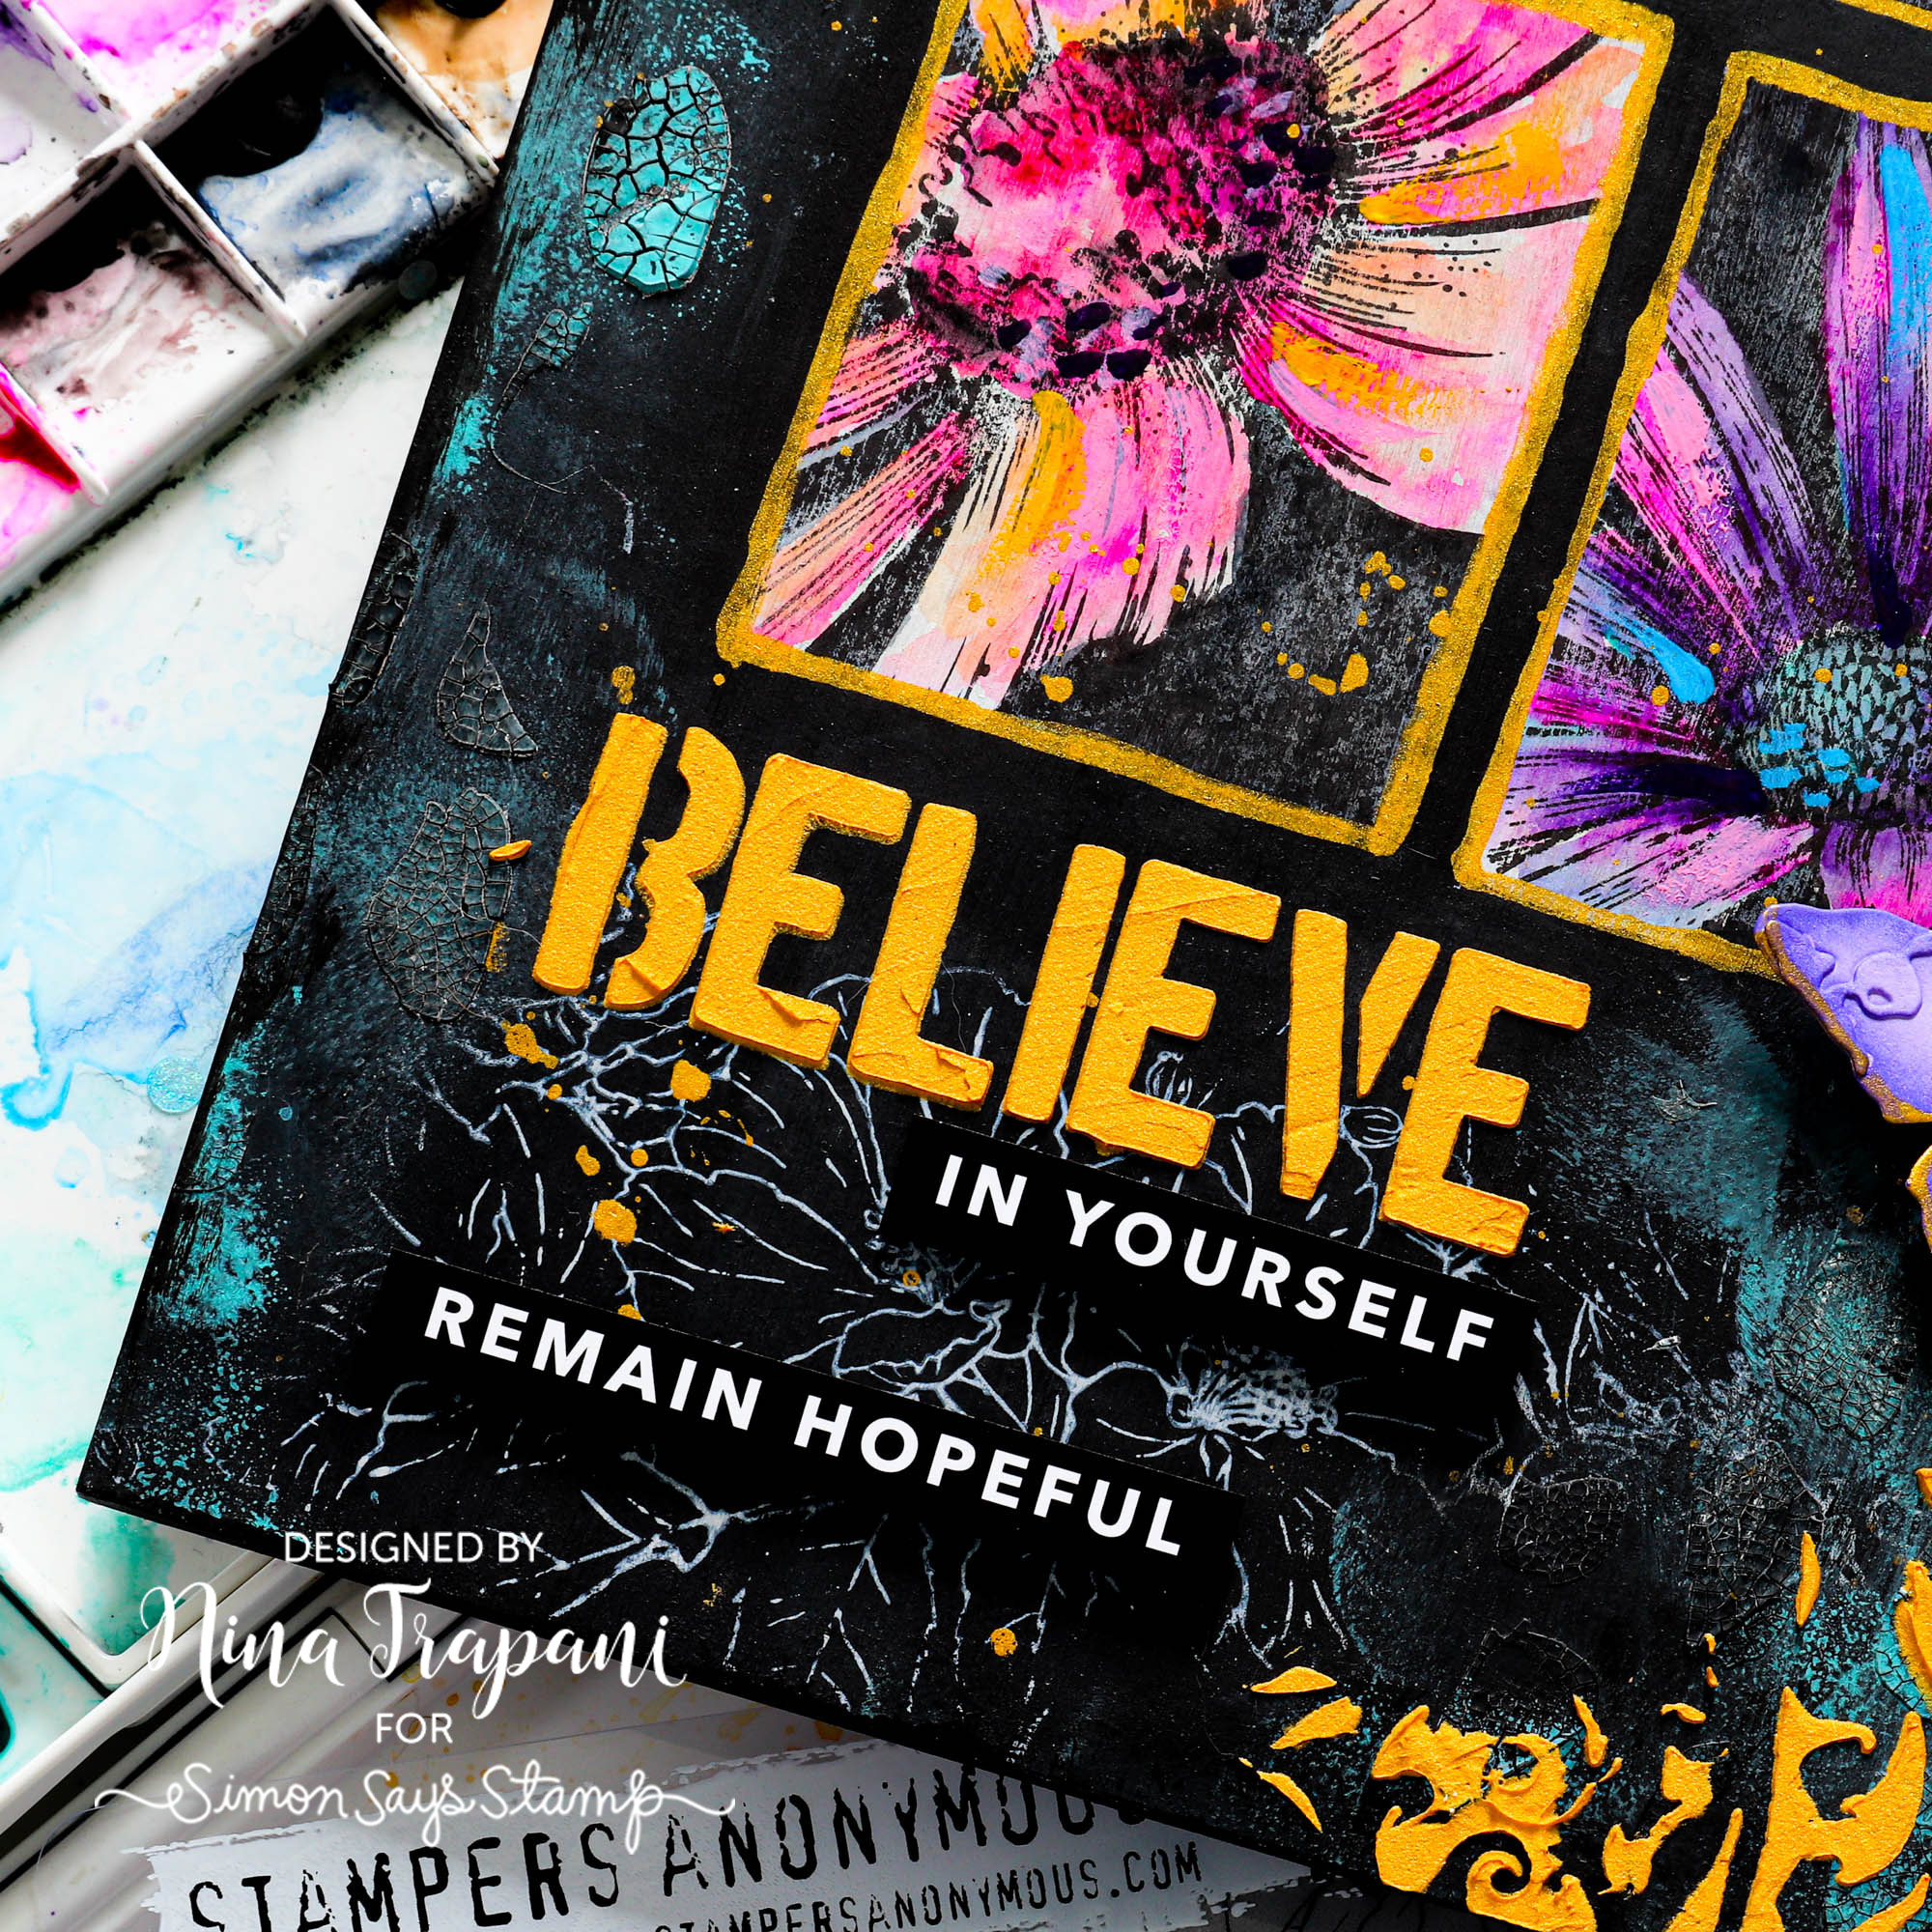
Hello there friends! It’s Nina-Marie Trapani here with you and I have a mixed media tag project to share! I love the Bold Botanicals from Tim Holtz and I wanted to use them all so I stamped and watercolored them on a large Etcetera Tag.
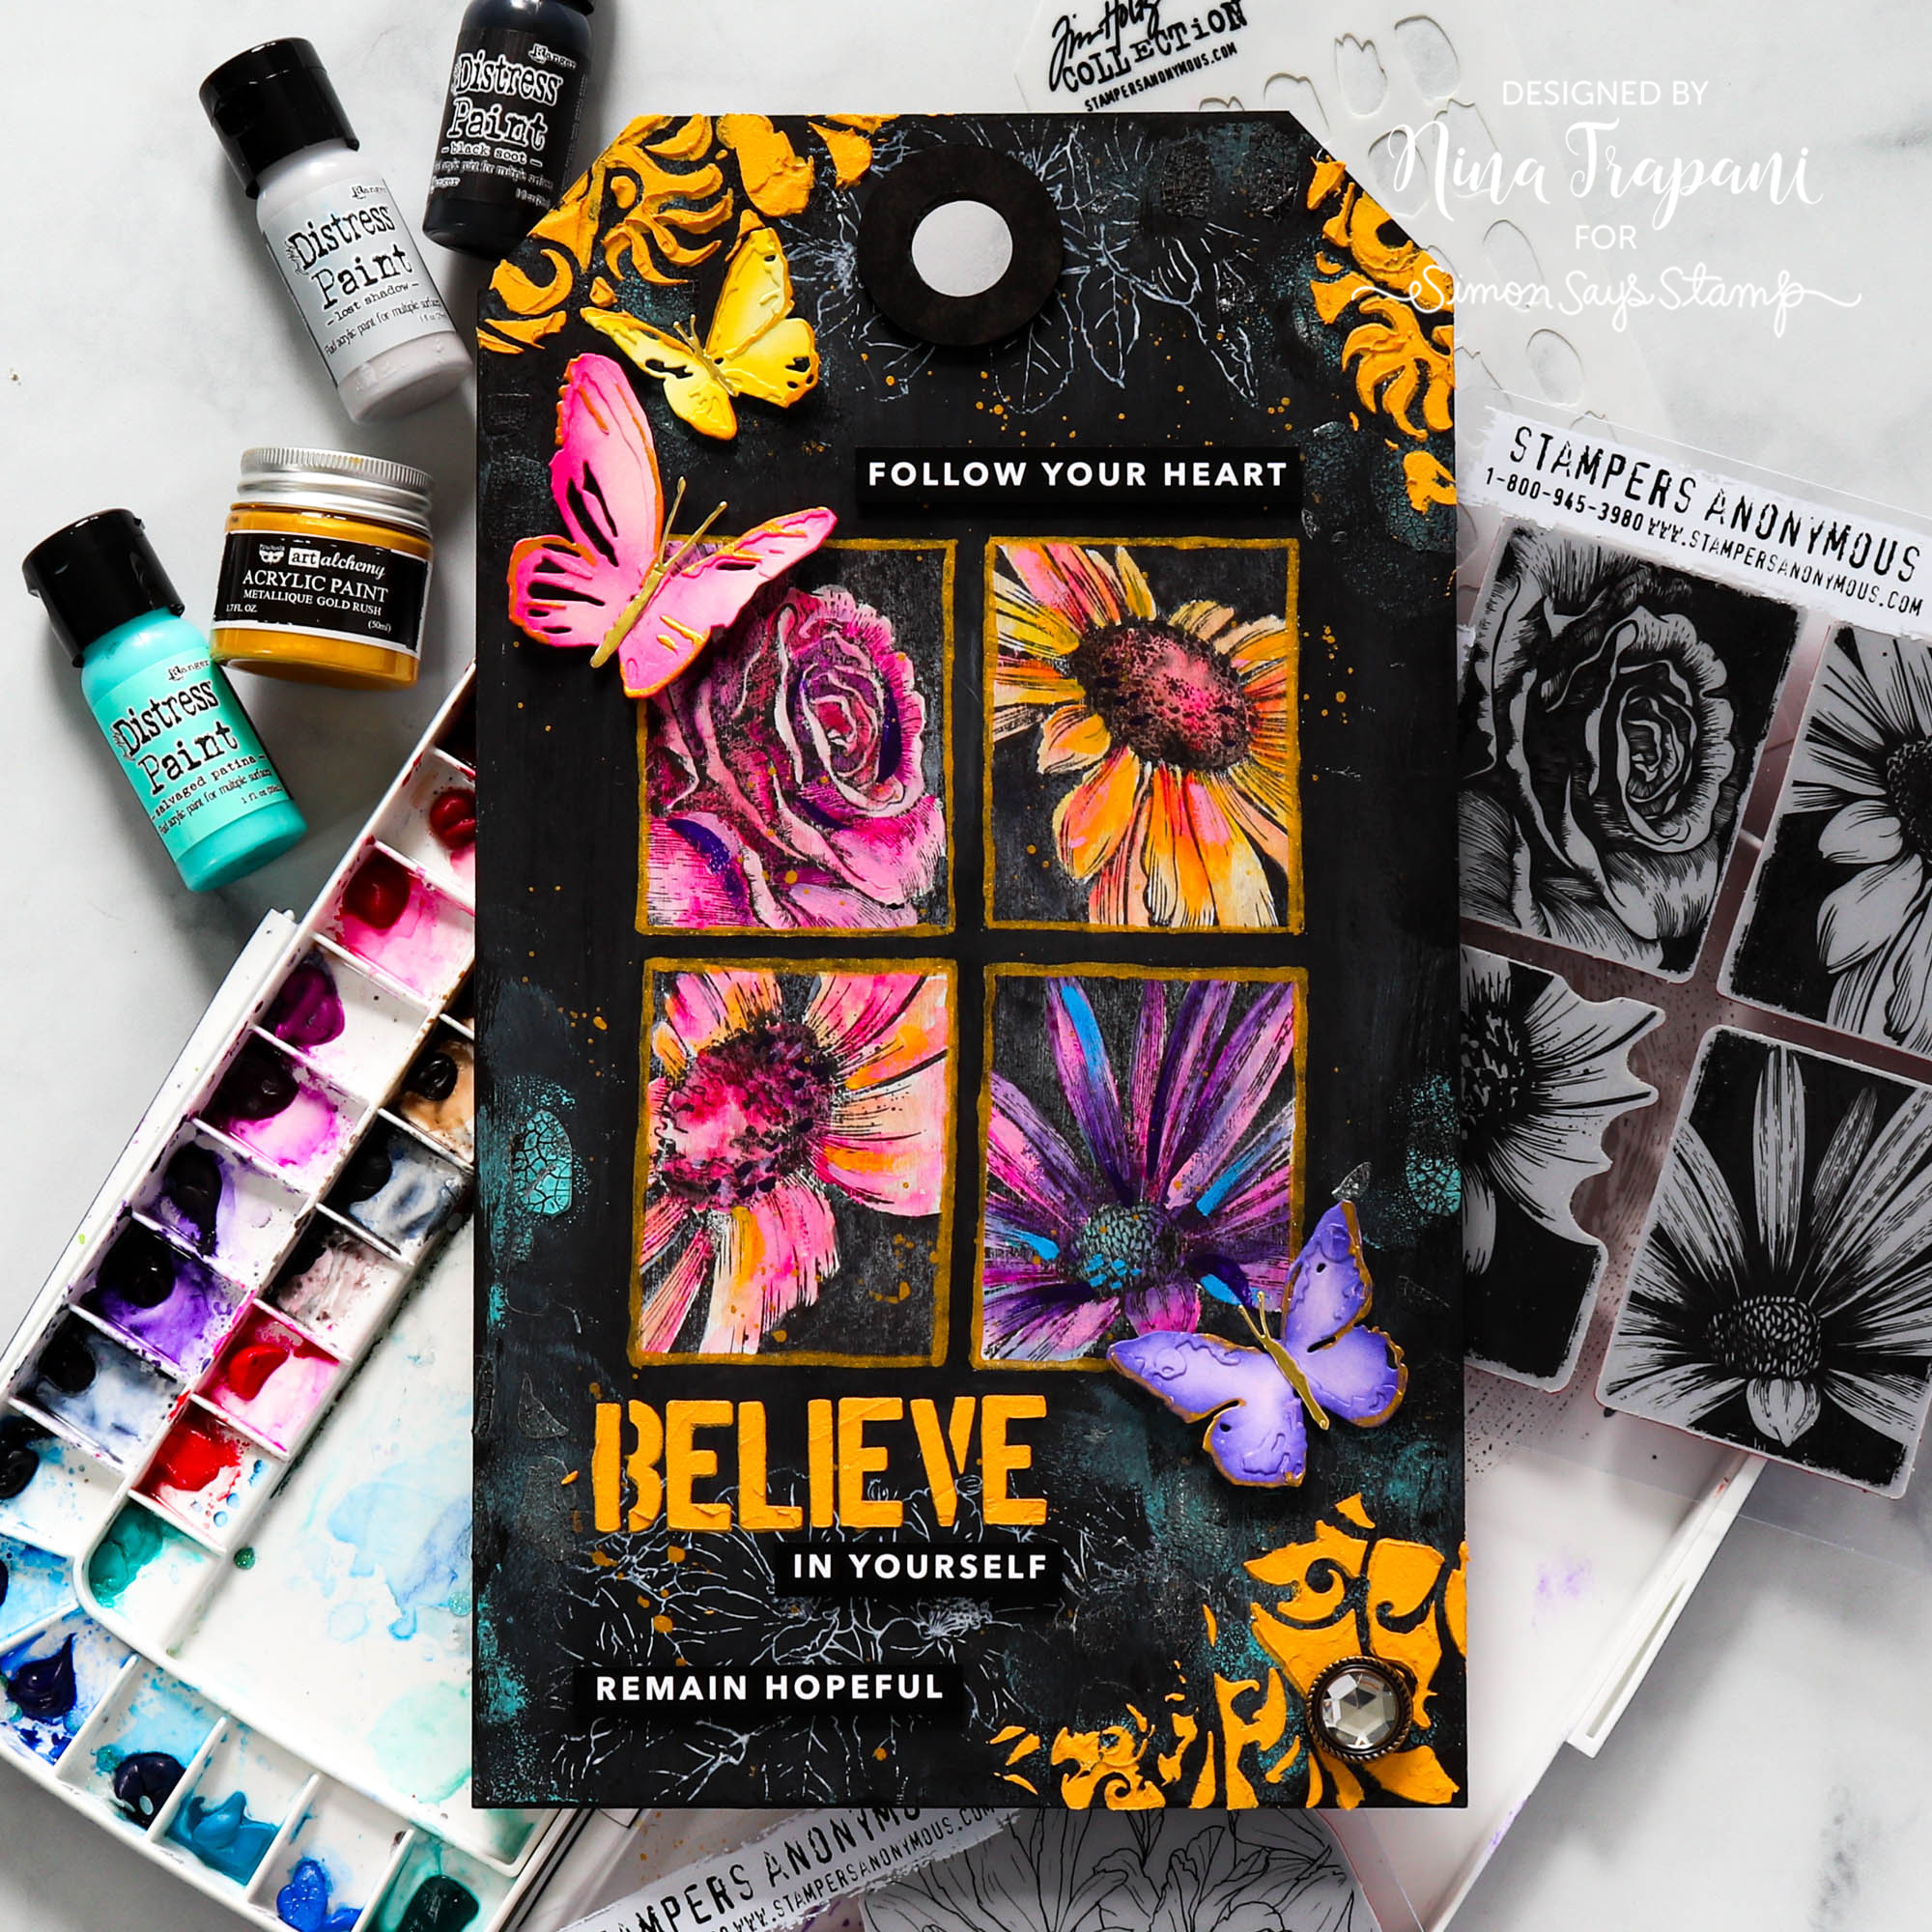
I also added details with Tim’s Brush Mark stencil and Floral Trims stamp set. The butterflies are from Tim’s Brushstroke Butterflies die set. Pairing all these products together along with paints, pastes, and more, I created a dramatic art piece that I am excited to hang on my studio wall!
Want to learn more about how I made this project? Watch the video below for all the details!
WATCH THE VIDEO
SUPPLIES
|


Elevate Your Foiling with 3D Embossing! Studio Monday with Nina-Marie

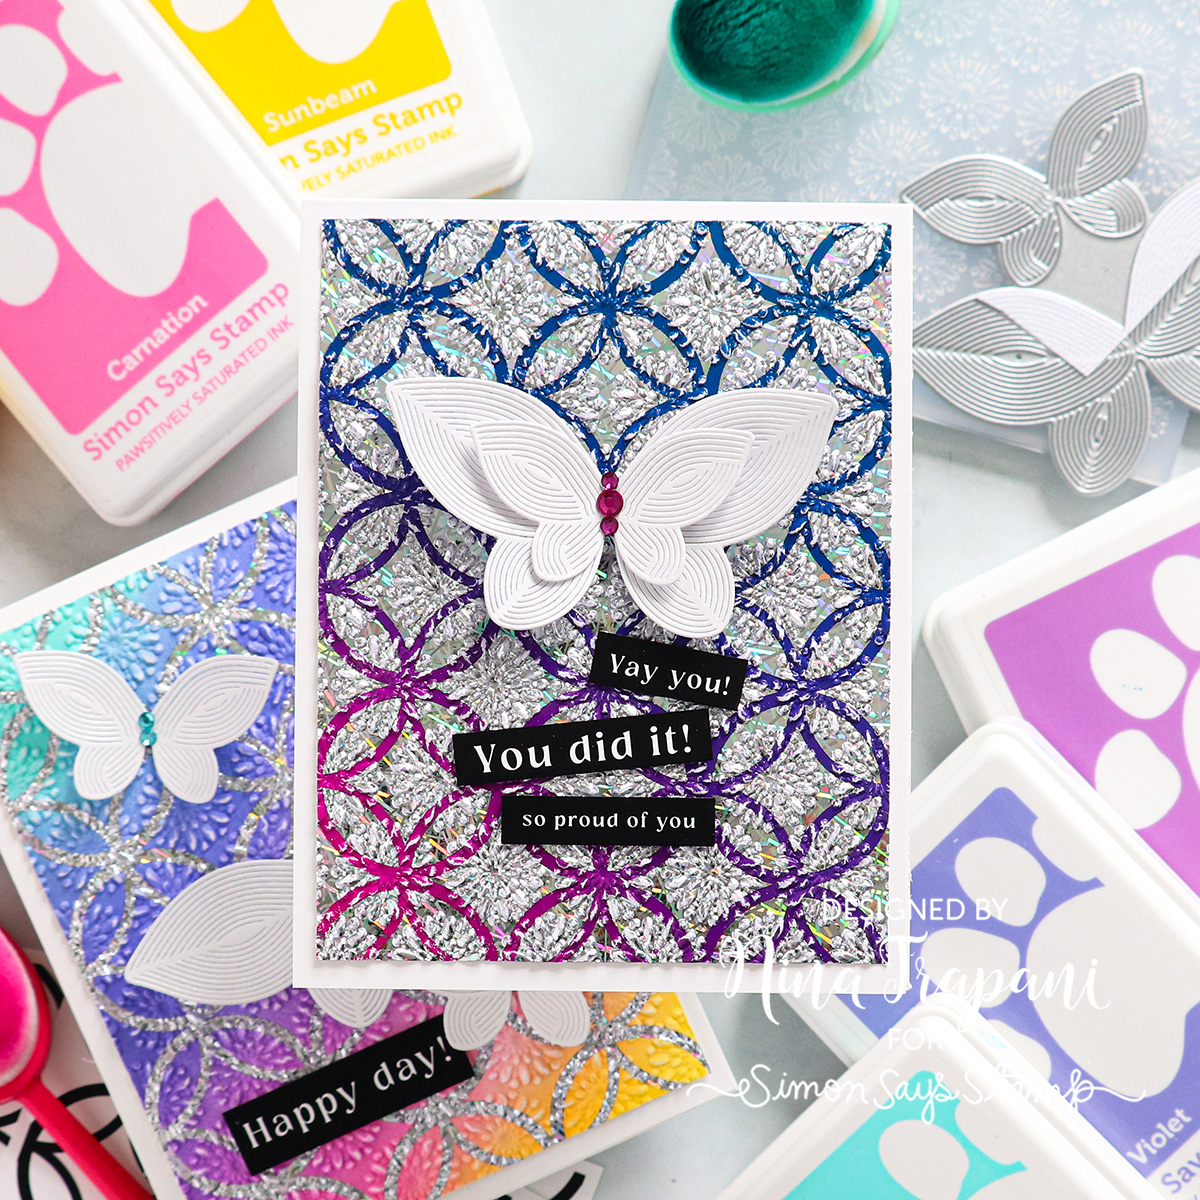
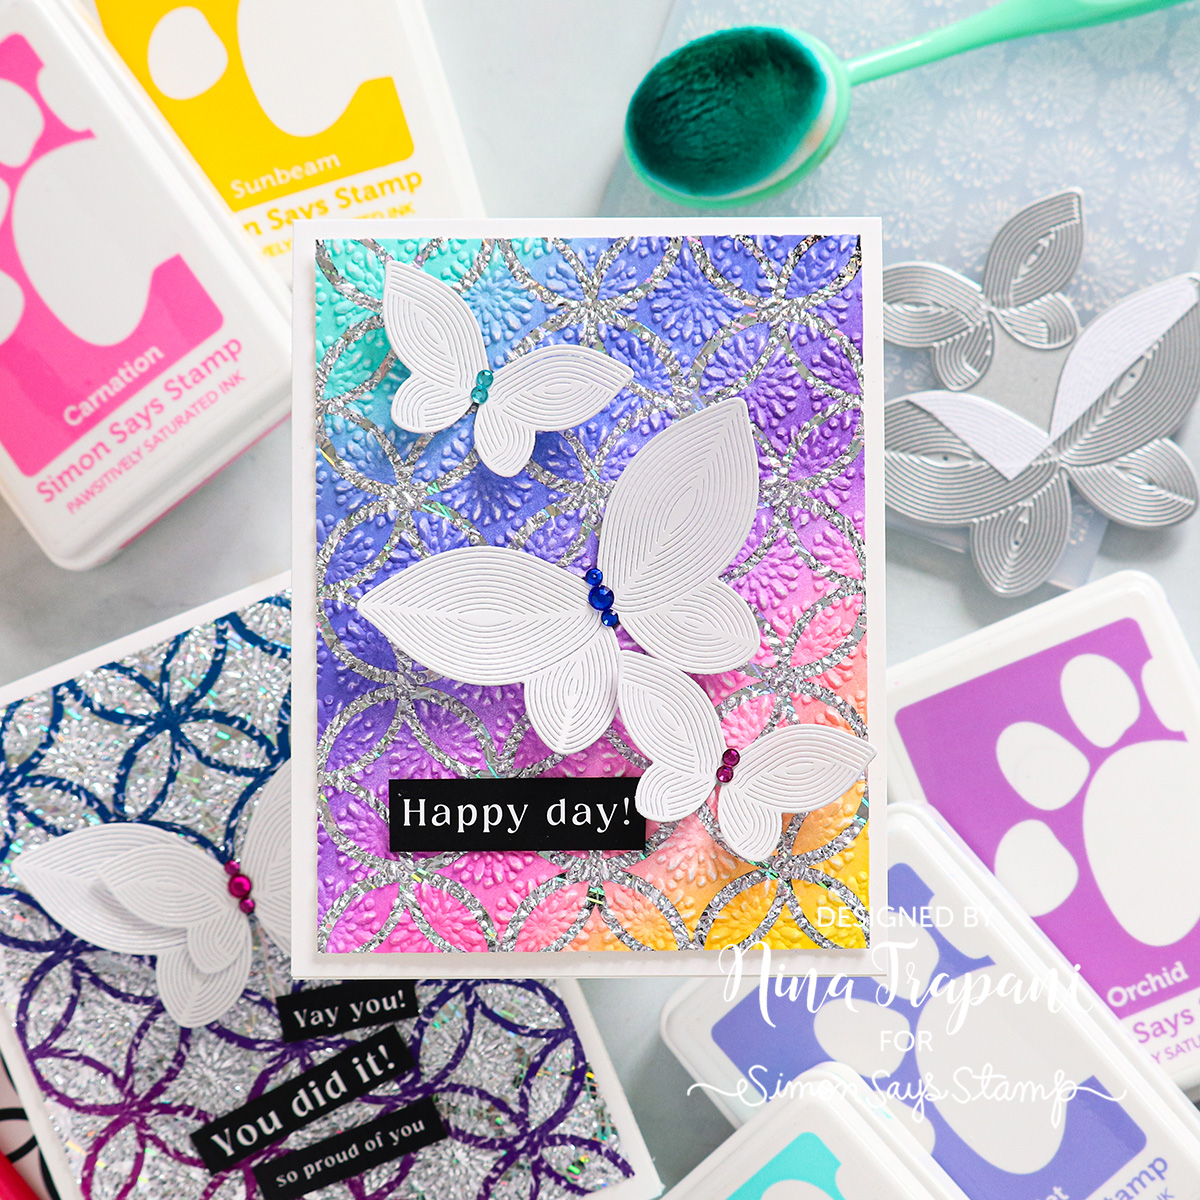
Hi friends, it’s Nina-Marie Trapani here with you! Today I am featuring our new Celebrate collection and will be showing you how to use some of the products together to make 2 different cards!
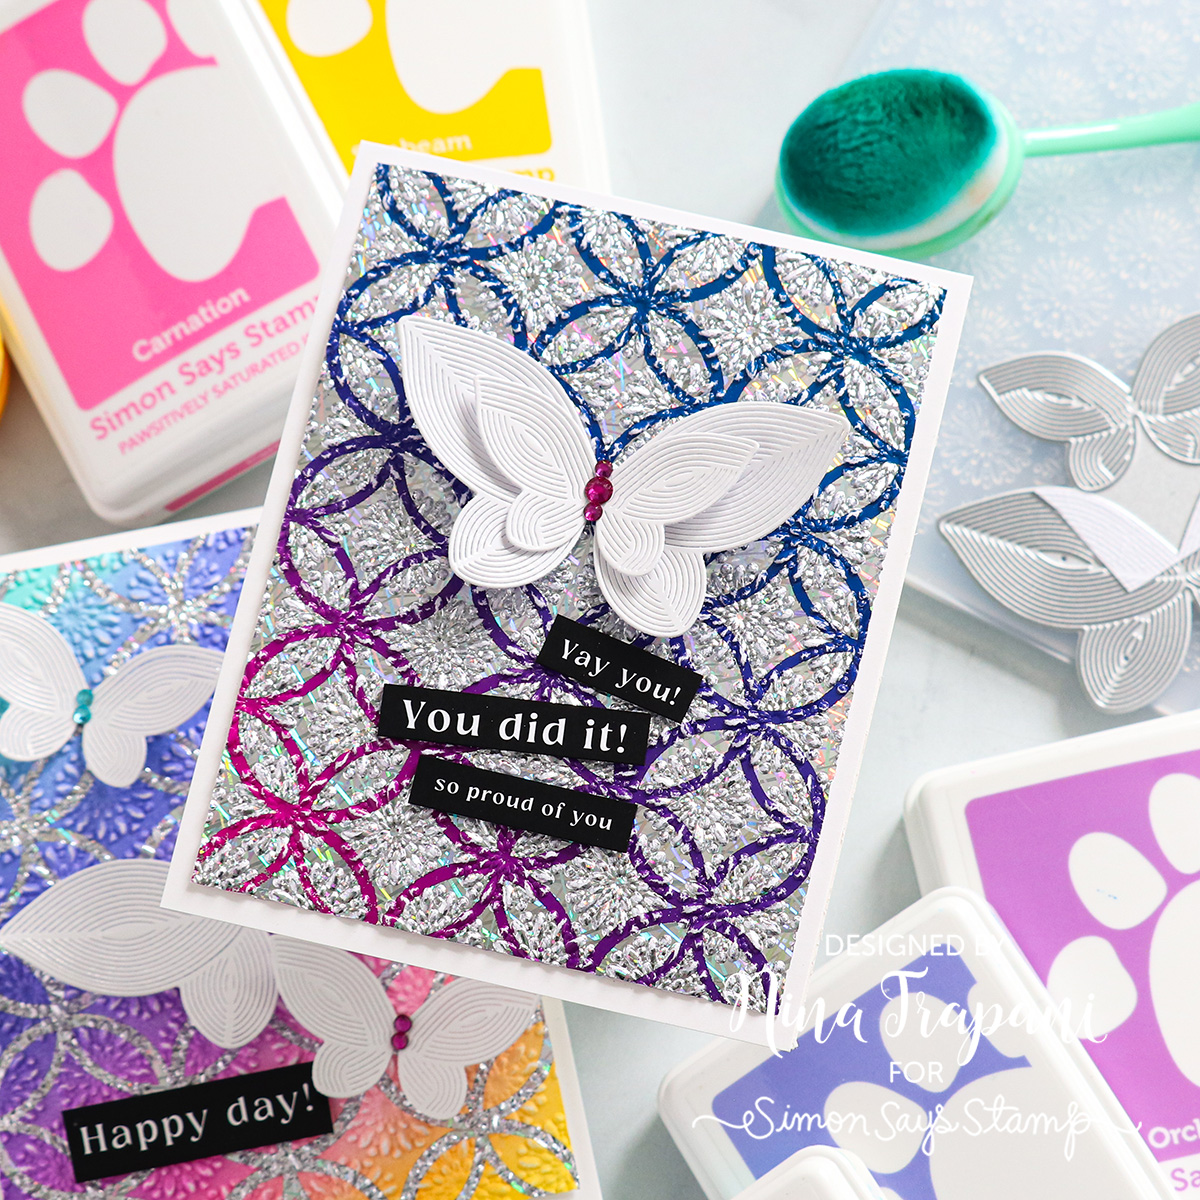
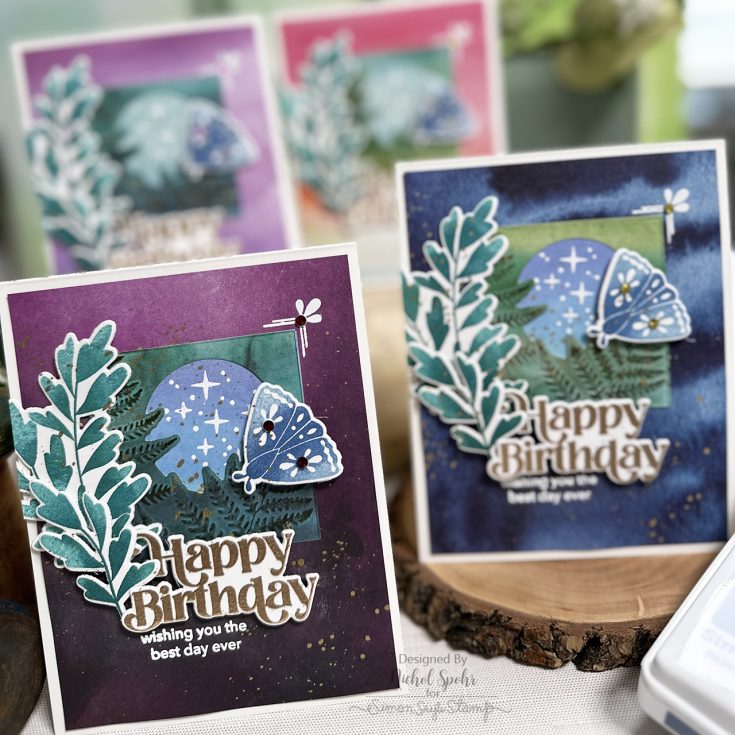
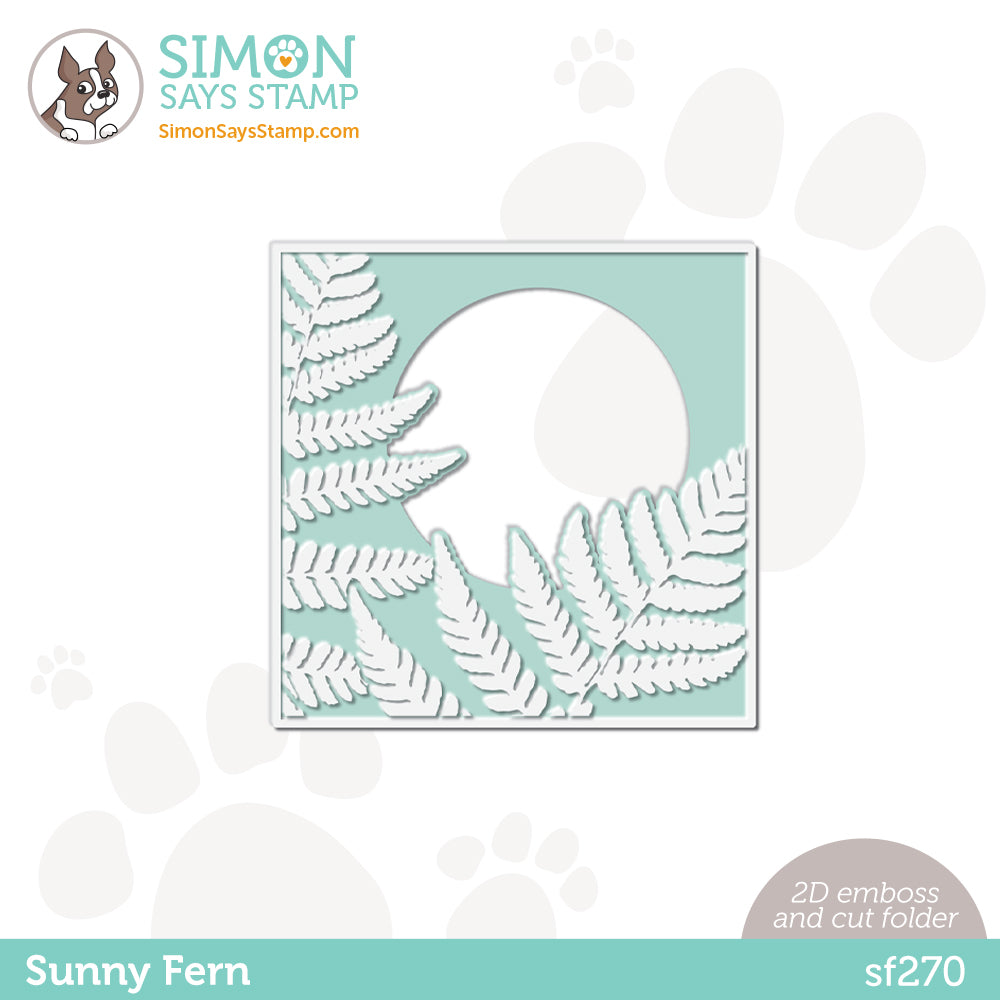
I wanted to create a background with our Diamond Circles Foil Transfer Cards, so I foiled the paper with some Silver Sketch foil. I used the leftover negative foil with one of our Color Blend cardstock sheets to transfer the pattern onto that paper for a second background. To step those backgrounds up even more, I also embossed them after foiling and that added some cool texture on top—the folder I used was Flower Buds Unfolding!
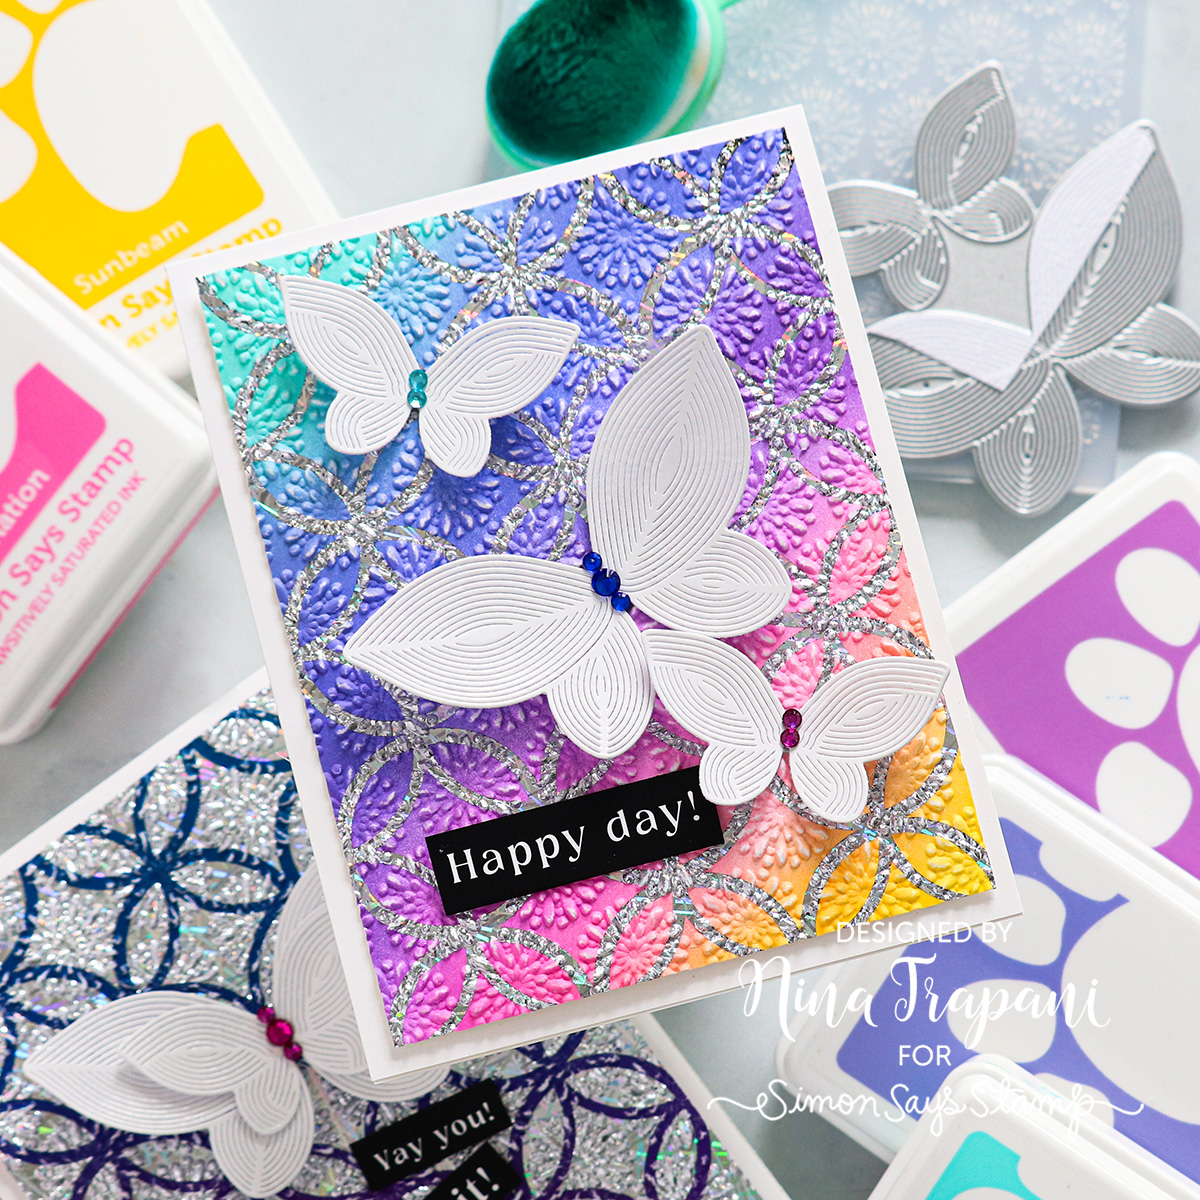
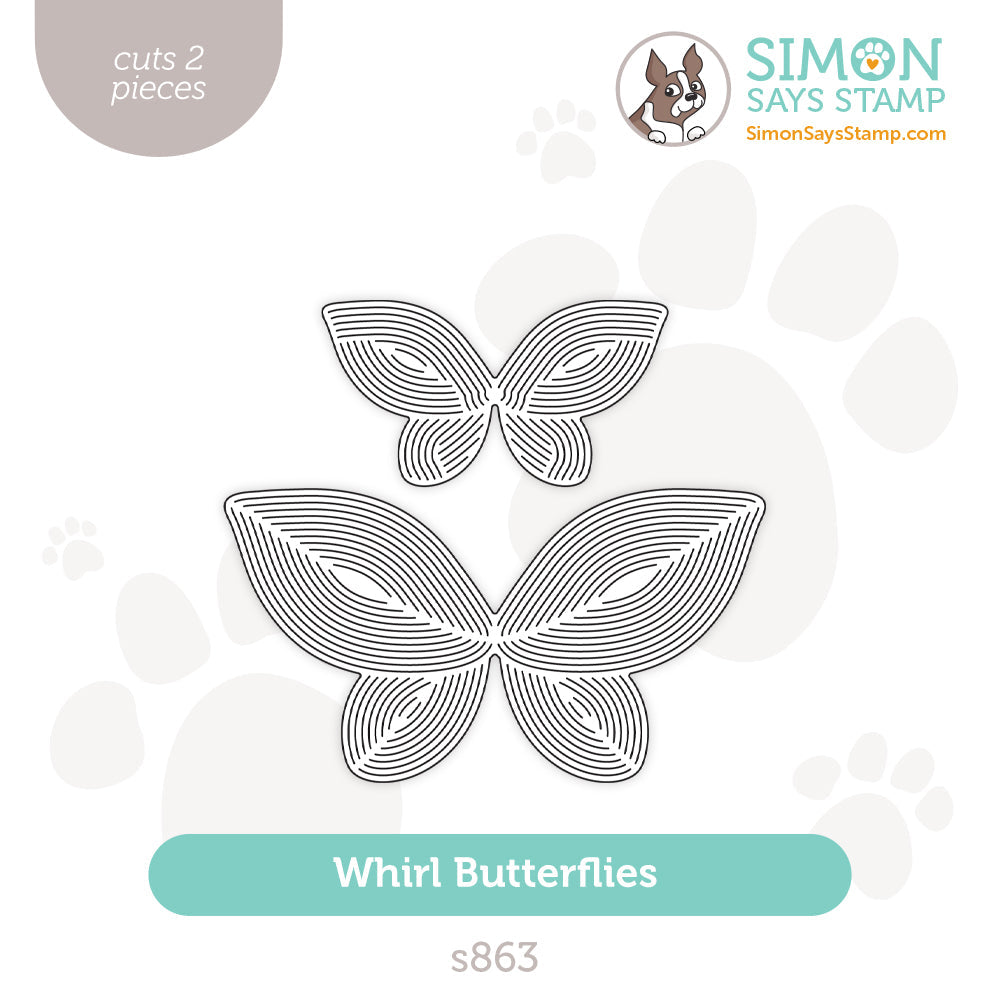
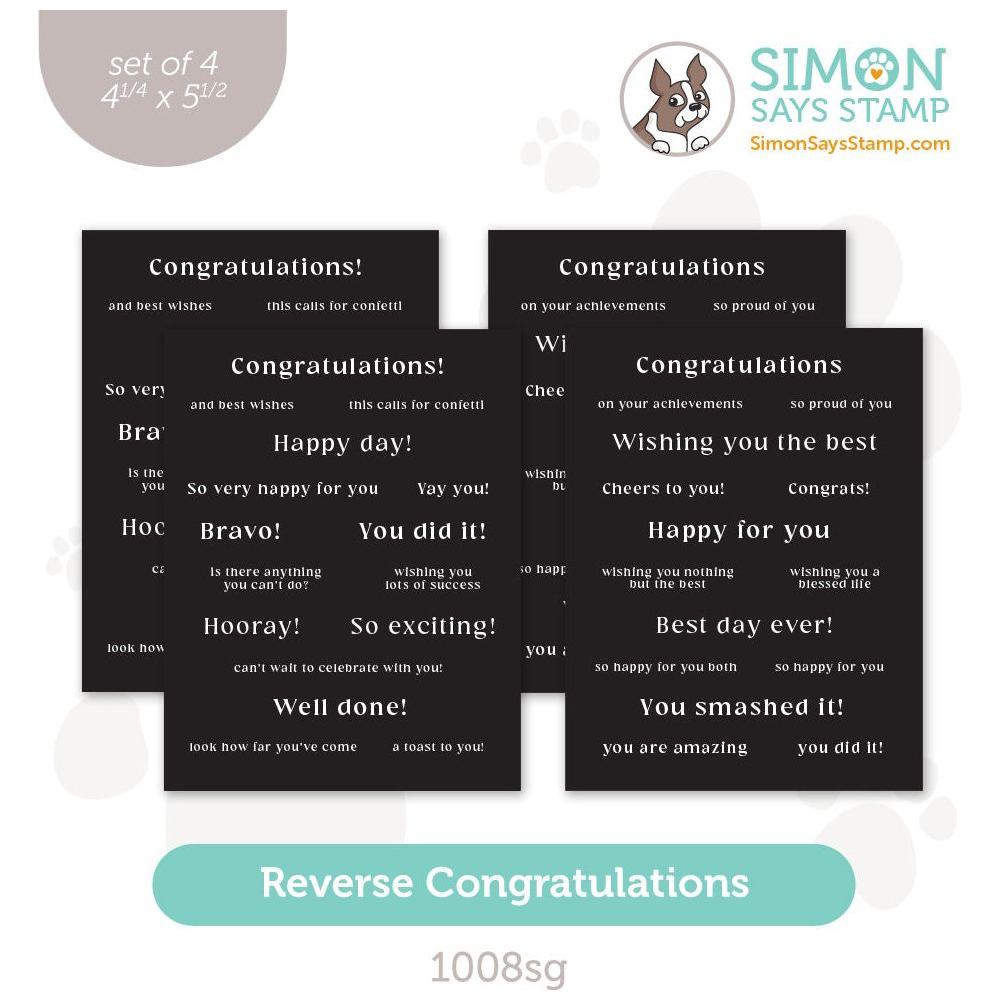
The cards are decorated with the new Whirl Butterfly die set which adds a nice bold decoration on top. For greetings, I chose sentiment strips from our Reverse Congratulations set which provide a great pop to stand out amongst these dramatic backgrounds.
Want to learn more about how I made these 2 cards? Watch the video below for ALL the details!
WATCH THE VIDEO
SUPPLIES
|