Master Ink Blending & Stenciling for Gorgeous Cards: Yippee for Yana

Hi friends! Please join me in welcoming back the oh-so-talented and amazing Yana Smakula! (Please note: our dear friend Yana is Ukrainian. To show support to our brothers and sisters in Ukraine, please see Yana’s post HERE.)
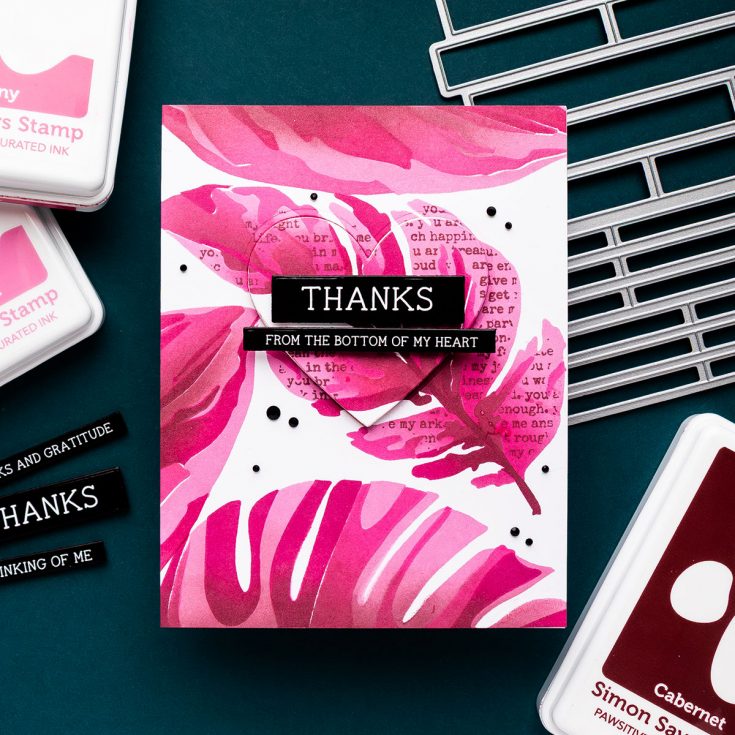
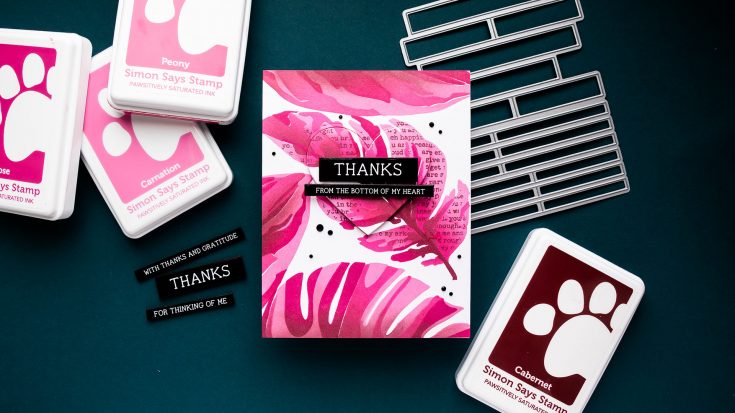
Hello, crafters, this is Yana Smakula for Simon Says Stamp! Welcome back for another Yippee For Yana video! I’m excited to share a fun and elegant technique using Simon Says Stamp’s beautiful stencils, including the stunning White Fusion stencil set from their latest release. This set features four stencils that, when layered and ink blended, create a gorgeous leaf design that’s perfect for any cardmaking project.
Let’s dive into the details and see how we can create a beautiful thank you card with this stunning stencil set, along with some other techniques that will elevate your designs!
Step 1: The Stencil Setup
To begin, I’m using the White Fusion stencil set, which is perfect for creating an intricate leaf design. I adore the size of this stencil – it’s bold and makes a statement on any card. For this project, I’ll be using four colors of ink from Simon Says Stamp: Carnation, Peony, Rose, and Cabernet.
I used a Pawsitively Perfect Craft Tacky Mat to keep my panel in place as I ink blended. I’m working with Neenah Solar White 80 lb cardstock, cut to 4.25” x 5.5” to fit the front of an A2 card.
Step 2: Ink Blending the First Layer
Using a large blending brush, I applied a solid layer of Carnation ink to the stencil. For each subsequent layer, I added a darker shade to create depth and shading, starting with Peony and Rose inks. I focused the darker shades on the center of the leaf, where natural shading would occur.
Step 3: Adding the Second and Third Layers
Next, I continued adding layers, using Peony for the second layer and Cabernet for shading. The beauty of this stencil set is how it builds upon each layer, with each color adding depth to the design. Once the third layer was inked, I removed the stencil and was in love with the vibrant contrast and how the leaf really popped against the white paper.
Step 4: Stamping the Text Background
For a little extra dimension, I decided to add a text background using Simon Says Stamp’s You Are background cling stamp. I positioned the stamp over the leaf and stencil, and with the help of my MISTI, I stamped the image with Cabernet ink. I debated using black ink for more contrast, but the Cabernet gave it a softer, more cohesive look that blended beautifully with the rest of the design.
Step 5: Final Touches
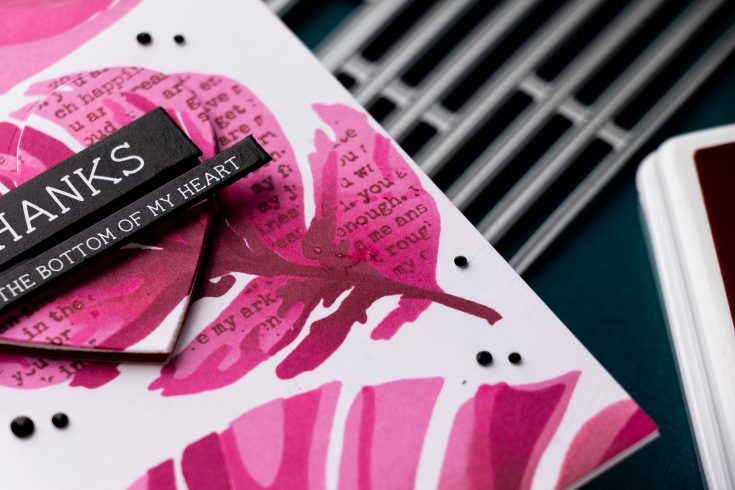
Once I was happy with the ink blending and stamping, I went ahead and removed the pencil lines I had used for alignment. Now, it was time to add some additional ink blending to the background to fill in the empty space. I used the Monstera and Stromathne stencils to add more leaves in the same colors for a monochromatic effect.
Step 6: Die-Cutting the Heart
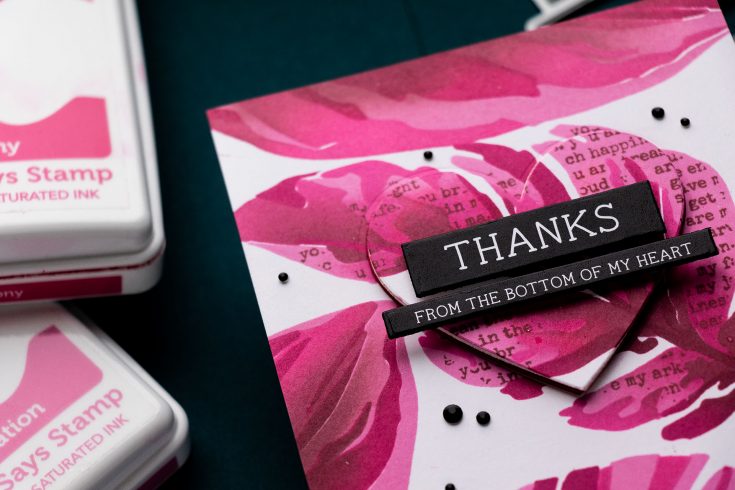
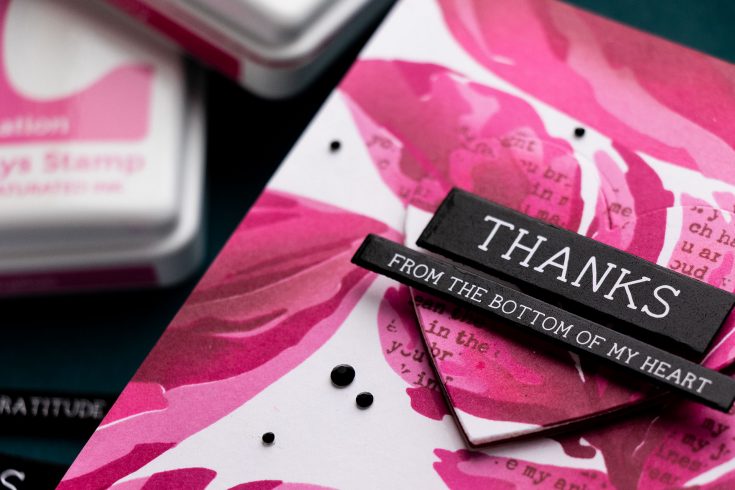
For a playful and heartwarming sentiment, I used a heart die from my stash to cut out a portion of the central leaf. I wanted to create a “heartfelt” design, so this die cut was perfect for the sentiment I chose, which reads “Thanks from the bottom of my heart.” I used Simon Says Stamp’s EZ Strips & Dies – Thank You set to cut out the sentiment from their preprinted sentiment strips – this makes cardmaking so much quicker and easier!
Step 7: Assembling the Card
I adhered my inked panel onto an A2 top-folding card base, then foam-mounted the heart and sentiment onto the center. I added a few black gems to tie everything together and add a little sparkle.
And just like that, the card was complete! I love how it turned out – so vibrant, full of dimension, and the perfect thank you card for any occasion.
I encourage you to give this technique a try. Whether you stick with the monochromatic look or go for something more colorful, the possibilities are endless. Thanks so much for joining me today, and I’ll see you next time with more fun ideas for your crafting!
Happy stamping!
WATCH THE VIDEO:

SUPPLIES:
|


Ways to support Ukraine:
If you are looking for ways to support Ukraine, we encourage you to visit this page on Yana’s blog:

Thanks so much for stopping by, and thanks to Yana for being our guest!
Mark your calendar!
Join us live MONDAY April 21st at 12 PM ET! Click or tap the bell by ‘Notify Me’ to be notified when we begin on MONDAY April 21st at 12 PM ET!

Happy Easter! Mr. Rabbit Etcetera Tags

Hi friends! Happy Sunday and Happy Easter! We’re delighted to welcome back special guest Cheiron Brandon to our blog with this delightful and seasonally appropriate project featuring the always lovable Mr. Rabbit from Tim Holtz! Read on for all the details and enjoy!
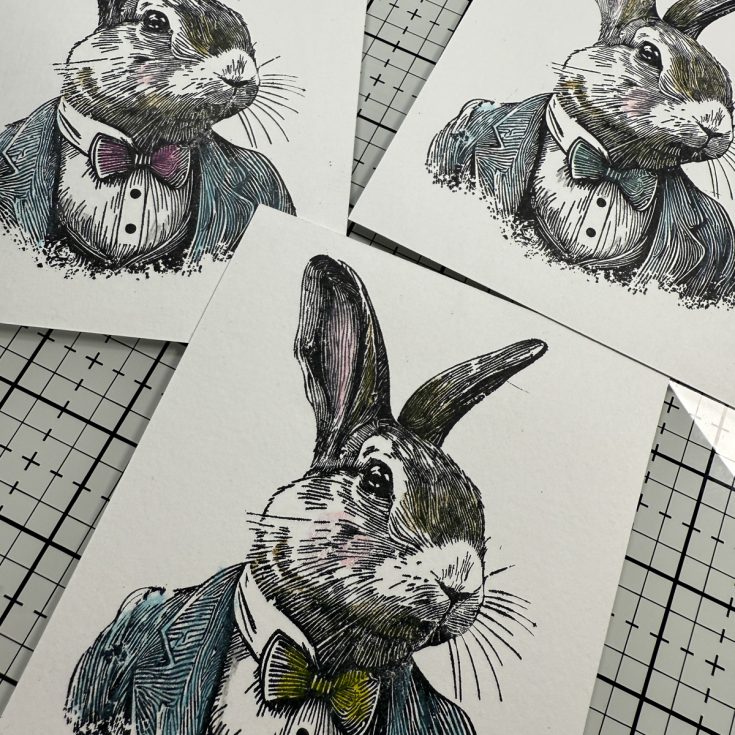
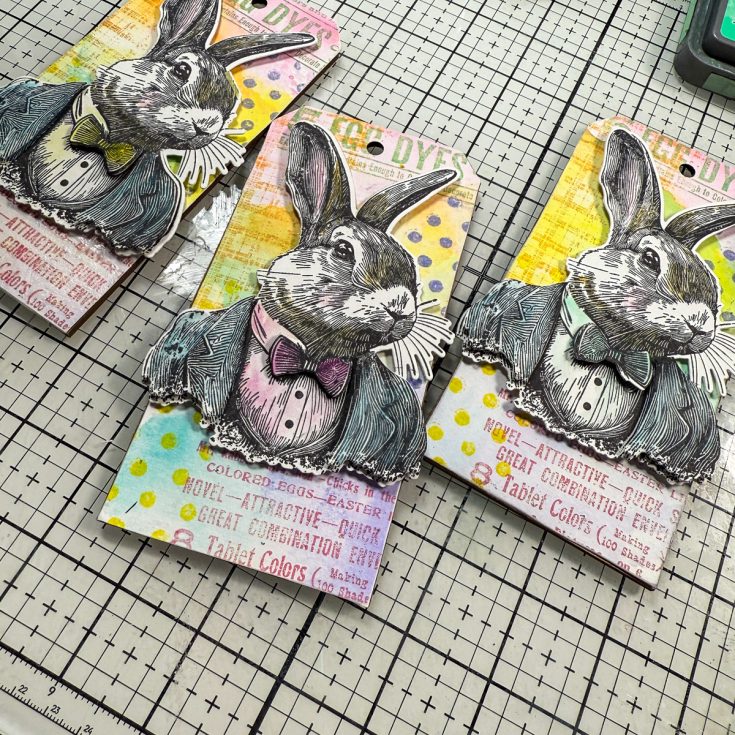
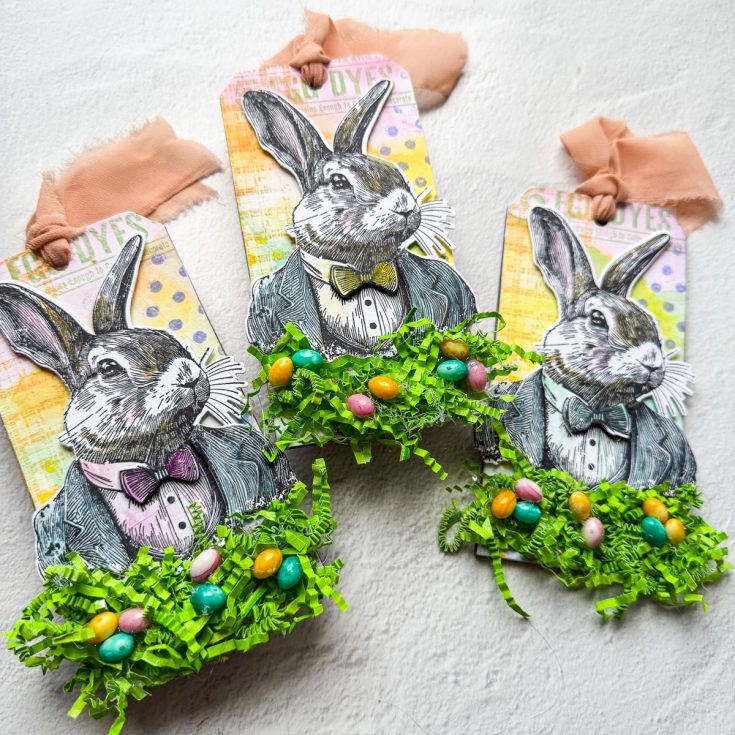
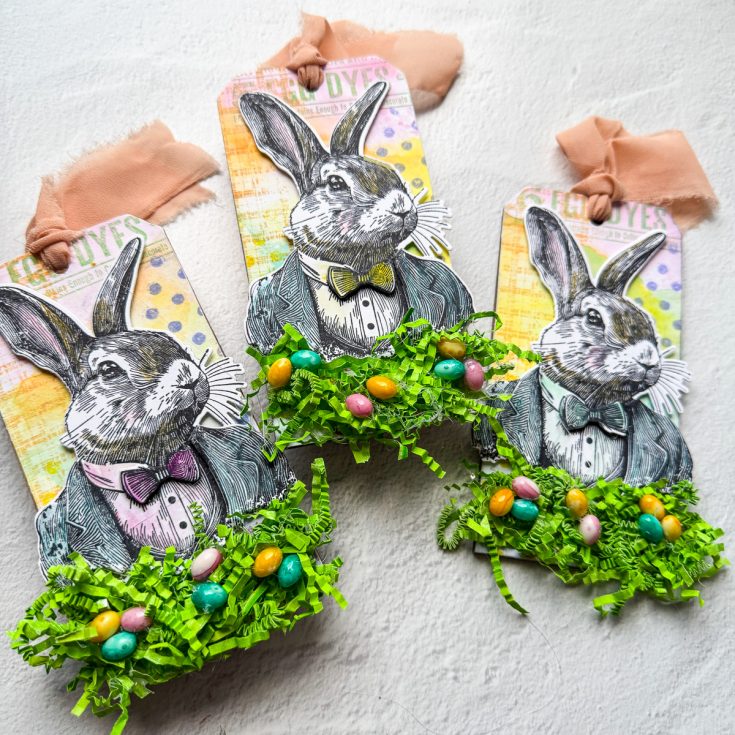
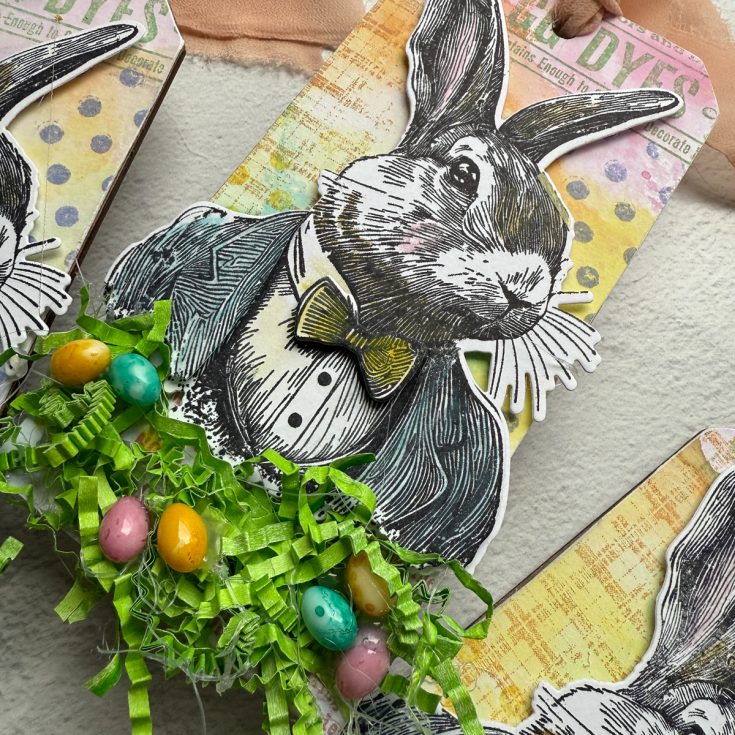
Hello there! It’s Cheiron Brandon and I am happy to be back here on the Simon Says Blog to share a project with Tim Holtz products with you. This month I have made some Easter themed Etcetera tags with the Mr. Rabbit stamp set and Simon Says Stamp coordinating dies. I thought these tags would be perfect for an Easter table with the addition of some paper “easter grass” and colorful idea-ology Tiny Eggs. You could even tie them to a cellophane bag filled with lots of candy.

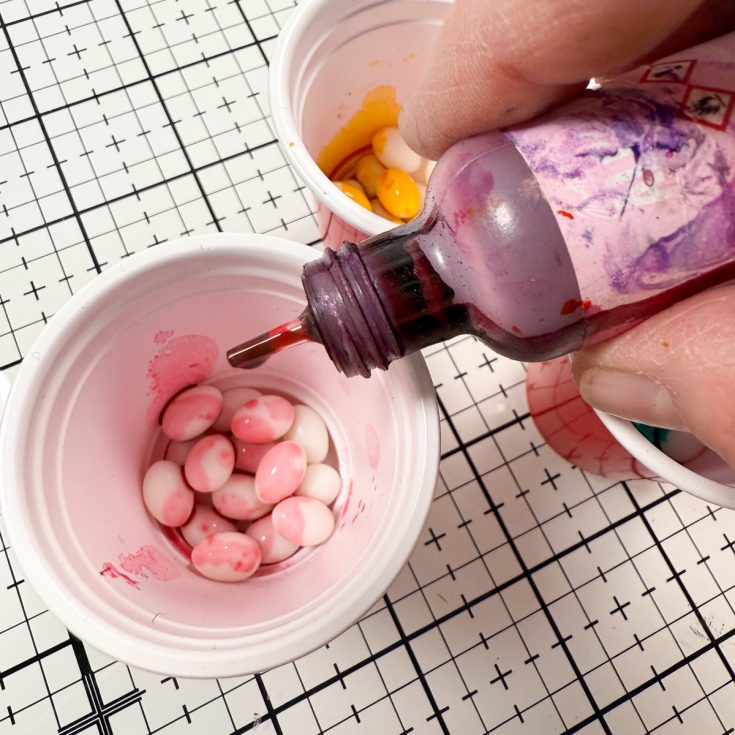
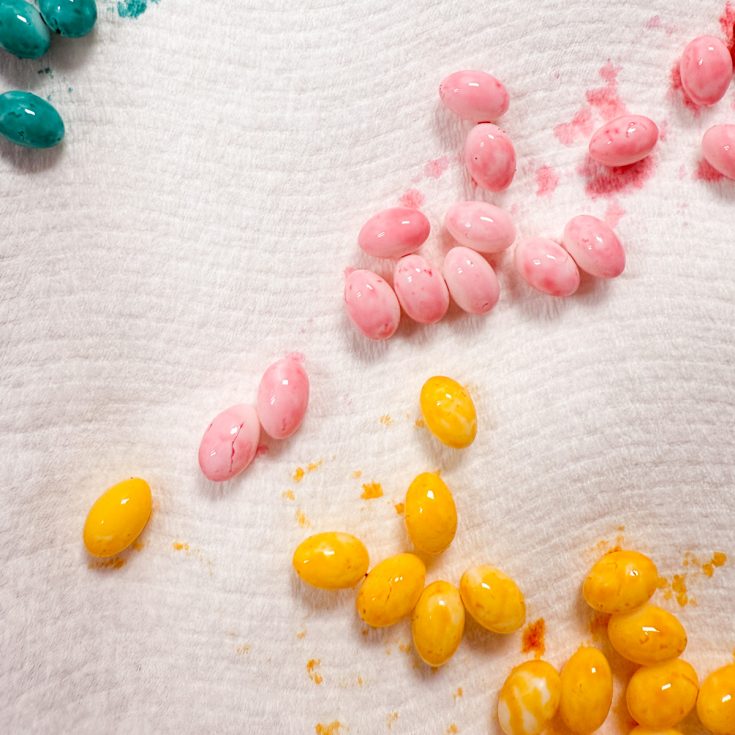
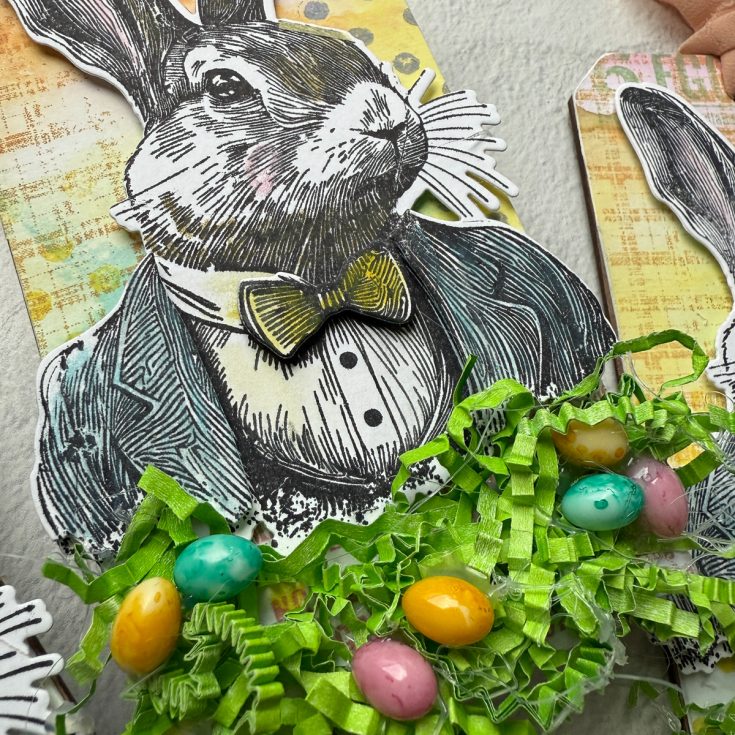
To begin, I colored my Tiny Eggs so that they could dry while I was working on my tags. I used some light colors of Tim Holtz Alcohol Inks in Pink Sherbet, Sunshine Yellow and Laguna. I put the eggs in tiny plastic cups, dripped on the Alcohol Inks, then swirled them around until the eggs were coated. I poured the eggs out onto a paper towel to let them dry.
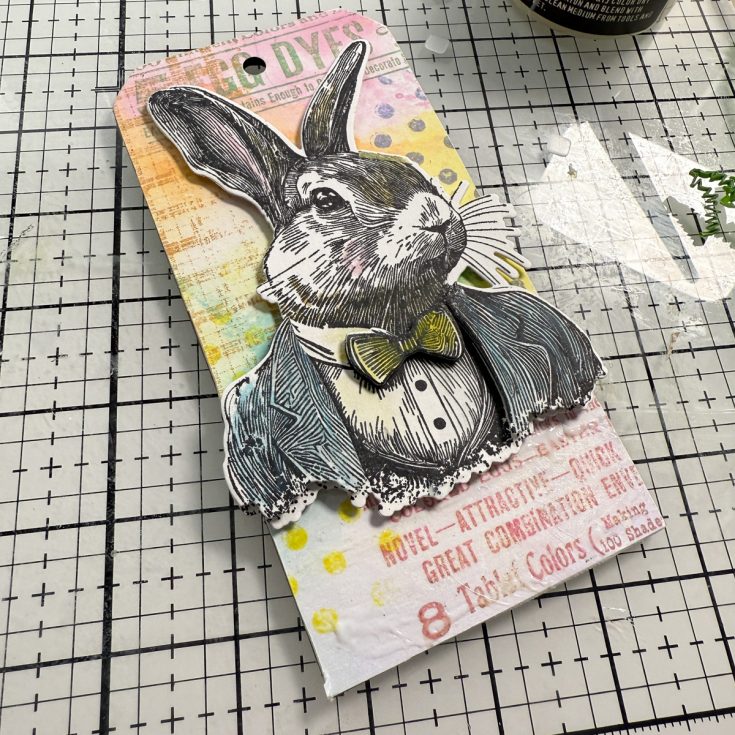
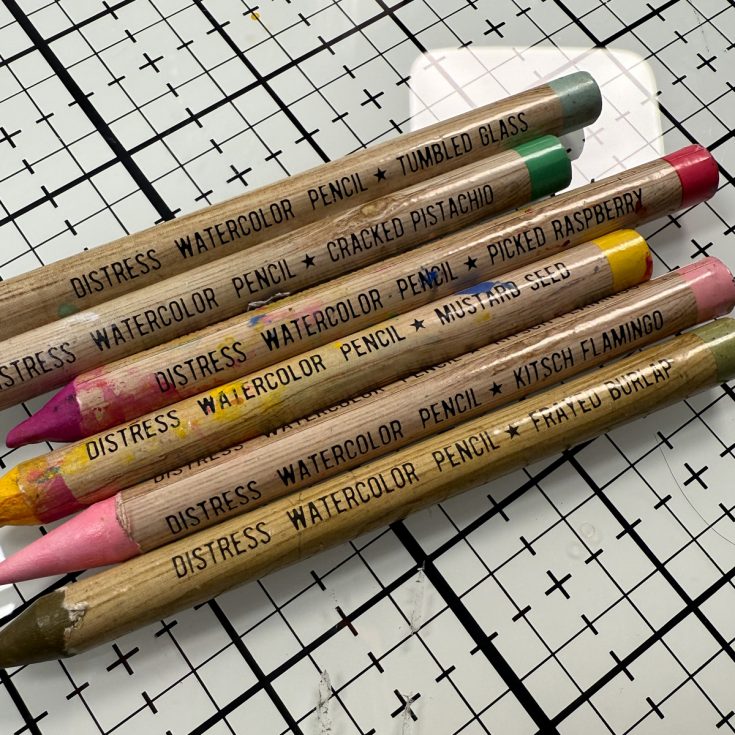
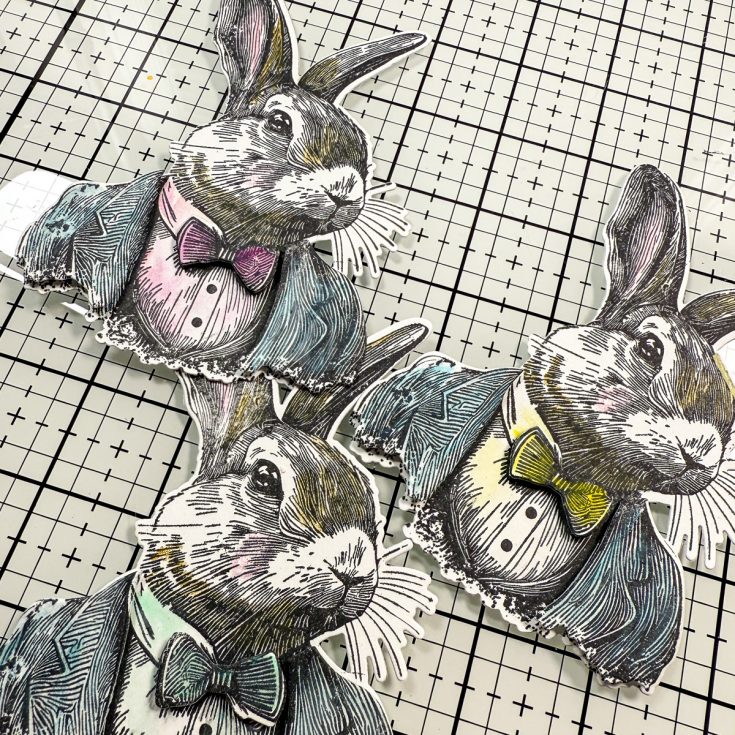
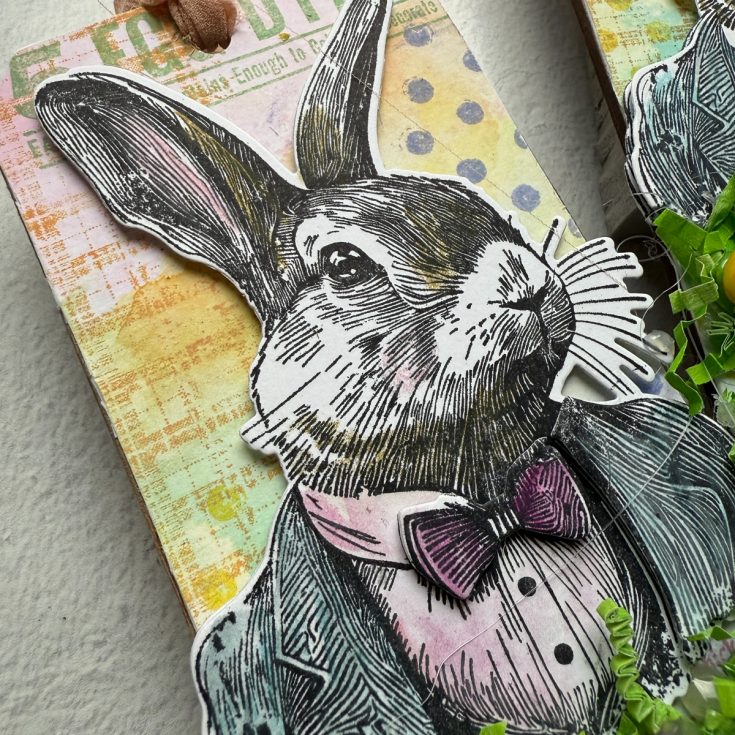
Then I stamped Mr. Rabbit several times and colored him in with Distress Watercolor Pencils. I used different colors on each bowtie and colored them in pairs for when I cut them out. I cut out the rabbits from one panel, then cut the jacket pieces and bow tie from another. I layered all the rabbit pieces together with foam tape.
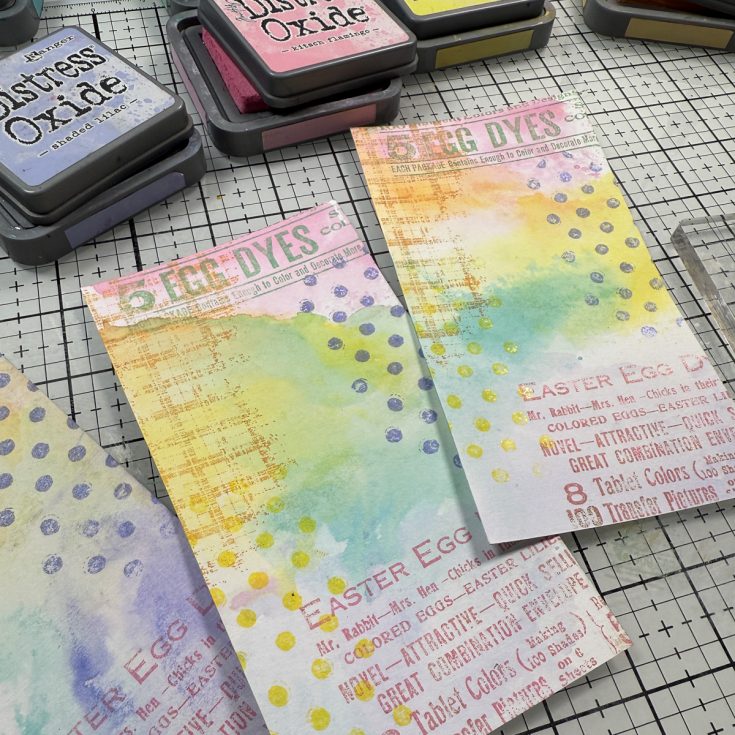
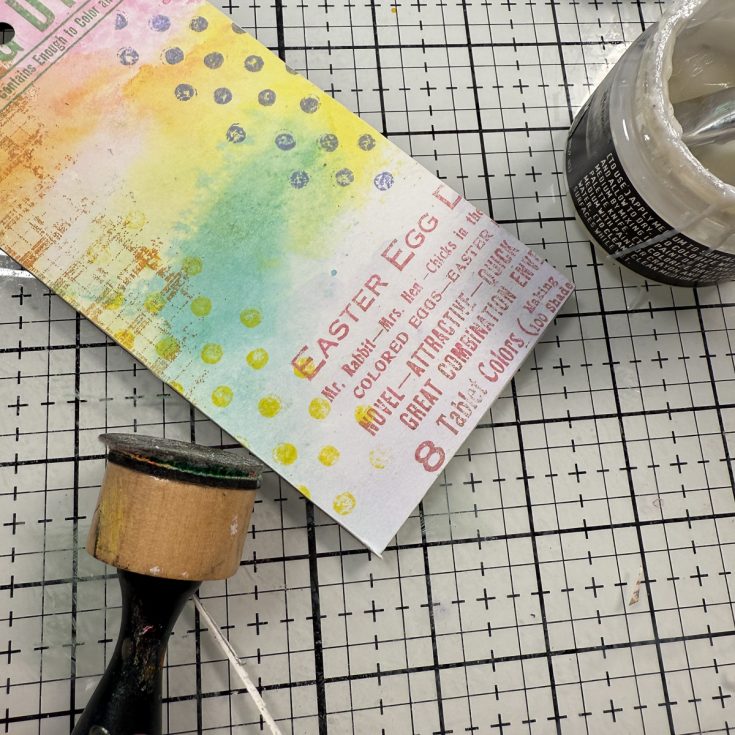
To create the tags, I used Distress Oxide Inks in Kitsch Flamingo, Spiced Marmalade, Squeezed Lemonade, Cracked Pistachio and Shaded Lilac. I first put my papers into the inks sprayed with water and dipped the tag papers in each color to create a painty layered background. Once my tag papers were dry, I used the same colors of oxides, and the stamps from the Mr. Rabbit set to stamp patterns on the tags, overlapping different colors.
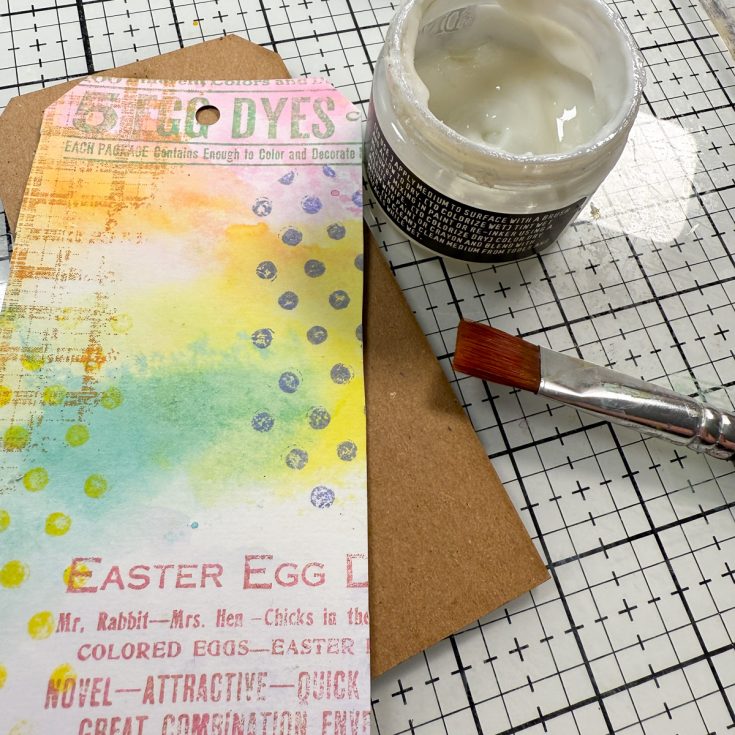
I traced the tag papers and cut the holes out of the top of the tag. I added each paper to the Etcetera tag using Distress Matte Medium and let it dry. Once the paper was adhered, I sanded the edge of each tag.
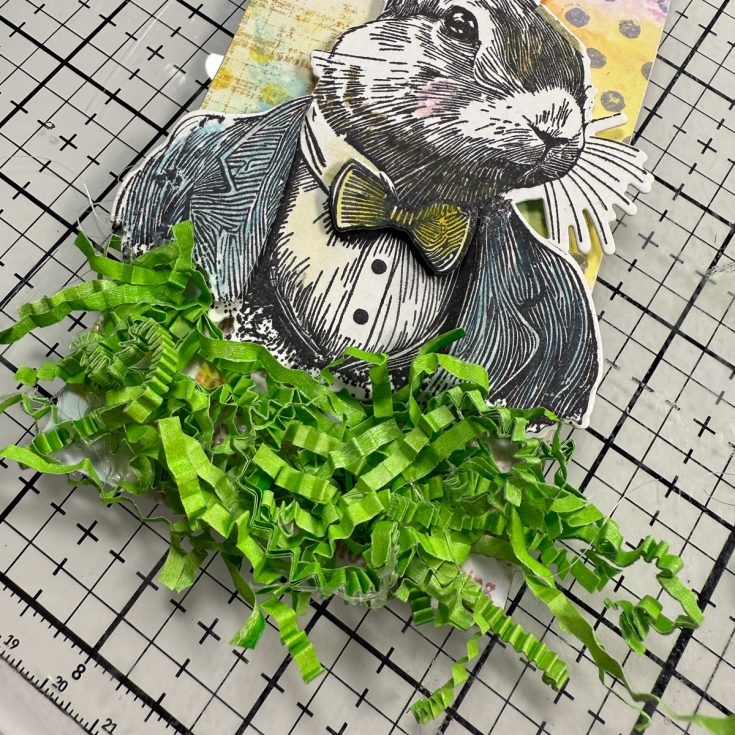
To assemble the tags, I added a Mr. Rabbit to each tag using foam dots, leaving some space at the bottom. Then using a glue gun, I added some paper Easter grass to the bottom of each tag. Once the grass was adhered, I added some of the colored Tiny Eggs to each. Finally, I added some ribbon to the top of each tag to complete it.

I love how these turned out, and I love that they are on a nice thickboard tag as a keepsake for your guests at Easter, or something sturdy to take out year after year! I hope you have a Happy Easter if you celebrate!
SUPPLIES:
|


Thanks so much for stopping by, and to Cheiron for being our guest!
Mark your calendar!
Join us live MONDAY April 21st at 12 PM ET! Click or tap the bell by ‘Notify Me’ to be notified when we begin on MONDAY April 21st at 12 PM ET!
Distress Crayons 3 Ways | Let’s Get Crafty With Caly!

Hi everyone! It’s Caly Person here today!
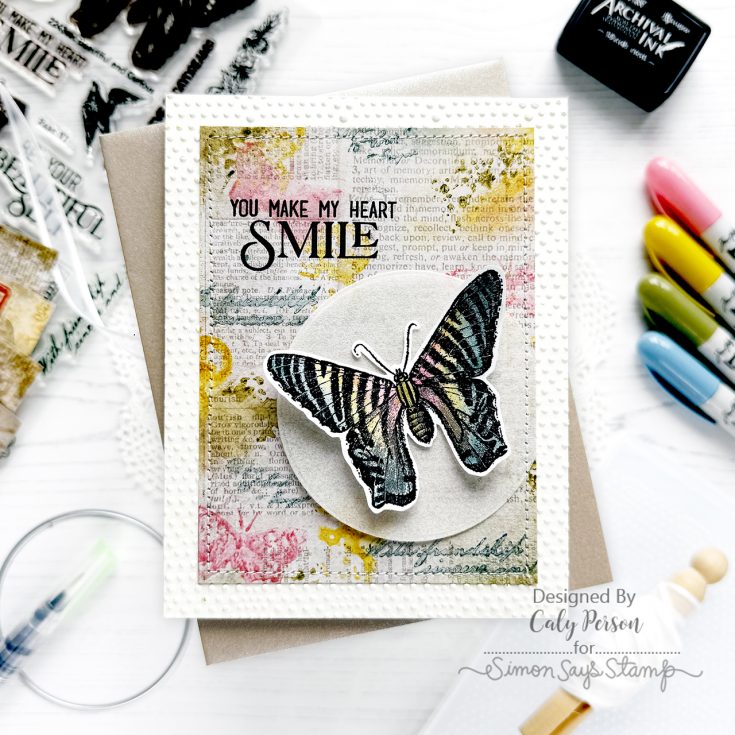
Today’s card uses fun products from the May 2025 Card Kit – Beautiful and Curious!
I used Distress Crayons three ways to add color. Can you tell from the photo above? I have a video that shares it all and hope you’ll enjoy watching!
WATCH THE VIDEO:

I used Distress Crayons to stamp images from the Beautiful and Curious set. To stamp with Distress Crayons, I scribbled the crayon onto the stamp surface and spritzed it with water to activate the pigment before stamping over the Tim Holtz idea-ology Wallflower paper.

Next, I smudged Distress Crayon colors over the paper by scribbling directly on the paper and blending that pigment out with my index finger – so easy to do! Lastly, I stamped the butterfly image over white cardstock (you can use watercolor paper, too) and added pigment using a watercolor brush pen (you can also use a regular wet watercolor brush).
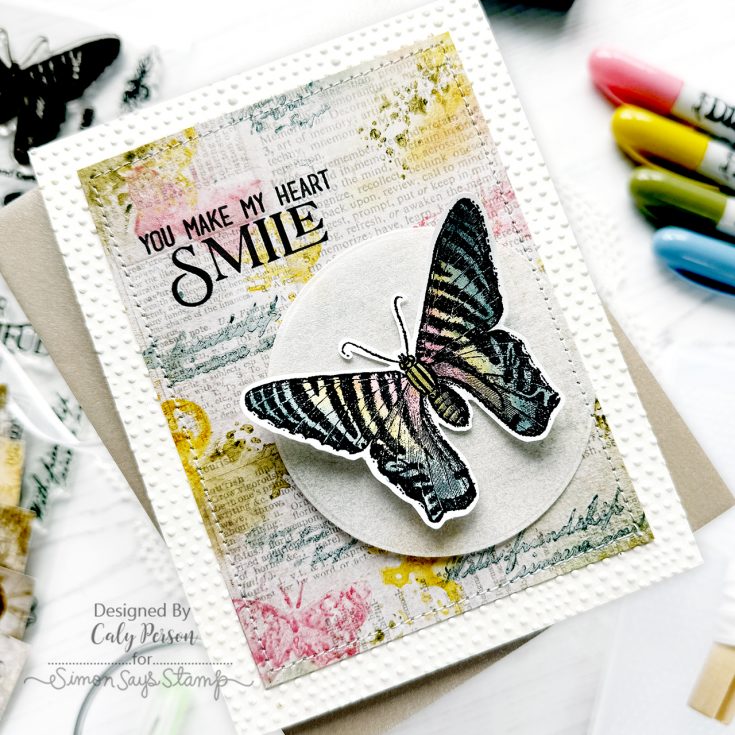
I sewed my background panel and Shimmer Ice Vellum circle over the ivory panel that I embossed with the Dotted Diamond Embossing Folder. To finish, I attached my butterfly with 3D thin foam squares.
I hope you enjoyed this project! Thanks so much for visiting!
~Caly
SUPPLIES:
|


Did you know?! We’ve made our card kit subscription BETTER THAN EVER!
Special May 2025 Subscriber PERK!

Learn more:

Here’s what makes our new service a crafting paradise:
Exclusive Access: As a subscriber, you get first dibs! Each month, you’ll get an exclusive sneak peek at our new kit, with the option to add more coordinating items to your cart, including handy replenishable supplies, all shipped together for your convenience.
Hassle-Free Payments: Say goodbye to monthly billings! Our automated system smoothly charges your preferred card, ensuring an uninterrupted flow of crafty goodness – unless you decide to pause, of course!
$5 Off Magic: Enjoy a special $5 discount off our kit’s retail price, exclusive to our beloved subscribers – no codes needed, just automatic savings!
Crafting Inspirations: Dive into a sea of creative ideas monthly, all tailored around your kit, to keep your inspiration flowing endlessly.
Flexibility First: Fear of commitment? Not here! Our subscription is as flexible as it gets – pause or cancel anytime, no strings attached.
Why wait? Step into the realm of our NEW Simon Says Stamp Monthly Card Kit service. Welcome a box full of crafting marvels, right to your doorstep. Craft with ease and let creativity come to you!
Ready to elevate your craft? Subscribe Now and open the doors to boundless creativity!
We’re thrilled to have you in our crafting community and can’t wait to embark on this renewed creative adventure together!
Mark your calendar!
Join us live MONDAY April 21st at 12 PM ET! Click or tap the bell by ‘Notify Me’ to be notified when we begin on MONDAY April 21st at 12 PM ET!


