Check out what’s NEW from Gina K Designs!
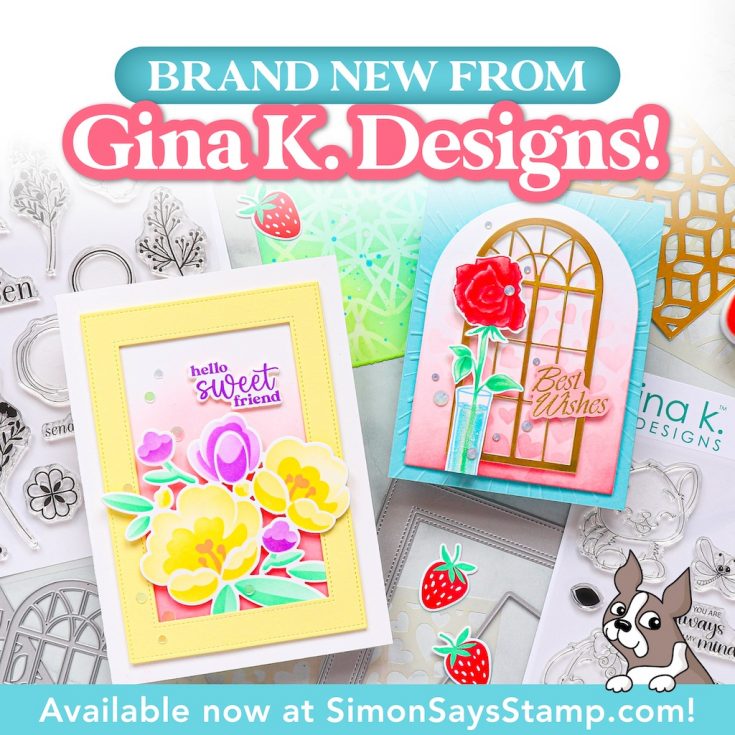
Hey friends! Oh, happy day—it’s here! The brand-new Gina K Designs April 2025 Collection has officially landed! Click or tap HERE to check out all the fresh goodies!
Looking for a little creative inspo? Just keep scrolling—we’ve got you covered.
PSA: Our exclusive Limited Edition Happy Birthday Present Die from Gina K Designs is almost gone forever—so if you love it, don’t wait– this new collection qualifies for this FREE gift with any $25+ Gina K Designs branded purchase—no code needed!
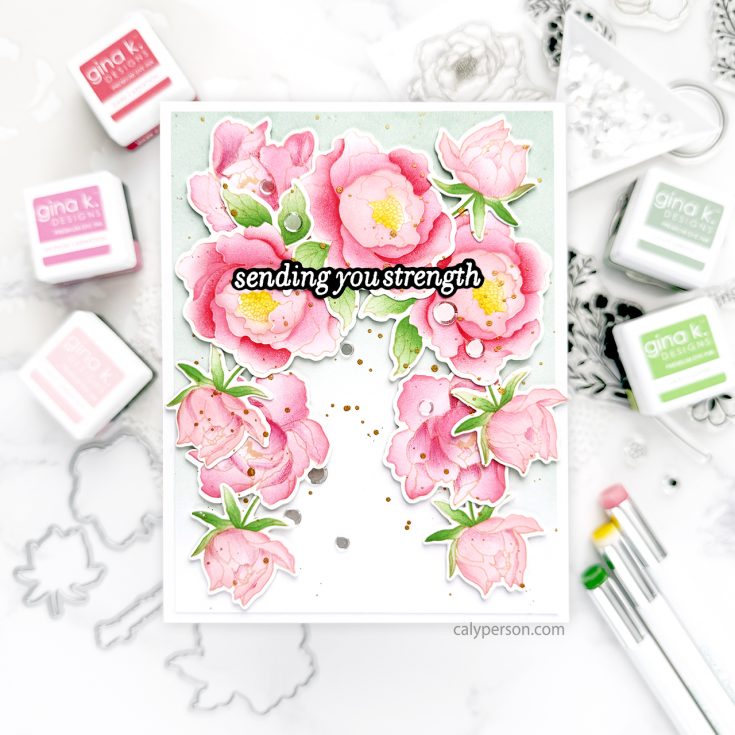
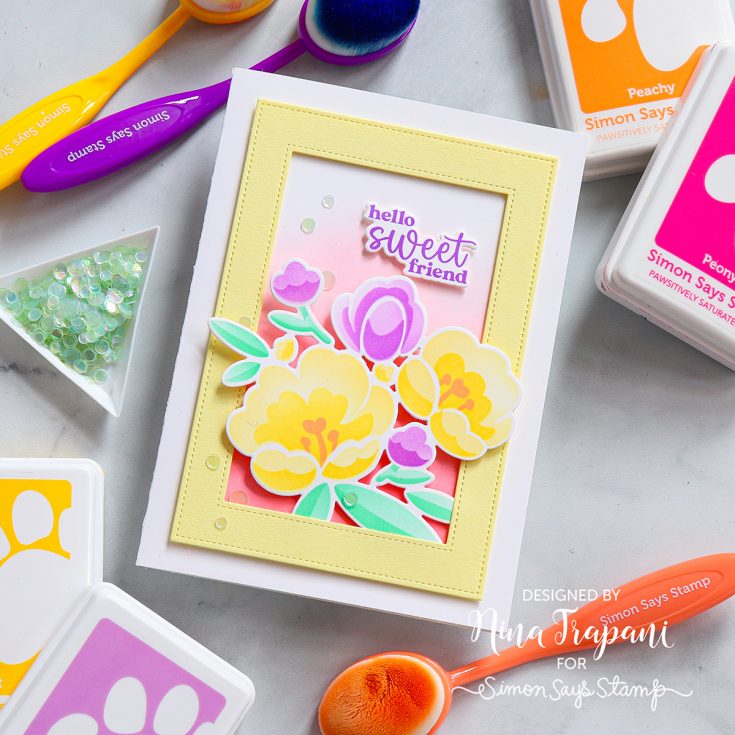
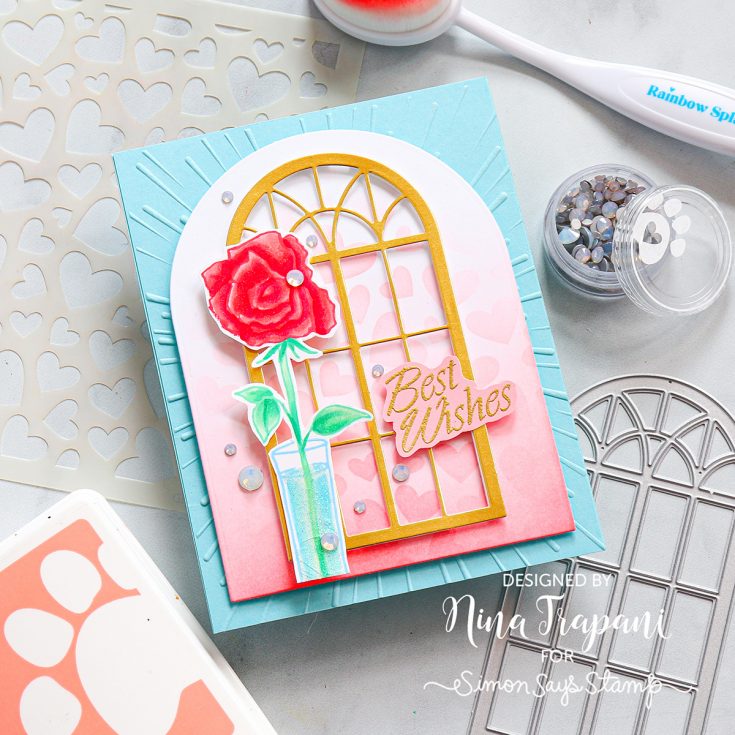
We have a few gifts left!
Shop the new exclusive collection and get this adorable FREE GIFT no code required with any $25+ purchase! (while supplies last!)
Did You Know? April 2025 Edition!
Hello crafters, it’s Shari Carroll here with you! I have a new edition of our popular Did You Know series today!
If it’s your first time seeing this feature, each month, we bring you fun facts, creative tips, and even crafty hacks about your favorite supplies and brands; you can then use these awesome tips that you learn in your next crafting projects! Are you ready to learn some fun tricks? Keep on reading!
We’ve been adding Quick Tip videos to our library to help you learn more about our products. I’m highlighting a few of them today.
SIMON SAYS STAMP PASTEL INKS
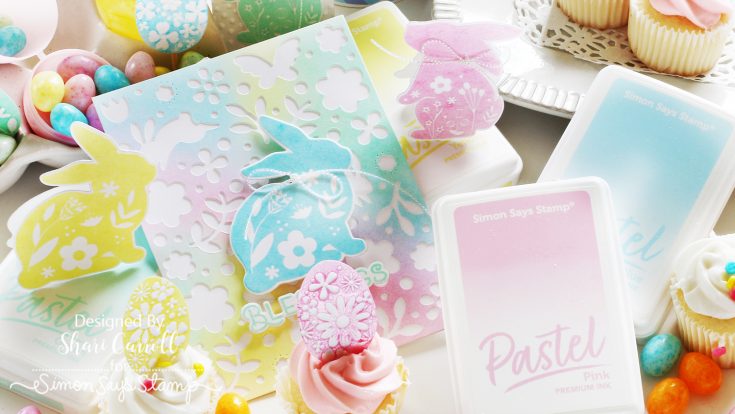
Our delightful Pastel inks are perfect for Spring, Easter, and baby cards. Check out the video below for some great tips using these pigment ink pads.

SIMON SAYS STAMP VERSAFINE NOCTURNE INK
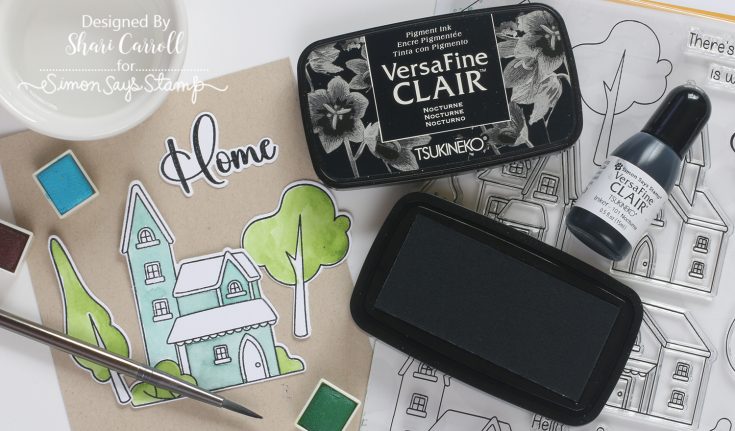
Our Nocturne ink is the richest, deepest black. You’ll find yourself using it as your go to stamping ink. Check out Caly’s video below for more features and benefits.

CZ DESIGN BOOP DISH
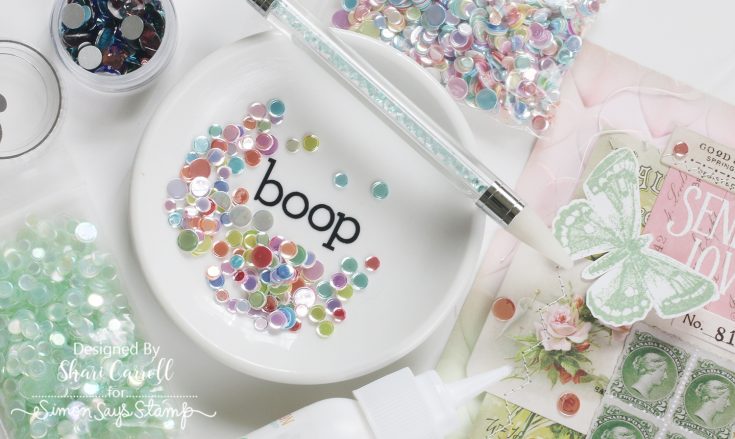
We love Cathy Zielske’s BOOP dish, she has some great tips on how she uses it below!

5X5 STORAGE POCKETS
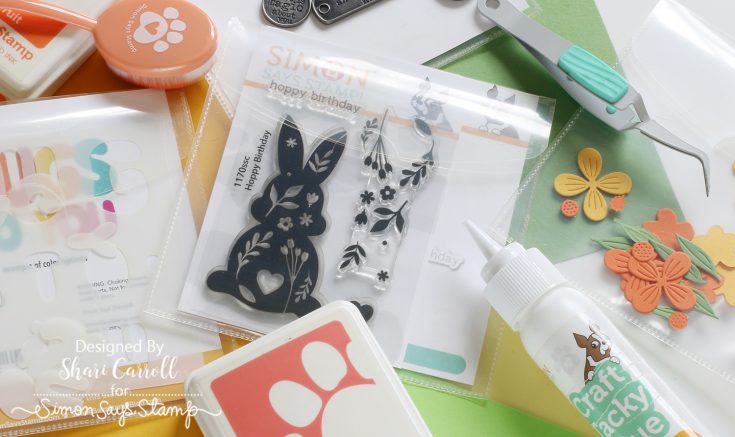
Small storage is made easy with our 5×5 clear pockets. Caly has found many ways to use them in her video below.

I hope these tips have helped you learn a few tricks about our products. Thanks for tuning in today and spending some time with me!
SUPPLIES:
|
Mark your calendar!
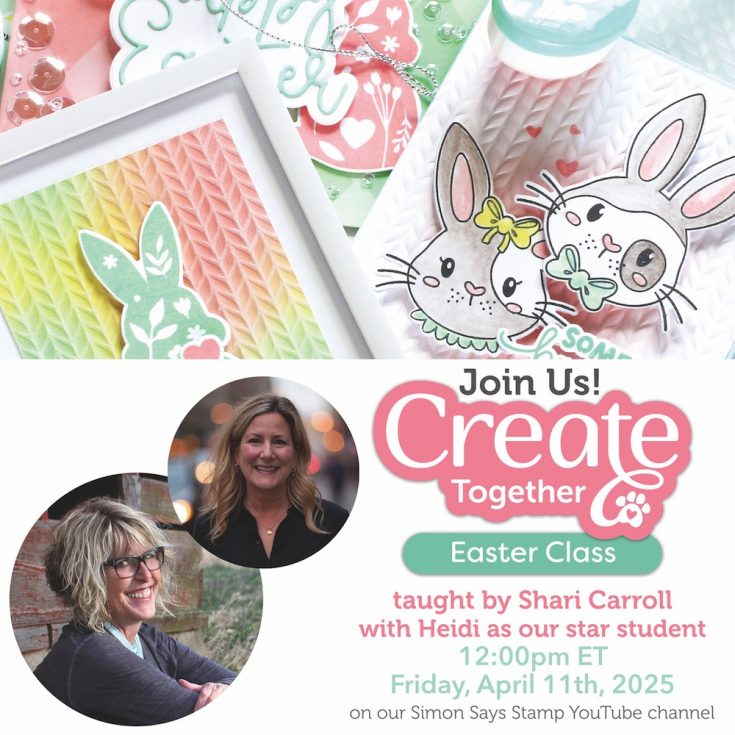
Join us live FRIDAY April 11th at 12 PM ET! Click or tap the bell by ‘Notify Me’ to be notified when we begin on Friday, April 11th at 12 PM ET!
Copic vs. Stencil Coloring – Which One’s for You? Yippee for Yana
Hi friends! Please join me in welcoming back the oh-so-talented and amazing Yana Smakula! (Please note: our dear friend Yana is Ukrainian. To show support to our brothers and sisters in Ukraine, please see Yana’s post HERE.)
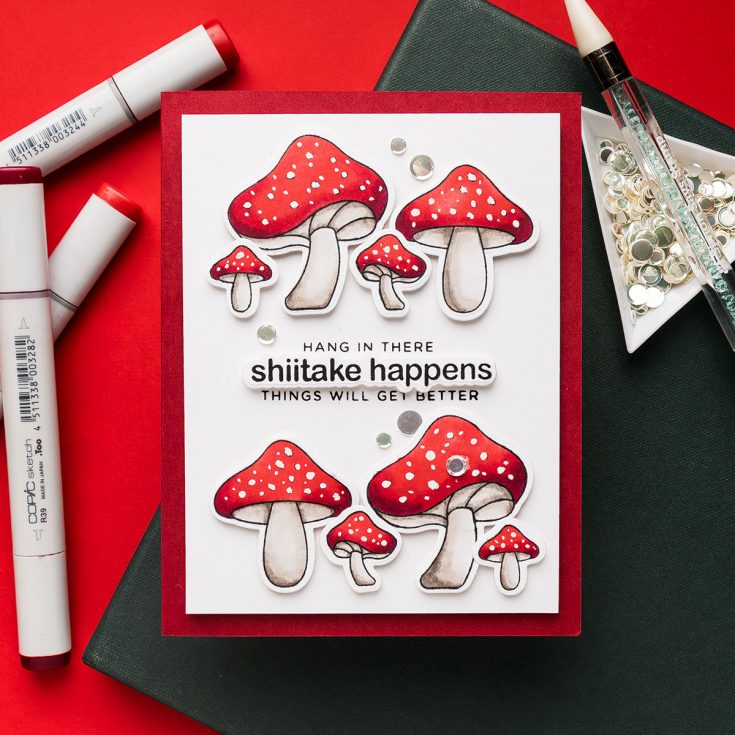
Hello, crafters, this is Yana Smakula for Simon Says Stamp! Welcome back for another Yippee
For Yana video! Today, I’m sharing a fun encouragement card featuring the cheeky and oh-so-
clever Oh Shiitake stamp set designed by the fabulous Cathy Zielske. This little set brought a
huge smile to my face the moment I saw it – and I hope it brings one to yours too!
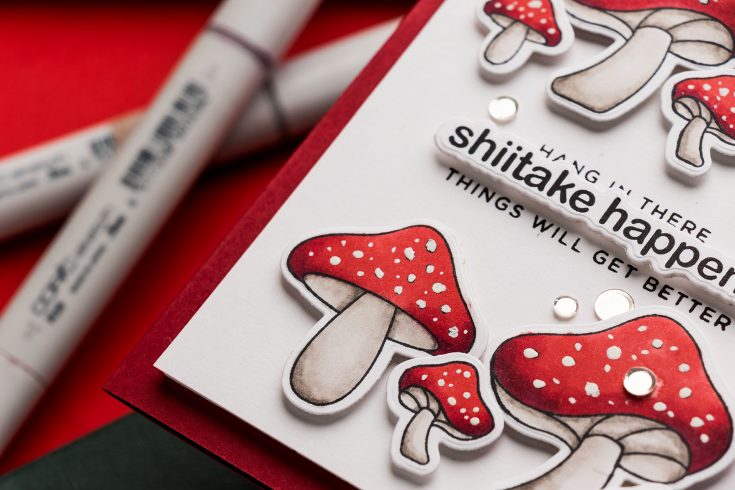
A Clever & Fun Design
The Oh Shiitake stamp set is full of charm, witty wordplay, and the cutest mushroom illustrations you’ve ever seen. It includes coordinating dies and layering stencils, making it perfect for a variety of coloring styles – whether you love your markers or prefer ink blending.
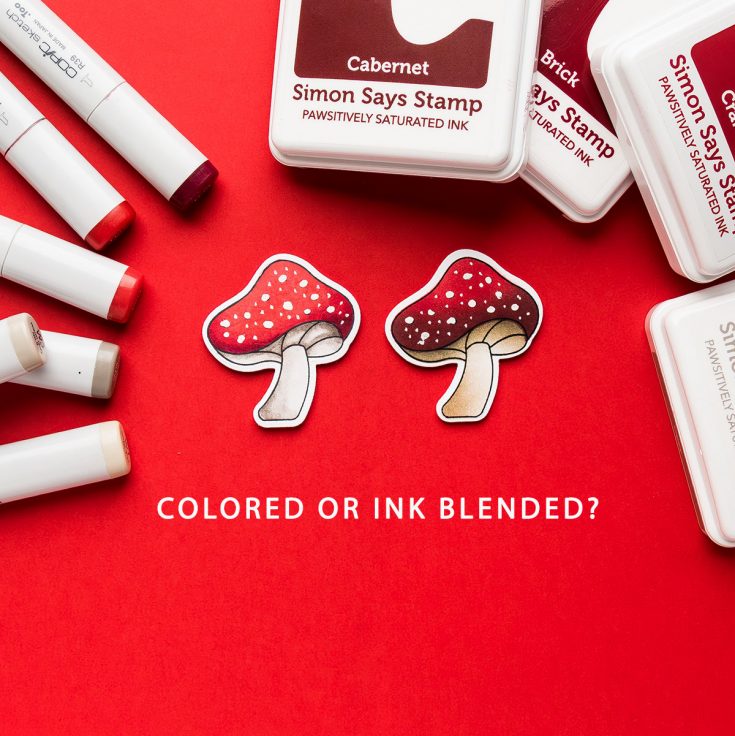
Coloring Mushrooms Two Ways
To start, I stamped a batch of mushroom images on Neenah Solar White 80lb cardstock – once in Memento Tuxedo Black Ink for Copic coloring, and again in VersaFine Clair for ink blending.
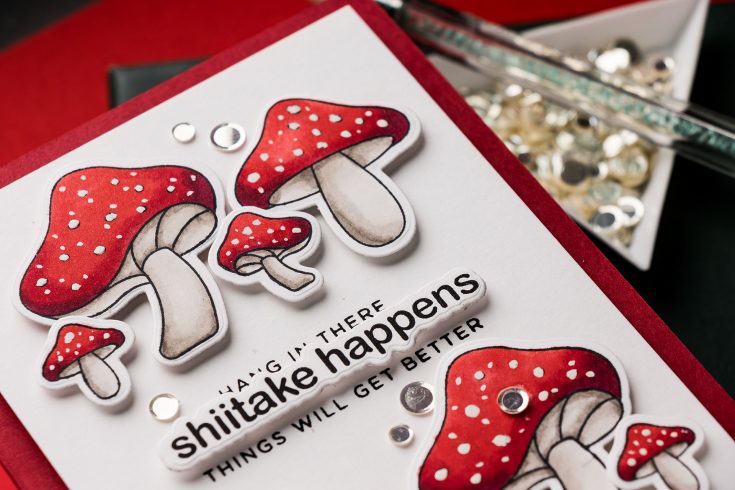
Copic Coloring:
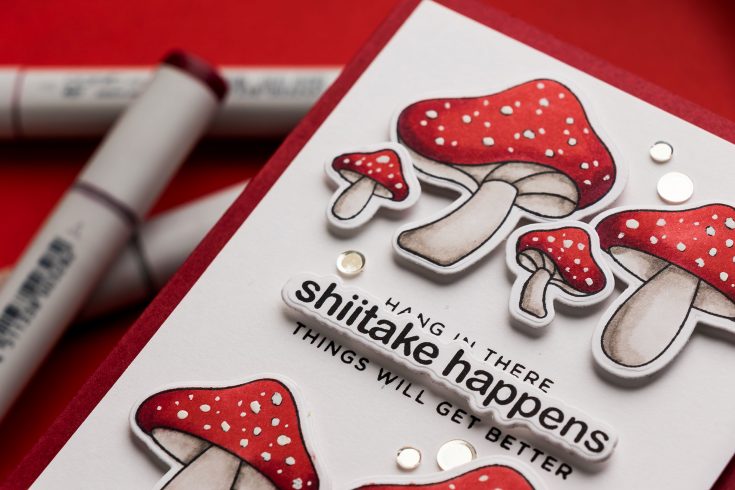
I used warm gray Copics (W5, W3, W1) for the mushroom stems and classic reds (R39, R27, R24) for those vibrant caps. For the white speckles, I added details with Splatter White by Spellbinders using a fine detail brush. Tip: Let the white ink dry completely before die-cutting—trust me on this one!
Ink Blending with Stencils:
The coordinating stencil set makes ink blending a breeze. I used Cranberry, Brick and Cabernet Simon Says Stamp Positively Saturated Inks on the mushroom caps and Fawn and Cozy for the stems. The Simon Tacky Mat held my cardstock and stencils perfectly in place, and a white Gelly Roll pen helped add little dots to the caps for extra texture.
Assembly & Sentiment
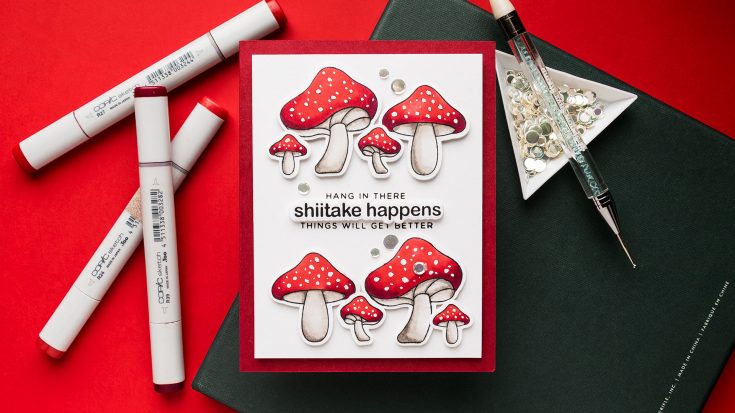
Once all my mushrooms were colored and die-cut, it was time to build the card! I arranged them in a grid layout (a favorite design style of mine!) on a panel cut to 3.75” x 5”. The sentiment? A playful “Shiitake happens” paired with “Hang in there” and “Things will get better” – perfect for an uplifting and lighthearted card.
Everything was adhered with foam adhesive squares for dimension, and I popped the finished panel onto a Schoolhouse Red card base using Simon’s foam sheets.
I added a few sequins from the Cottontail embellishment mix to finish this card.
Thanks so much for stopping by today! I hope this project leaves you feeling inspired to try something new. Until next time, happy crafting!
WATCH THE VIDEO:

SUPPLIES:
|
Ways to support Ukraine:
If you are looking for ways to support Ukraine, we encourage you to visit this page on Yana’s blog:

Thanks so much for stopping by, and thanks to Yana for being our guest!


