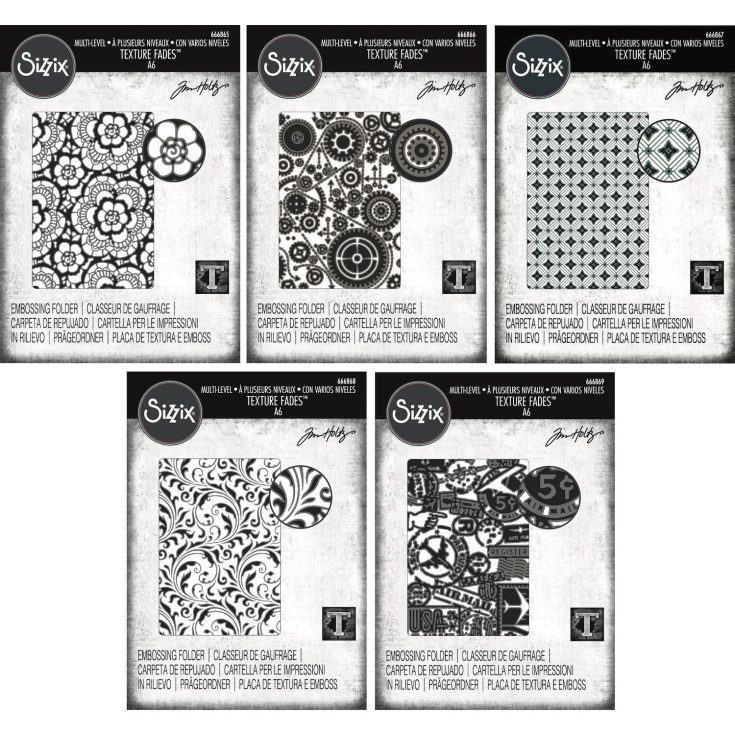
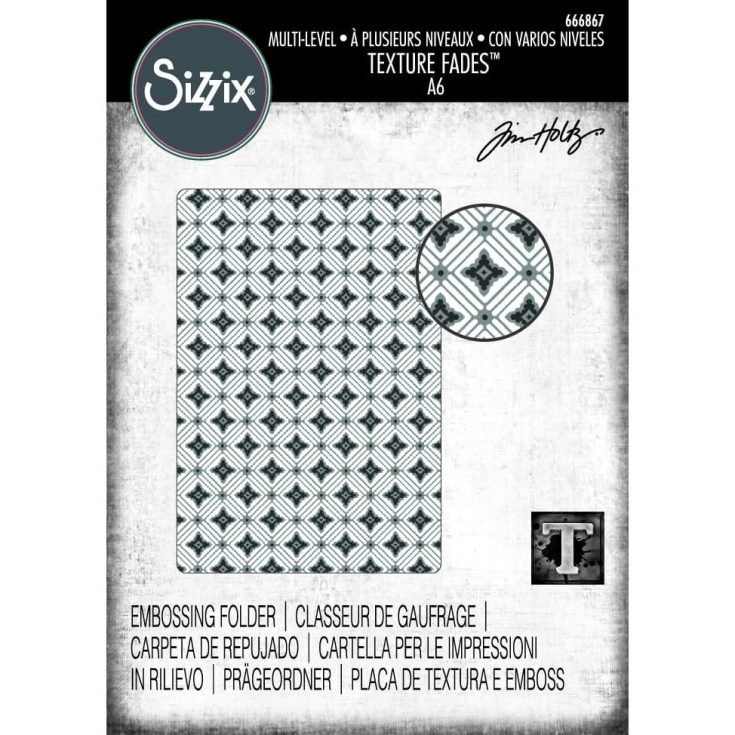
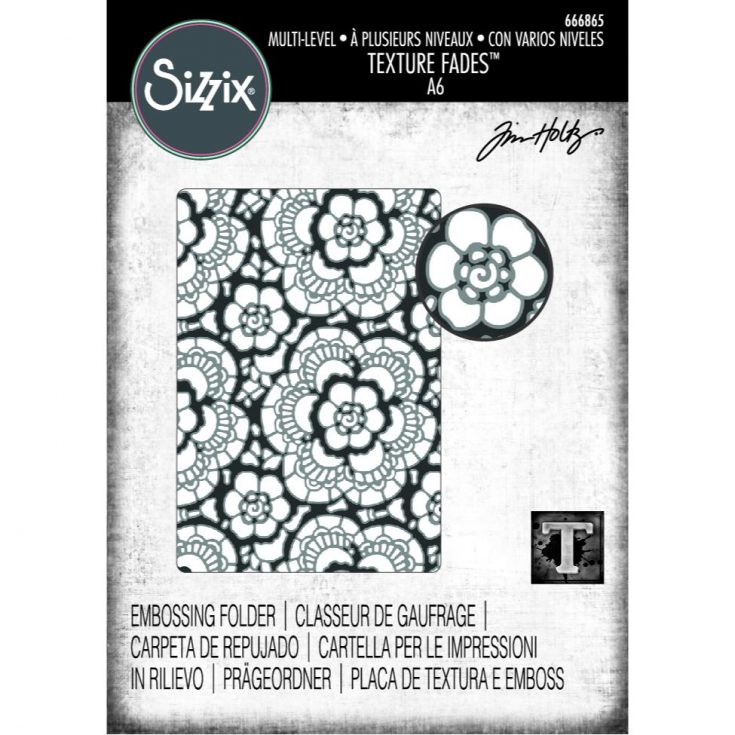
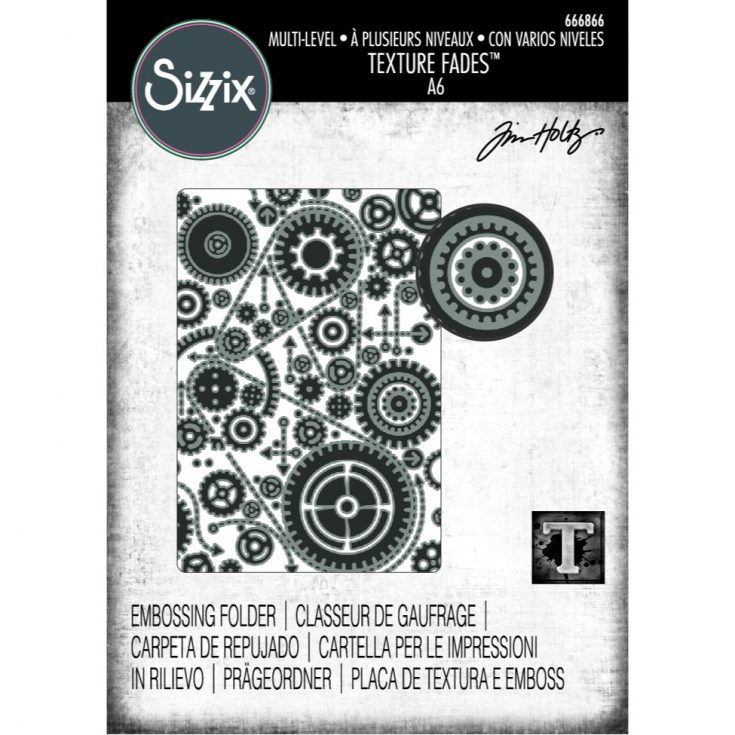
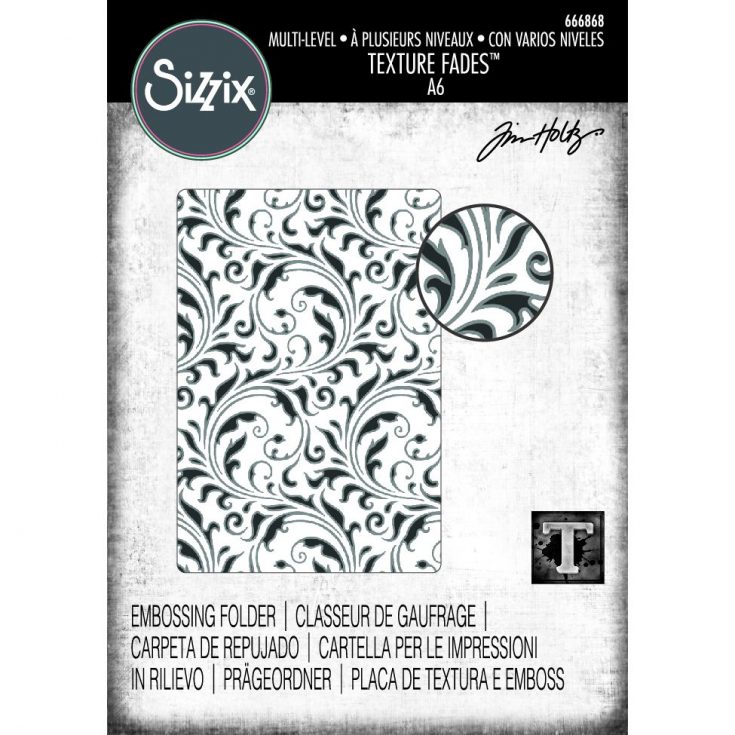
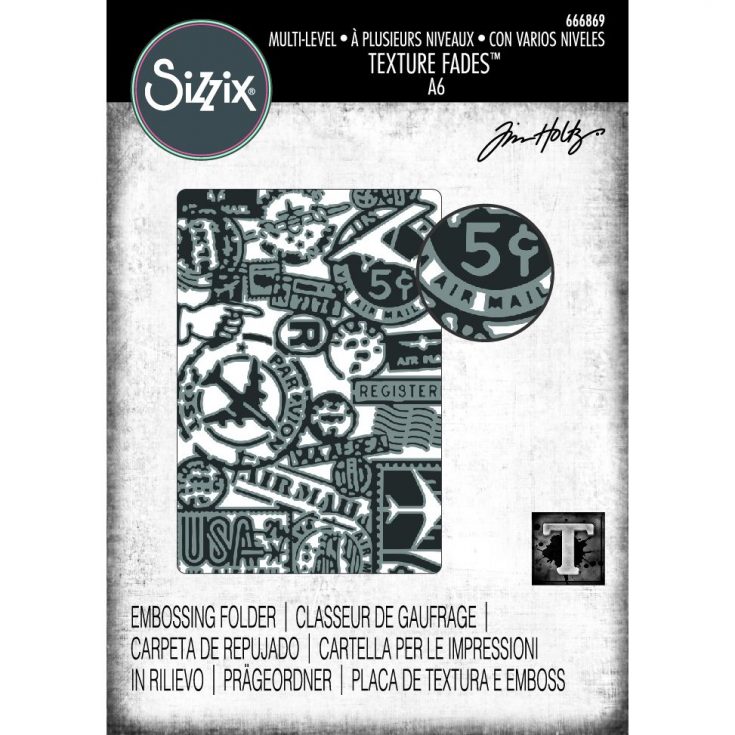
Newly Reimagined Tim Holtz Sizzix Texture Fades: Shipping Now!
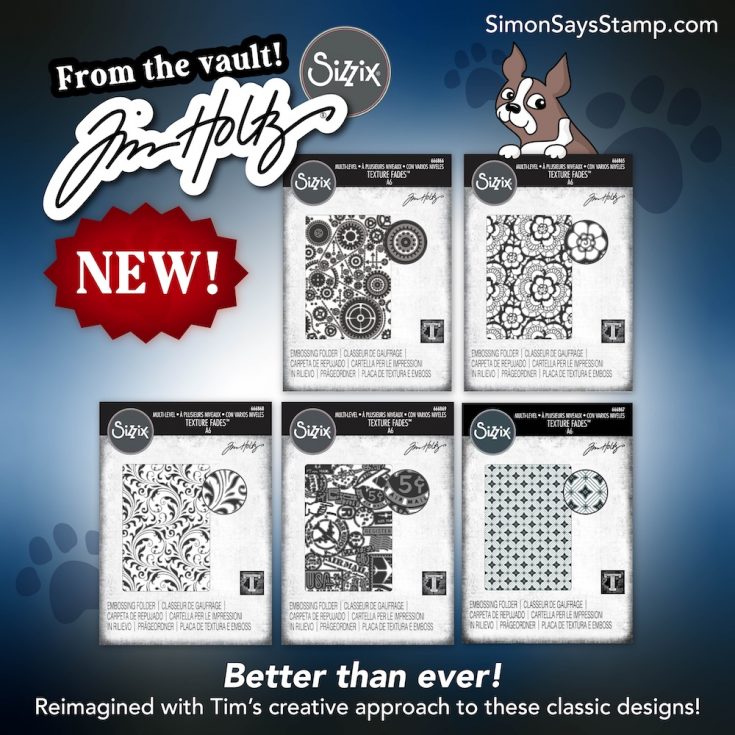
Hey friends! Time to get EXCITED!! Five new fantastic previously released Tim Holtz Sizzix Texture Fades designs have been reimagined and brought back from the VAULT – better than ever! Shop your favorites or pick up the bundle! In stock and shipping now!


One Stamp, Five Ways: Farm Life

Hi friends! Please join me in welcoming back special monthly guest Suzy Plantamura with another fun rendition of “One Stamp, Five Ways” featuring our newly released Farm Life set! Read on and learn more! Enjoy!
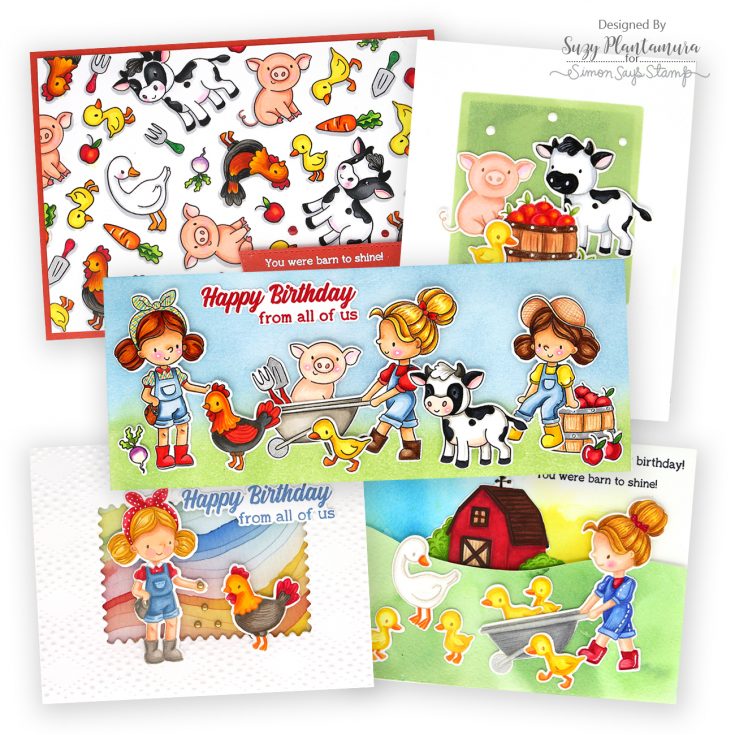
Hello friends! I’m back today with a “one stamp, five ways” guest post using the new Farm Life stamp and die bundle from the Rain or Shine release. I don’t know about you, but I am enjoying the shine part of my weather!
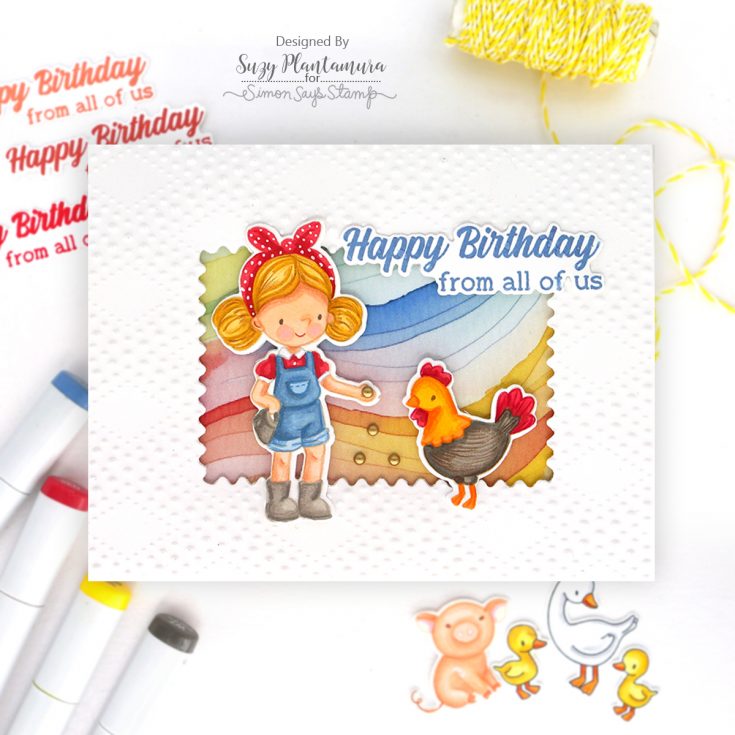
My first card uses the gorgeous Dotty Diamonds Embossing Folder. I left my photo a little dark so you could see all those amazing bubbles on it! I die-cut a piece of A2 white cardstock with the Modern Postage Die from the center. Then I embossed it so I wouldn’t flatten my design. I placed foam tape under all four sides and attached it to a piece of patterned paper from the Pink and Main Spring Watercolor paper (I love these papers so much!).
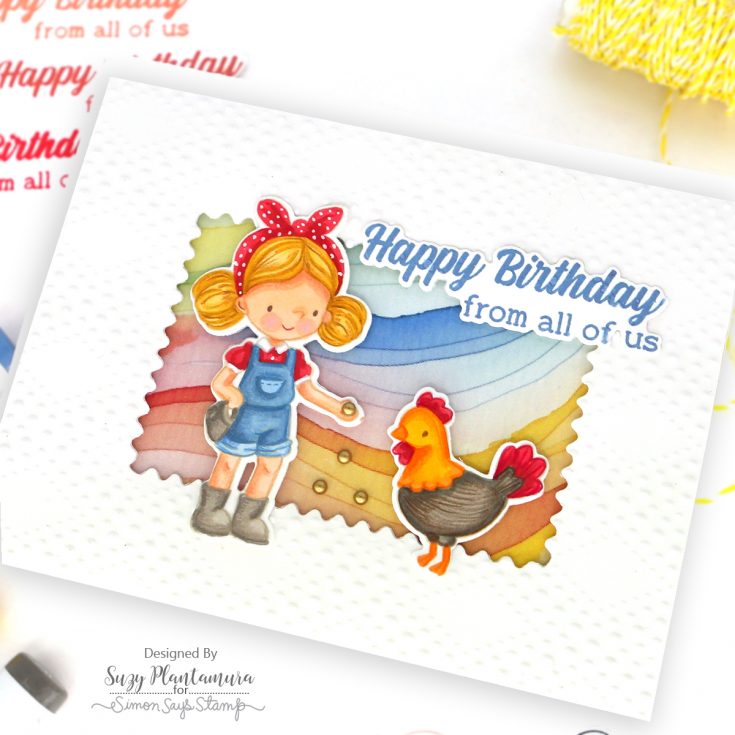
I stamped all of the images in the Farm Life stamp set with Latte PSInk and colored them with Copic Markers. I used colored pencils to add some details like the feathers on the rooster’s body. I also stamped the sentiment using Dusk PSInk. I die-cut the images out with the matching dies. I attached them over the center using foam tape behind them. I used four little gold pearls for the chicken feed in her hand and on the ground.
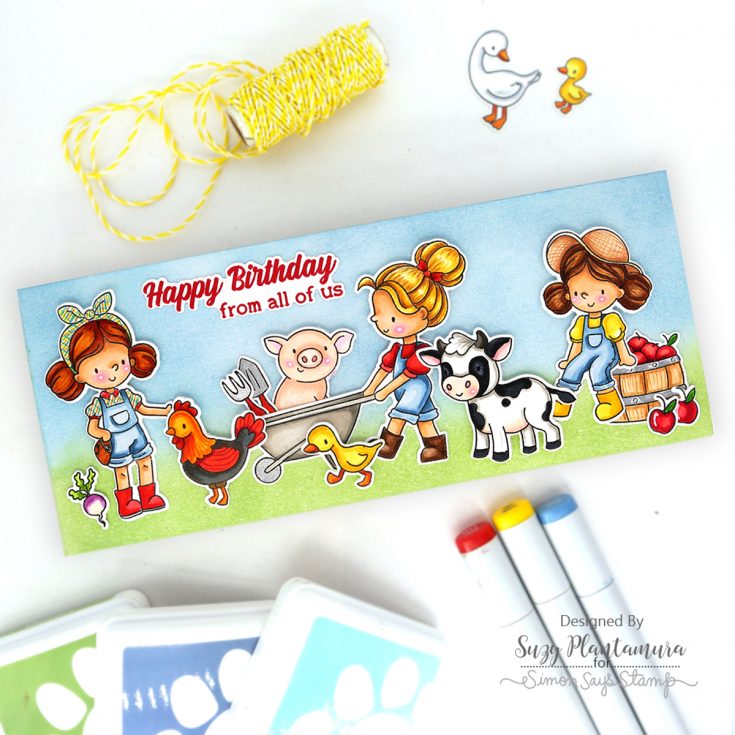
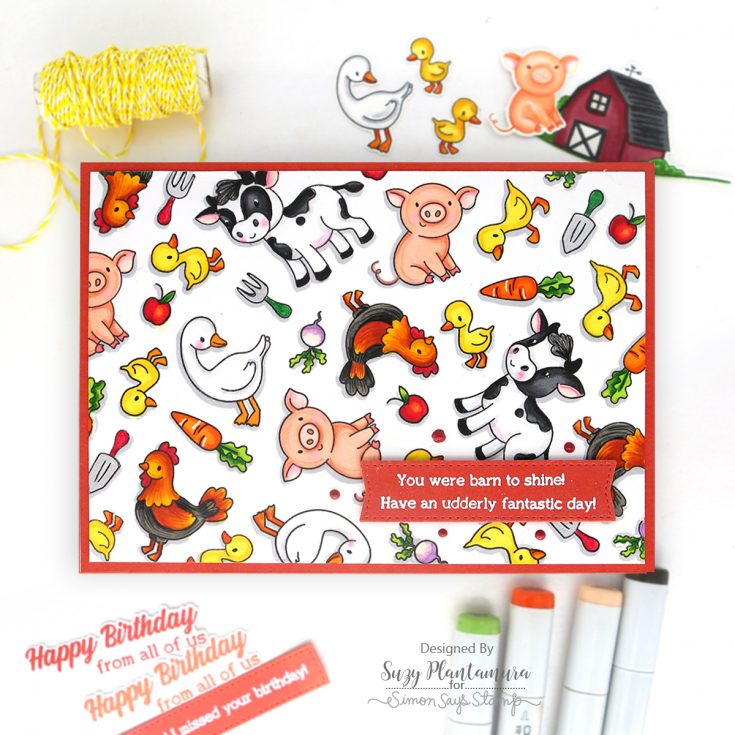
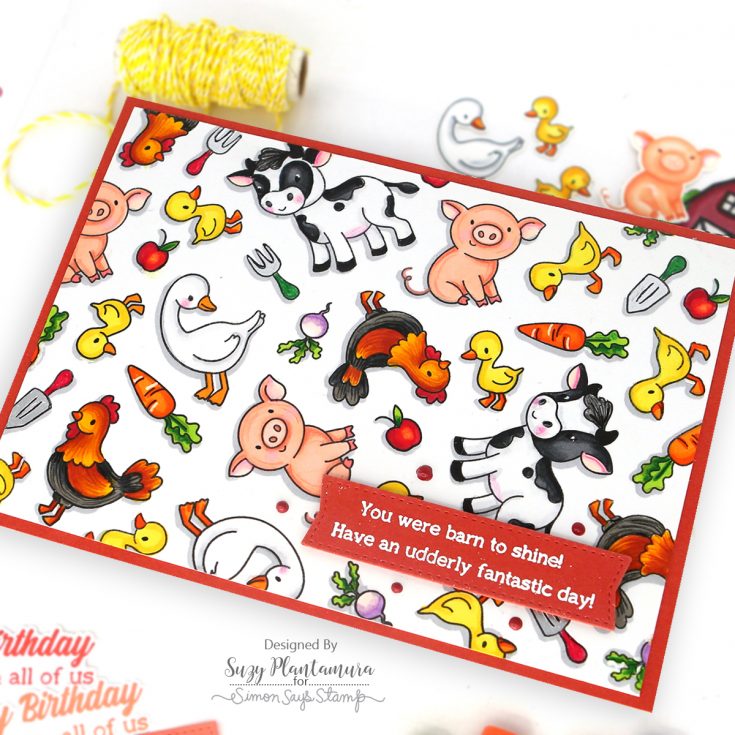
I stamped all of the images in the stamp set with black ink and colored them in with Copic Markers. I think I used almost all of the images on this card (or I tried to!). I love how you can create a cute little scene with them all and this slimline size was perfect to do it with.
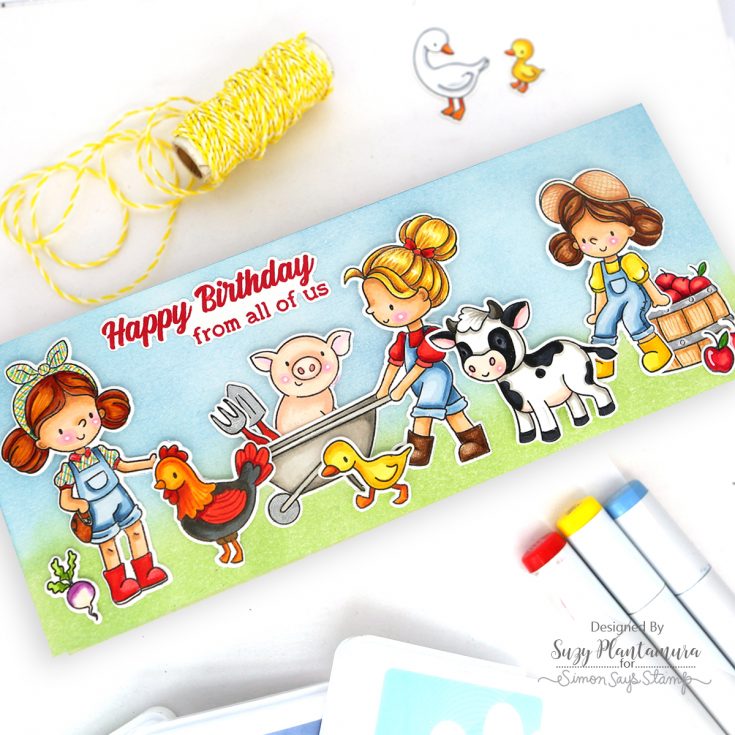
I cut a piece of white cardstock to 3.5” x 8.5”. I applied PSInk to it with Cabbage for the ground and Marine and Sky mixed for the sky. I arranged all of the colored images over the background with foam tape behind some for dimension. I stamped a sentiment with Cranberry PSInk and attached that to the top of the card.
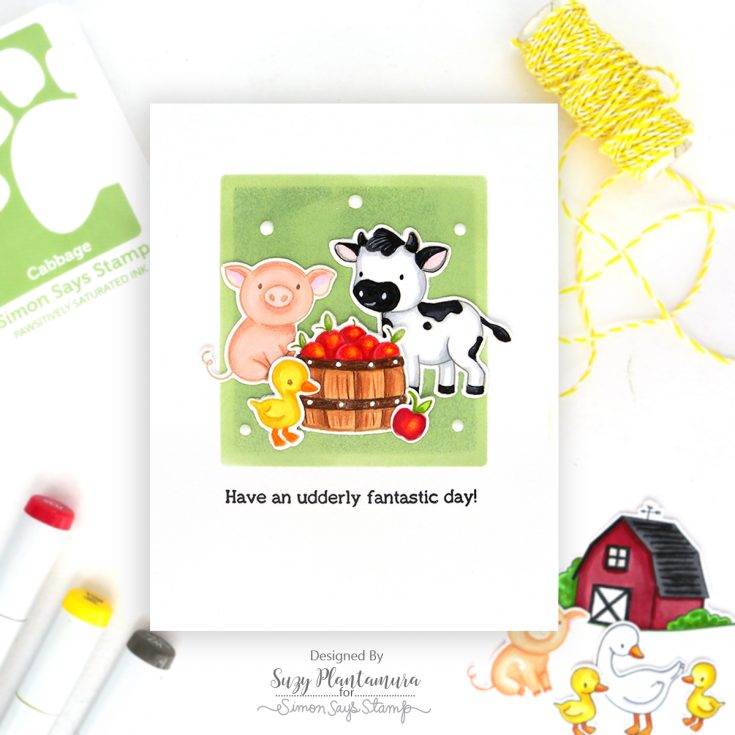
I used the square stencils from the Rain or Shine release called Mod Plants Blog Stencils. I attached the larger one first to a piece of A2 size white cardstock. I applied Cabbage PSInk over it. I then attached the smaller stencil and applied more of the same color over it. I dabbed a little bit of Artichoke PSInk over it for the look of texture.
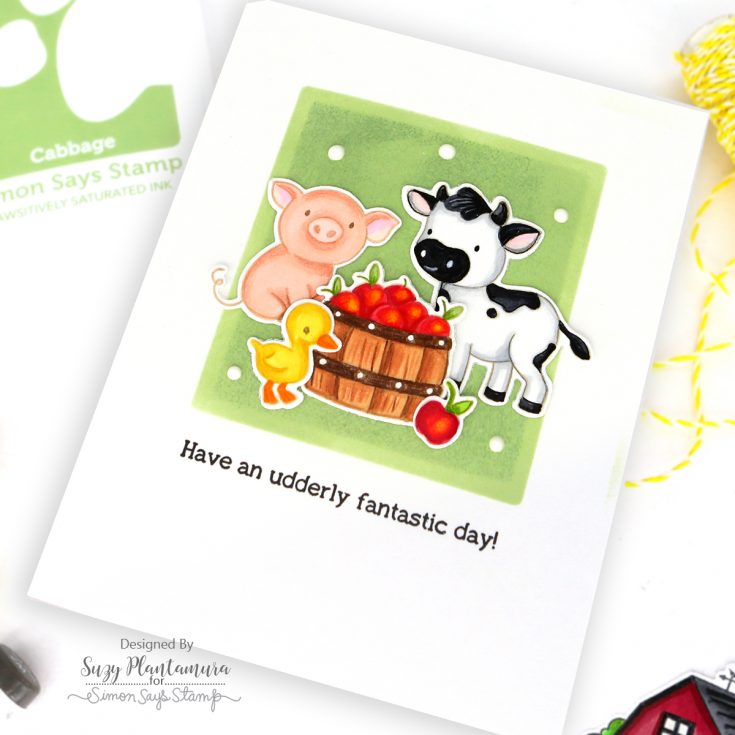
I used a few of my no-line coloring images over the square to create a little scene. I stamped a sentiment under the square with black ink. I added some dots around the scene with Chalk Stick Vintage Nuvo Drops. I kept this card as clean and simple as I could for once!
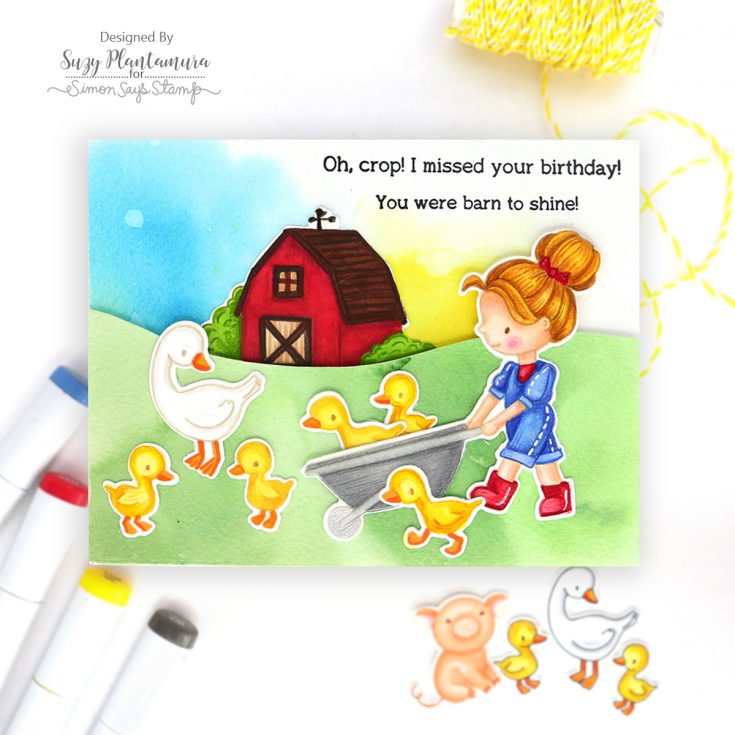
I made the background for this card with watercolor paper and watercolors. I used a bright blue for the sky and added some yellow. I cut the green to be in the shape of grass that would align with the line of ground in the barn stamp. I attached the grass over the sky piece with foam tape behind it.
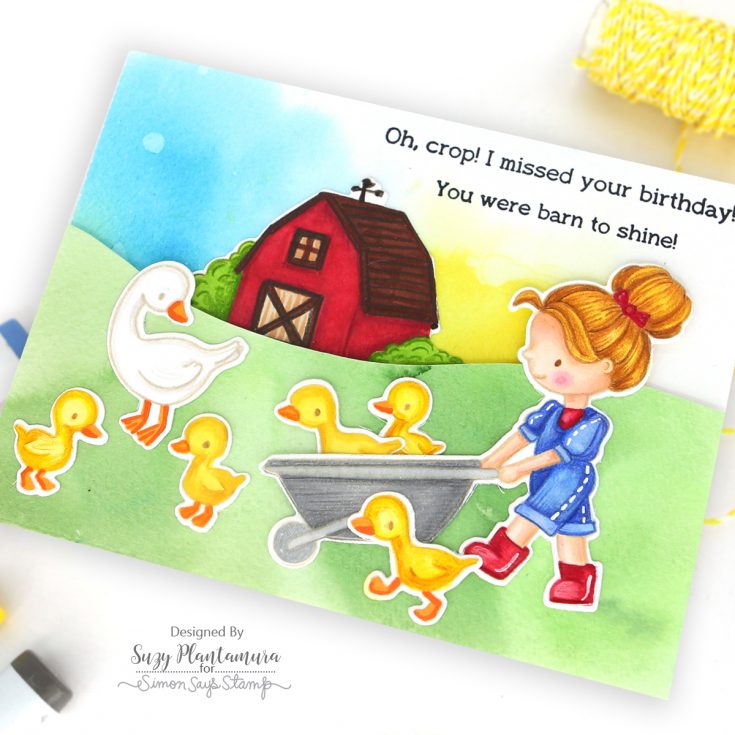
I used some of my no-line-colored images for the scene on this card. I tucked the barn behind the grass, so it looked like it was in the background. I attached all of the other images over the grass. I stamped two sentiments on the top with black ink.
Of course, I had to use my “random stamping” technique with this stamp set since it was so fun to color! I made this card 5×7” since the images in the stamp set were a little larger. I stamped the animals and other smaller stamps over white cardstock all topsy turvy using black ink. I colored them all in with Copics. I added some details to the roosters with colored pencils.
I cut this piece down slightly and attached it to a burnt orange card base. I die-cut a banner out of the same cardstock color and embossed two sentiments on it with white embossing powder. I added it to the bottom of the card with foam tape behind it. I used some Nuvo drops around the sentiment.
I adore this Farm Life stamp set with all its cute images. I didn’t want to stop at five cards as I had a few more images colored. If you like to color, I highly recommend this cute set! Have a great day everyone!-Suzy
SUPPLIES:
|


Thanks so much for stopping by, and to Suzy for being our guest!
Mark your calendar!
Join us live TUESDAY April 1st at 12 PM ET! Click or tap the bell by ‘Notify Me’ to be notified when we begin on Tuesday, April 1st at 12 PM ET!

Leaves Like You’ve Never Seen + Easy Word Stack Magic: Amore Laurafadora

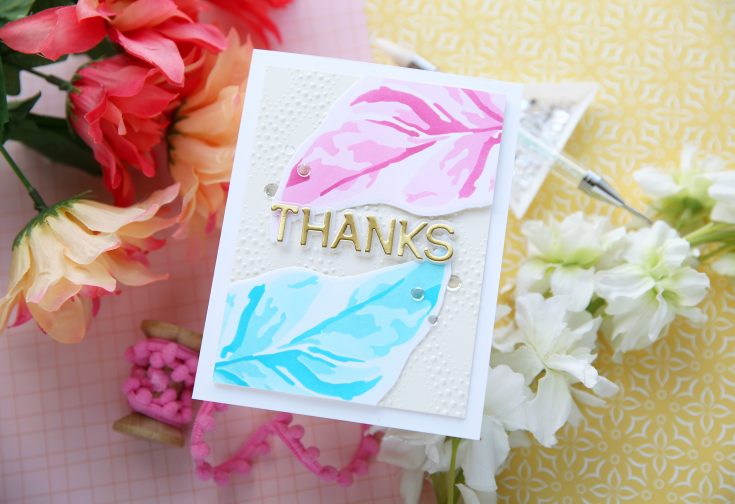
Hi friends! Happy Sunday Please join me in welcoming back special guest Laura Bassen to our blog with this adorable card featuring our brand NEW White Fusion layering stencil and die set along with our new Dotty Diamonds embossing folder for that ‘chef’s kiss’ of texture! Polished off with our Matte Gold cardstock for the sentiment and a sprinkling of our Starshine embellishment mix for the perfect card! Be sure to watch the video for some fun tips and tricks on color blending and adding dimension to your die cuts! Enjoy!

WATCH THE VIDEO:

SUPPLIES:
|


Thanks so much for stopping by, and thanks to Laura for being our guest!
Deal Alert!

Mark your calendar!
Join us live TUESDAY April 1st at 12 PM ET! Click or tap the bell by ‘Notify Me’ to be notified when we begin on Tuesday, April 1st at 12 PM ET!


