Hanging Happy Eggs | Let’s Get Crafty With Caly!
Hi everyone! It’s Caly Person here today!
I’m sharing a coloring Easter card using the Happy Eggs set. This set takes me back to the basics with stamping, which I LOVE! I also added some branches and details from the Whimsical Branch Frame to hang these eggs from.
The background is first ink-blended and then stenciled with the Hippity Hoppity stencil using texture paste. Be sure to check out the video below to see this card come together!
WATCH THE VIDEO:
While the background air-dried, I ink-blended the Whimsical Branches, flowers, and leaves. I also used this time to stamp the colorful Happy Eggs.
Details are always important, so I took the time to ink-blend and stamp things. The eggs are each stamped with two shades of each color. I added bows to each egg, die-cut from the She Gnome die set.
I strung the eggs using White Iridescent Cord and finished by embellishing the card with Pastel Ice Embellishments.
I hope you like it!
SUPPLIES:
|
Gorgeous Curated Color Kits of NEW Tim Holtz Ranger Alcohol Inks + Great Value!
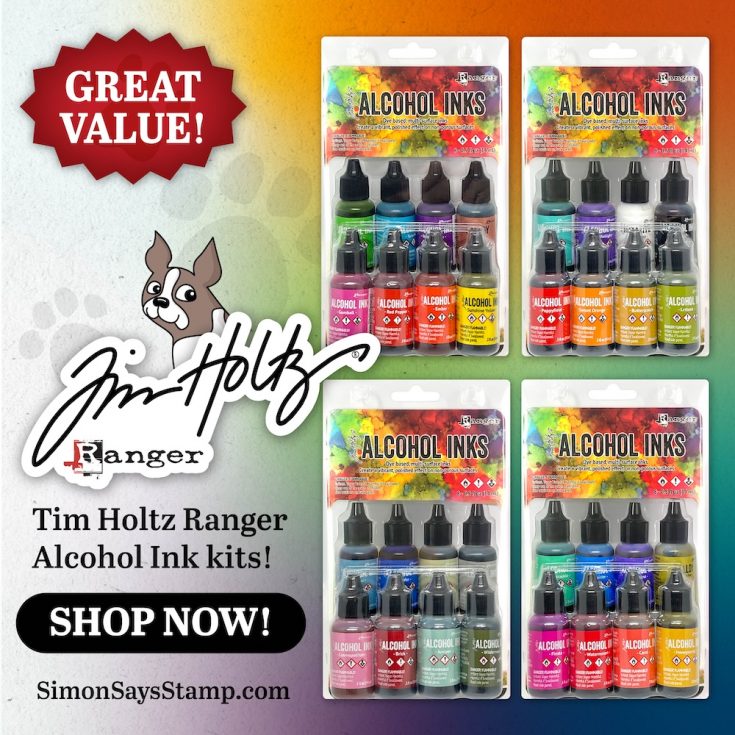
Happy Wednesday, friends! Surprise! If you love Alcohol inks like we do, these kits are for you! These four curated collections of 8 unique colors will bring you hours of crafty fun! These premium, acid-free dye inks are specially formulated for non-porous surfaces, allowing for stunning layered effects. Perfect for use on surfaces like Alcohol Ink Dura Lar, Yupo®, and Glossy Paper, as well as metal, glass, and glazed tiles. Purchased individually, these kits would be just under $36, but the entire beautiful set(s) of 8 can be yours for just $29.99 each!


Get inspired by many BEAUTIFUL things you can make with Alcohol Inks on our YouTube channel!
Floral Patterned Paper Underwater Scene Cards
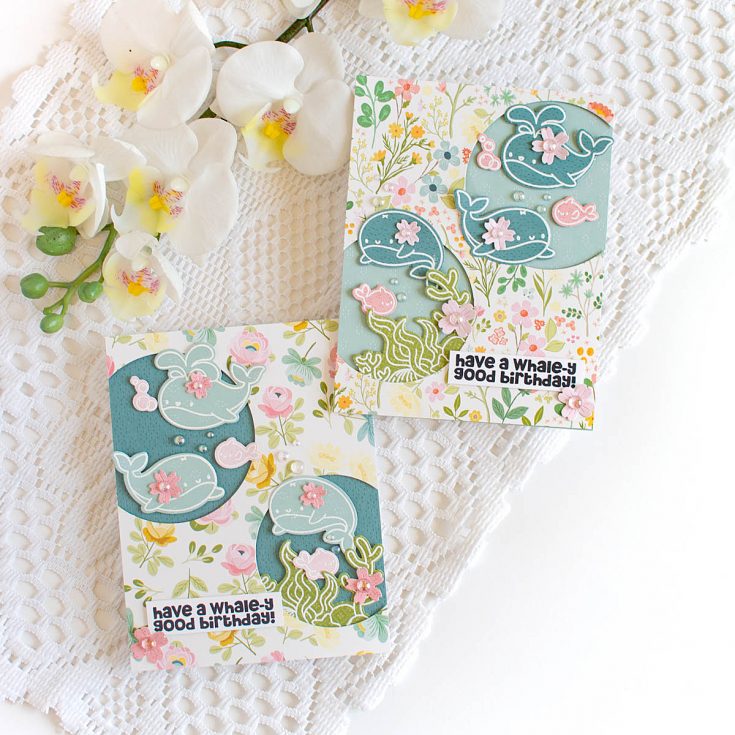
Hi friends! Happy Wednesday! I’m delighted to welcome back special guest Heather Hoffman showcasing some super sweet inspiration showcasing our newly released Get Whale Soon stamp and die set in such a fun and unique way! Read on for all the details and enjoy!
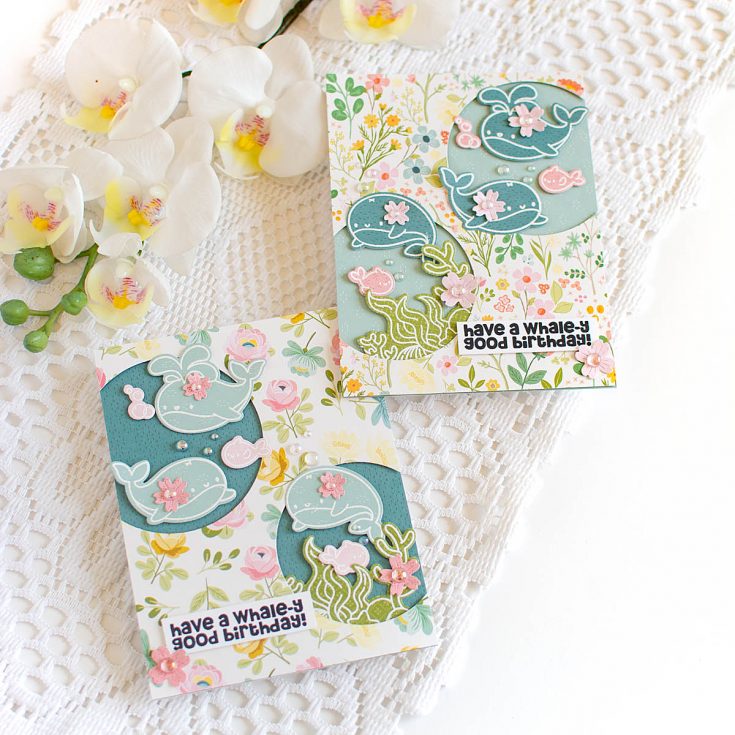
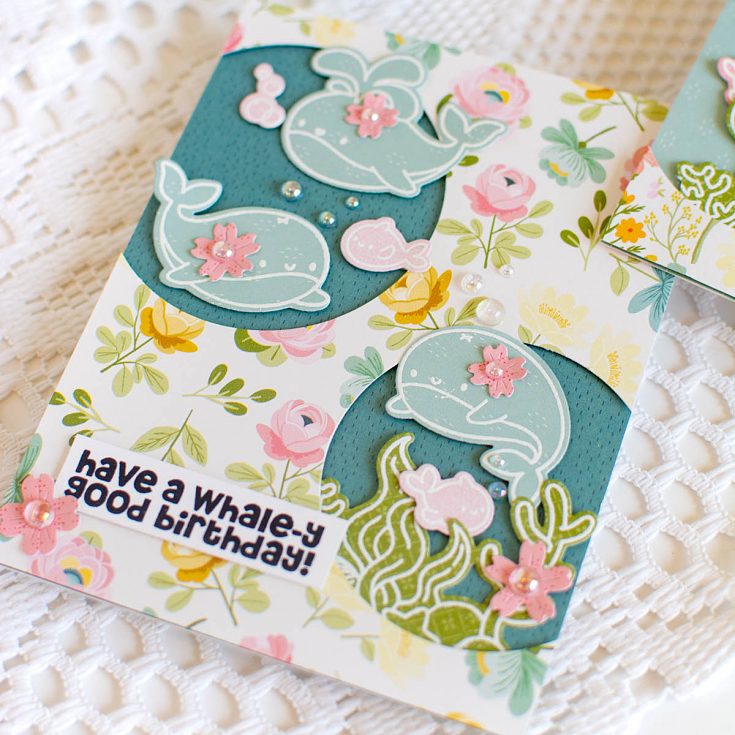
One of my favorite things about cardmaking, is the ability to create things in a way that is perhaps not realistic, but beautiful all the same! I loved the adorable Get Whale Soon set, and thought it would be fun to use it without coloring and lots of pattern paper instead. I think they are so fun how they turned out!
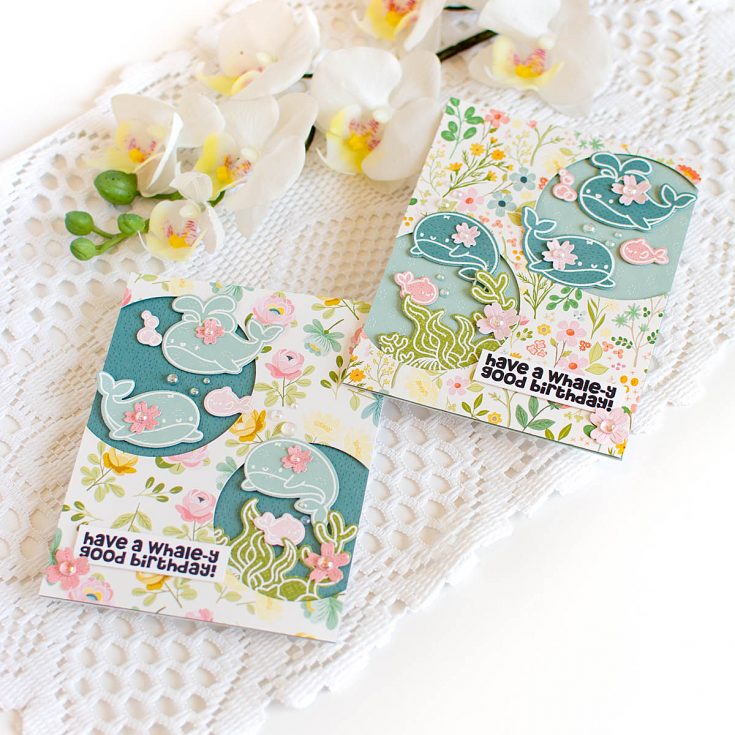
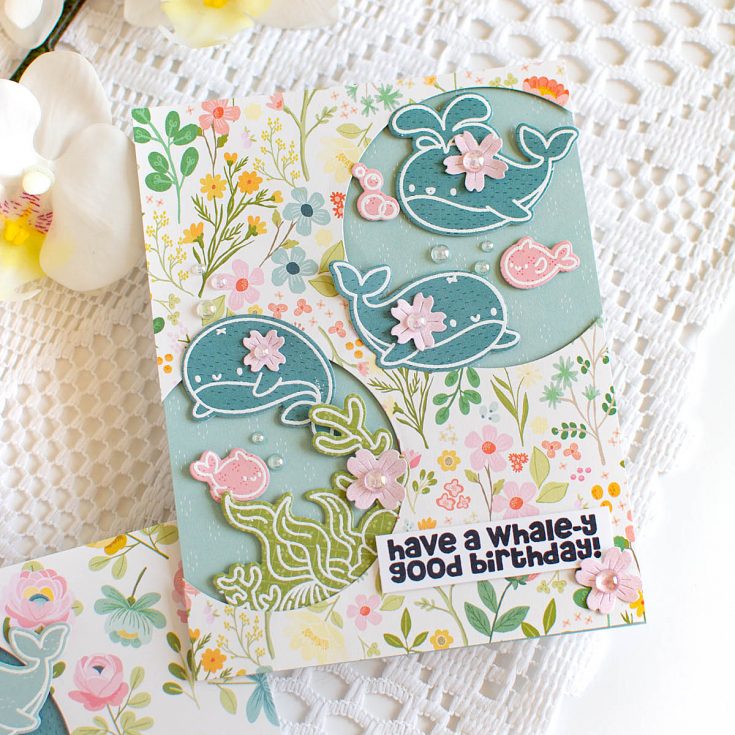
I started off by selecting some floral pattern paper from Echo Park Secret Garden 6×6 paper pad, as well as a few simpler patterns (Tip: the back side of double-sided pattern paper is often a great place to find more solid or simple patterns that coordinate with the busier patterns in the pad!). I cut two sizes of circles from the floral paper after trimming it to A2 size, letting the circles hang off the edge so I was left with partial circles.
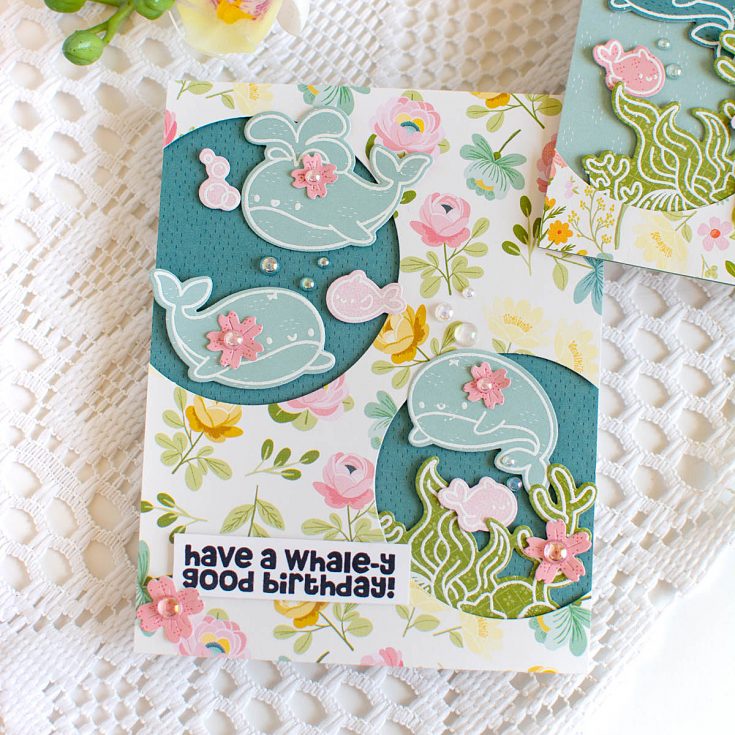
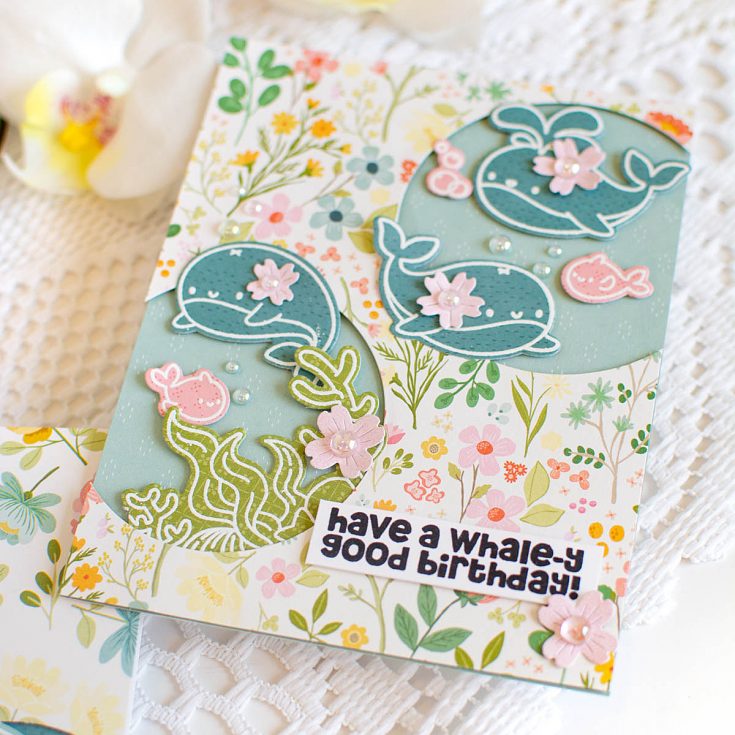
Next, I stamped several of the elements from the stamp set on the pattern papers, heat embossing each one in white, and die cutting with the coordinating elements. I built my scene, using foam adhesive to pop everything up slightly from the background for dimension. I also die cut a few flowers from Whimsical Branch Frame die set, and tucked those around my scene.
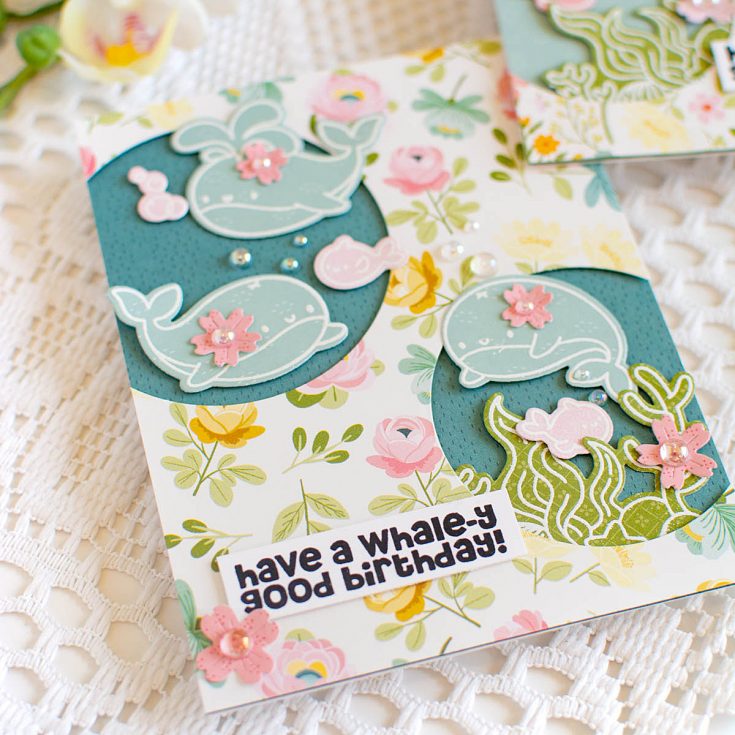
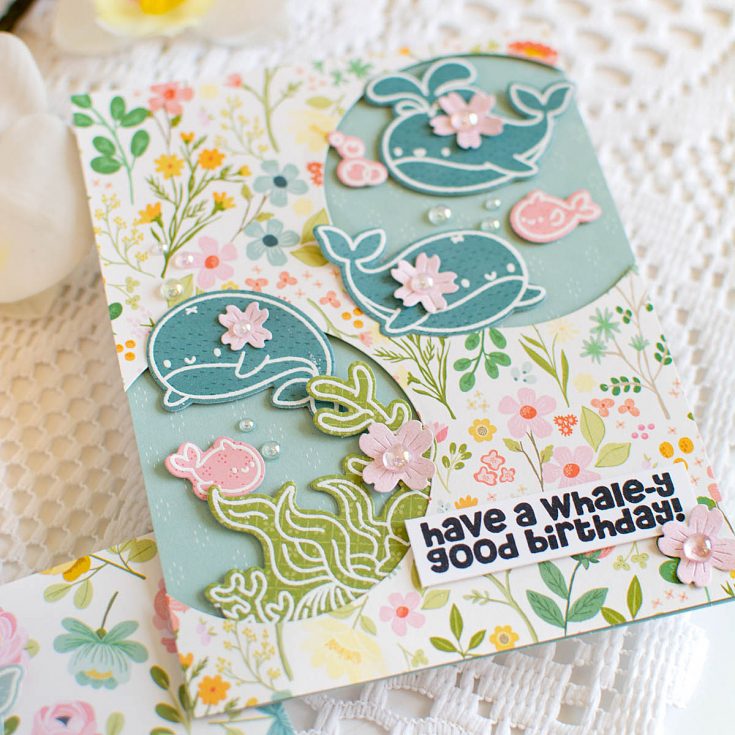
Finally, I stamped my sentiments in black ink, and trimmed down to a small rectangle before adding with foam adhesive. Finished off with a few Trinity Stamps Bubble Blow Out embellishments on the flower centers and around the scene to add a touch of sparkly and bubbly fun!
Do you like to use pattern paper to build a scene? Or do you tend to gravitate to ink blending and/or coloring?
SUPPLIES:
|
Thanks so much for stopping by, and thanks to Heather for being our guest!
Mark your calendar!
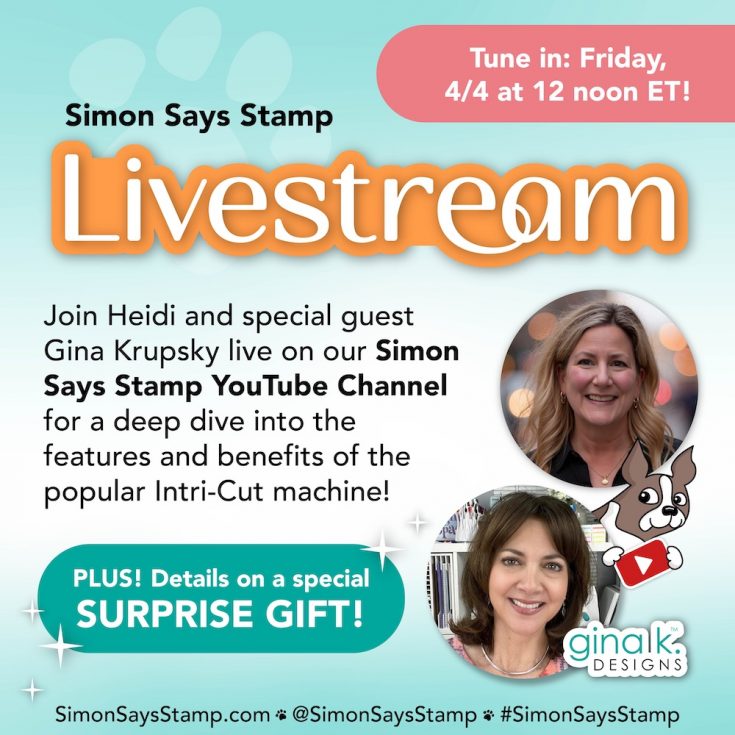
Join us live FRIDAY April 4th at 12 PM ET! Click or tap the bell by ‘Notify Me’ to be notified when we begin on Friday, April 4th at 12 PM ET!
