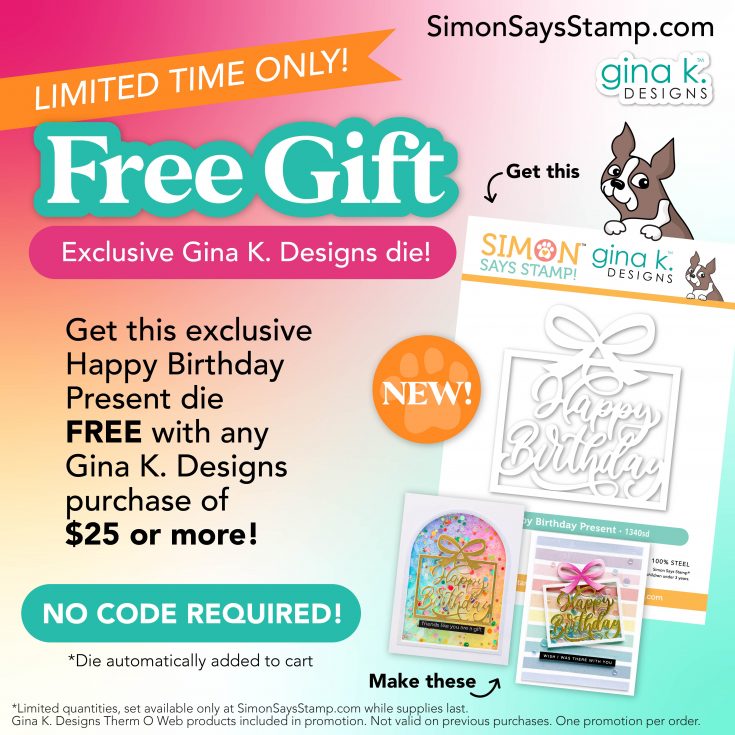
Exclusive Limited Edition Surprise GIFT from Gina K Designs!
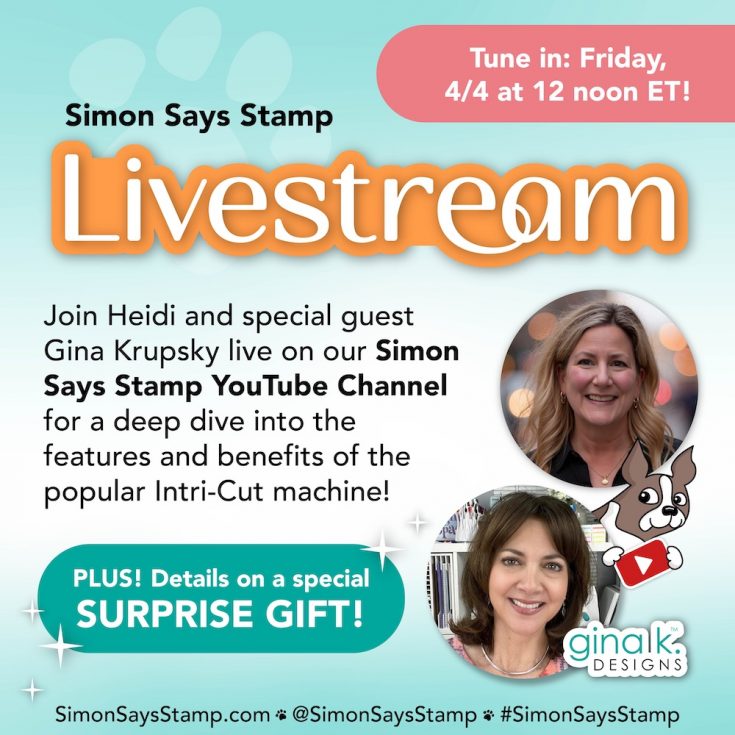
Hi, friends! Today is doubly exciting, and we’re absolutely BURSTING with joy! Not only are we thrilled to dive into even more fabulous tips and tricks for using the amazing Gina K Designs Intri-Cut Die-Cut Machine LIVE on our YouTube channel with the one and only Gina Krupsky—but we’re also over-the-moon to share a sweet surprise with you!
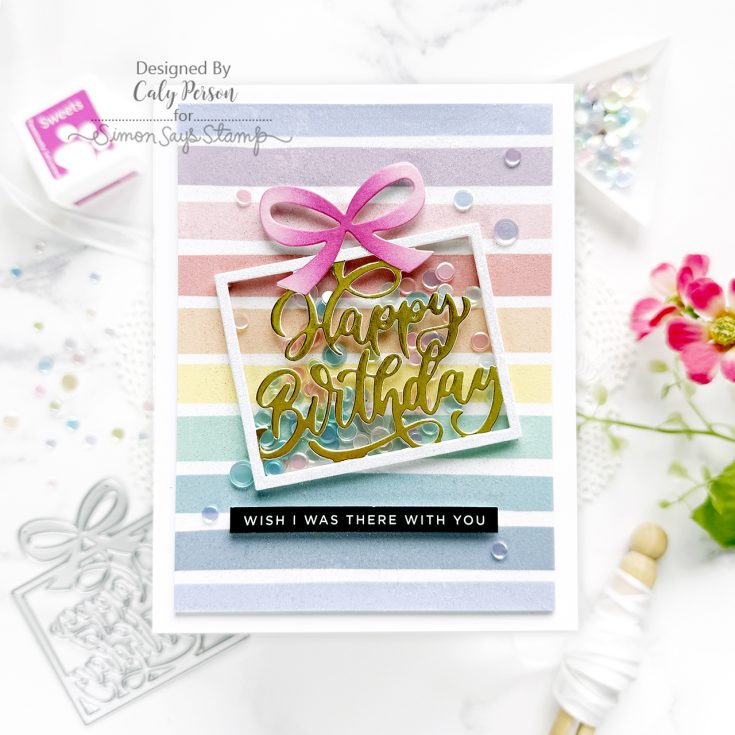
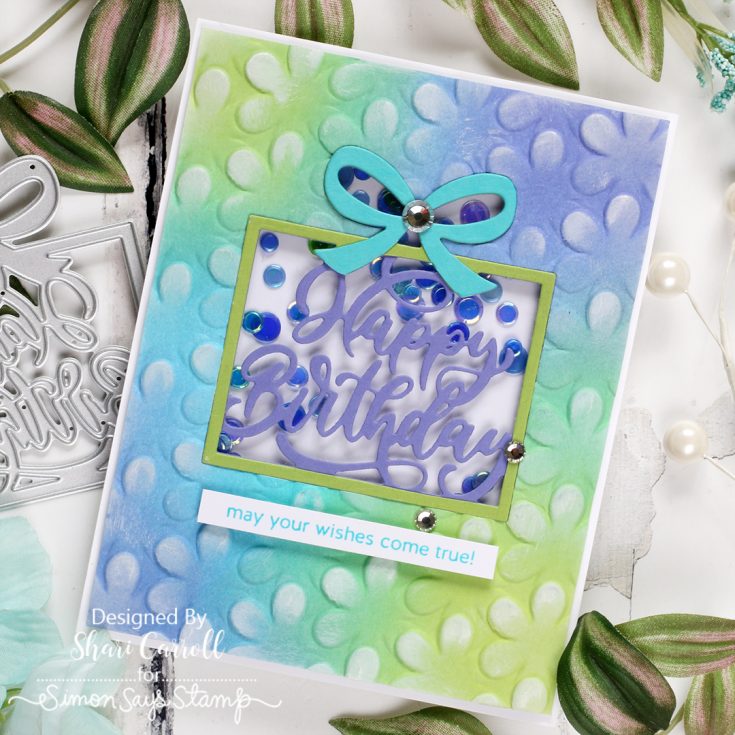
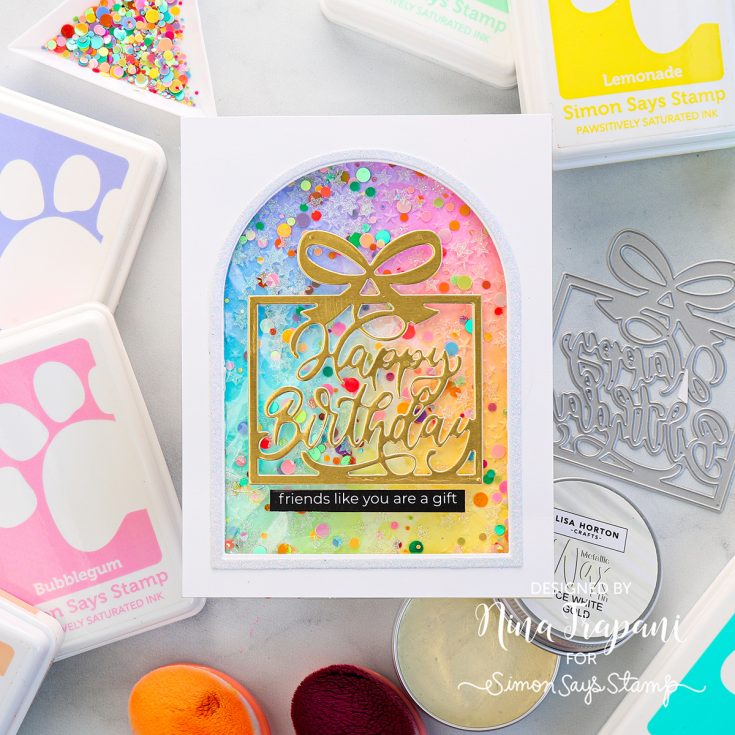
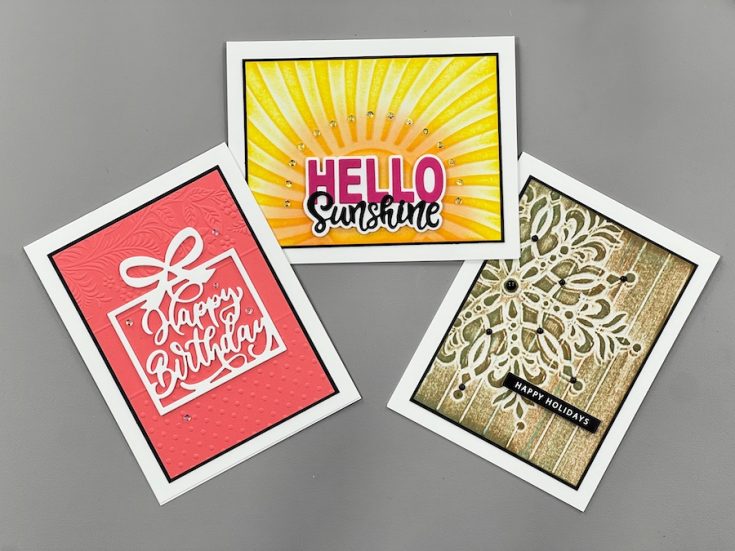
We’re giving away an exclusive Limited Edition “Happy Birthday Present” die set for FREE with any Gina K Designs purchase of $25 or more!
Keep scrolling for some adorable inspiration featuring this must-have die—you’re gonna love it!
Missed Heidi and Gina live?!
No worries! Click or tap the graphic below and rewatch, learn, and enjoy!

Hanging Happy Eggs | Let’s Get Crafty With Caly!

Hi everyone! It’s Caly Person here today!
I’m sharing a coloring Easter card using the Happy Eggs set. This set takes me back to the basics with stamping, which I LOVE! I also added some branches and details from the Whimsical Branch Frame to hang these eggs from.

The background is first ink-blended and then stenciled with the Hippity Hoppity stencil using texture paste. Be sure to check out the video below to see this card come together!
WATCH THE VIDEO:

While the background air-dried, I ink-blended the Whimsical Branches, flowers, and leaves. I also used this time to stamp the colorful Happy Eggs.

Details are always important, so I took the time to ink-blend and stamp things. The eggs are each stamped with two shades of each color. I added bows to each egg, die-cut from the She Gnome die set.

I strung the eggs using White Iridescent Cord and finished by embellishing the card with Pastel Ice Embellishments.
I hope you like it!
SUPPLIES:
|


Mark your calendar!
Join us live FRIDAY April 4th at 12 PM ET! Click or tap the bell by ‘Notify Me’ to be notified when we begin on Friday, April 4th at 12 PM ET!
Gorgeous Curated Color Kits of NEW Tim Holtz Ranger Alcohol Inks + Great Value!
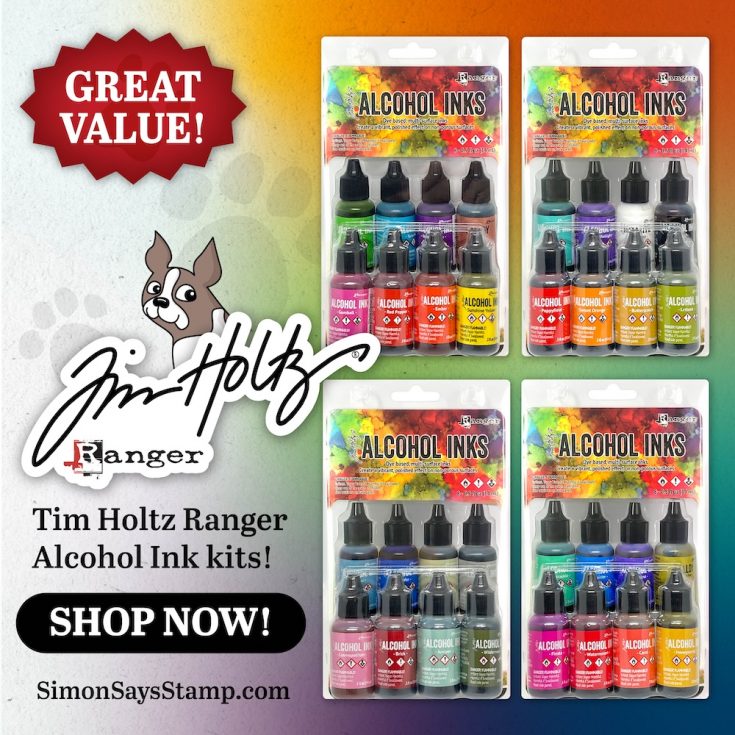
Happy Wednesday, friends! Surprise! If you love Alcohol inks like we do, these kits are for you! These four curated collections of 8 unique colors will bring you hours of crafty fun! These premium, acid-free dye inks are specially formulated for non-porous surfaces, allowing for stunning layered effects. Perfect for use on surfaces like Alcohol Ink Dura Lar, Yupo®, and Glossy Paper, as well as metal, glass, and glazed tiles. Purchased individually, these kits would be just under $36, but the entire beautiful set(s) of 8 can be yours for just $29.99 each!


Get inspired by many BEAUTIFUL things you can make with Alcohol Inks on our YouTube channel!


