Floral Pattern Paper Underwater Scene Cards
Hi friends! Happy Wednesday! I’m delighted to welcome back special guest Heather Hoffman showcasing some super sweet inspiration showcasing our newly released Get Whale Soon stamp and die set in such a fun and unique way! Read on for all the details and enjoy!
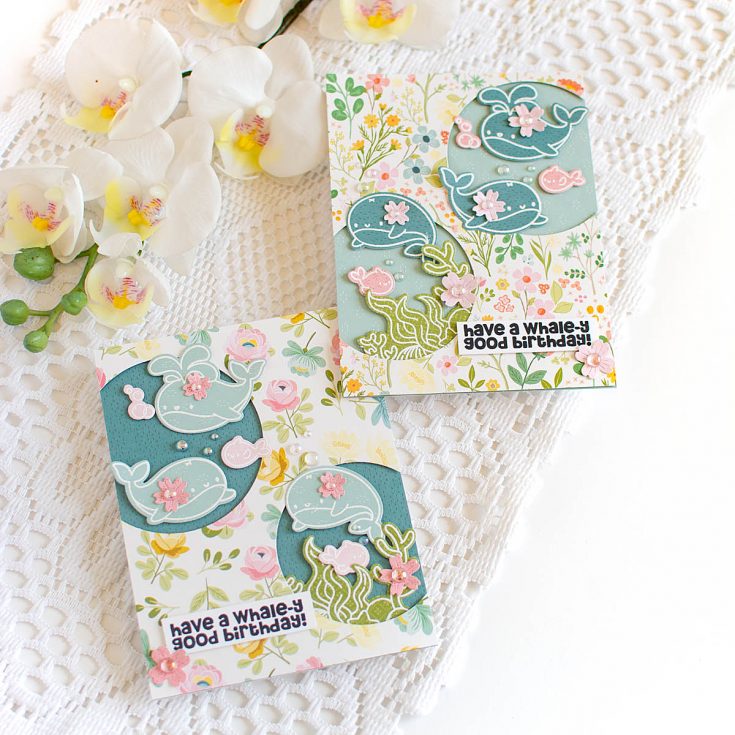
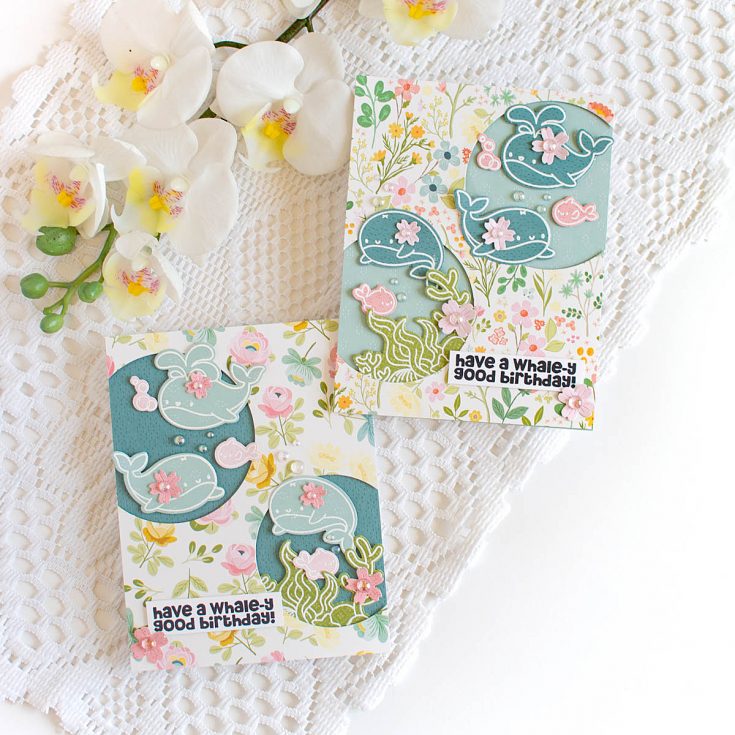
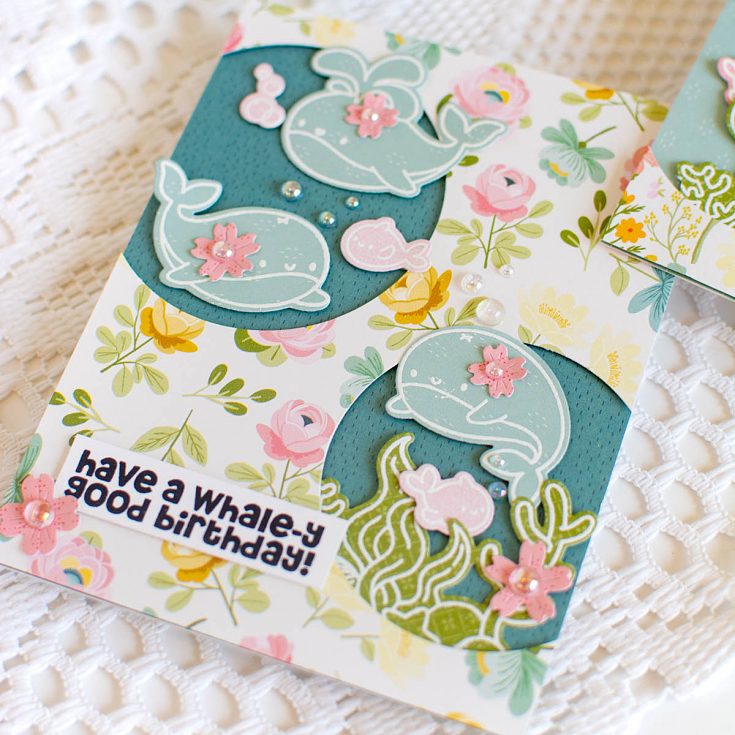
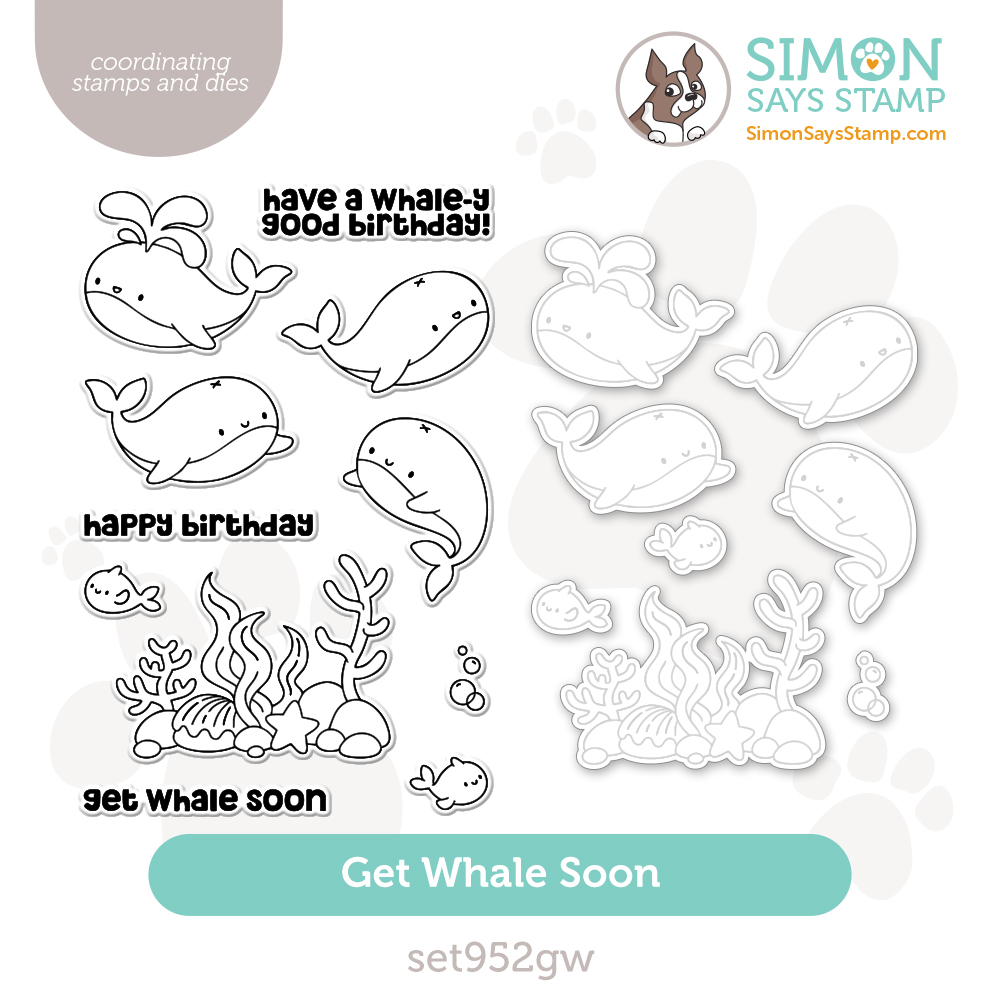
One of my favorite things about cardmaking, is the ability to create things in a way that is perhaps not realistic, but beautiful all the same! I loved the adorable Get Whale Soon set, and thought it would be fun to use it without coloring and lots of pattern paper instead. I think they are so fun how they turned out!
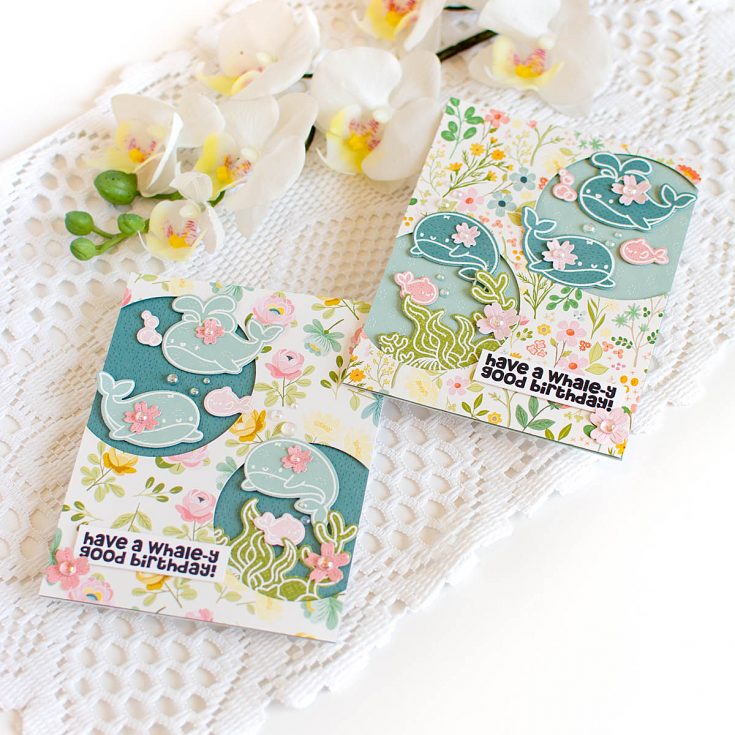
I started off by selecting some floral pattern paper from Echo Park Secret Garden 6×6 paper pad, as well as a few simpler patterns (Tip: the back side of double-sided pattern paper is often a great place to find more solid or simple patterns that coordinate with the busier patterns in the pad!). I cut two sizes of circles from the floral paper after trimming it to A2 size, letting the circles hang off the edge so I was left with partial circles.
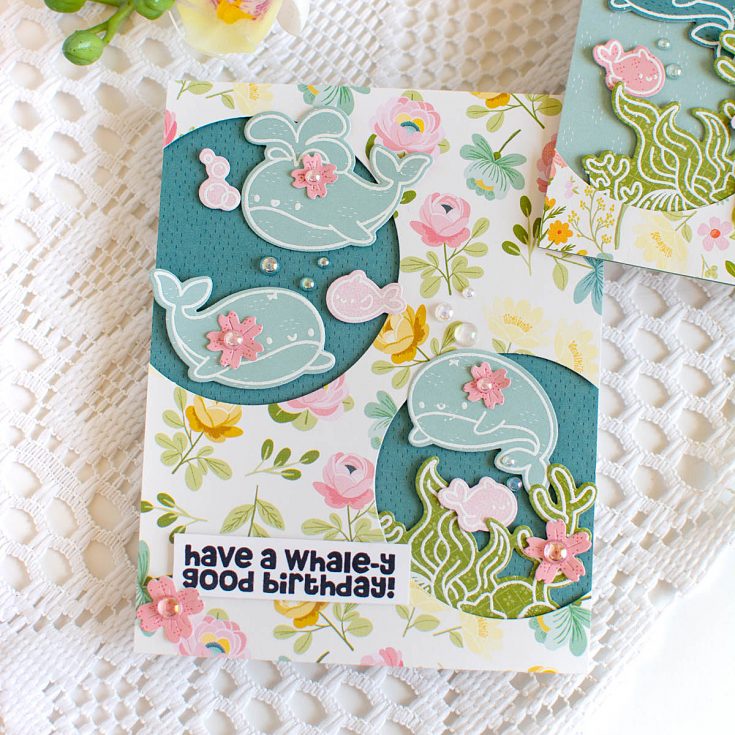
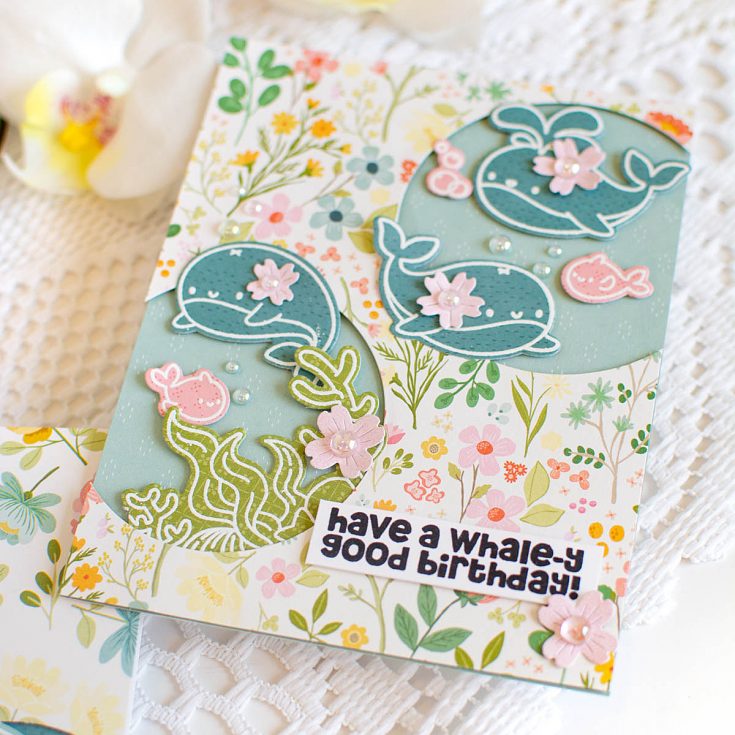
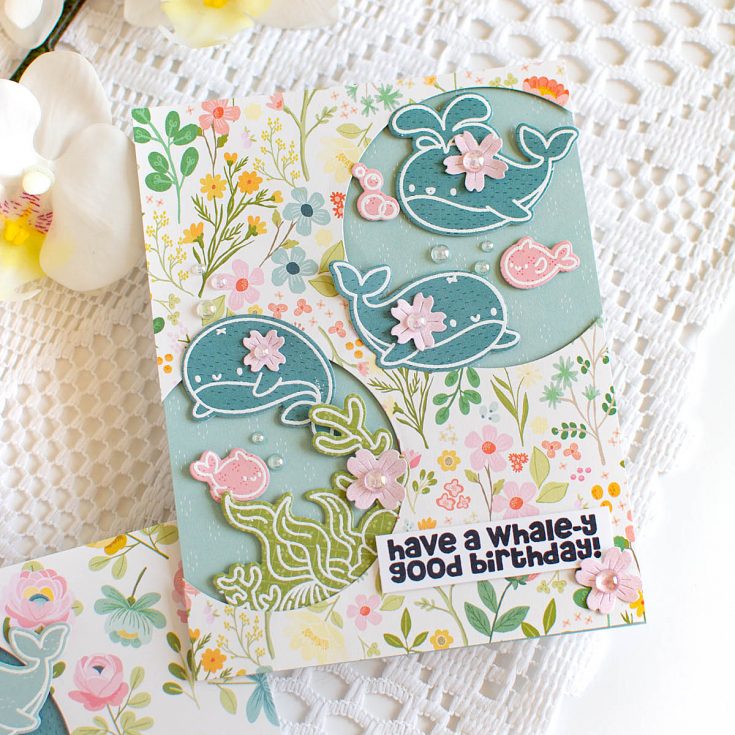
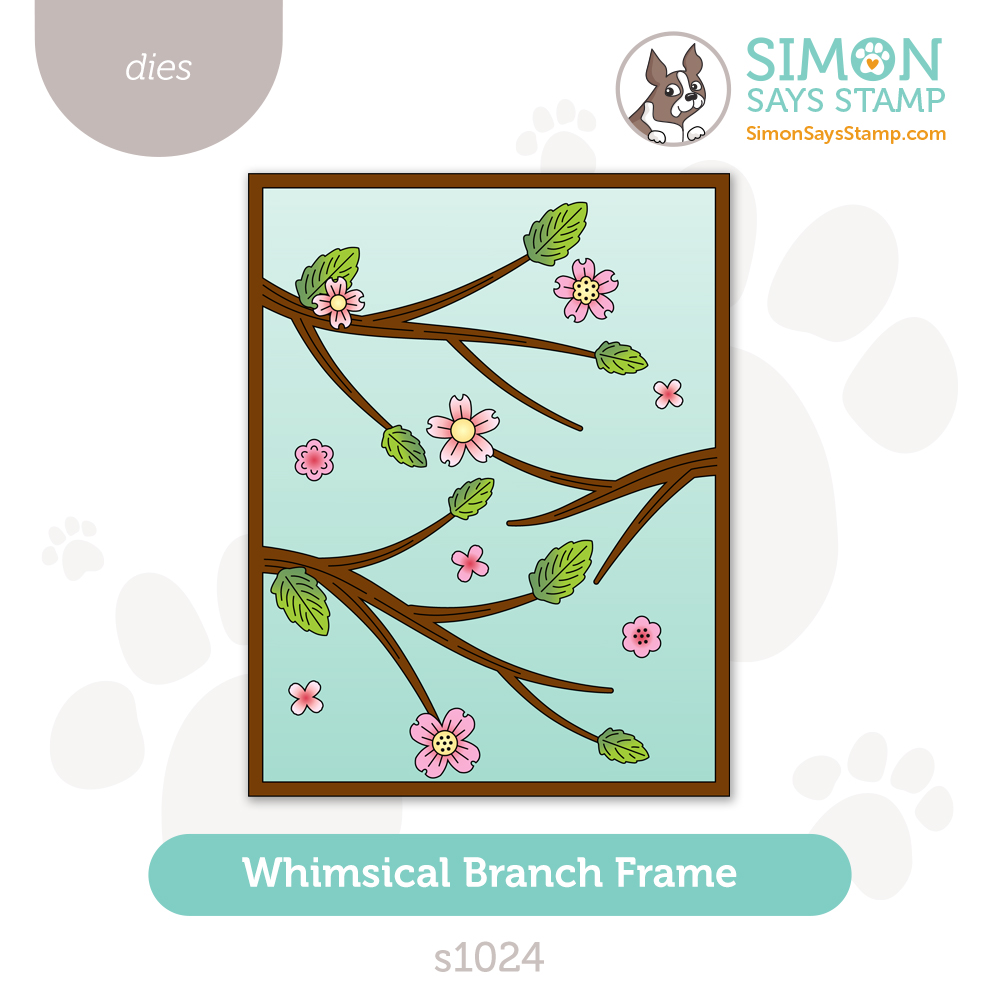
Next, I stamped several of the elements from the stamp set on the pattern papers, heat embossing each one in white, and die cutting with the coordinating elements. I built my scene, using foam adhesive to pop everything up slightly from the background for dimension. I also die cut a few flowers from Whimsical Branch Frame die set, and tucked those around my scene.
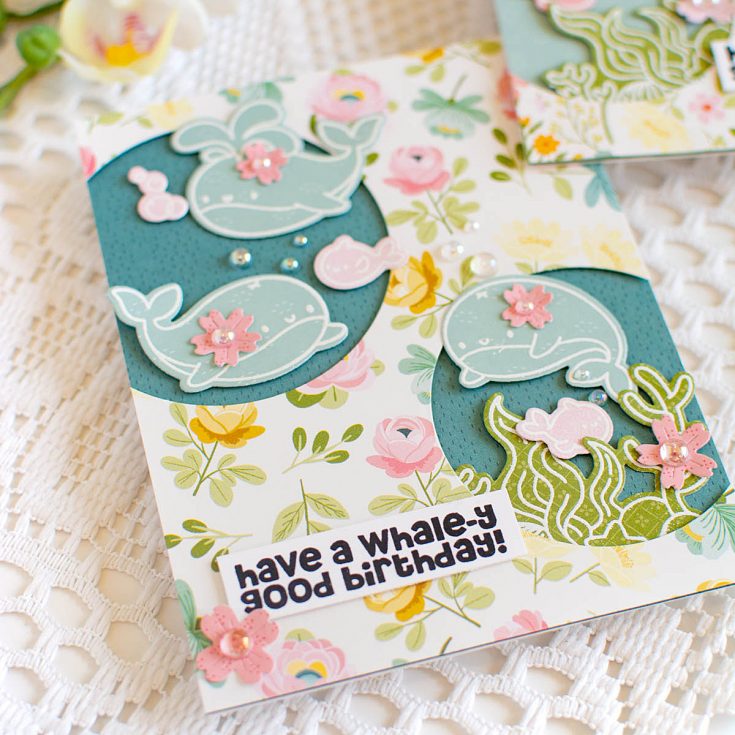
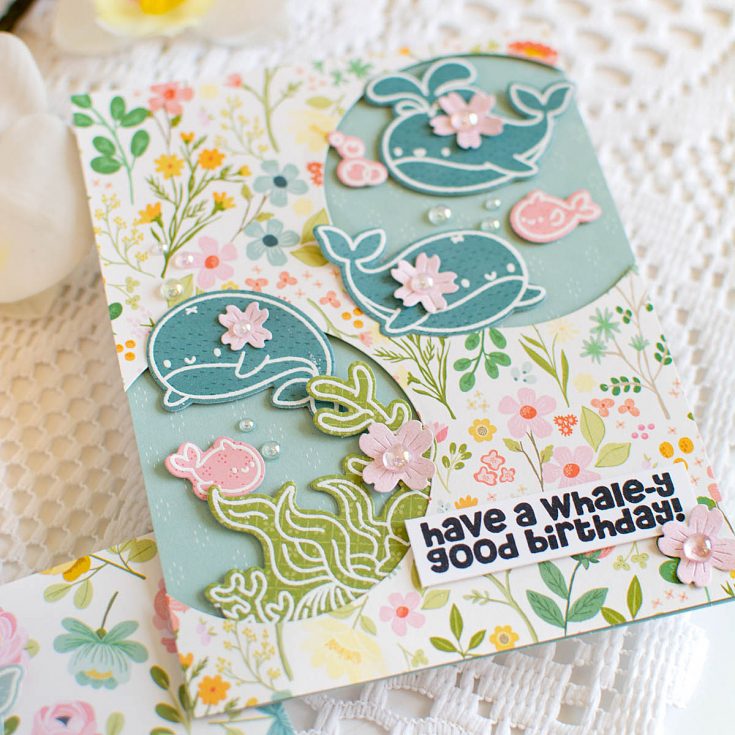
Finally, I stamped my sentiments in black ink, and trimmed down to a small rectangle before adding with foam adhesive. Finished off with a few Trinity Stamps Bubble Blow Out embellishments on the flower centers and around the scene to add a touch of sparkly and bubbly fun!
Do you like to use pattern paper to build a scene? Or do you tend to gravitate to ink blending and/or coloring?
SUPPLIES:
|


Thanks so much for stopping by, and thanks to Heather for being our guest!
No Joke! We have an EXCLUSIVE SURPRISE today on our Livestream!

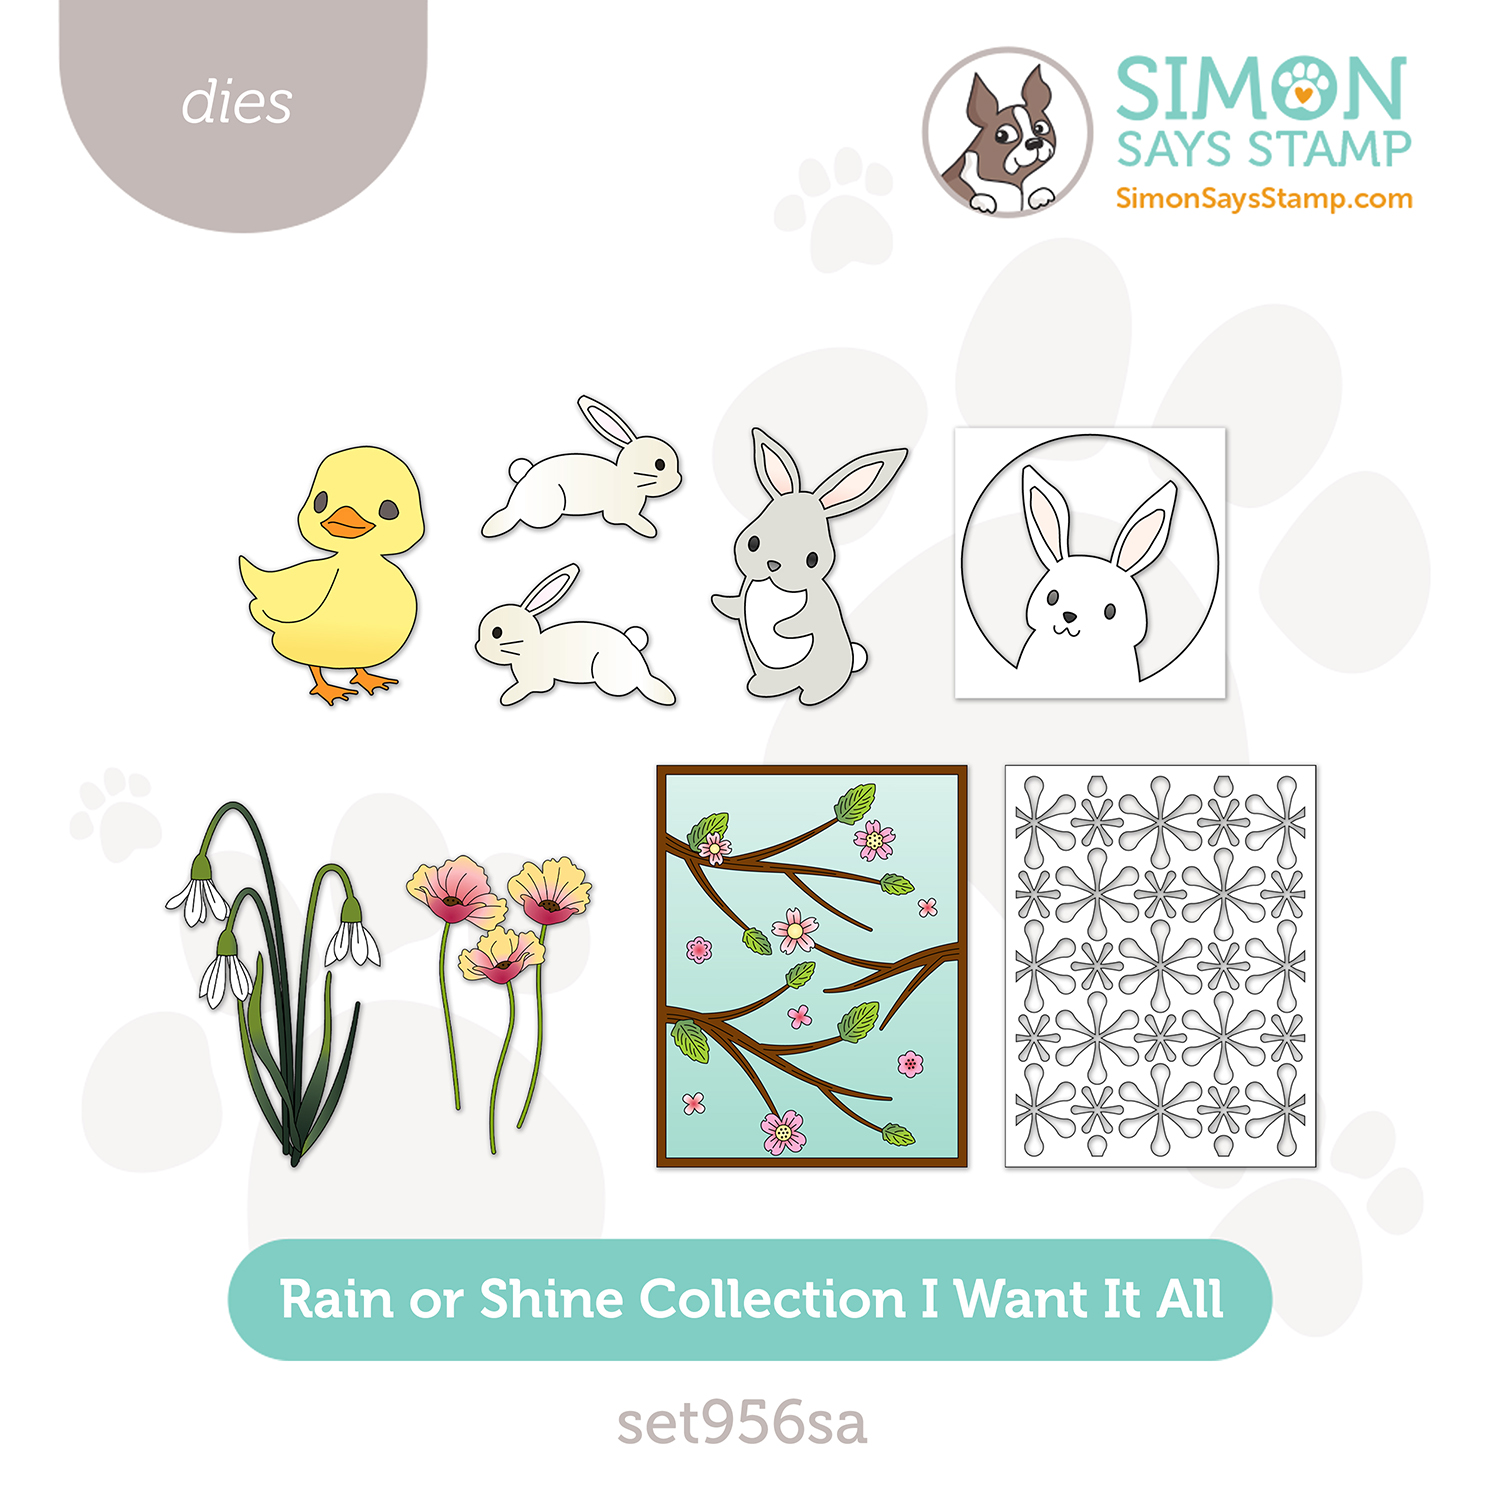
Happy Tuesday and APRIL, friends! You won’t want to miss our founder Heidi LIVE today on our Simon Says Stamp Youtube channel showcasing our brand new Rain or Shine exclusive collection as well as a special SUPER FUN SURPRISE for Live watchers and in addition a chance to win a $100 gift card to shop at Simon Says Stamp! See you there!
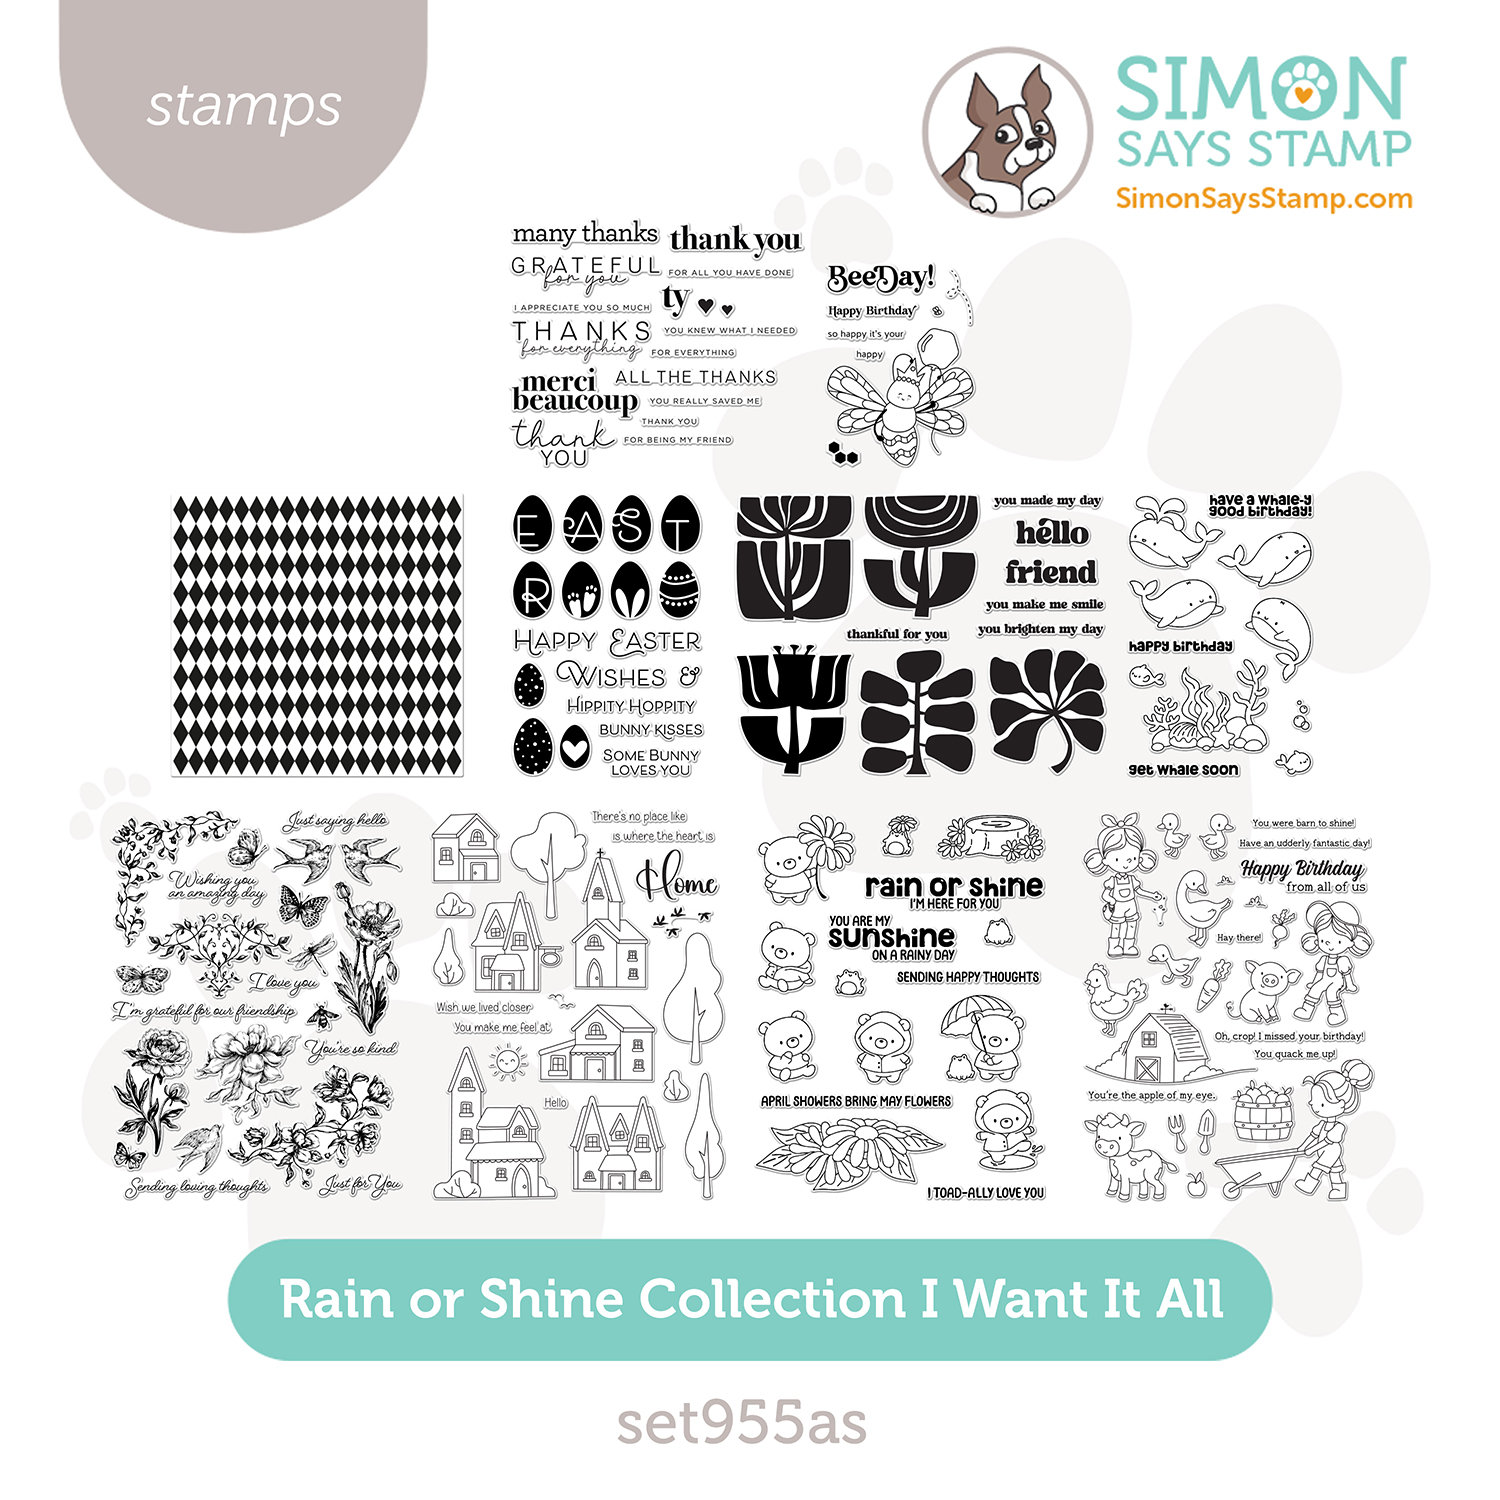
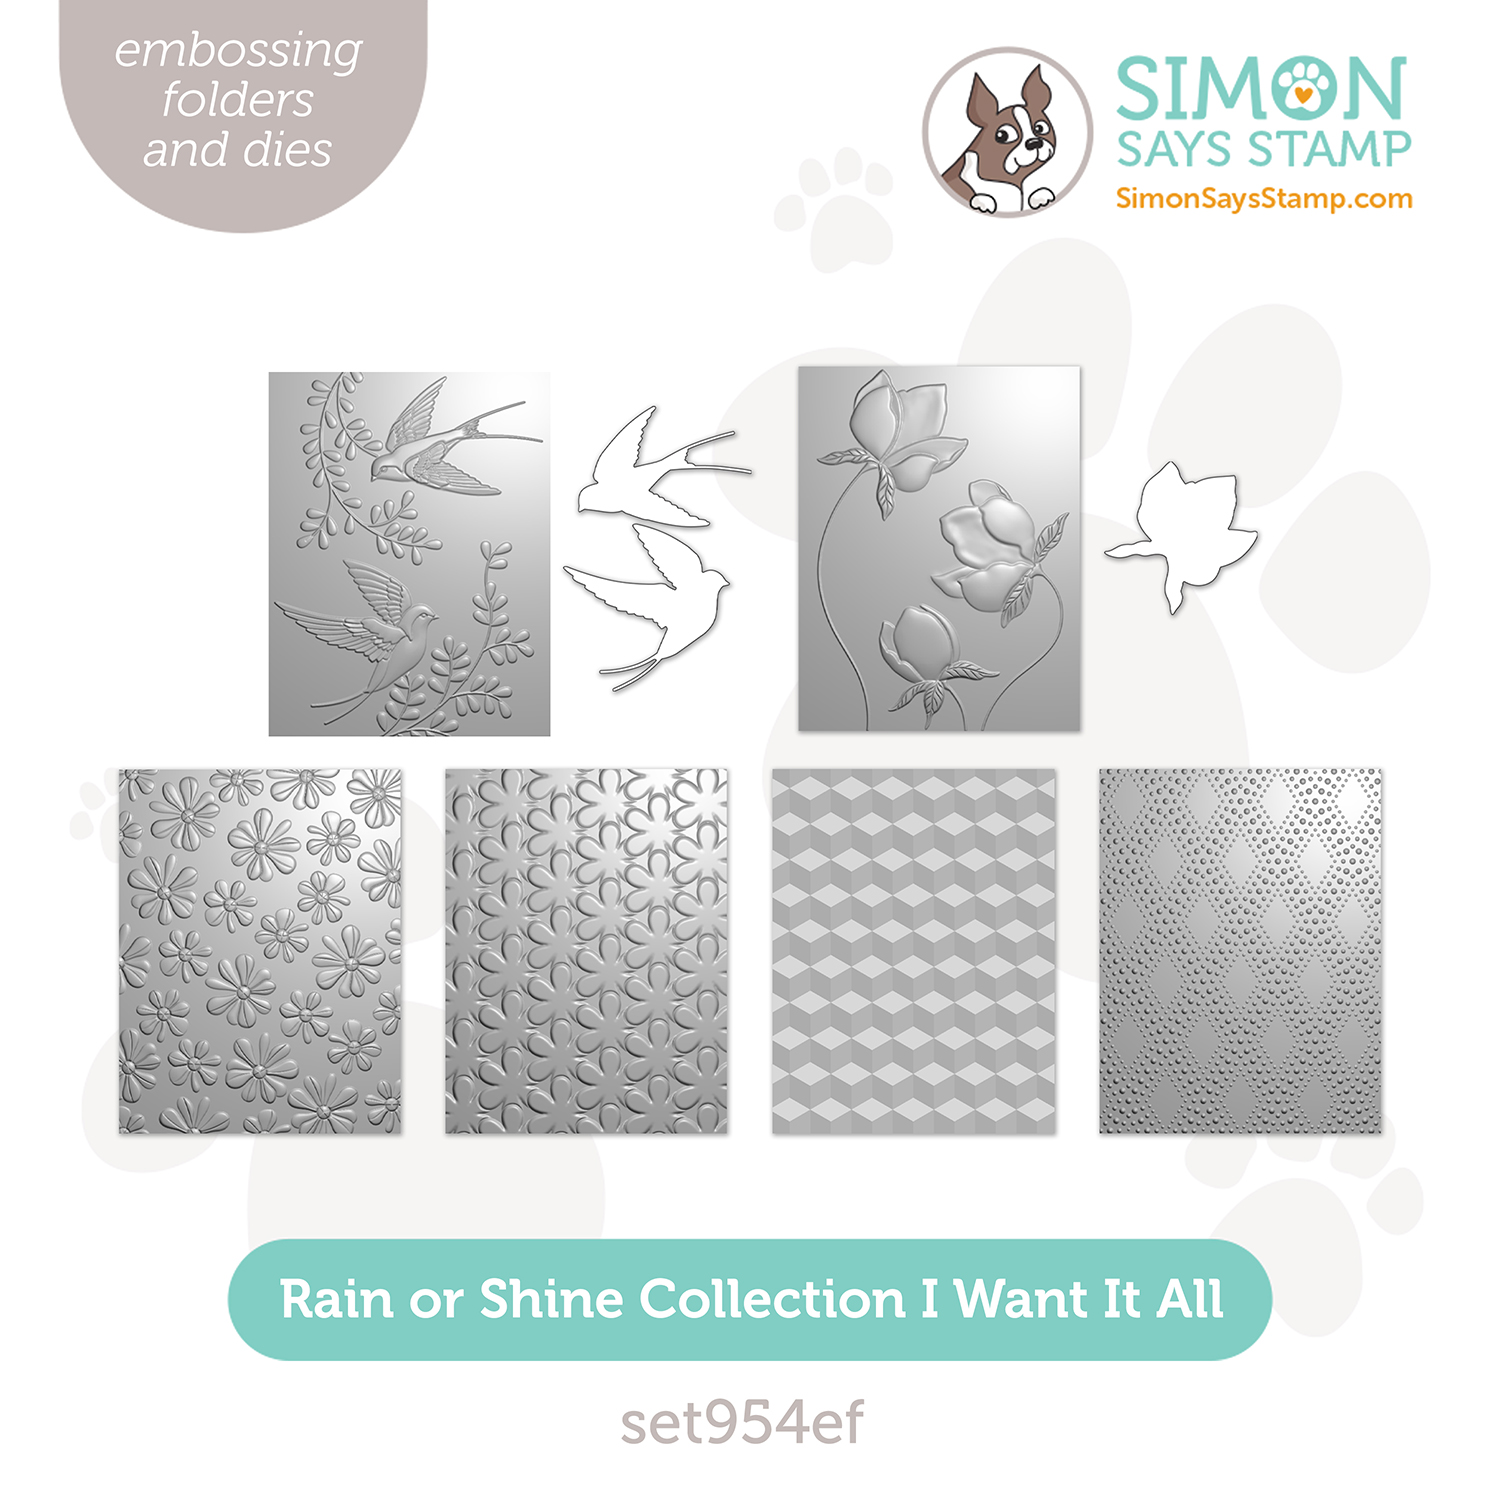
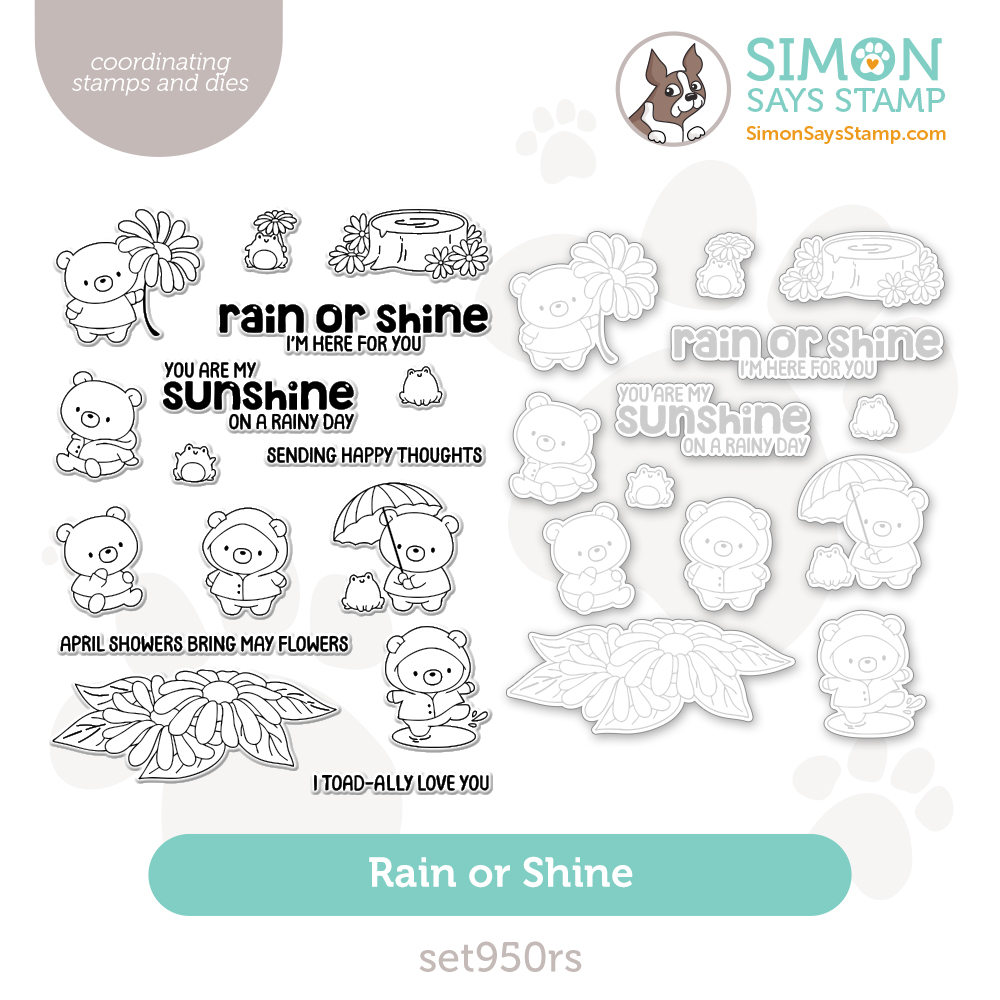
Shop our NEW Rain or Shine Collection:


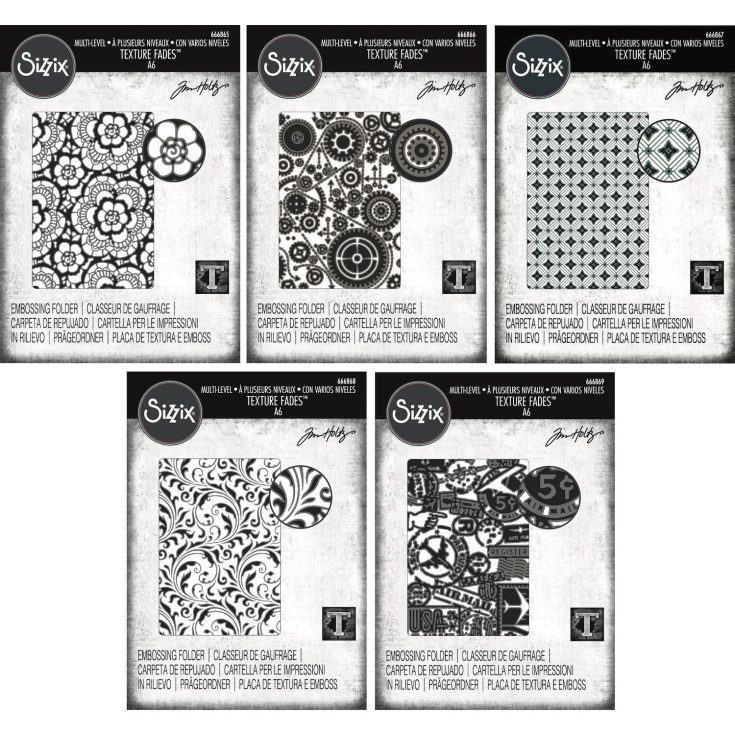
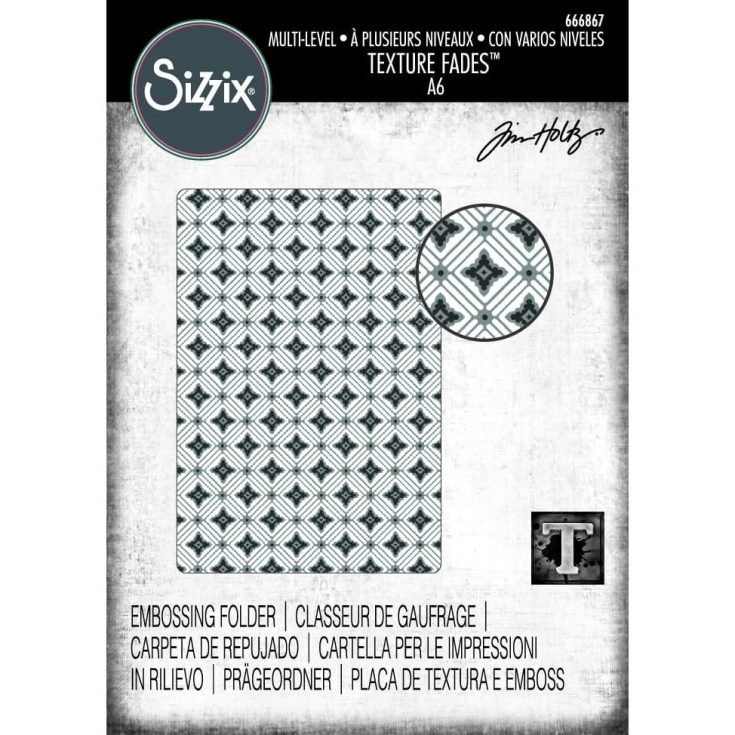
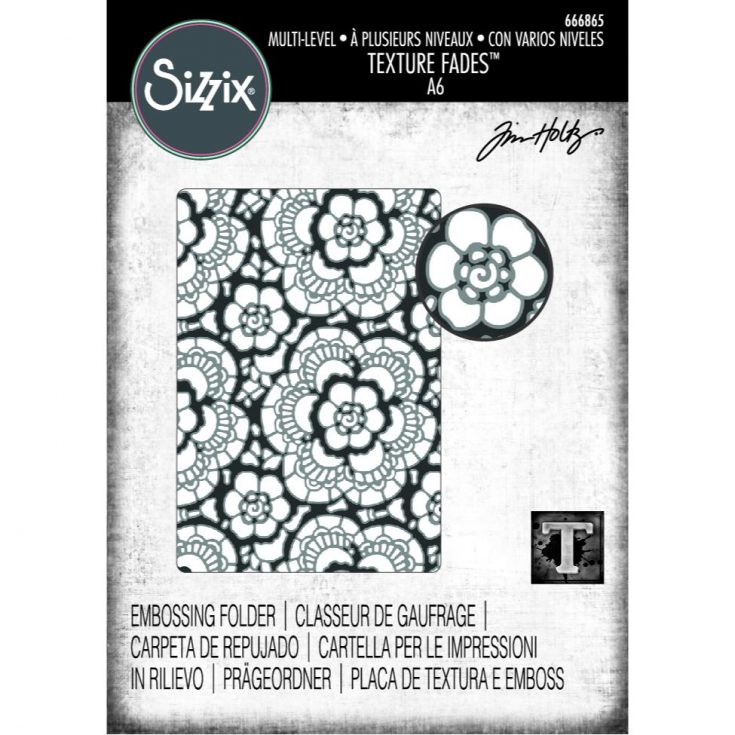
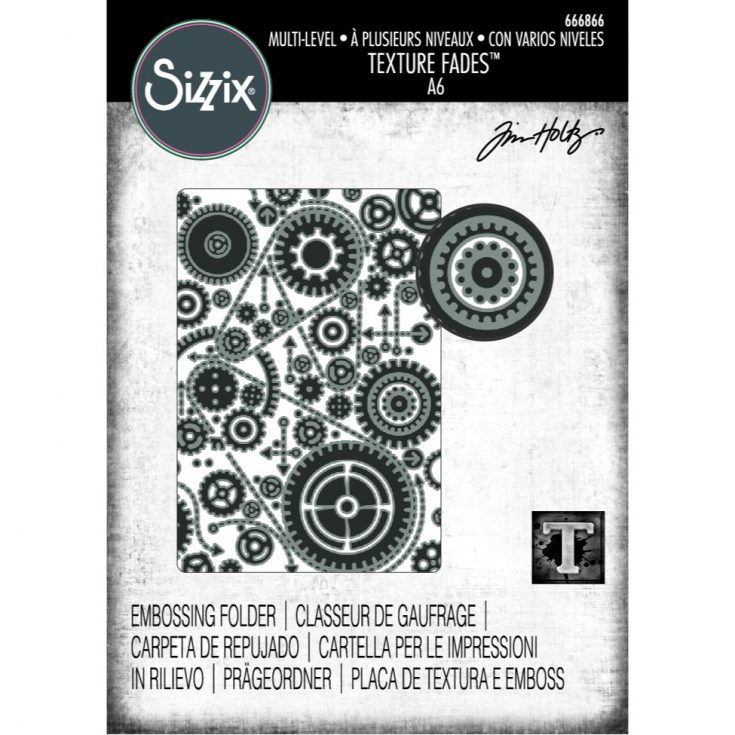
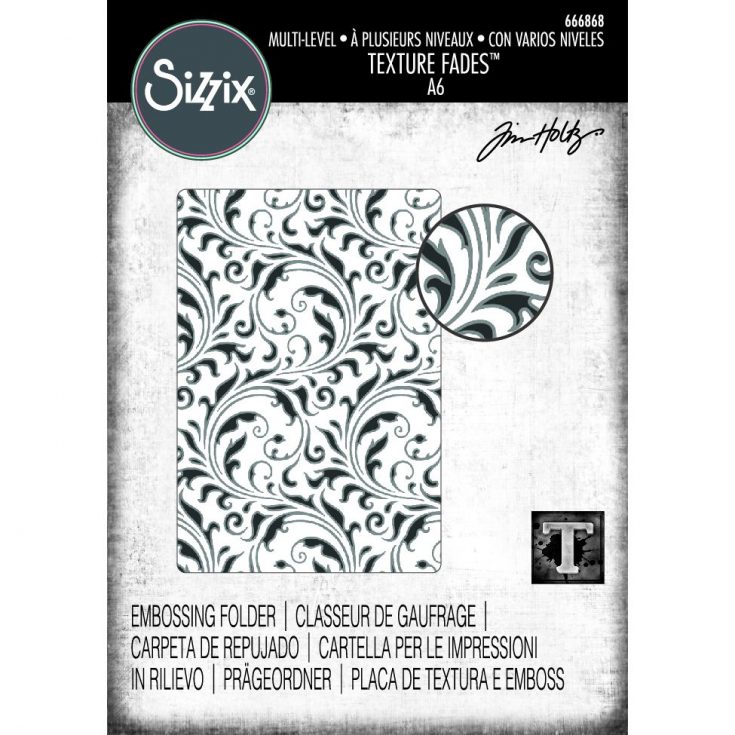
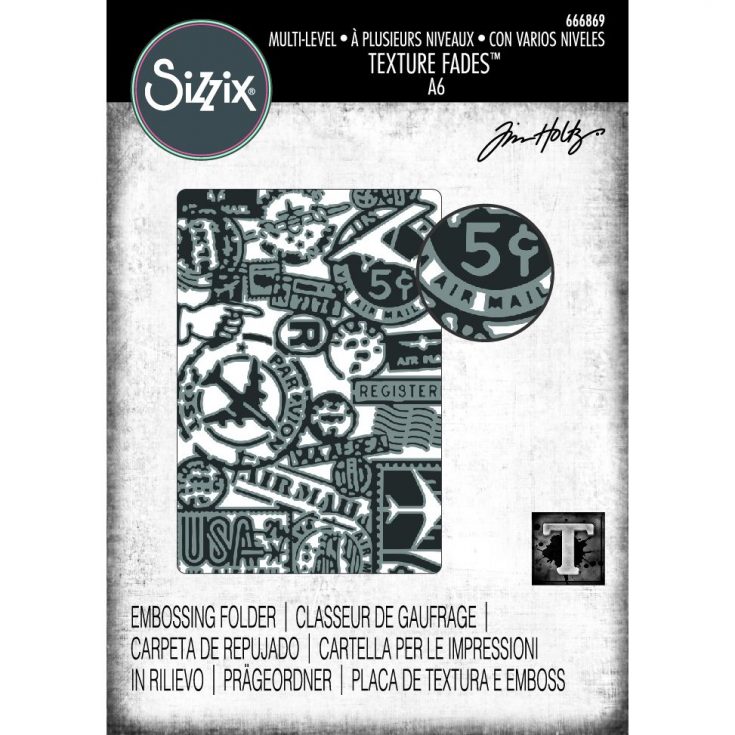
Newly Reimagined Tim Holtz Sizzix Texture Fades: Shipping Now!
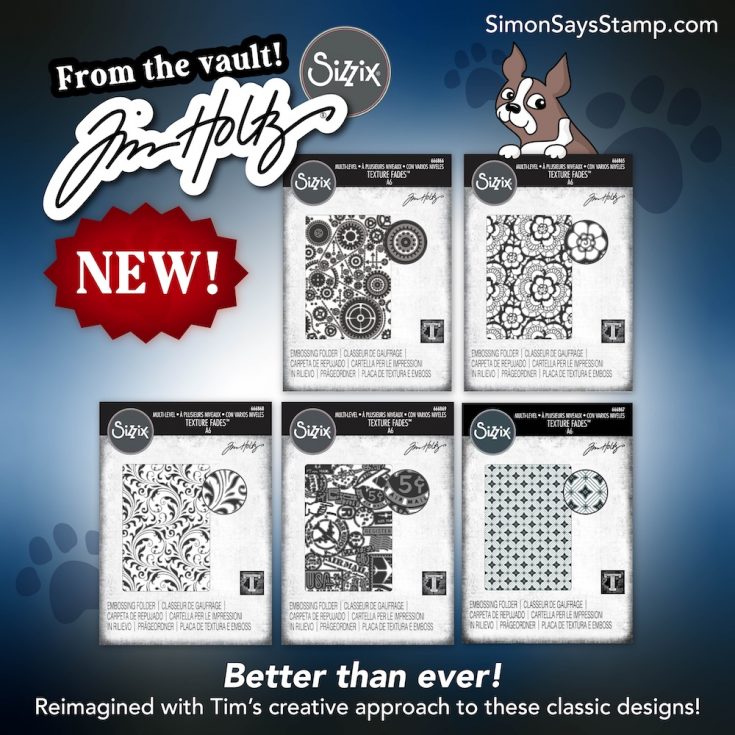
Hey friends! Time to get EXCITED!! Five new fantastic previously released Tim Holtz Sizzix Texture Fades designs have been reimagined and brought back from the VAULT – better than ever! Shop your favorites or pick up the bundle! In stock and shipping now!